Available from 1.60.0.1 version of Builder Parts Plugin
To create a new part in Builder Parts, follow the procedures below:
1. Right-click on the plane where you want to insert the part that will be created.
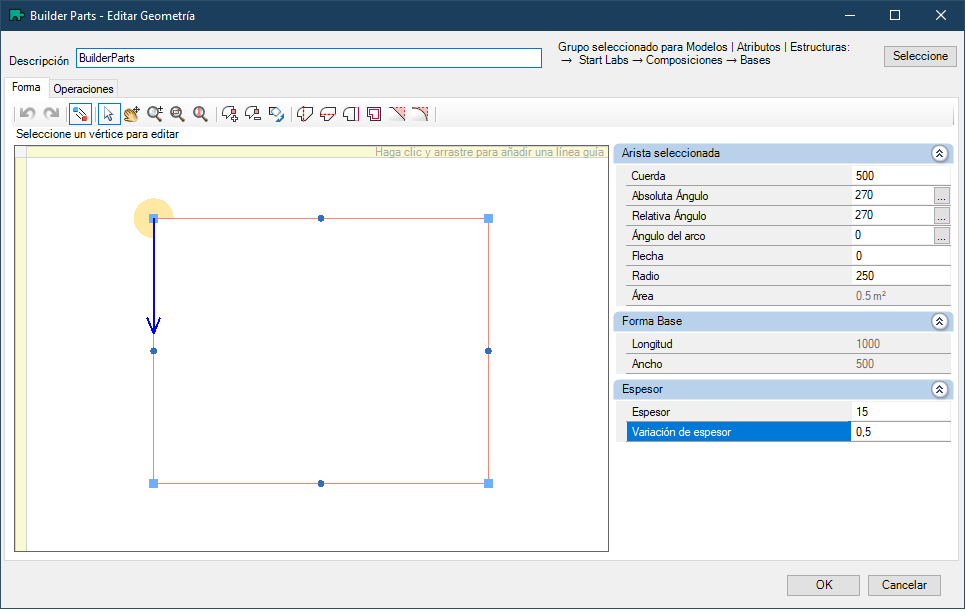
2. Select the Create Part with Builder Parts option.
3. Enter the name of the part in the description field.

4. Group selected for Models | Attributes | Structures: Every part created in Builder Parts must be linked to a library group for the use of mandatory models, attributes and structures for the production of this part. Thus, the part created will respect the settings applied to this group at the time of model selection in the 3D environment and production.
When creating a new part, a group will already be pre-selected. The default will be the first group in the library that contains all the information needed to Builder Parts.

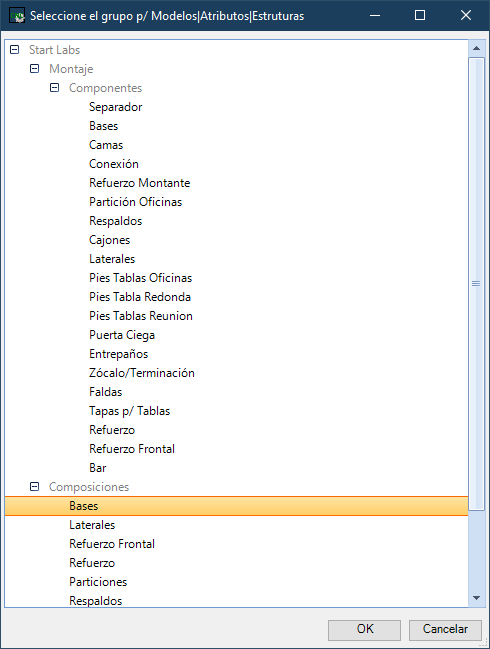
It is possible to change this group if desired, by another group available in the library. To change the group, click on Select. A window will appear with all the groups available for selecting the link to the Builder Parts part. Click on the desired group and then click on the OK button.
IMPORTANT: only groups that have all the basic information necessary for the production of the part will be displayed in this list.

5. After making all the desired edits to the part, click OK.
The Builder Parts window will close, and the created part will be inserted into the 3D design, in the position where the editor was opened.
Examples:
Creating a new piece on the wall.

Creating a new part on a part or module in the library.
