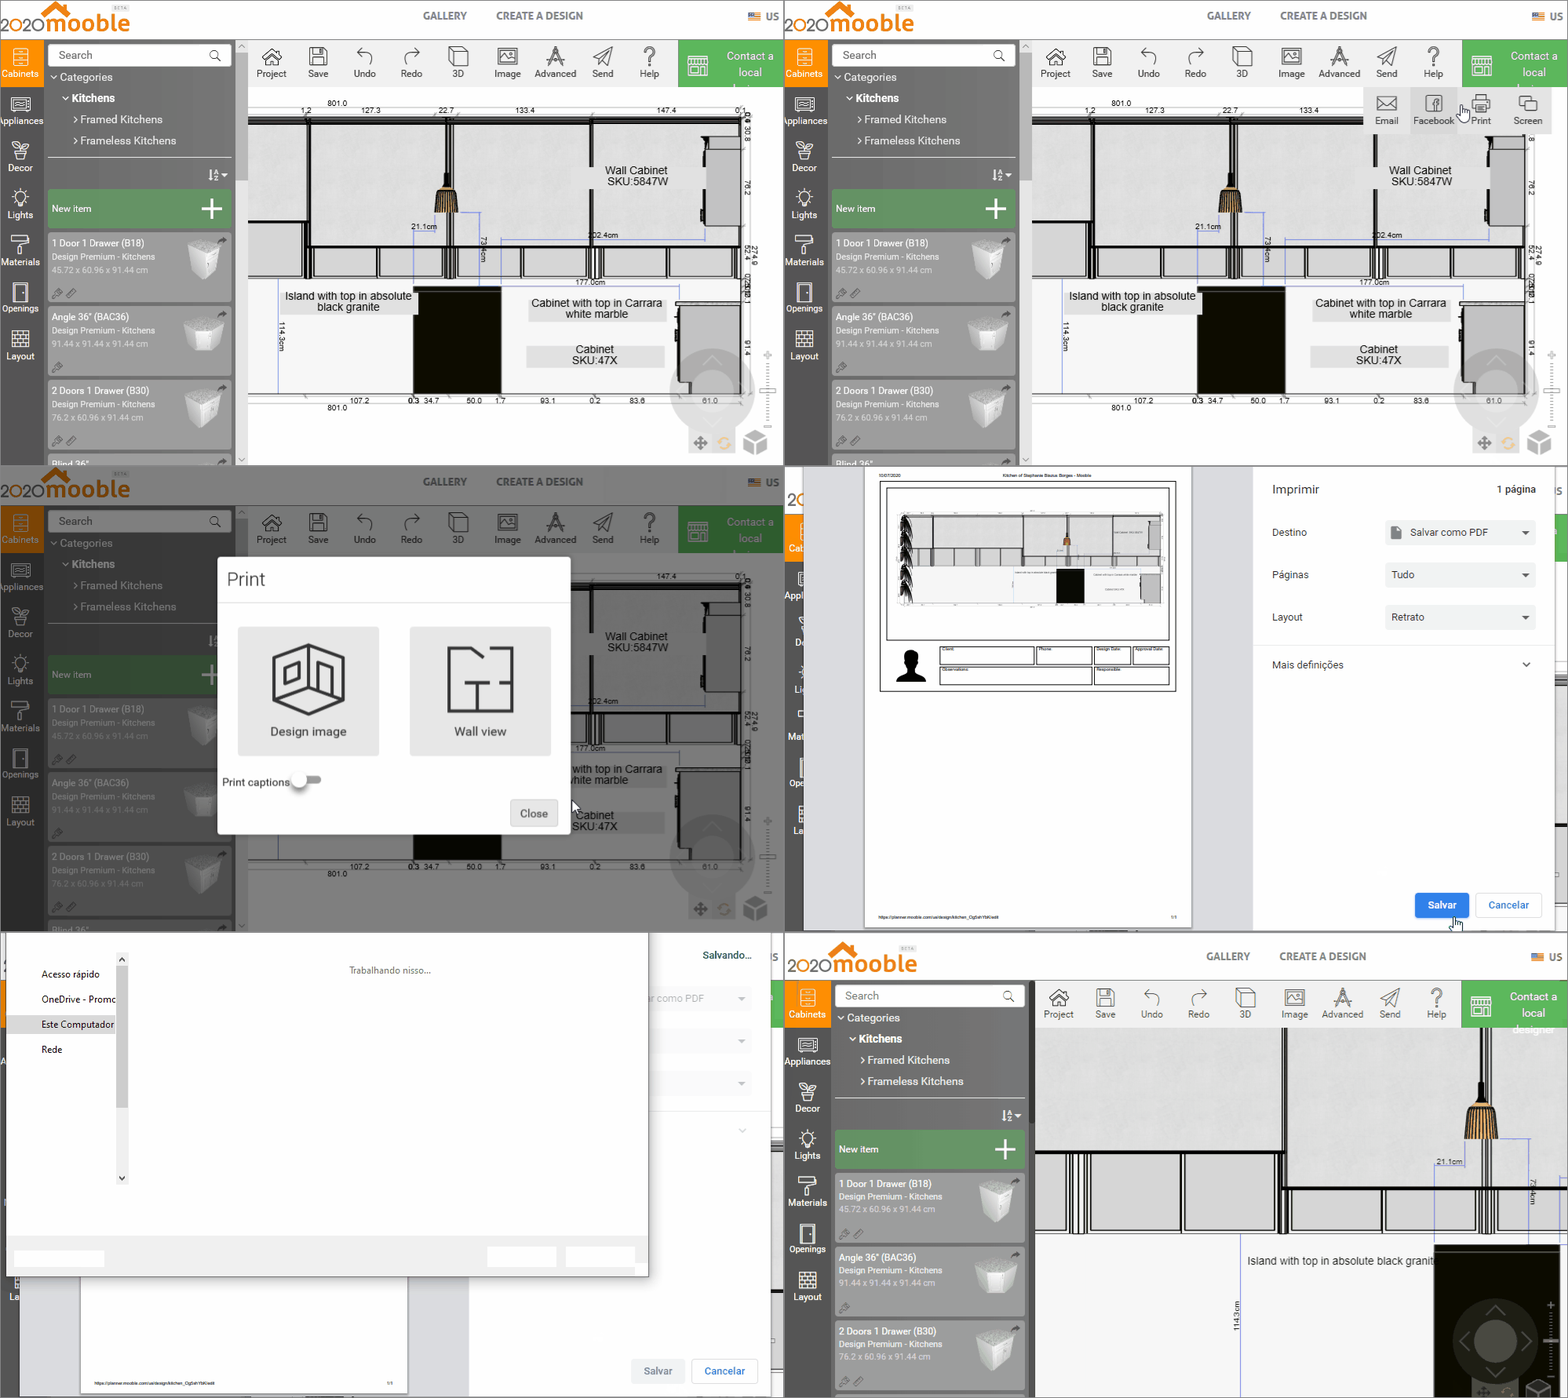
The executive plan, also known as elevation, is carried out when the design is completed, enabling the execution of everything that was done during the process.
With the executive plan ready, it is possible to provide information for assembly, thus facilitating the work of the assemblers with information on heights, clearances, the position of modules, the position of hydraulic and electrical points, among other specifications.
Access your question directly by clicking on one of the titles below:
Raise Walls
To generate the elevation:
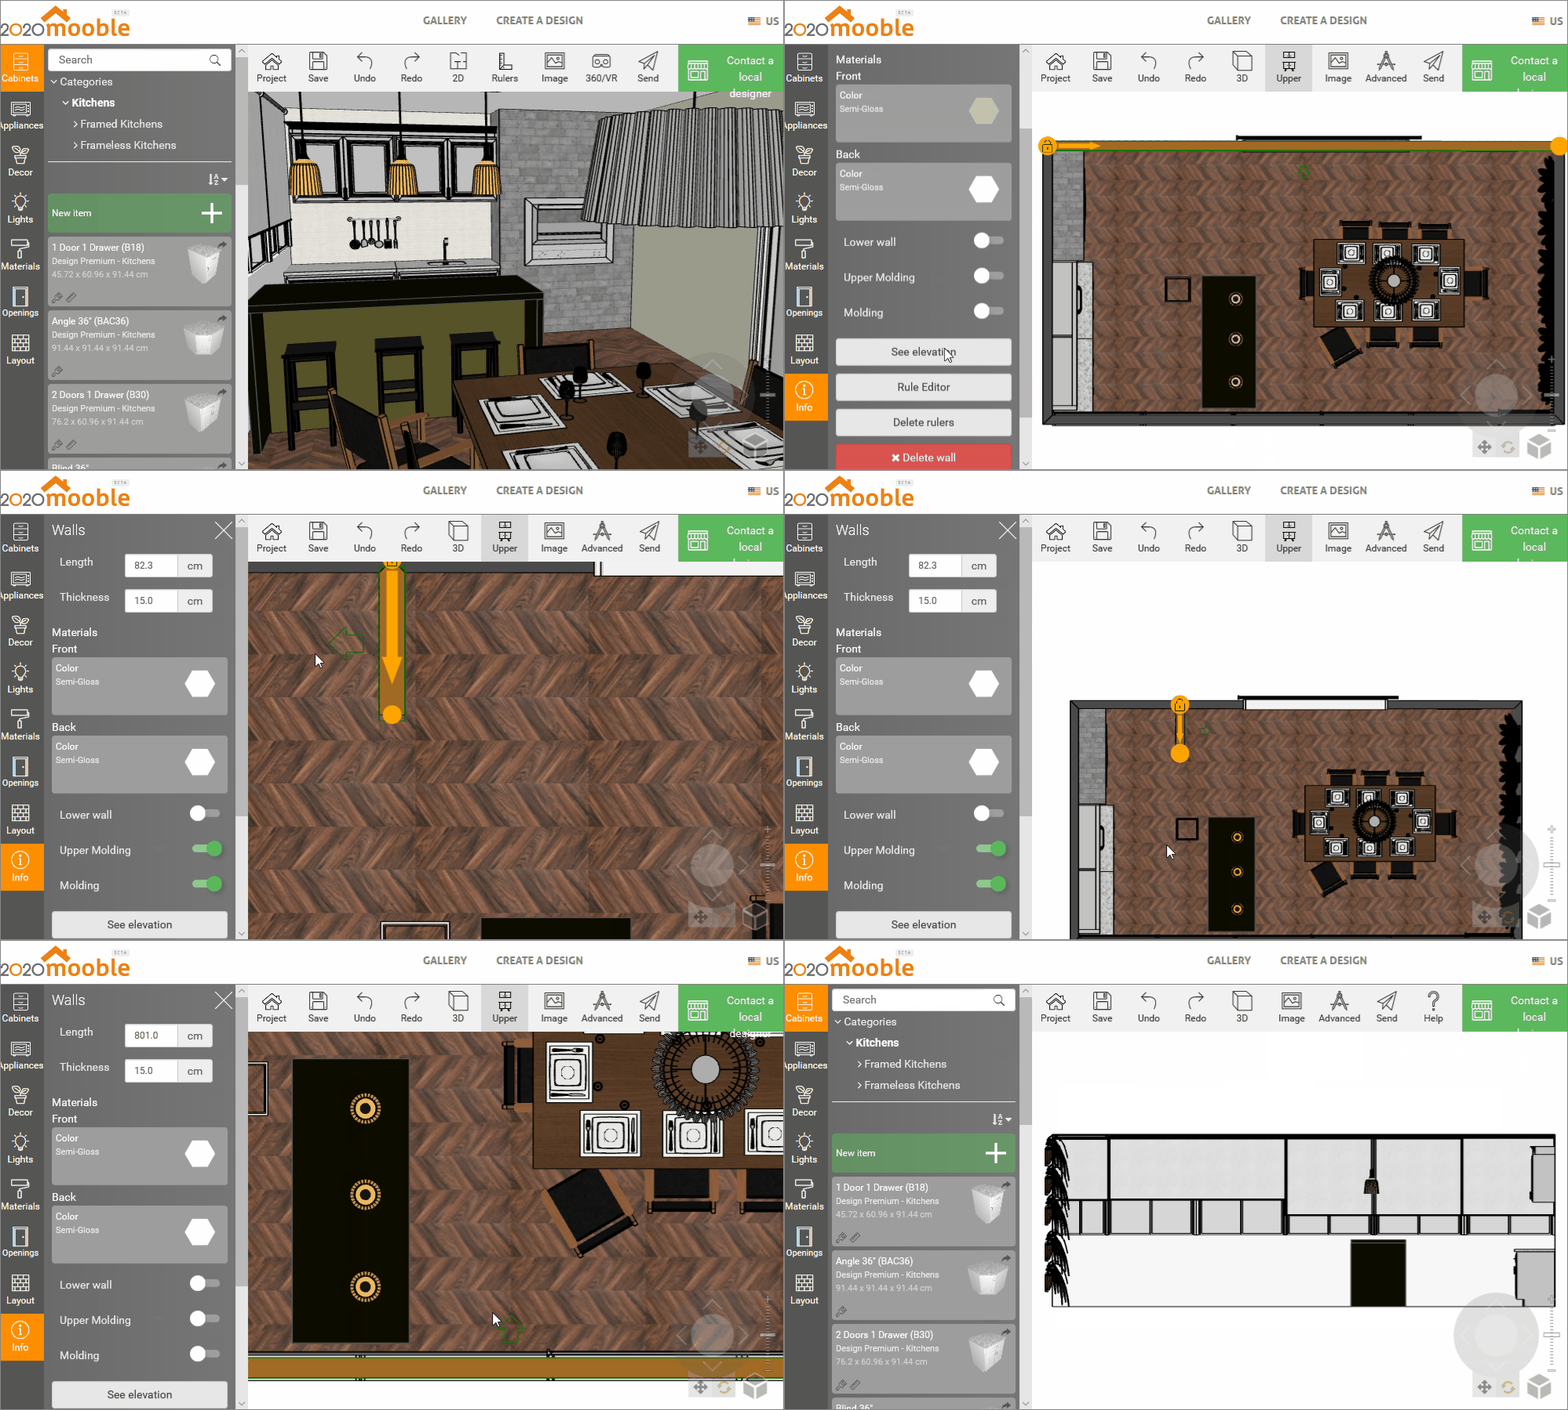
1. With the design open, click on the 2D option;
2. In this option, we will have a view of the design in the floor plan.
3. Selecting one of the walls, the option See elevation, will be enabled;
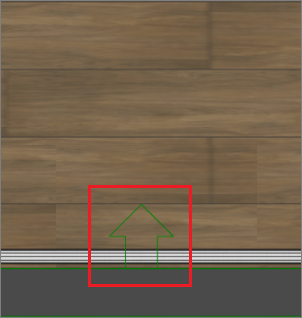
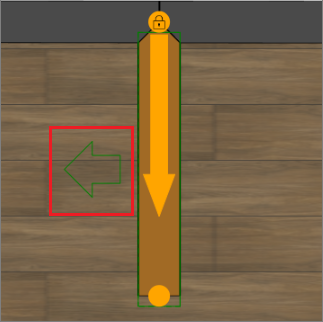
- A green arrow will indicate which side of the wall will appear on the elevation.
- For the internal walls, it is possible to change the side of the arrow, for that, click on the wall;
4. Selecting the wall and defining which side will be the executive plan, click See elevation.
- A 2D view of the wall, with the items, will be presented;
TIP: This elevation is generated in black and white, and can be viewed with the original colors of the design, click on Image and then Color;
Insert Text
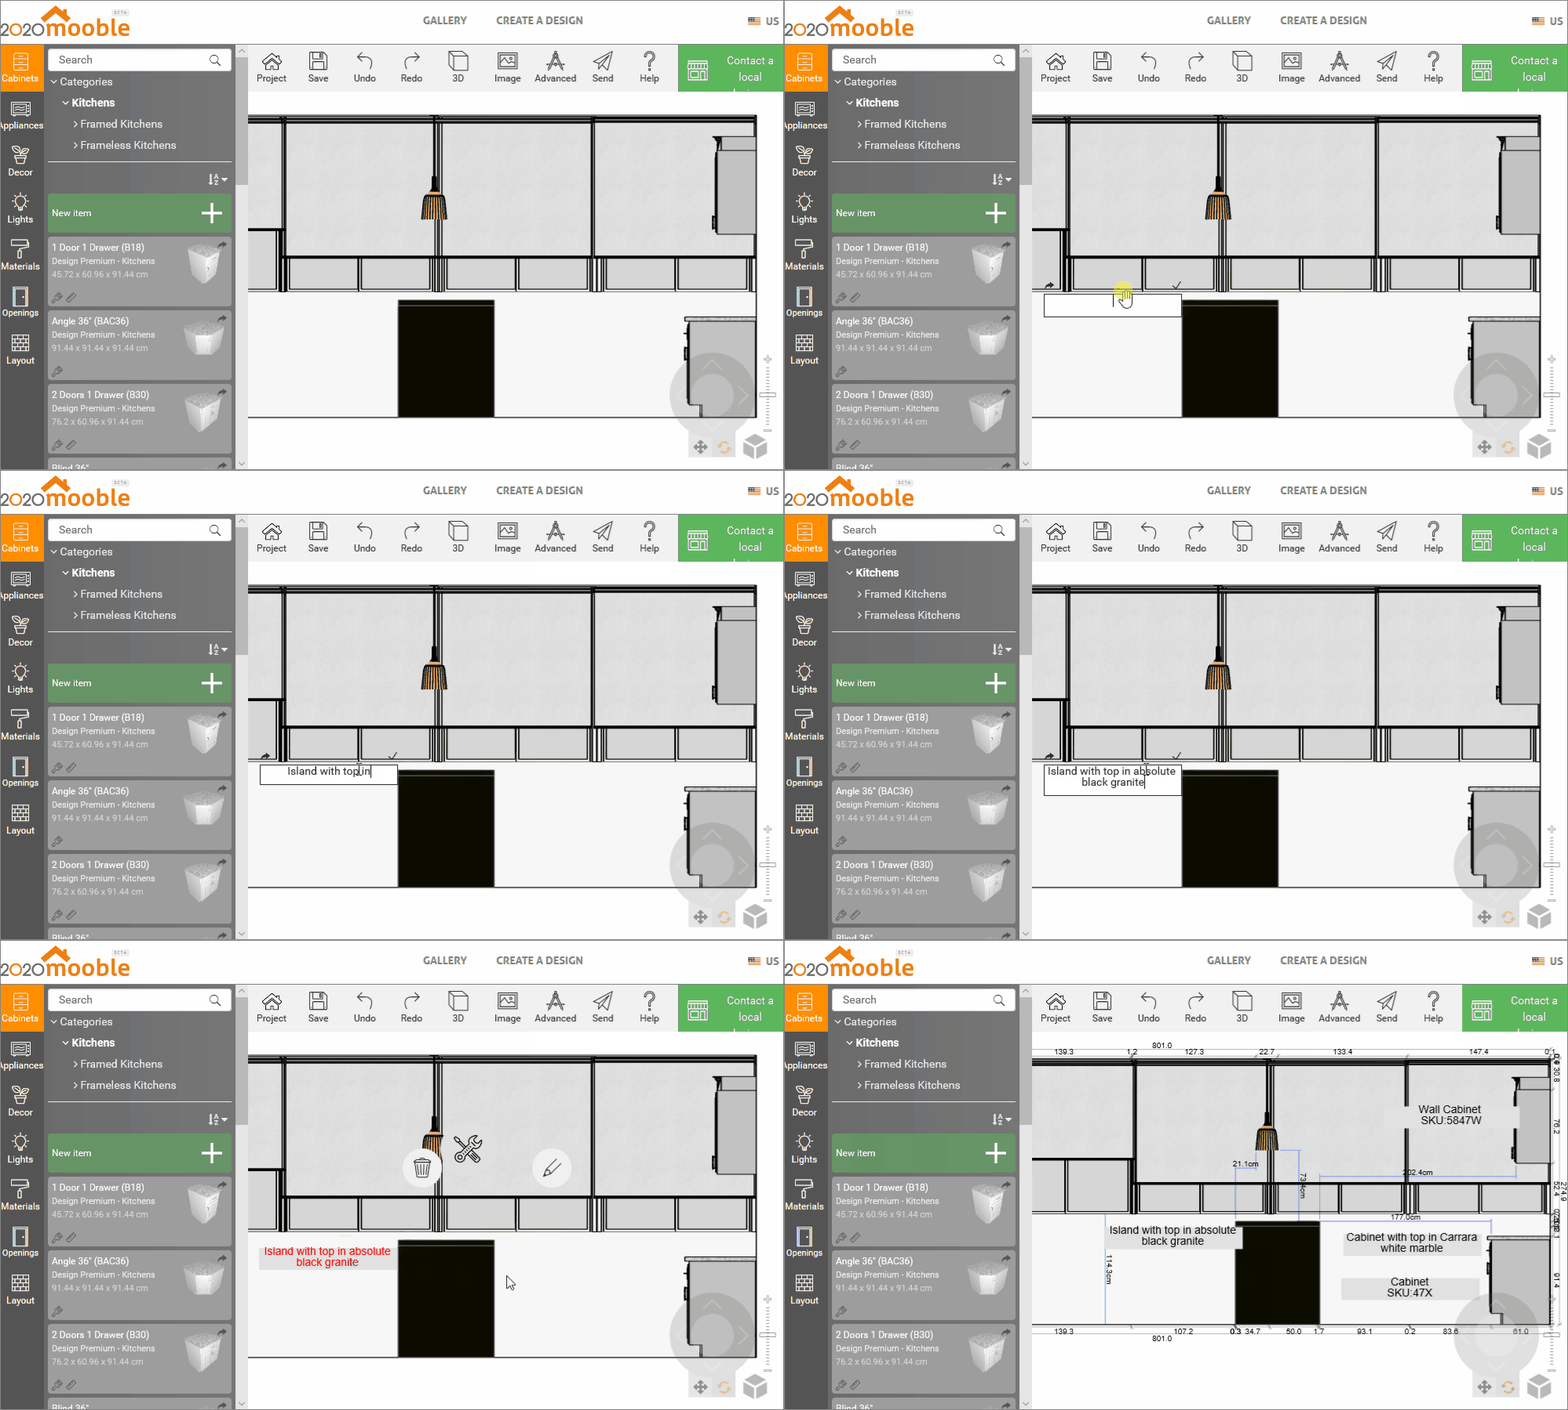
At the executive level, we can insert texts to insert important information.
1. To add text in the executive plan, click Advanced; 
2. Next in Text; 
3. A text box will be enabled. After entering the information, click on the indicated icon; 
4. Selecting the box, allows you to move, edit and delete;
TIP: Insert dimensions in your design to detail the execution. Check how to quote here.
Print Executive Plan
After finalizing the executive plan, we can generate the print:
1. Click Send - Print;
2. In the displayed screen, click on Wall Elevation;
3. The elevation PDF will be generated for printing at the location selected for Save.
For more information on printing on Mooble, click here.
