The technical detailing of the design can be carried out using several tools available on the Promob print page. To create the design's technical documentation:
IMPORTANT: it is not possible to print designs in the Trial version of Promob.
Access the print page and perform the following processes:
Detail images
To detail the design images:
1. Using the Text tool, identify the space;
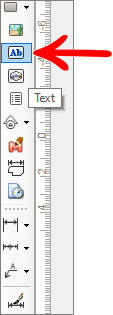
2. Insert the design's rendered images;
3. Create a footer to enter information about the design's space.
Detail modules
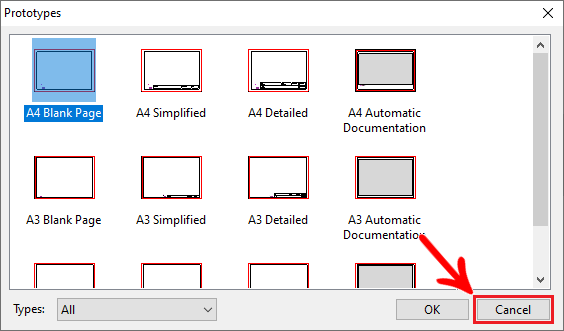
Create a new print page by clicking the New Page button. In the prototype selection window click Cancel to create a blank sheet.
To detail the design modules, generating the list of items and models:
1. Using the Text tool, identify the space;

2. Insert a viewport;
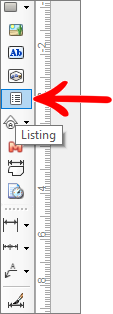
3. Use the Listing tool to set up and insert a list of design items;
4. Through the Models Informations tool, insert the list of models used in the design modules;
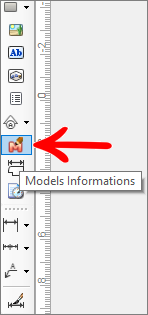
5. Create a footer to enter information about the design's space.
Detail dimensions
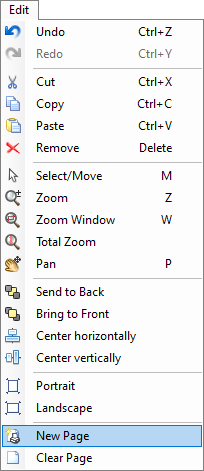
Create a new print page by clicking Edit - New Page. In the prototype selection window click Cancel to create a blank sheet.


To detail the dimensions of the modules:
1. Using the Text tool, identify the space;

2. Insert a viewport;
3. Using the dimensions tools, carry out the dimensioning of items in the space;
4. Create a footer to enter information about the design's space.
Save detail
1. Go to the print page and enter the viewports. Use one of the options below to send the design by email:
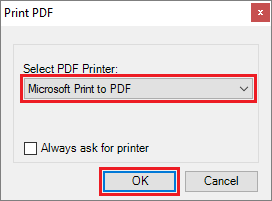
- Click on the File - Print PDF menu. Select the PDF printer, click OK and set a location to save the file;
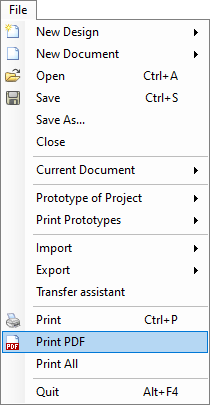
- To save the design detail as an image, click on the File - Export - Image menu or save the detailing options as print prototypes. Save the image in the desired directory;
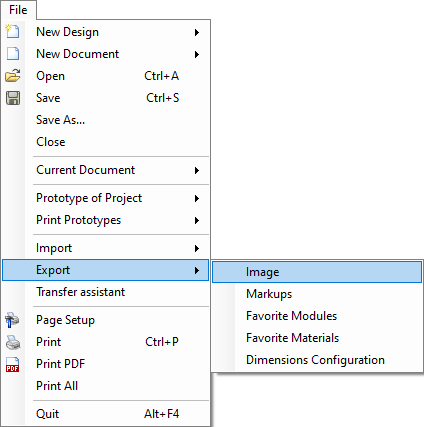
2. Send the file to the customer's email.
Print All
Through the Print All option, it is possible to select which documented pages we want to print and in which printing order. For that:
1. Go to File - Print All.
2. On the Print All screen, select which sheets you want to print, these are displayed with a green check icon, to finish click Print.
IMPORTANT: If you prefer to save the files in PDF format, click on Generate PDF.
3. To rearrange the print order, click on the desired sheet, hold down the left mouse button, drag the sheet to the order you wish to insert it and release the mouse button. As in the example below: