In this article, the following contents will be covered:
Automatically adjust floor limits
Only consider walls when adjusting floor limits
Floor Limits
After finishing the construction of the walls it is necessary to adjust the floor dimension. Promob has a tool for this.
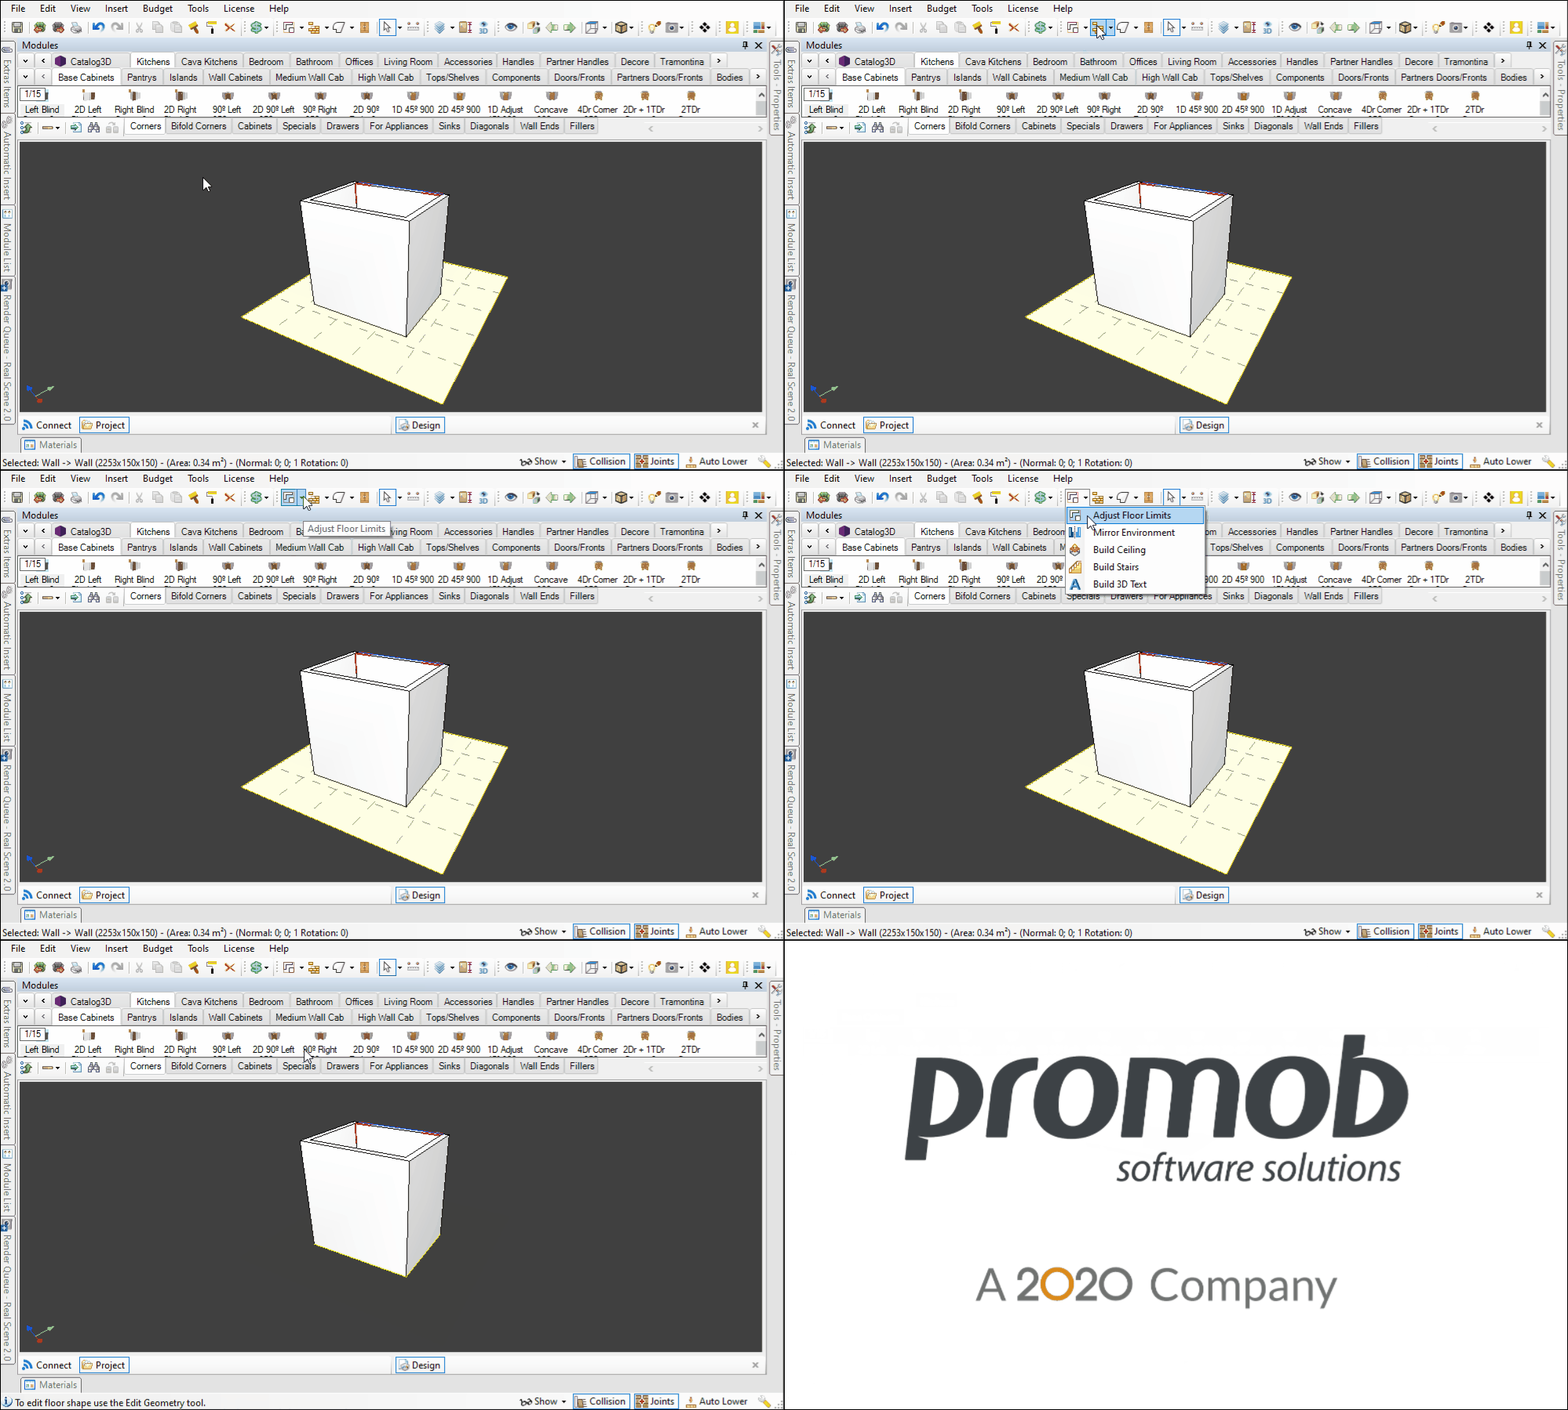
1. With the walls created, click Adjust Floor Limits in the upper toolbar.
2. The shape of the floor will automatically adjust itself according to the total size of the constructed walls.
As of Promob version 5.60.16.62, when you build the wall from the Wall Editor, and select the Floor Limit Adjustment, the floor are automatically adjusted according to the exact size of the wall construction, with no floor left over.
IMPORTANT: available only for walls built by the Wall Editor.
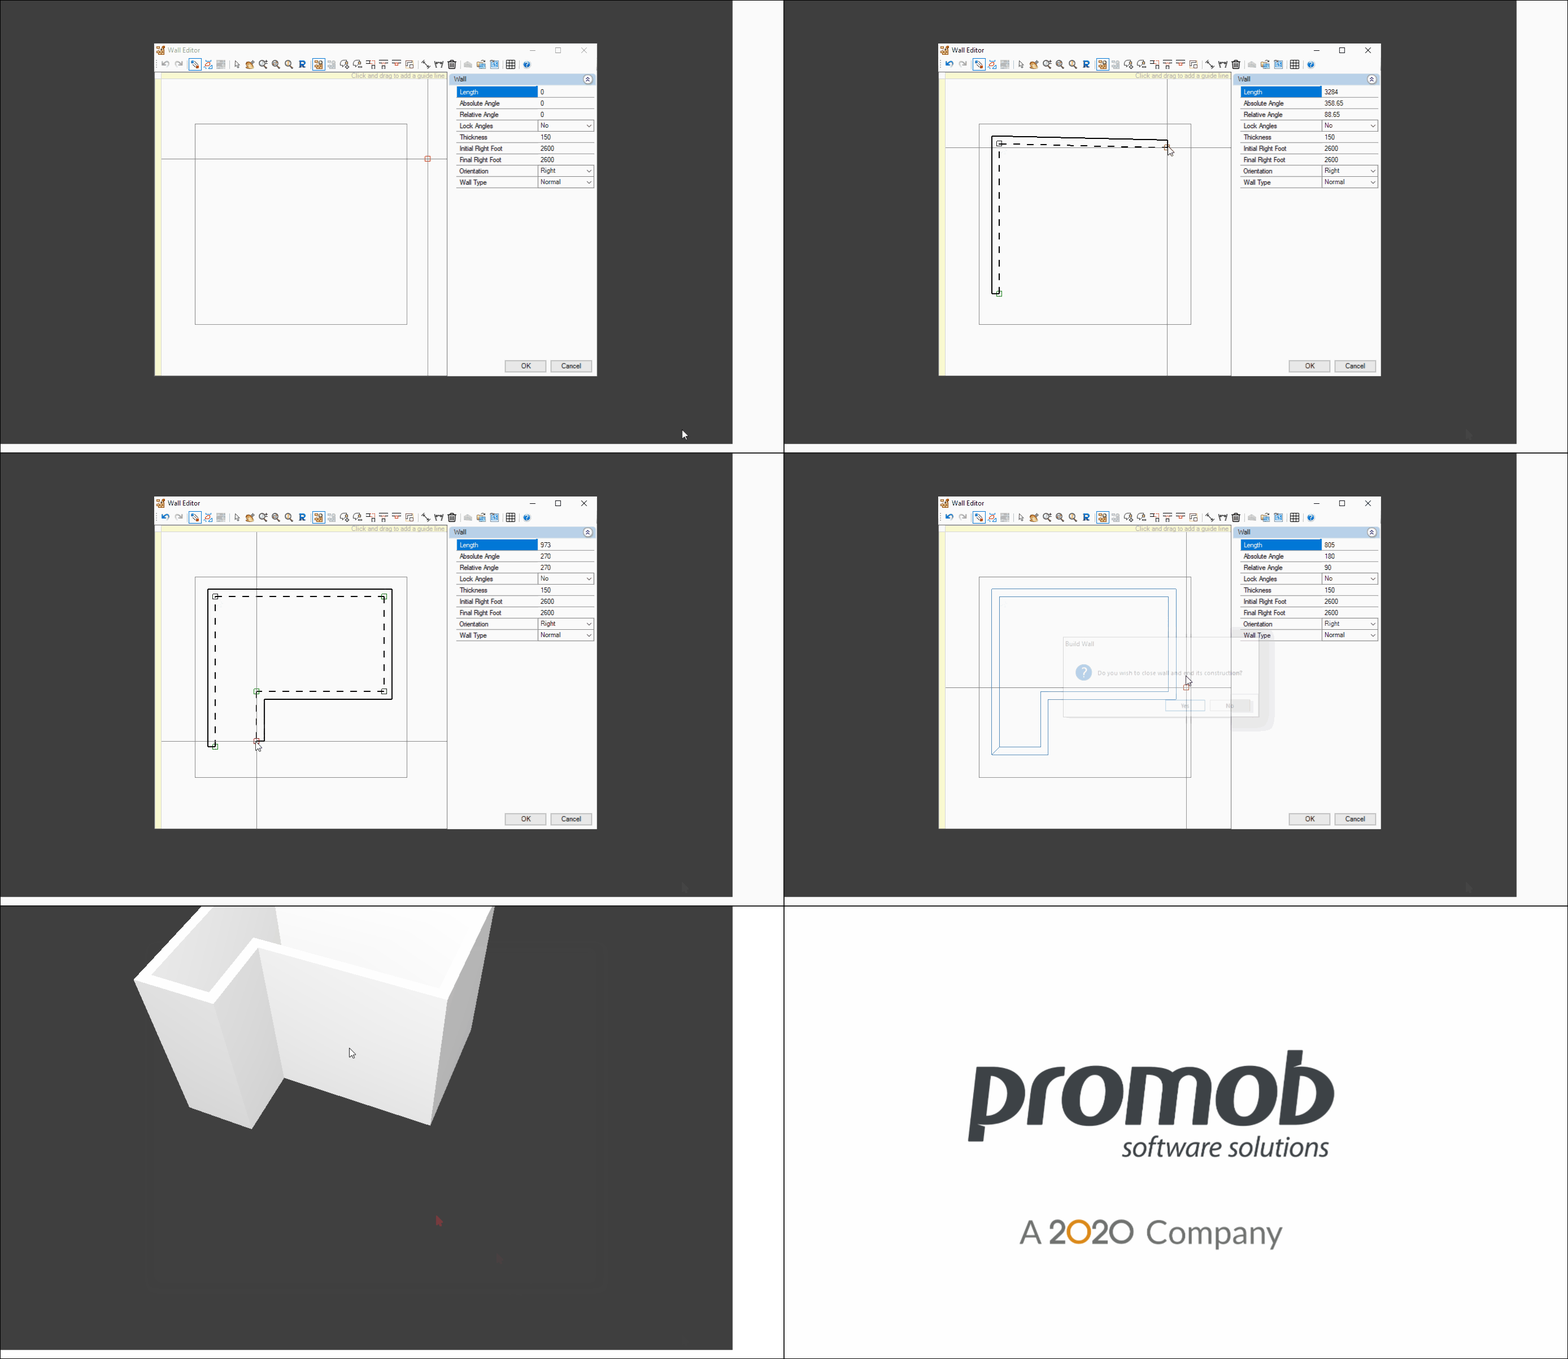
Automatically adjust floor limits
In order for the floor adjustment to be done automatically, it is possible to configure it through the Promob Preferences tab.
1. In the Preferences tab, access Environment - Construction of Walls;
2. Check the option Cut floor when finish;
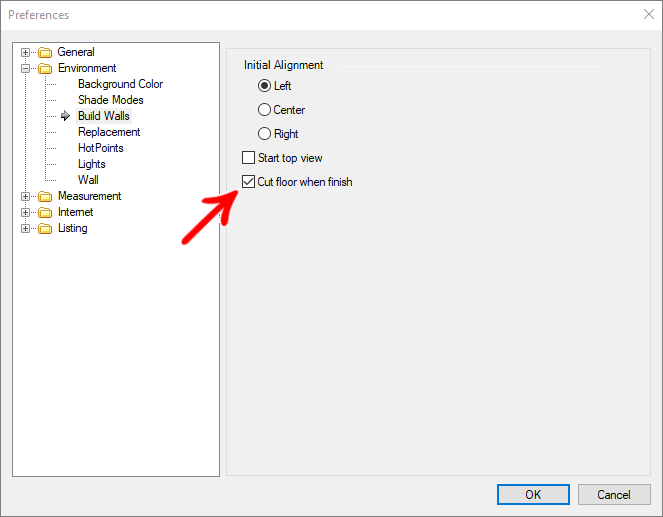
In this way, by keeping this option checked, when finishing the construction of a wall, through the Wall Editor, the floor automatically adjusts and follows the shape of the wall.
NOTES: By default, for Promob Maker, this option is checked.

When there are two or more walls, the floor adjusts to the ceilings:

Only consider walls when adjusting floor limits
In the adjustment of the floor, it is possible to define whether the limits of the floor will be considered in relation to the ends of the built walls, or if they will be considered in relation to the ends of all items that are outside the limits of the walls.
1. On the Preferences tab, access Environment - Floor;
2. Check or uncheck the option Consider only walls when adjusting floor limits;
3. The floor is adjusted as per selection;

Change floor format
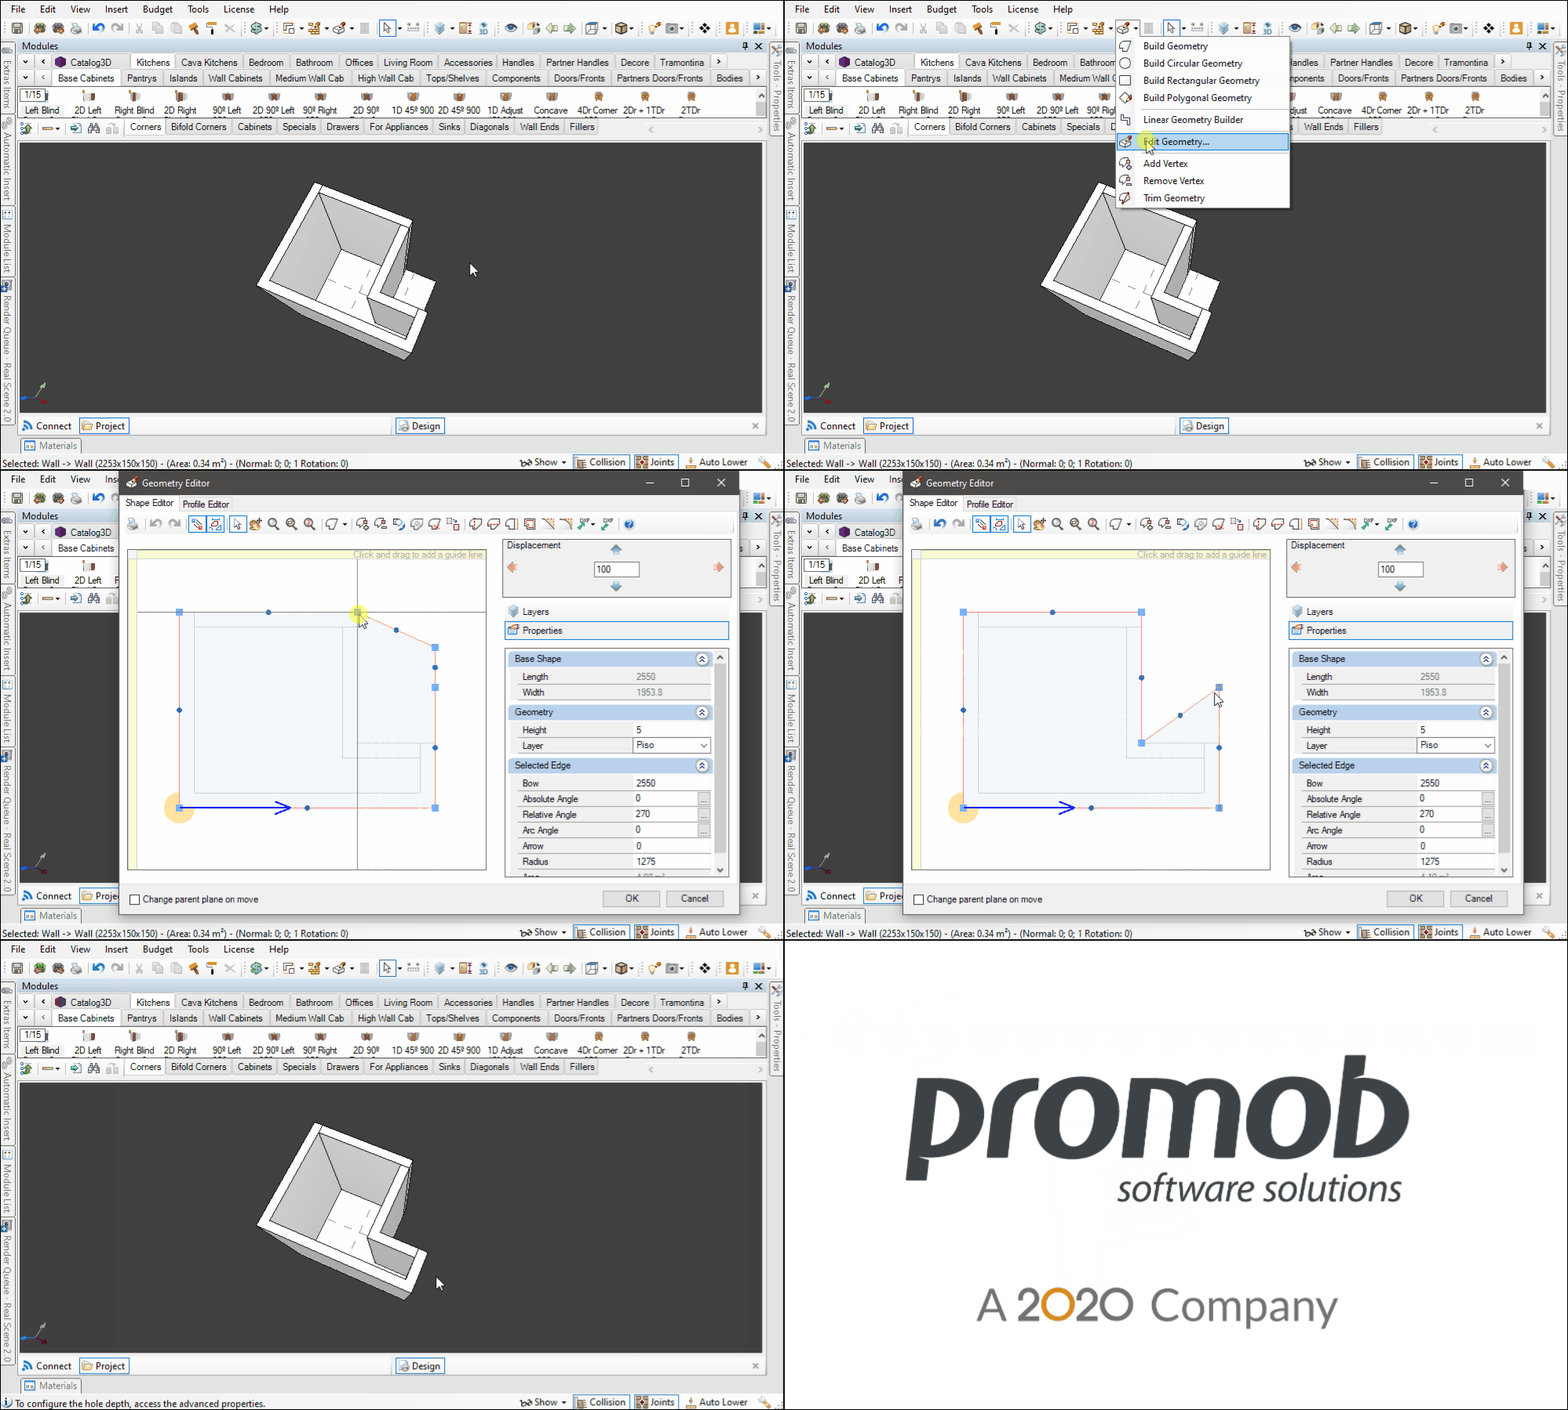
The floor will always adjust automatically using the Adjust Floor Limits tool. In some cases the walls have a different shape and the floor needs to be adjusted manually, for this:
1. Access the Geometry Editor and in the Geometry Editor add the required number of vertices and move them to the floor line to adjust it according to the walls;
2. Click OK to view the floor in the space.
Floor dimensions
Properties panel
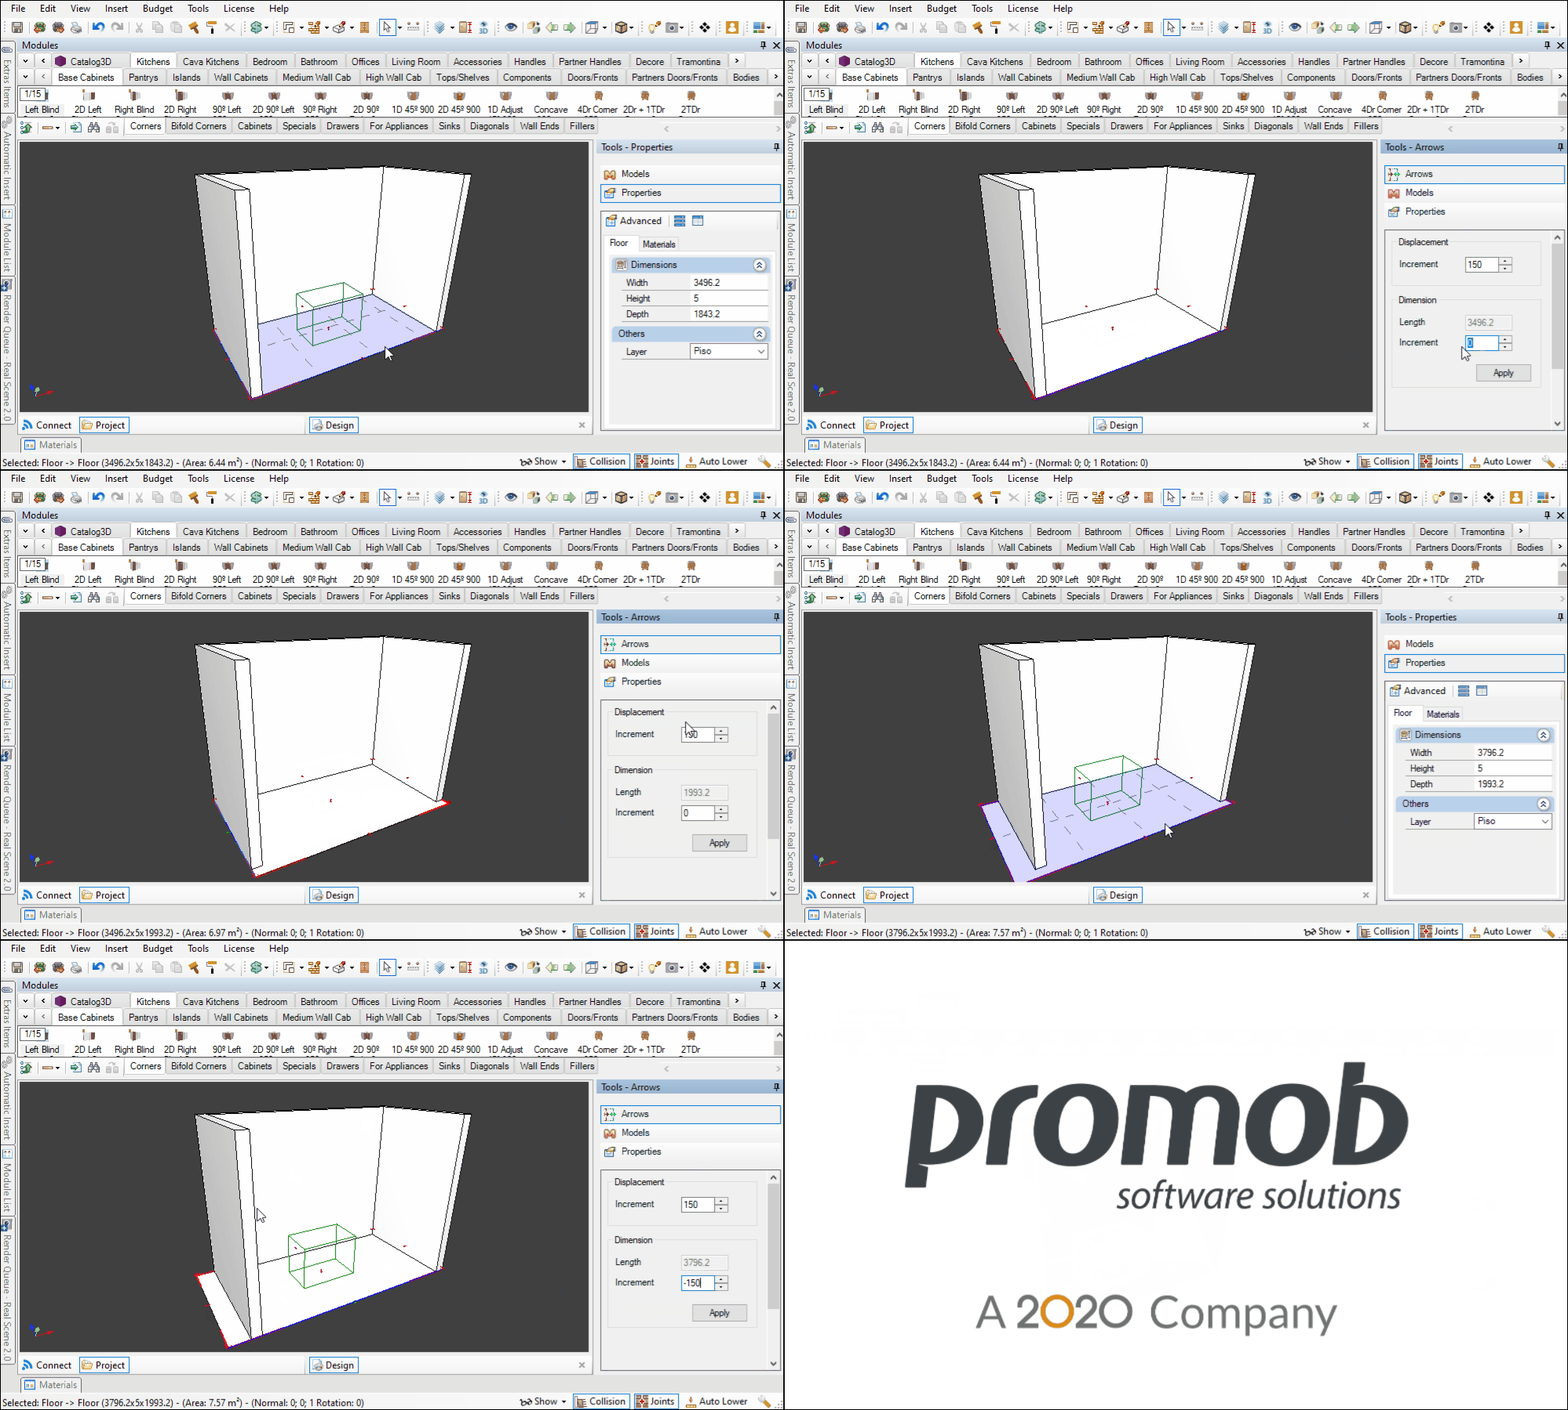
1. Select the floor and access the Tools Panel - Properties. Change the dimensions of the floor.

Resize arrows
1. When selecting the floor, note that red arrows are displayed at the ends. Select the arrow on the side that the floor will be increased or decreased.
2. When moved, the arrow turns green. Click on the arrow and drag it until you define the desired dimension.
3. To move the arrow precisely, select it and in the Tool Panel - Arrows, under Increment, enter the displacement value (positive or negative) of the selected arrow. Click Apply.
Create Standard Floor
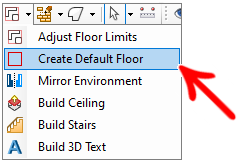
For situations where Automatic Floor Adjustment is enabled, or it is necessary to make or redo changes to the floor dimensions, you can use the Create Standard Floor tool. It disregards the created last floor and creates a floor with default dimensions, equal to those displayed in the new design (5000 x 5000 mm).
For that:
1. Access the Wall Editor;
2. Click on Create Standard Floor;


Edit floors's Grid
The floor of the room displays a grid, which is a dotted pattern with square areas, where the most intensely colored region corresponds to the floor.
To edit the floor rules:
1. Right-click on the floor and select the option Edit Floor Grid;

1. Group:
- Enabled:
- Yes: when an item is inserted into the 3D space, it will be drawn near the ruler;
- No: when an item is inserted into the 3D space, it will not be drawn close to the ruler;
- Gap: This property indicates how far from the ruler an item when inserted, will be attracted or not;
- Horizontal Interval and Vertical Interval: Defines the interval between the lines in the horizontal and vertical position. Note the intervals in the 3D space;
2. Object: displays floor width and height set in the Tools Panel - 3D Environment Properties;
