In Mooble Design, using the Revest page, it is possible to create different layouts for floors and walls in Default, Background, and Borders modes.
Find out how to use this feature below!
How to create Background pagination?
To create background pagination, follow the procedures below:
1. Locate the Materials menu on the left side;
2. Select one of the materials and drag it to space (floor, wall, or ceiling).
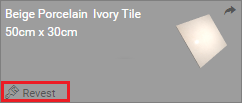
- It will only be possible to use materials that are indicated with the Revest word;
3. On the open screen, select the Background option;
4. On the open screen, you can configure the following settings:
Type of application: in this field we define the type of pagination that will be used;
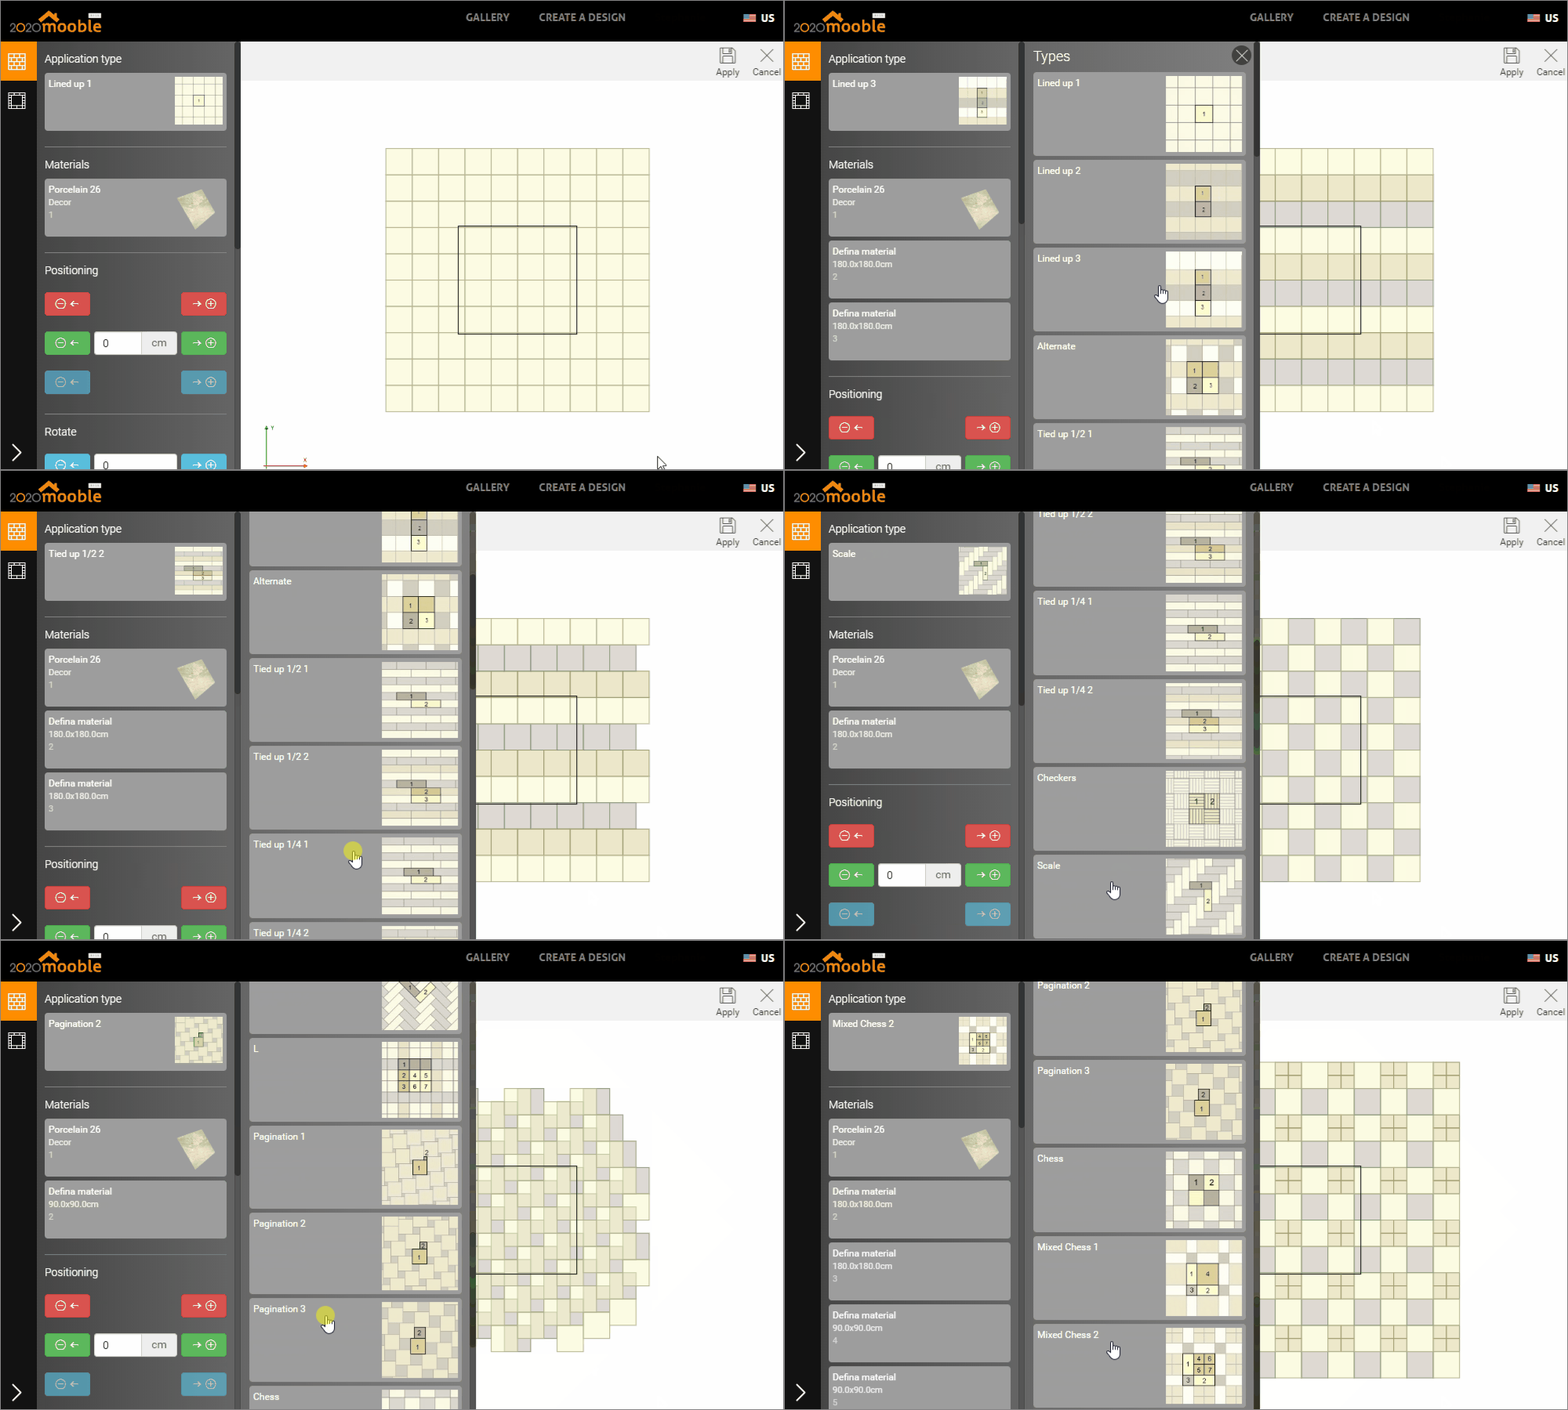
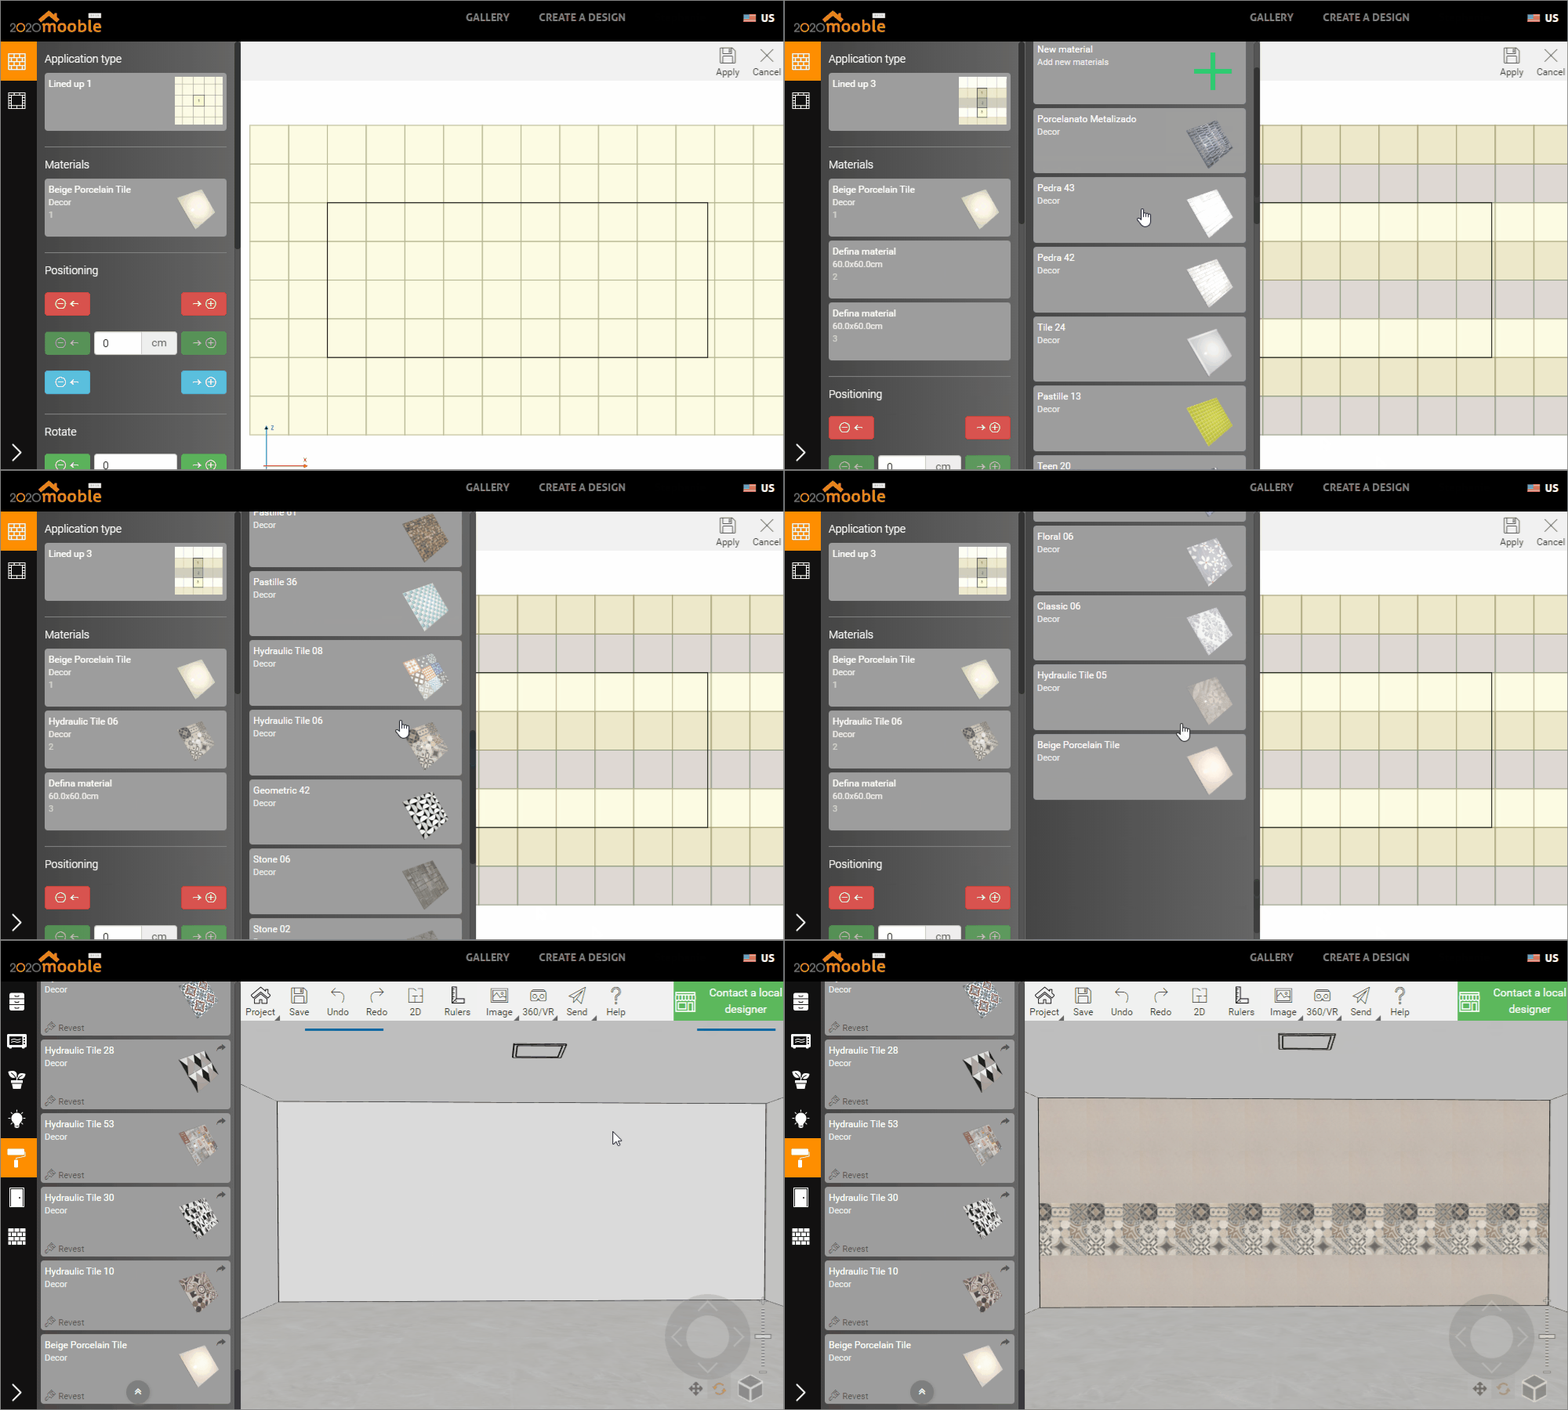
Materials: here, we can change the chosen material or, if we have selected an application with more than one type of material, we can define the other finishes that will be part of the pagination;
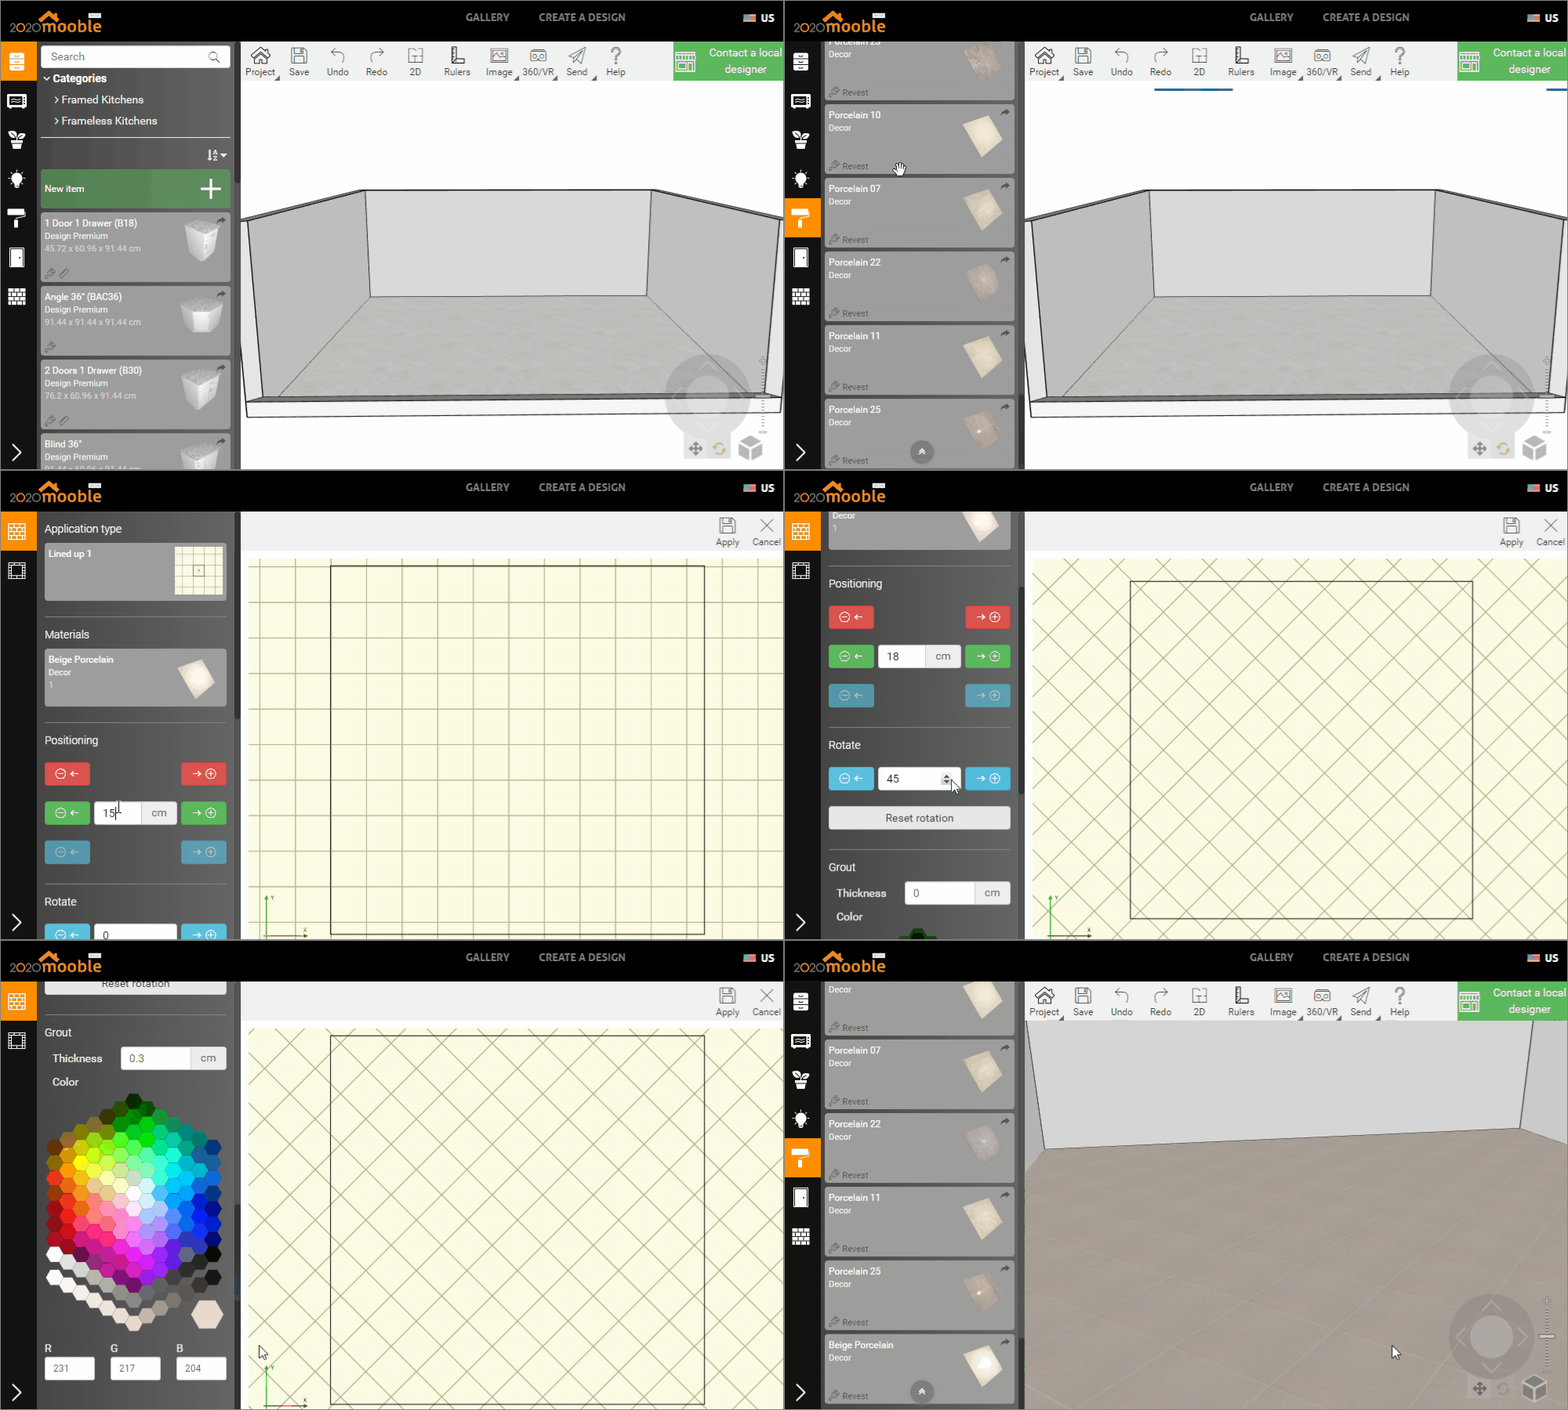
Positioning: the positioning of the pieces can be carried out by moving the piece in the space, thus being able to define the beginning of the pagination, or even, informing a value in the enabled field and using the arrows to move the pieces;
Rotate: we use this field to rotate the parts that will be inserted in the space. For this, inform the degree of rotation and clicking on the arrows, and the pieces will be rotated;
Grout: here we can define the thickness and color of the grout that will be applied in the pagination.
How to create Border pagination?
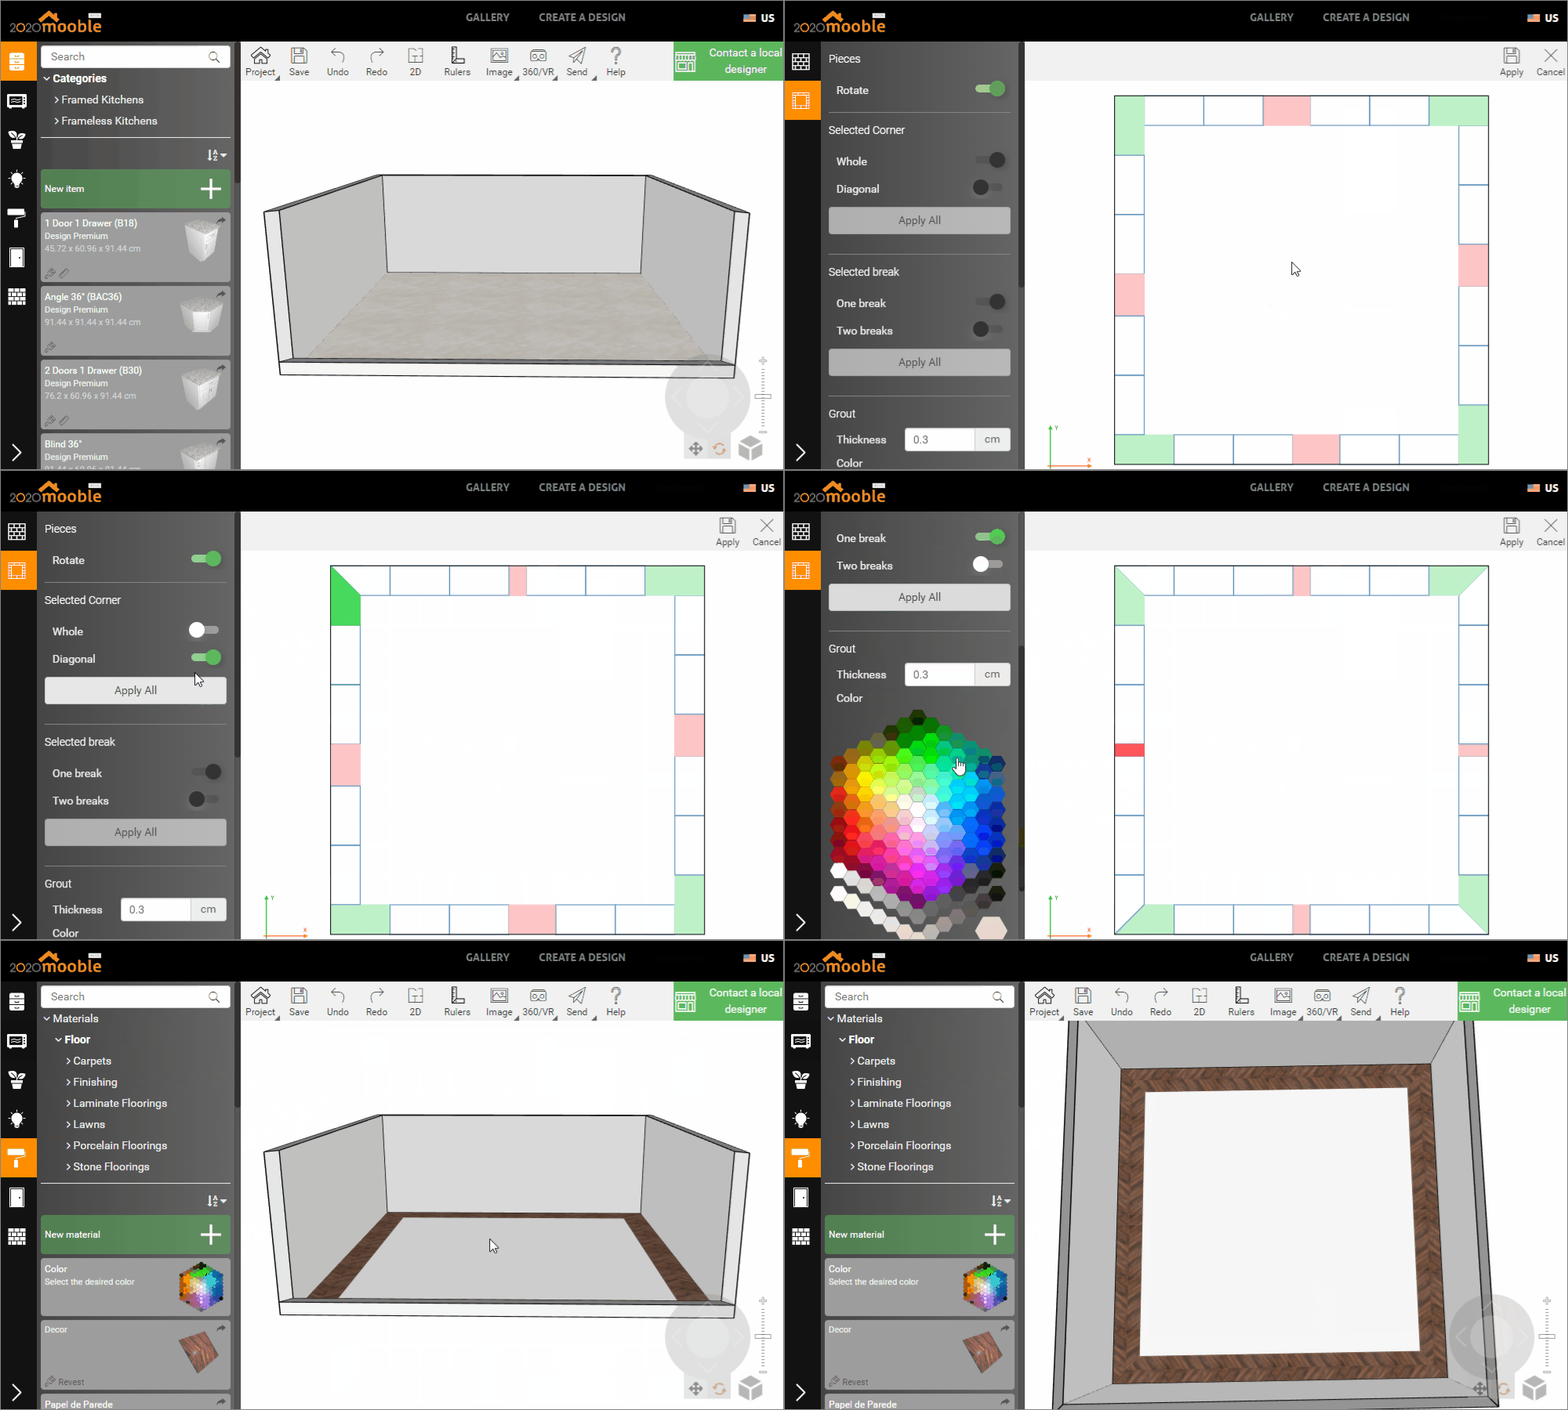
To create a tray, follow the procedures below:
1. Locate the Materials menu on the left side;
2. Select one of the materials and drag it to the space (floor, wall or ceiling);
3. On the open screen, select the Tabeira option;
4. In the tab settings, define:
Parts: whether the parts will be rotated or not;
Corner: whether the corner will be whole or diagonal. Select one of the corners and check the desired option. By clicking Apply to all, all four corners will receive the change made;
Selected break: if the board will have a single break in the center, or two breaks, on the sides of the corner. To do this, simply select a break and select the desired option. By clicking Apply to all, all four corners will receive the change made;
Grout: the thickness and color of the grout that will be applied to the layout.
How to add material?
In addition to creating pagination, in Mooble Revest you can create your own coatings library. To add new material to the list, just follow the procedures below:
1. Locate the Materials menu on the left side;
2. Click New material;
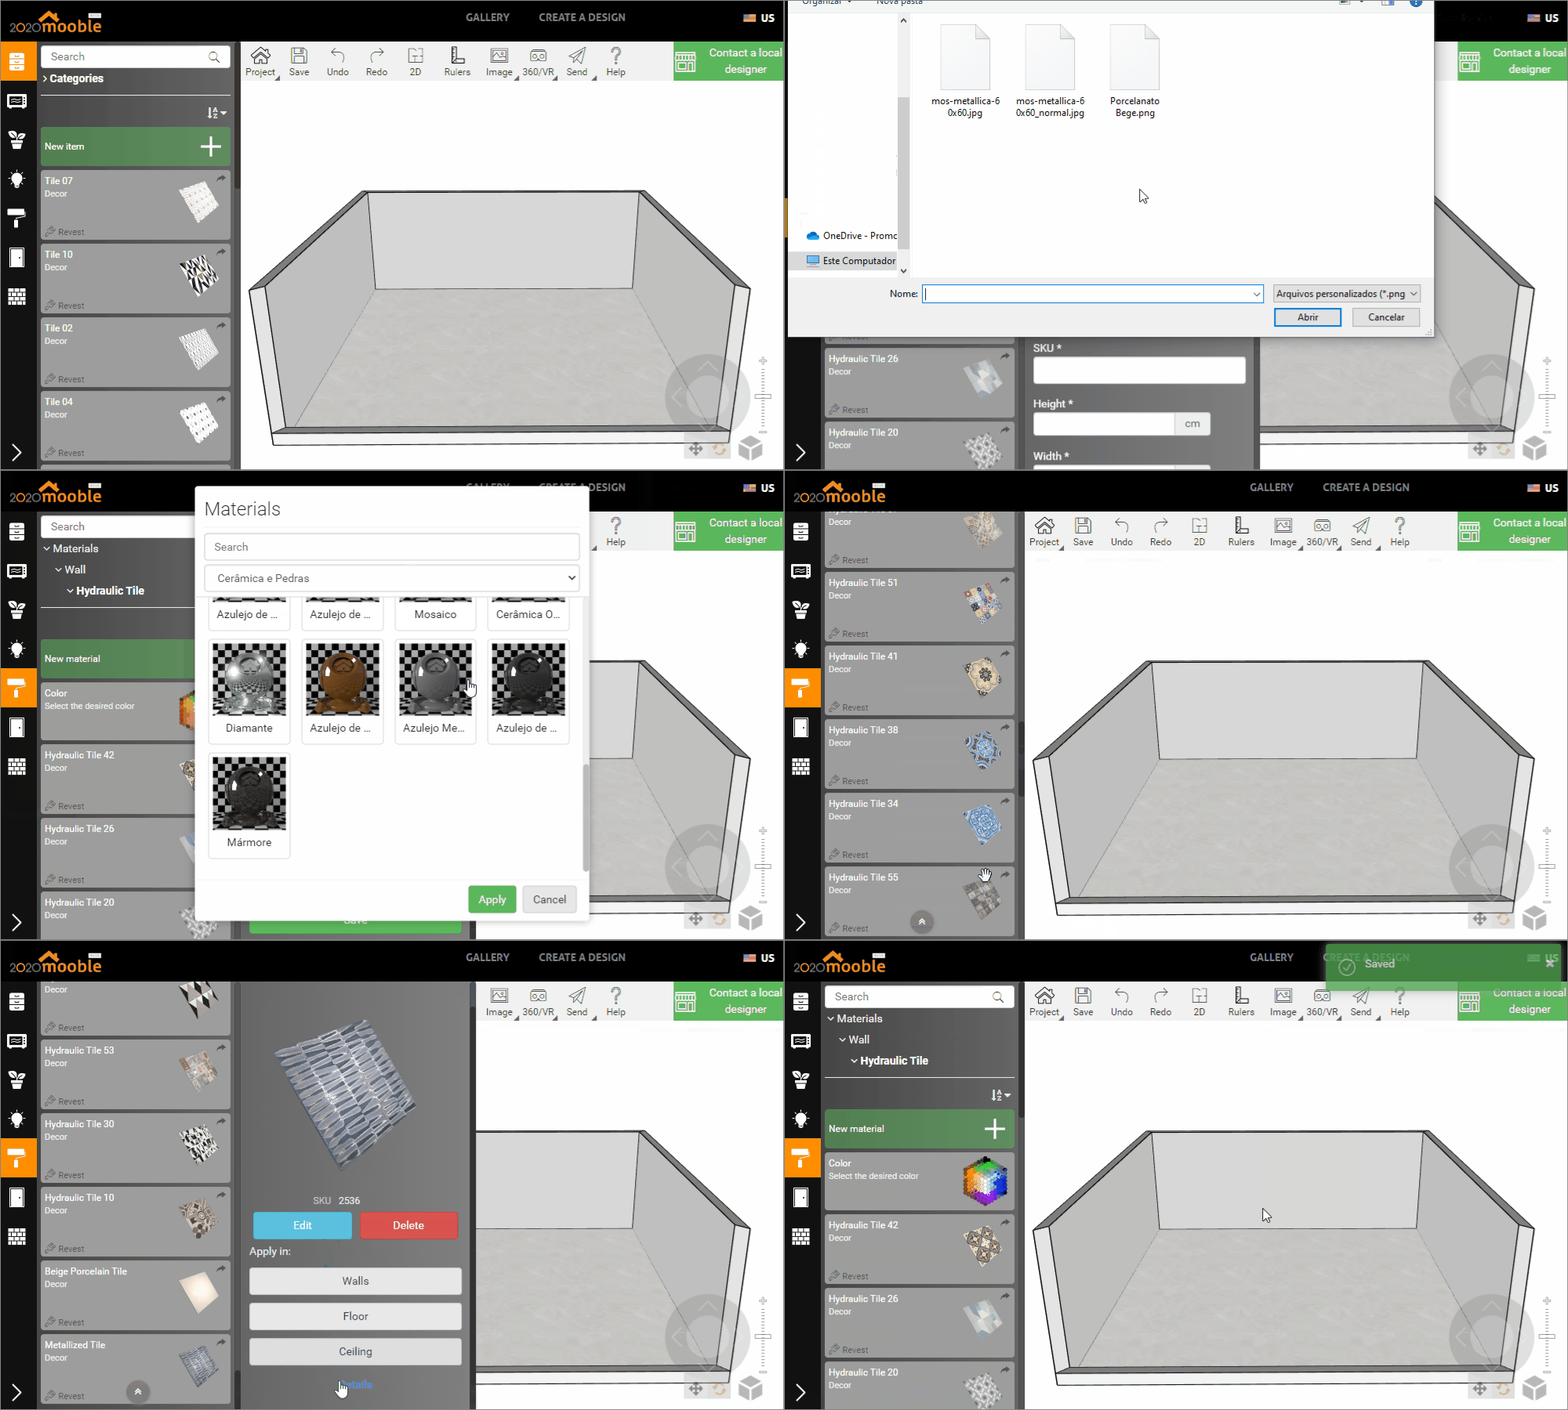
3. The open screen will display three types of texture to be imported. Insert the image by clicking on the icon  and select the image file.
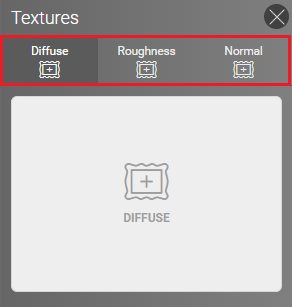
- Diffuse: it is the texture with the colors of the material (image of the texture). This file is mandatory for the import of the material to occur;
- Roughness: is the 3D texture containing the roughness intensity in the texture's R (red) factor, that is, in which regions of the image will be more or less rough. This file is optional;
- Normal: is the 3D texture to simulate the relief of the material. This file is optional;
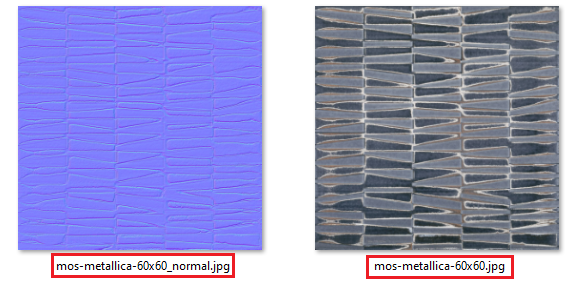
IMPORTANT: When using the Normal texture, the file must be in the same format and the same name, with the same description as the name of the imported Diffuse file, plus the _normal information.
EXAMPLE:
4. Below, we must inform the name, reference, height and width.
5. To define the finish of the material, that is, what will be presented in the rendering, select a preset;
6. To categorize the material, it is possible to define whether it is made of walls or floors;
7. Then, click Save.
8. To edit or remove the material, simply locate it in the library where it was saved and select the material. This will enable the Edit or Remove options
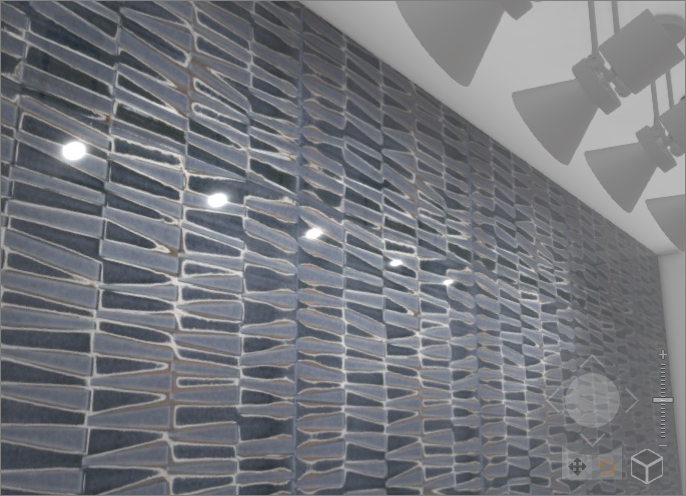
With Normal 3D textured material and preset Azulejo de Cerâmica Escura:
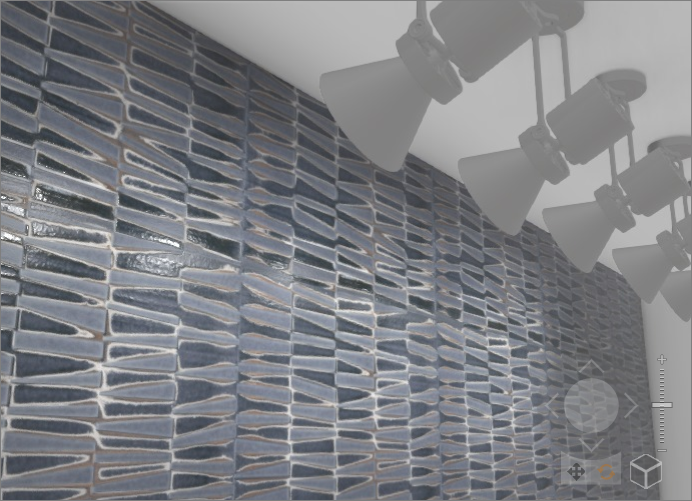
Non-textured material in 3D Normal and preset Azulejo de Cerâmica Escura:
IMPORTANT:
- The material will be available only to this user;
- The material will be saved in the Materials tab;
- It is possible to import only images with the extension: * .image, * .png and * .jpg.
How to generate Revest budget?
To generate a budget for coatings, only items that have the information Revest and which have a brand and supplier will be budgeted.
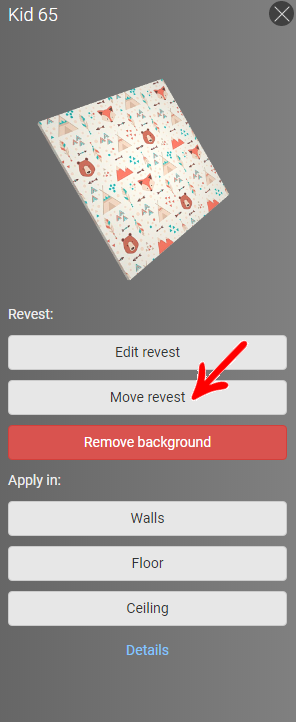
Move Revest
The Move Revest feature allows the user to move the Revest paging in the 3D or 2D space.
IMPORTANT: this functionality is only available to subscribing users.
Use
1. Select the desired wall that has material applied.
2. On the Mooble side panel, the materials that are applied to the wall will be listed.
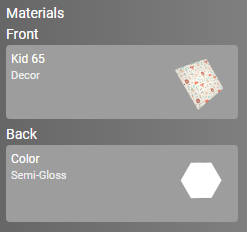
3. Click on the desired material of Revest, and select the option Move Revest.
4. Enter the distance to be covered, and select the direction of movement.
IMPORTANT: The user can use the arrow keys to move the material, each click will move 1 cm.
