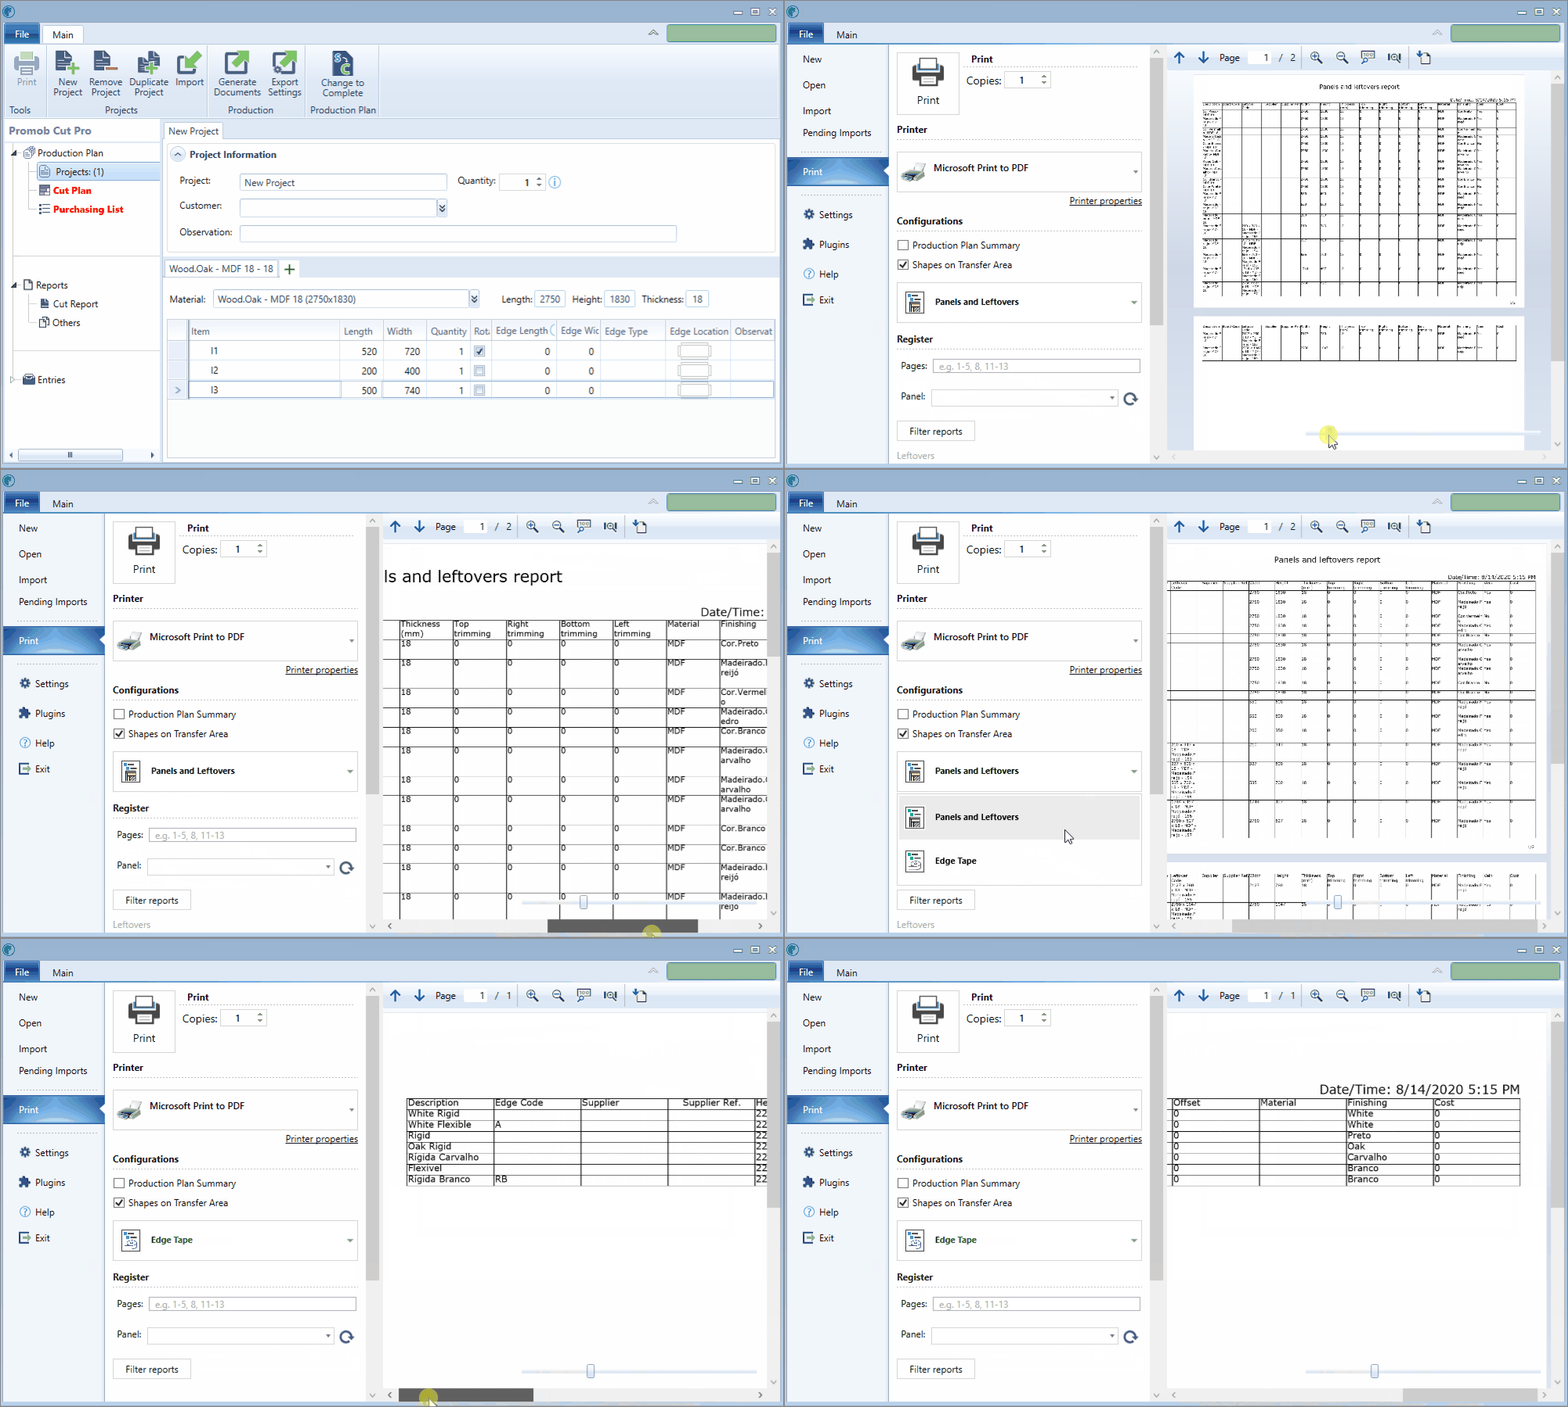
From the Main menu of Promob Cut Pro, it is possible to access the Production Plan information for the modules.
Which Cut Pro configuration do you use?
Select the configuration used below and directly access the ideal content to help you.
Cut Pro Complete configuration.
Cut Pro Simplified configuration.
Review Cut Pro's Complete configuration and Simplified configuration here.
Also, review the documentation regarding the project changes. Click here.
Complete Configuration
To directly access your question, click below on one of the contents of the Complete configuration.
|
|
|
When opening a project, the main Promob Cut Pro interface will be displayed:
Edit buttons
- At the top of the window are located the edit buttons for the project and items;

- It makes it possible to print the Cut Plan, Purschasing List, Reports and Labels;
- Click on the icon, choose the desired print, make the necessary settings and click Print.
- Click here for more information on the print page.
New Item

- Adds a new item to the Project, Purschasing List and to the registration of plates and edges;
- Click on the New Item button and in the displayed white line, register the requested information.
Remove Item

- Removes an item from the project, from the purchasing list and from the plate and edge register.
- Select the line of the module you want to remove from the project and then click the Remove Item button;
- You can delete items by pressing the Delete key.
Duplicate Item

- Duplicates an item from the project and from the purchasing list and from the plate and edge register.
- Select the line of the item you want to duplicate and then click Duplicate Item;
New Child

- Adds a new child to the selected item in the project;
- Select a project item and click on New Child;
- In the blank line displayed, fill in the requested information.
Revert Item

- Undo changes made to the project item;
- Select the line of the item to which you want to undo the changes and click Revert Item.
New Project

- Adds an empty project to the production plan;
- Select the New Project option and register the requested information about the project and the modules.
Remove Project

- Excludes a project from the manufacturing plan;
- Click on the tab of the project you want to remove and click on the Remove Project option;
Duplicate Project

- Duplicates one or more projects within Cut Pro
- Duplicating projects does not mean that the copied project will be added to the same production plan;
- To add the project to the same Production Plan, it is necessary to Import;
Import

- Imports one or more projects for the same manufacturing plan;
- After importing the projects through the File - Import menu, click on the Import option to add one or more projects to the same manufacturing plan.
Production Plan Buttons
- The buttons for the production plan are also located at the top;
IMPORTANT: The Production Plan buttons are only available in Cut Pro and not in Cut.
Generate Documents

- Generates technical documentation of the production plan, such as shopping list, information on the cutting plan and files for integration with machines and other cutting optimizers.
- Click the Generate Documents option;
- In the Documentation column, select the checkbox for the documentation you want to generate;
- In File name for cut manager and Default directory, define the name of the default directory and name of the file to be generated;
- In Location, choose the folder (directory) where the documentation will be generated;
- In Export Settings, configure the cut manager plugin, according to its specifications. Search for plugin configuration information on the page suporte.promob.com
- Click here for more information.
Export Settings

- Export Settings shortcut;
- Enabled only when a machine integration plugin is active (cut manager);
- It allows configuring the plugin of the cut managers used.
- Each plugin has a different configuration, so find the configuration information for the plugin used in Promob's knowledge base, suporte.promob.com
Production Plan
- A Production Plan is composed of one or more projects, the Cut Plan and the Purchasing List;
Projects
- In the Projects option, it is possible to plan the production of different projects, not necessarily from the same client, which will be manufactured/cut together.
- In this way, it is possible to optimize the manufacturing cost through better use of raw materials;
- For more information on the possibilities for changes to projects, click here.
Cut Plan
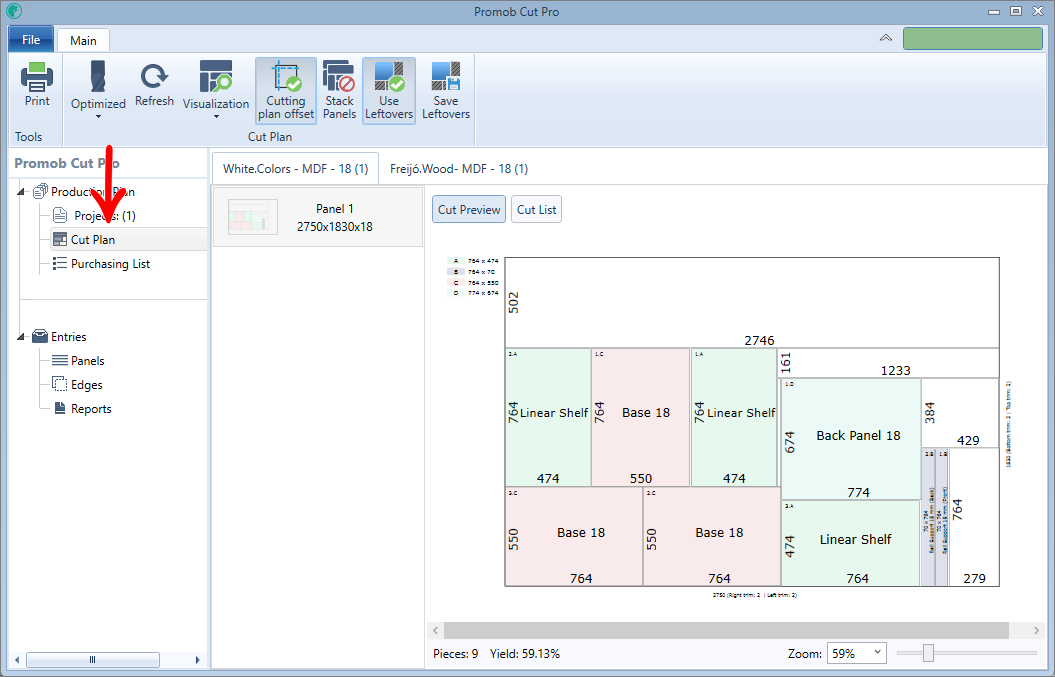
- This option processes the items of the projects, generating the plates necessary for manufacturing with the layout of the cuts.
- To use the Cut Plan, click here for more information.
Purchasing List
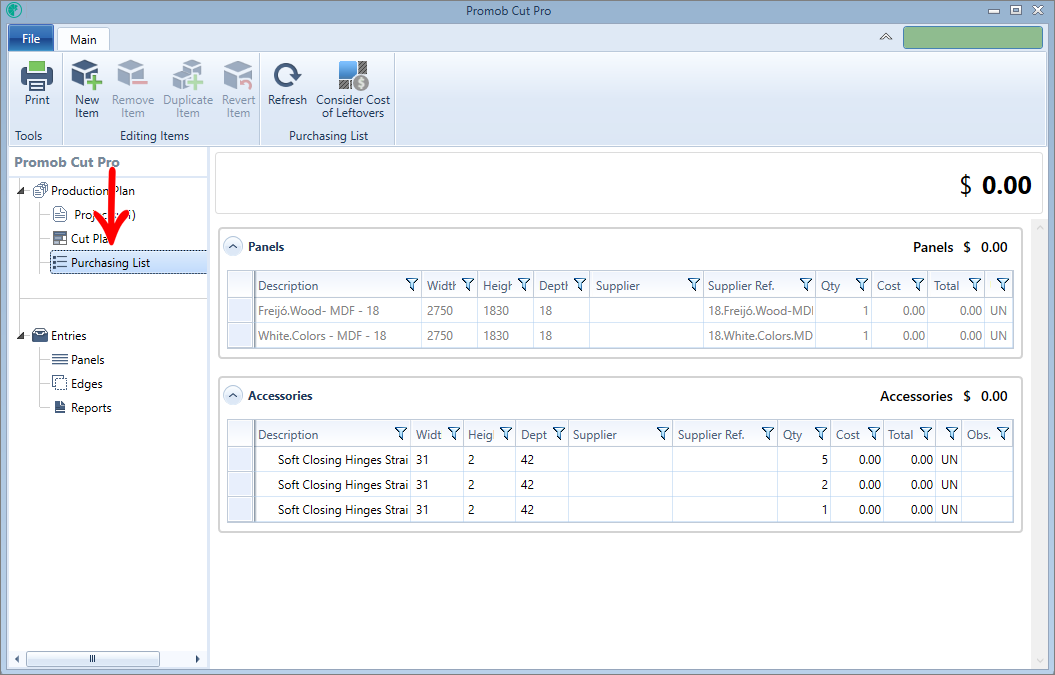
- In the Purchasing List option, the list of items that will be necessary for the manufacture of the project (s) in question is presented.
Entries
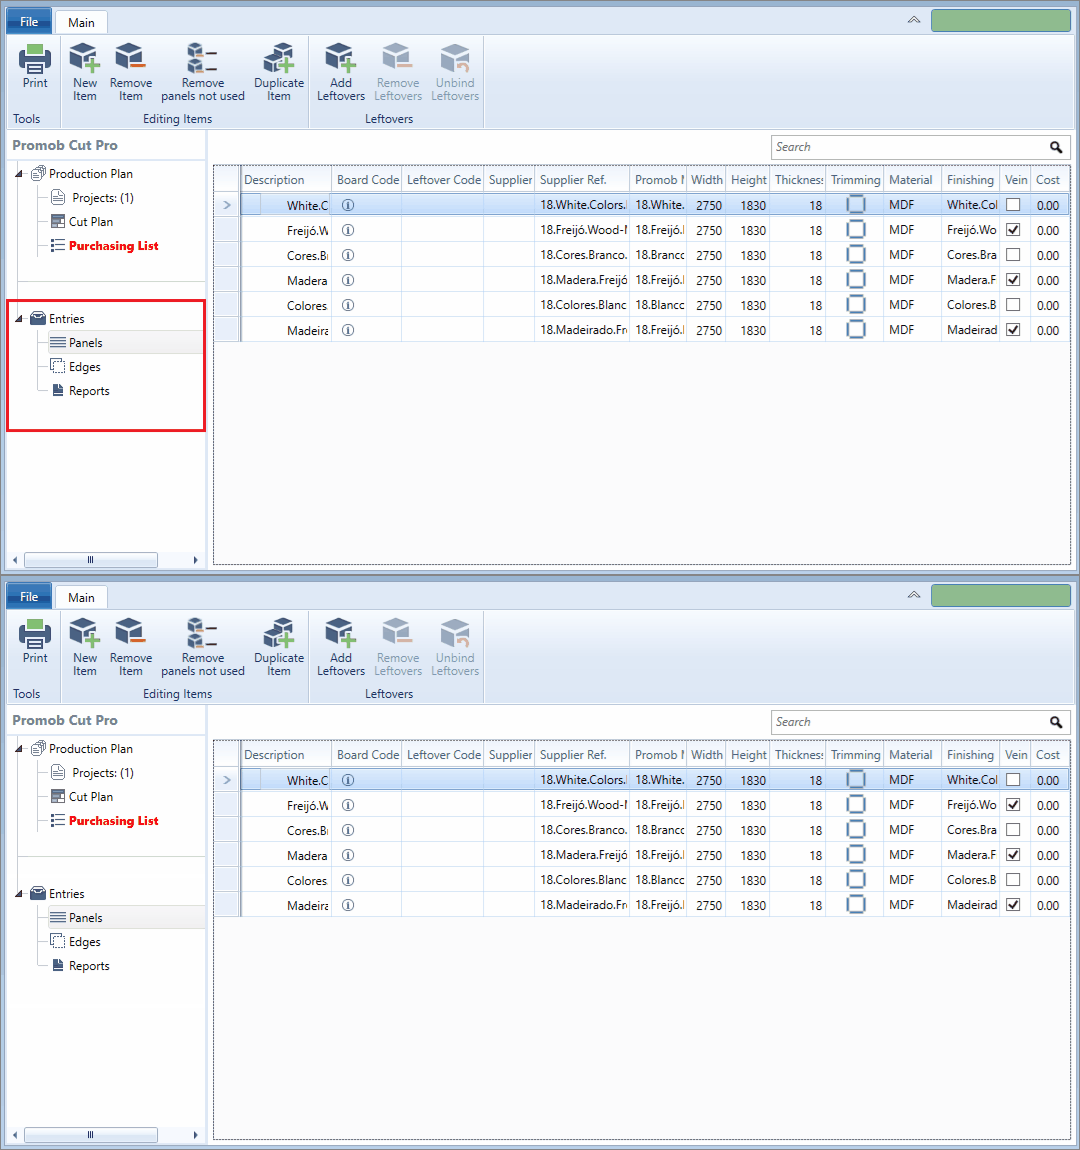
Plates
- This option allows the inclusion of new plates that are used in the execution of the items' Production Plan;
- Click here to know more about the registration of plates.
Edges
- This option allows you to register edges band that will be used in the execution of the Production Plan;
- Click here to learn more about border registration.
Reports
- Shortcut for printing plates, leftovers and edge band reports;
- Clicking on this option will load the print page;
- Just select which report you want to print, make the necessary settings and click Print;
Search Field
- The search field helps to search for specific item (s).
- You can enter text or a numeric value. The items that the search field accepts are:
Revised and not revised: by typing one of these terms it is possible to filter which items are marked as revised and which items are not;
Horizontal and vertical: typing one of these terms it is possible to filter the items that have raw material marked as vertical or horizontal;
Numeric value: by typing 15, for example, items that have raw material with a thickness of 15mm will be filtered;
Text: by typing White, for example, items that have white raw material will be filtered.
Simplified Configuration
To directly access your question, click below on one of the contents of the Simplified configuration.
|
|
|
When opening a project, the main Promob Cut Pro interface will be displayed:
Items Register
Insert New Item
- To insert an item, you must first define the material from which the item will be manufactured. For this, the material must already be registered. Check below in the subtitle Entries;
- Then, register the necessary information, such as the item name, dimensions, border application, etc;
- To add a new item, press the Tab key or the Right Arrow on your keyboard until a new blank line is available.
- The new item inserted will always look for the reference to the last registered item.
- We can see in the example below when the option Rotate and apply edge band is unchecked, the next item is already inserted with the option Rotate unchecked, and when the edge band field is filled, when pressing Tab the type of edge band is automatically registered for the same type of edge band selected in the previous item.
Remove Item
- To remove the item, select the item's line and press the Delete key on the keyboard.
Edit buttons
- At the top of the window are located the edit buttons for the project and items;

- It makes it possible to print the Cut Plan, Purschasing List, Reports and Labels;
- Click on the icon, choose the desired print, make the necessary settings and click Print.
- Click here for more information on the print page.
New Project

- Adds an empty project to the production plan;
- Select the New Project option and register the requested information about the project and the modules.
Remove Project

- Excludes a project from the manufacturing plan;
- Click on the tab of the project you want to remove and click on the Remove Project option;
Duplicate Project

- Duplicates one or more projects within Cut Pro
- Duplicating projects does not mean that the copied project will be added to the same production plan;
- To add the project to the same Production Plan, it is necessary to Import;
Import

- Imports one or more projects for the same manufacturing plan;
- After importing the projects through the File - Import menu, click on the Import option to add one or more projects to the same manufacturing plan.
Production Plan Buttons
- The buttons for the production plan are also located at the top;
IMPORTANT: The Production Plan buttons are only available in Cut Pro and not in Cut.
Generate Documents

- Generates technical documentation of the production plan, such as shopping list, information on the cutting plan and files for integration with machines and other cutting optimizers.
- Click the Generate Documents option;
- In the Documentation column, select the checkbox for the documentation you want to generate;
- In File name for cut manager and Default directory, define the name of the default directory and name of the file to be generated;
- In Location, choose the folder (directory) where the documentation will be generated;
- In Export Settings, configure the cut manager plugin, according to its specifications. Search for plugin configuration information on the page suporte.promob.com
- Click here for more information.
Export Settings

- Export Settings shortcut;
- Enabled only when a machine integration plugin is active (cut manager);
- It allows configuring the plugin of the cut managers used.
- Each plugin has a different configuration, so find the configuration information for the plugin used in Promob's knowledge base, suporte.promob.com
Production Plan
- A Production Plan is composed of one or more projects, the Cut Plan and the Purchasing List;
Projects
- In the Projects option, it is possible to plan the production of different projects, not necessarily from the same client, which will be manufactured/cut together.
- In this way, it is possible to optimize the manufacturing cost through better use of raw materials;
- For more information on the possibilities for changes to projects, click here.
Cut Plan

- This option processes the items of the projects, generating the plates necessary for manufacturing with the layout of the cuts.
- To use the Cut Plan, click here for more information.
Purchasing List

- In the Purchasing List option, the list of items that will be necessary for the manufacture of the project (s) in question is presented.
Reports
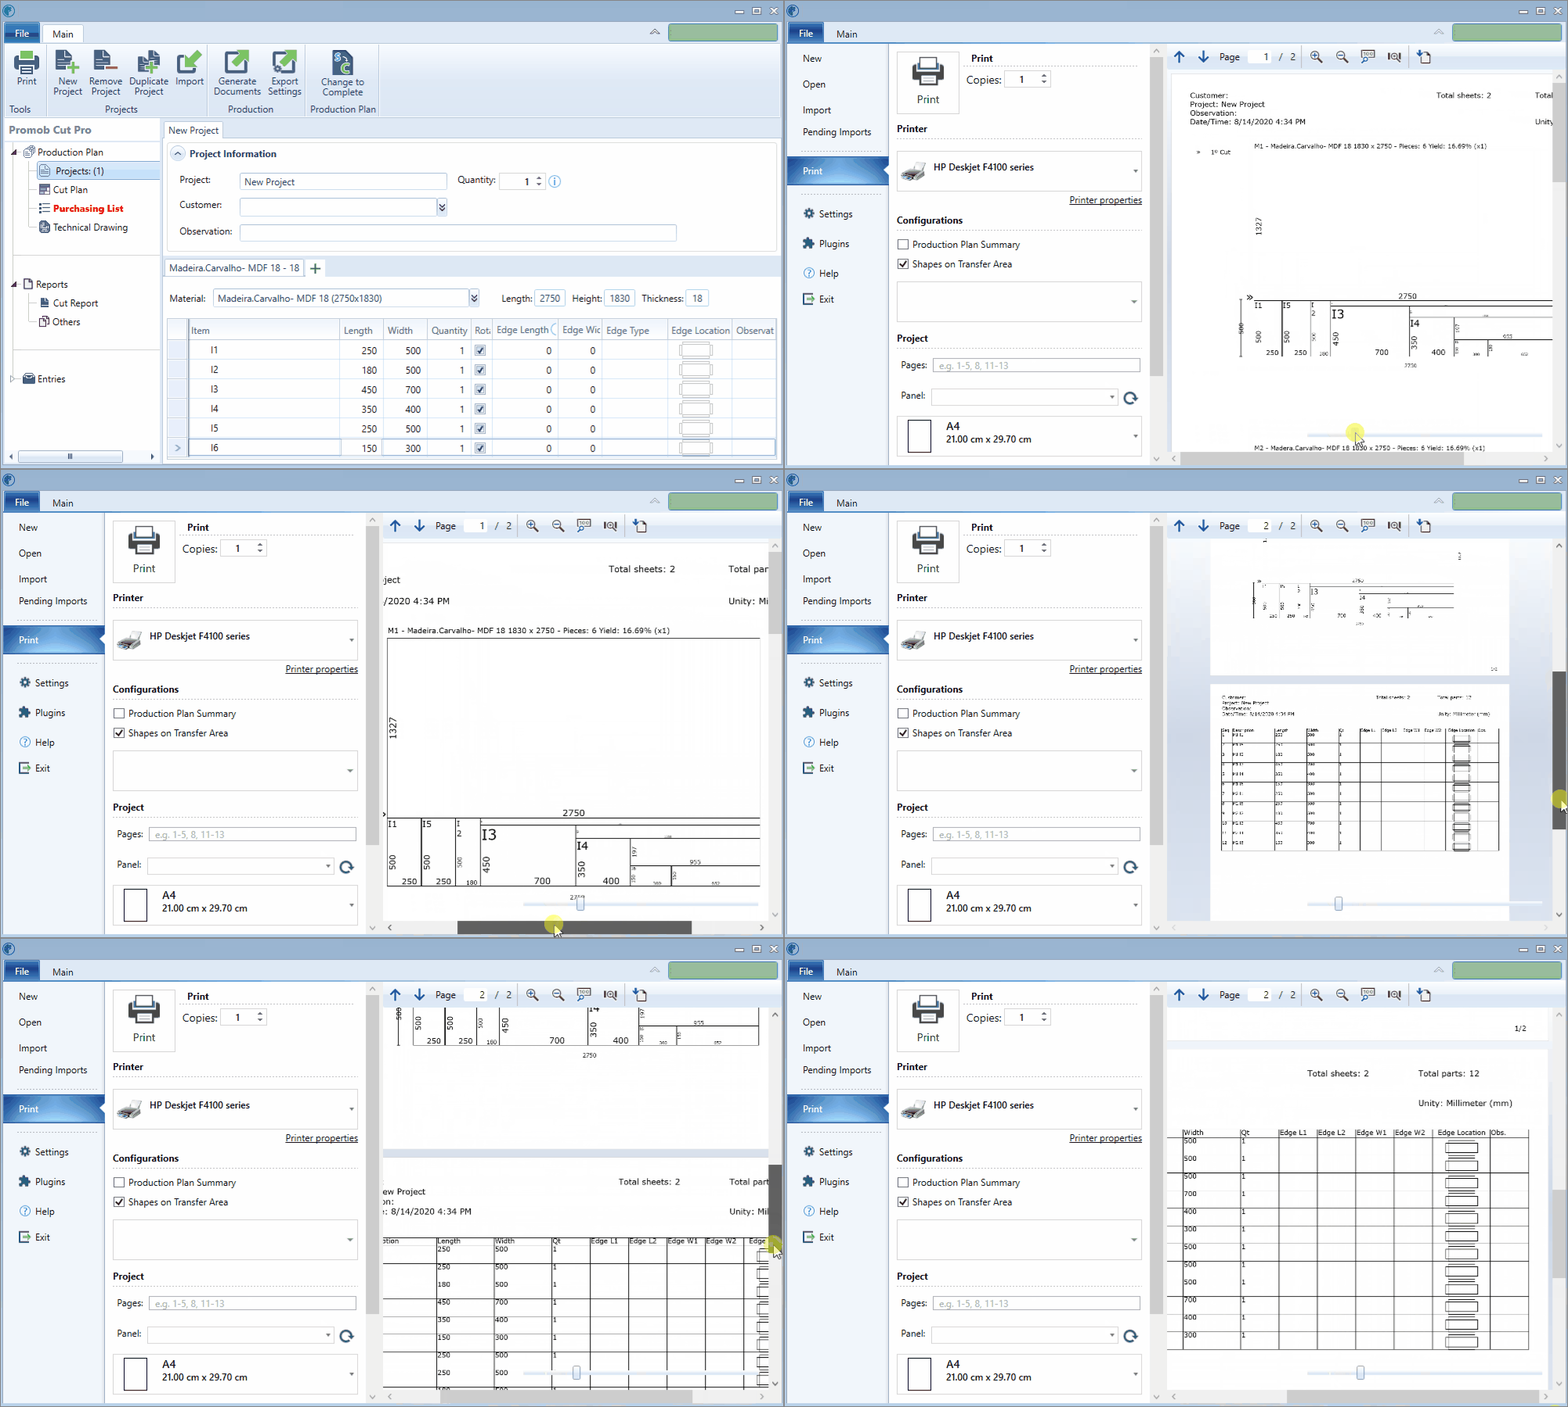
Cut Report
- Shortcut for printing;
- Clicking on this option will load the print page with the Cut Preview and the Cut List;
Others
- Shortcut for printing Plates and Leftovers and Edge Band reports;
- Clicking on this option, the print page will be loaded, then just select one of the types of printing, Plates and leftovers or Edge Band;
Entries
Plates
- This option allows the inclusion of new plates that are used in the execution of the items' Production Plan;
- Click here to know more about the registration of plates.
Edges
- This option allows you to register edges band that will be used in the execution of the Production Plan;
- Click here to learn more about border registration.
Search Field
- The search field helps to search for specific item (s).
- You can enter text or a numeric value. The items that the search field accepts are:
Numeric value: by typing 15, for example, items that have raw material with a thickness of 15mm will be filtered;
Text: by typing White, for example, items that have white raw material will be filtered.
