Available for products
Cut
Cut Pro
Which Cut Pro configuration do you use?
Improvement available from version:
- Cut Pro: 1.2.4.4
Complete Configuration
When a Promob project is sent to Cut Pro, the information will automatically be sent to Cut Pro in Complete mode. When the position of the edge band of the parts in the imported project has already been configured through the Dimension Configurator, the position of these edges will already be imported and can be edited in the Cut Pro's edge band register.
Simplified Configuration
In Cut Pro's Simplified mode, the edge band information must be registered, or edit the information imported from a project that was loaded in Complete mode, where you will need to activate the entry of these edge band to Simplified mode.
Review Cut Pro's Complete configuration and Simplified configuration here.
Edge Band Register
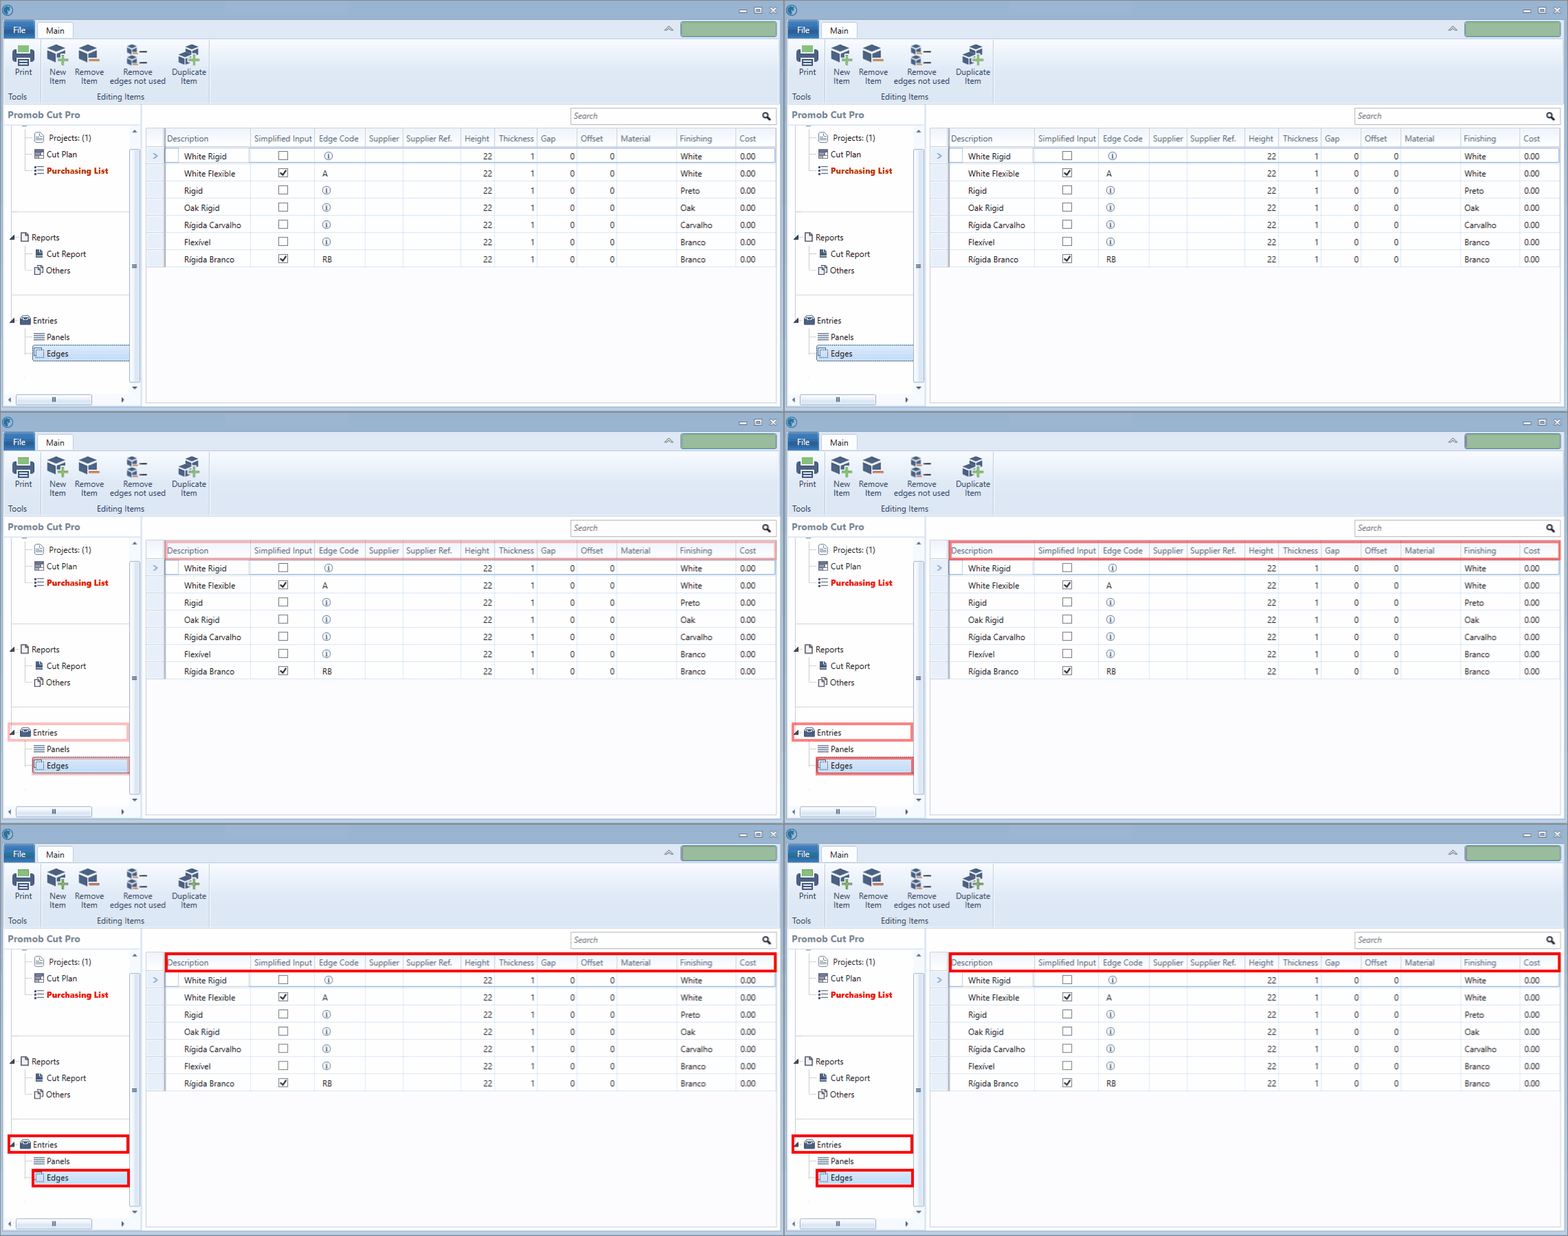
To access the edge band register, click on Entries, on the left side, and then on Edge.
Check below the information present in the two modes, Simplified and Complete, to perform the border registration:

Description: Define an edge band name. This information will be used to better identify the edge and may be based on the edge model, such as flexible T-edge, or rigid edge;
Simplified Entry:
- Indicate through this box, if the edge band register will be recognized or not, in Simplified mode;
- If unchecked, the edge band will only be available in Complete mode;
- By keeping checked, the edge band registration will require the Edge Code, which will need to be displayed in the Edge Type column when bordering items.
Edge Code: field to fill in an edge reference code. In simplified mode, this information is mandatory;
Supplier: name of the edge supplier;
Supplier Reference: edge reference according to the supplier;
Height:
- Set the height of the edge in this field;
- This value must take into account the thickness of the plate;
- We suggest registering 4 mm more of the thickness of the plate to later trim the edge, for a better finish. Example: 15 mm plates, 19 mm edge height;
Thickness: the thickness of the edge;
Leftover: indicates the gap used at the edge of the edge band during application. Influence on edge quantification;
Overcut:
- Indicate the value that will be discounted from the size of the piece in the cutting plane, to be added the value of the thickness of the edge band;
- If you do not use the overcut, the total dimensions of the pieces will be greater due to the application of the edge band, as the thickness of the edge band will be added to the value of the part;
Material: edge raw material (PVC, ABS, for example);
Finish: edge finish (white, yellow, for example);
Cost: edge band cost value.
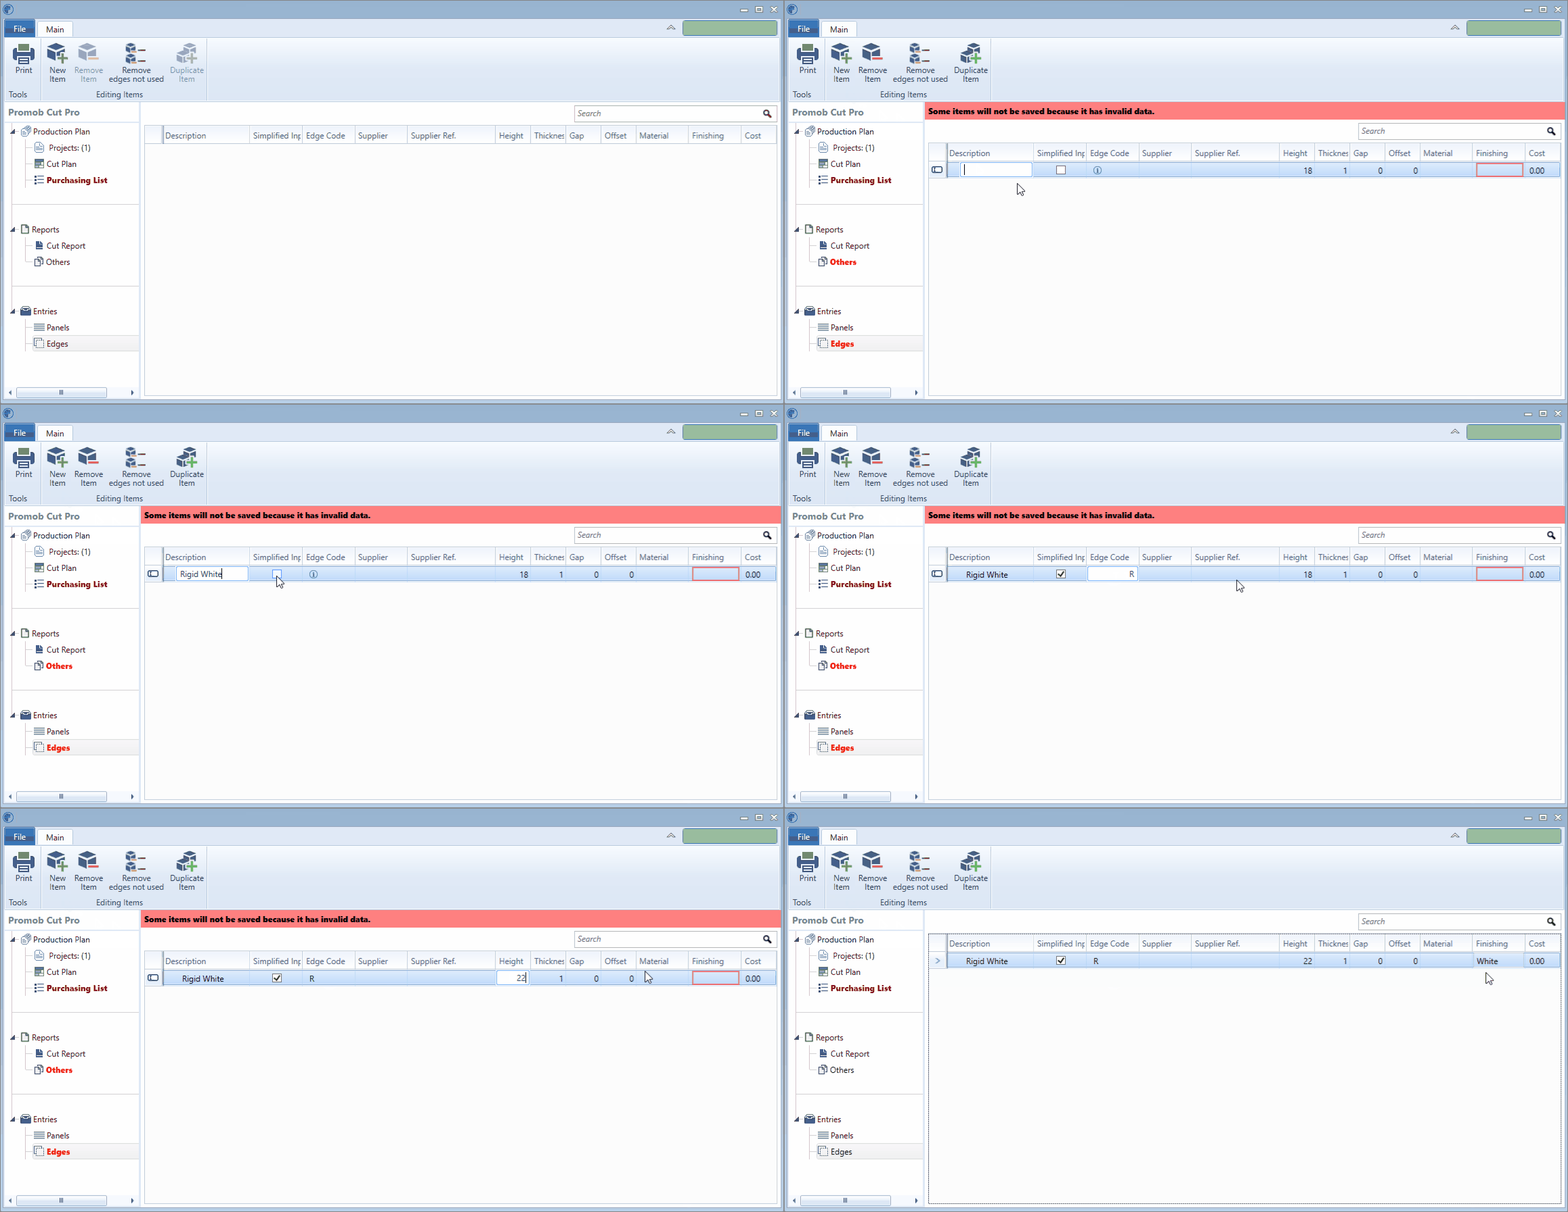
To register the edge band
1. Click the New Item button; 

- In the blank line displayed at the end of the table, register the information;

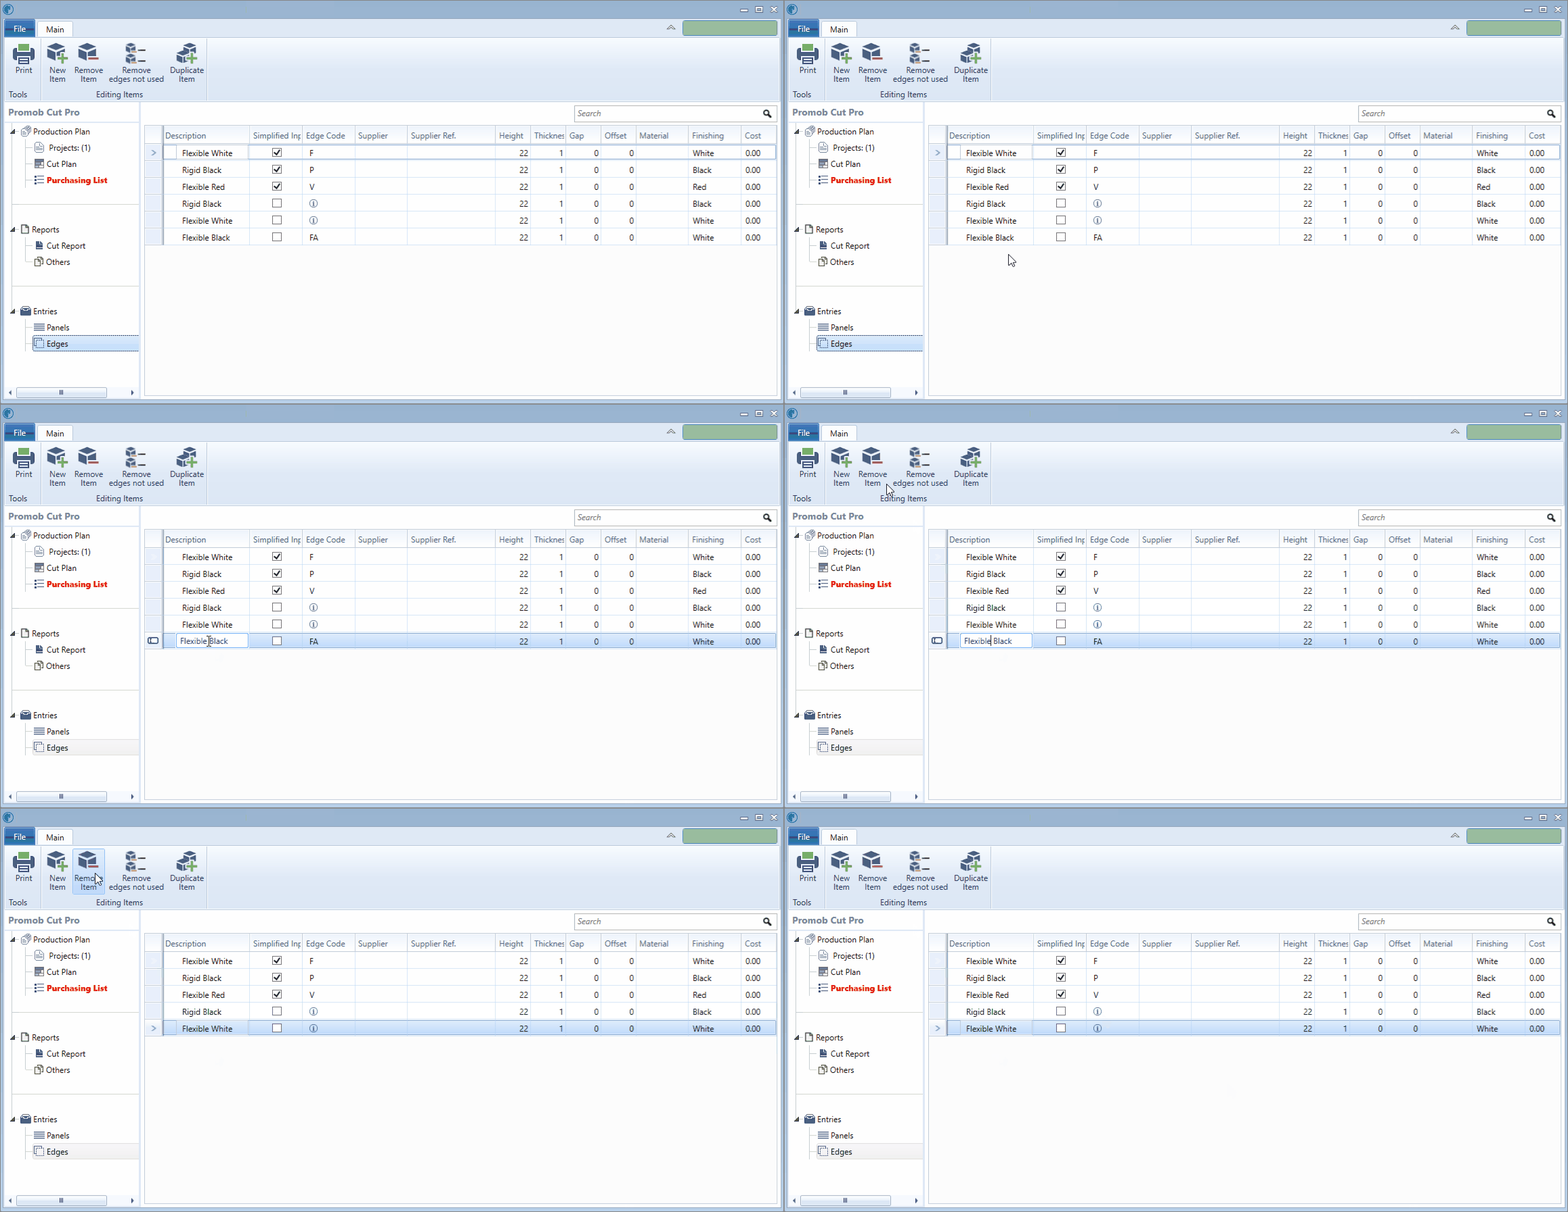
To remove the edge band
1. Select the table row for the edge band you want to remove;
2. Click the Remove Item button; 

3. Click Remove edges not used when you want to remove an unused edge band in any project. 


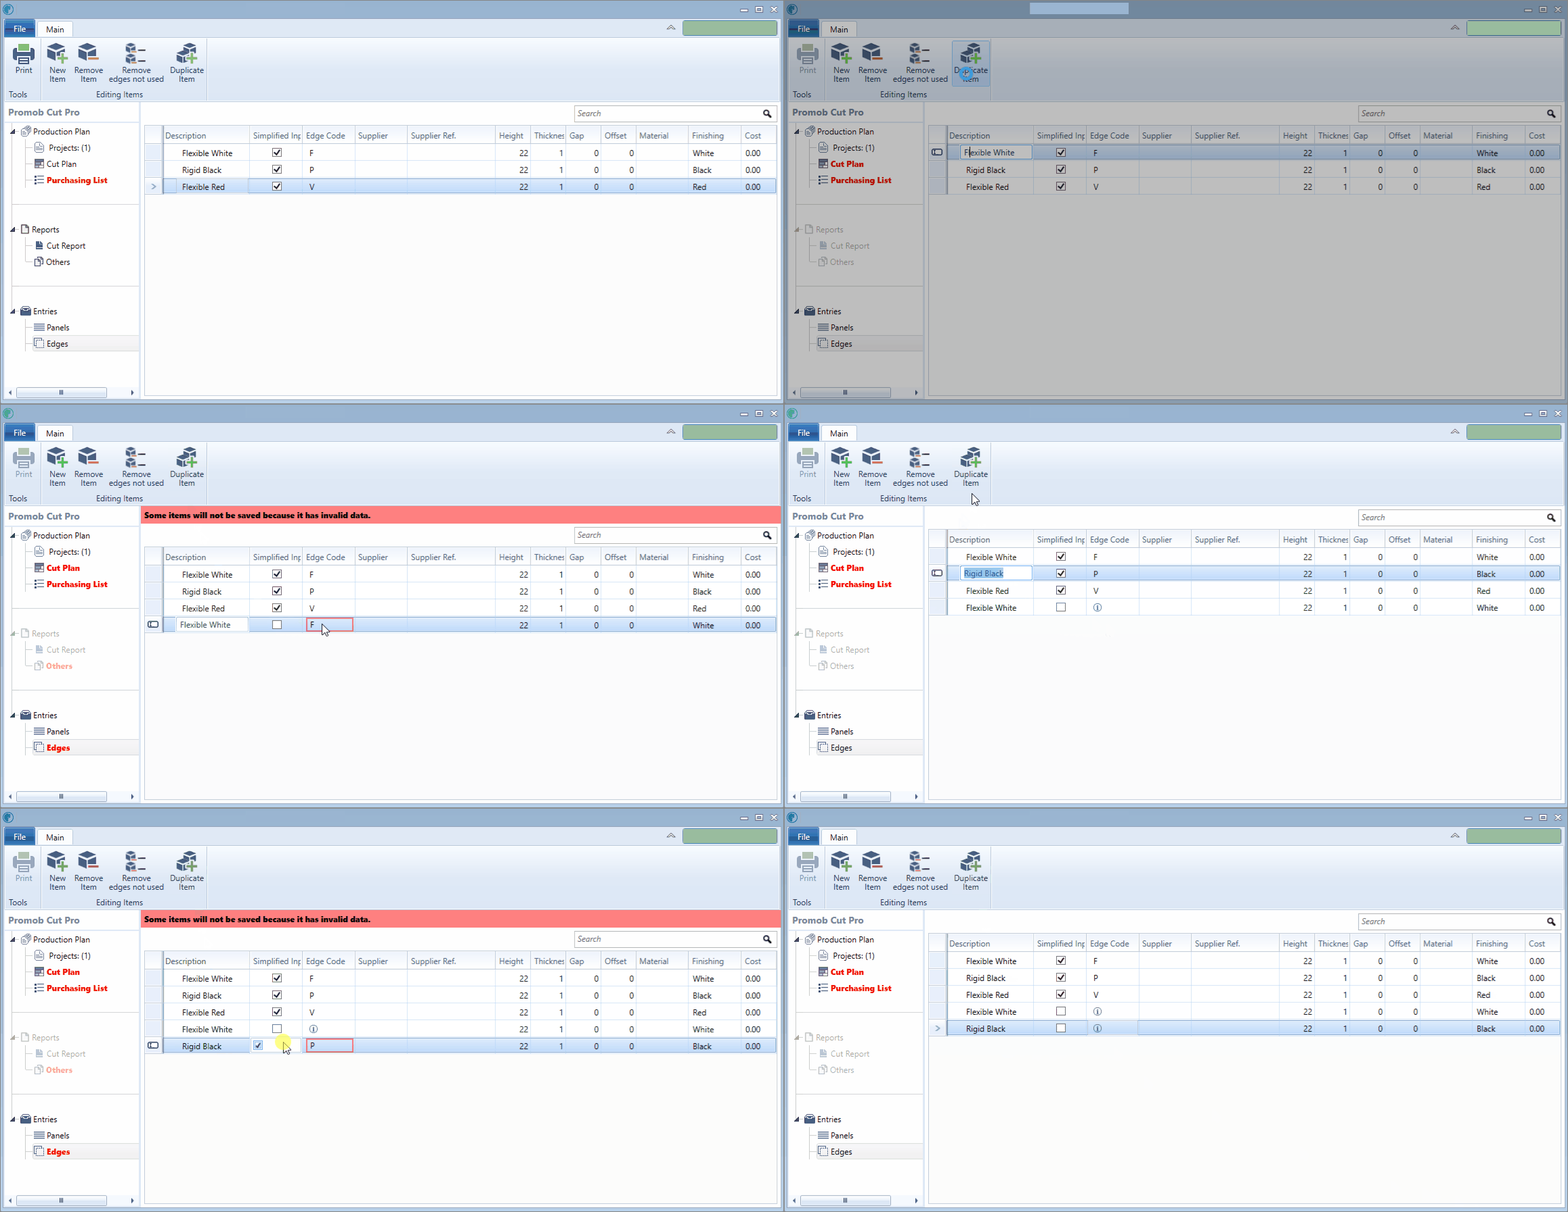
To edit the edge band information
1. Select the table row for the edge band you want to edit and make the necessary changes.
2. Click on the Duplicate Item, to duplicate the information of an edge band already registered;


Review how to generate an edge band report here.