This article will cover the following options:
You can add a design to the Promob Worker queue using two options, see below:
Option 01 - Worker Queue
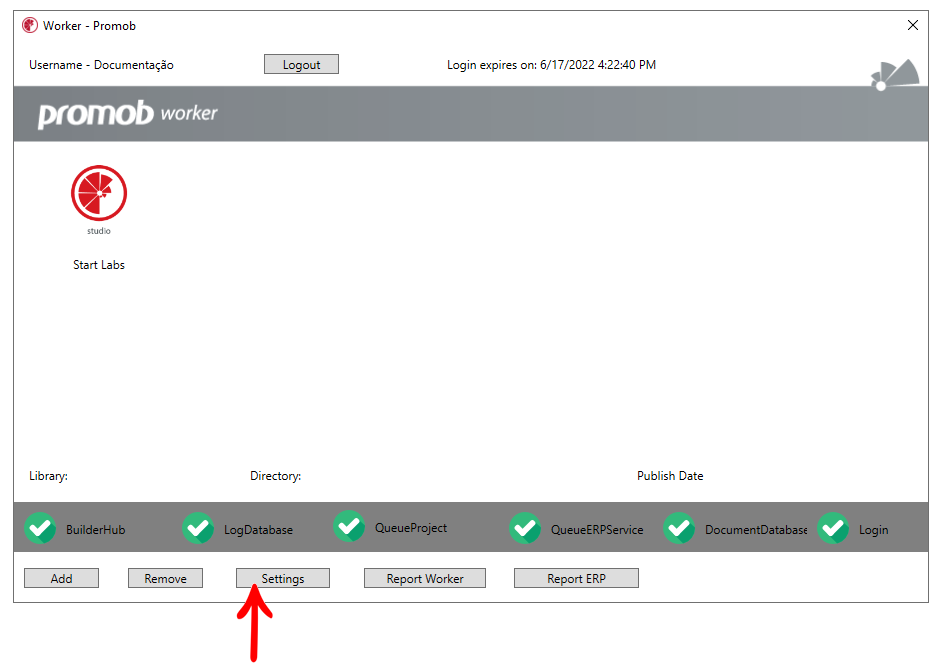
1. Go to Settings.
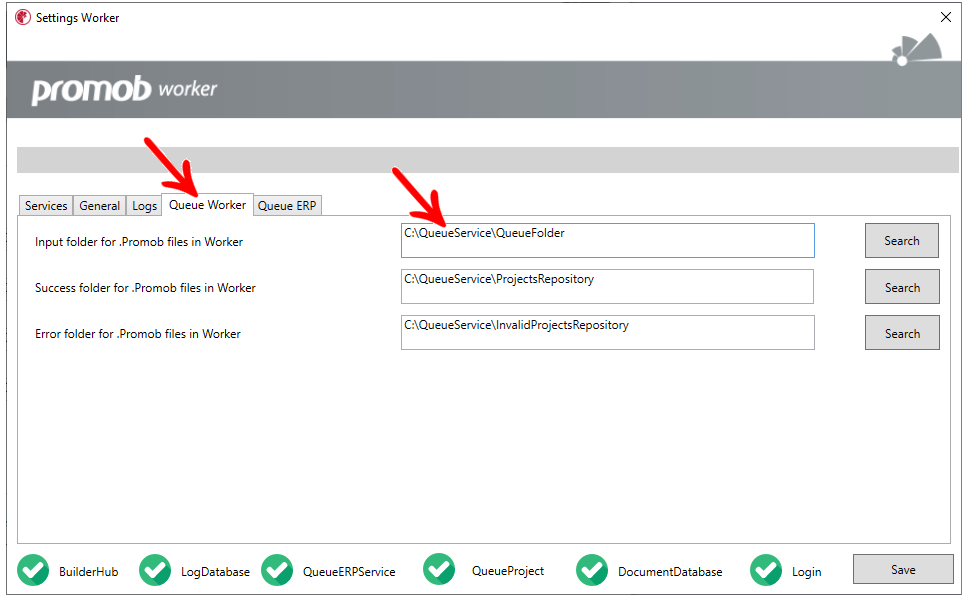
2. Go to the Queue Worker tab, and copy the directory shown in the Input folder for .Promob files in Worker.
3. Paste the directory into Windows.
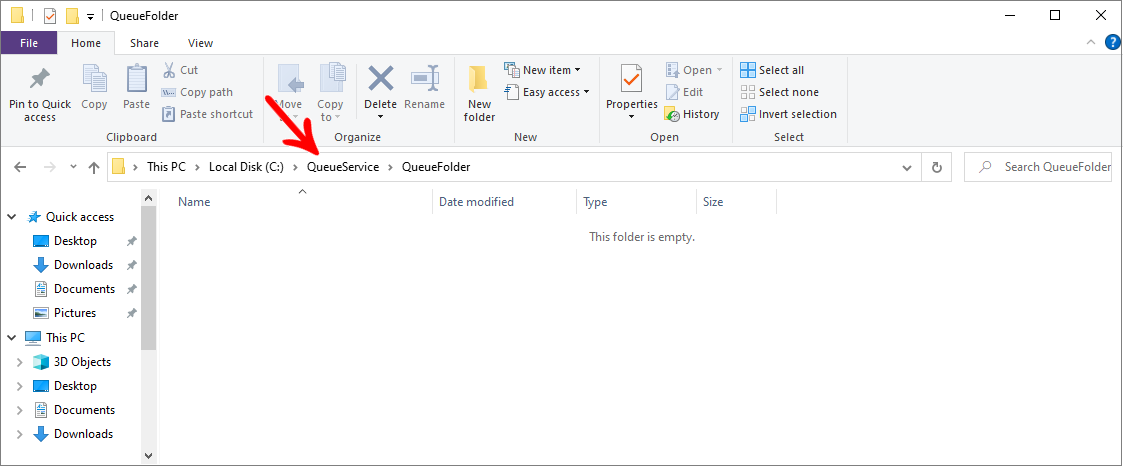
4. Locate the design you want to send to Promob Worker, and paste it into this folder.
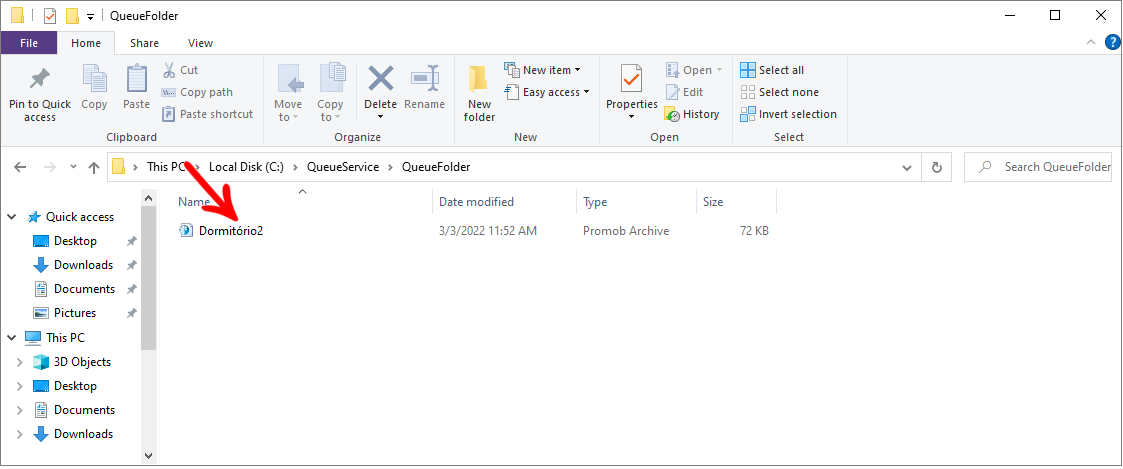
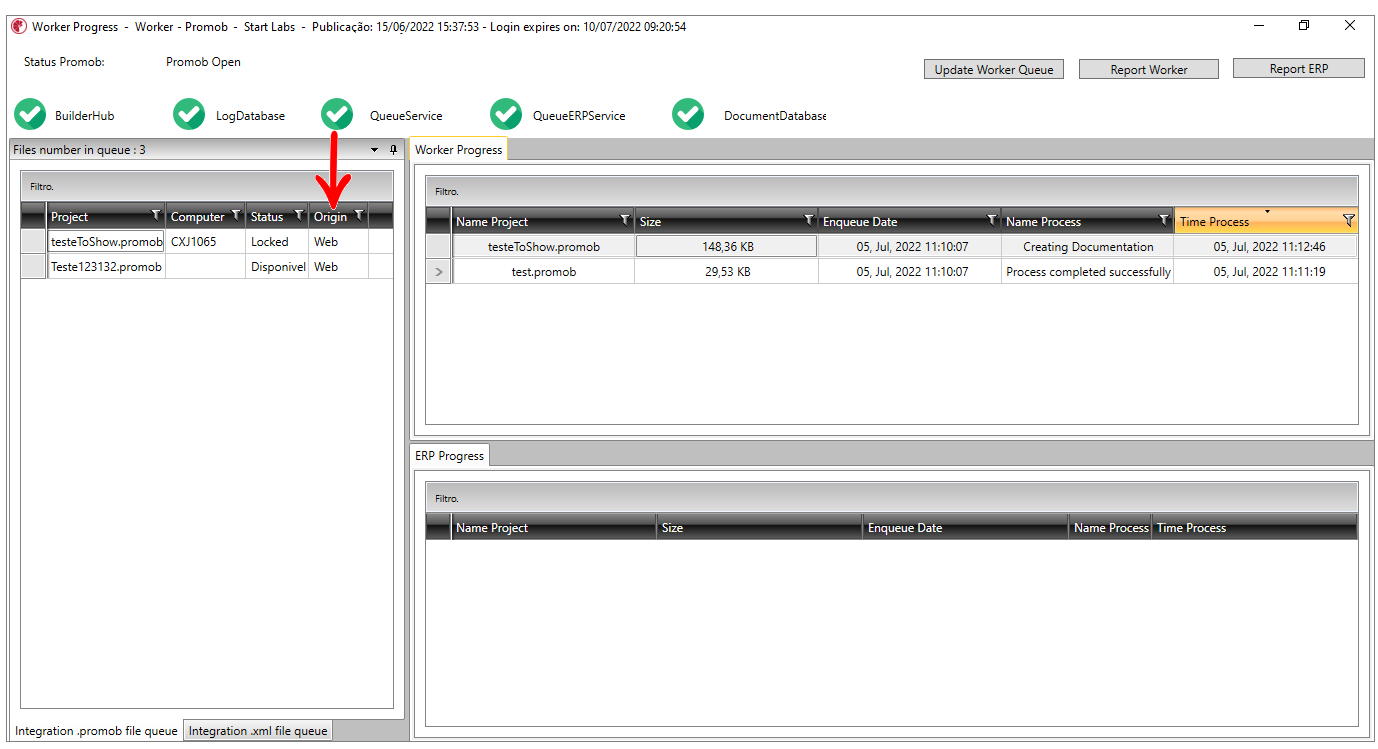
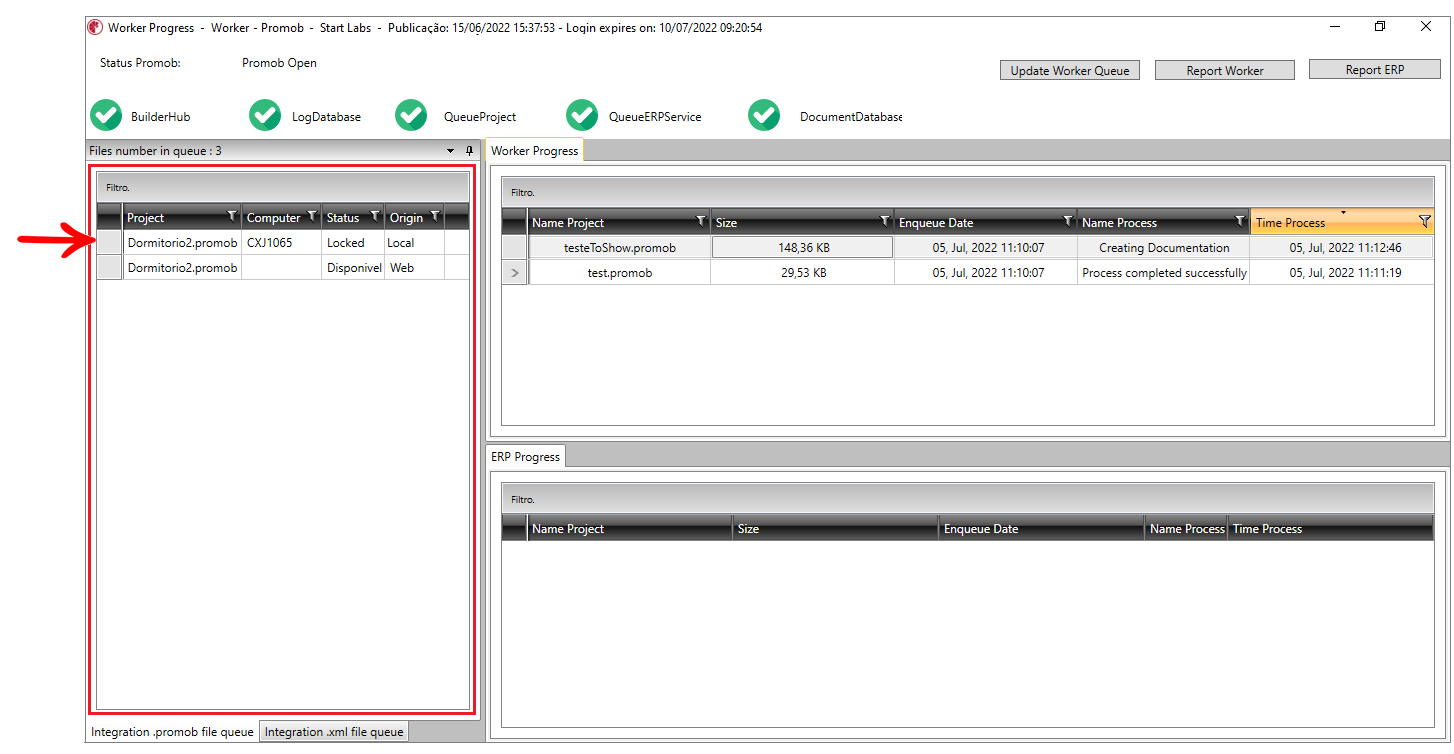
5. Reopen Promob Worker, the designs added to the queue are displayed in the menu below:
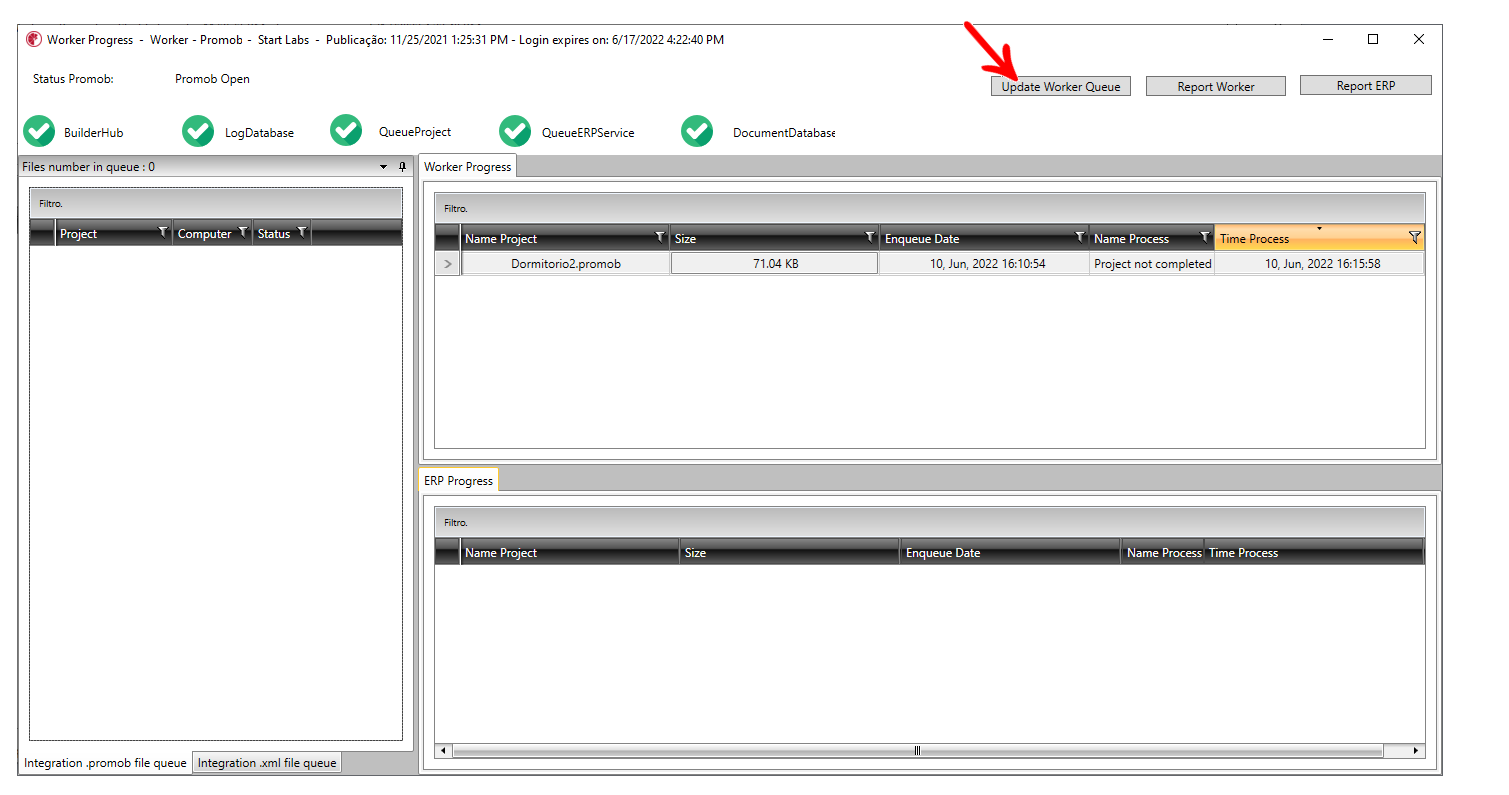
IMPORTANT: If the design is not displayed, click Update Worker Queue.
Option 02 - Integration with Connect 2.0
IMPORTANT:
- Available from Worker version 6.60.0.16 or higher, and Connect 2.1.19.
- This option is available only upon request from the manufacturer, if you are interested please contact Promob Sales.
To automate the process of queuing designs between customer and manufacturer online, the option of integration with Connect 2.0 has been made available.
To do this:
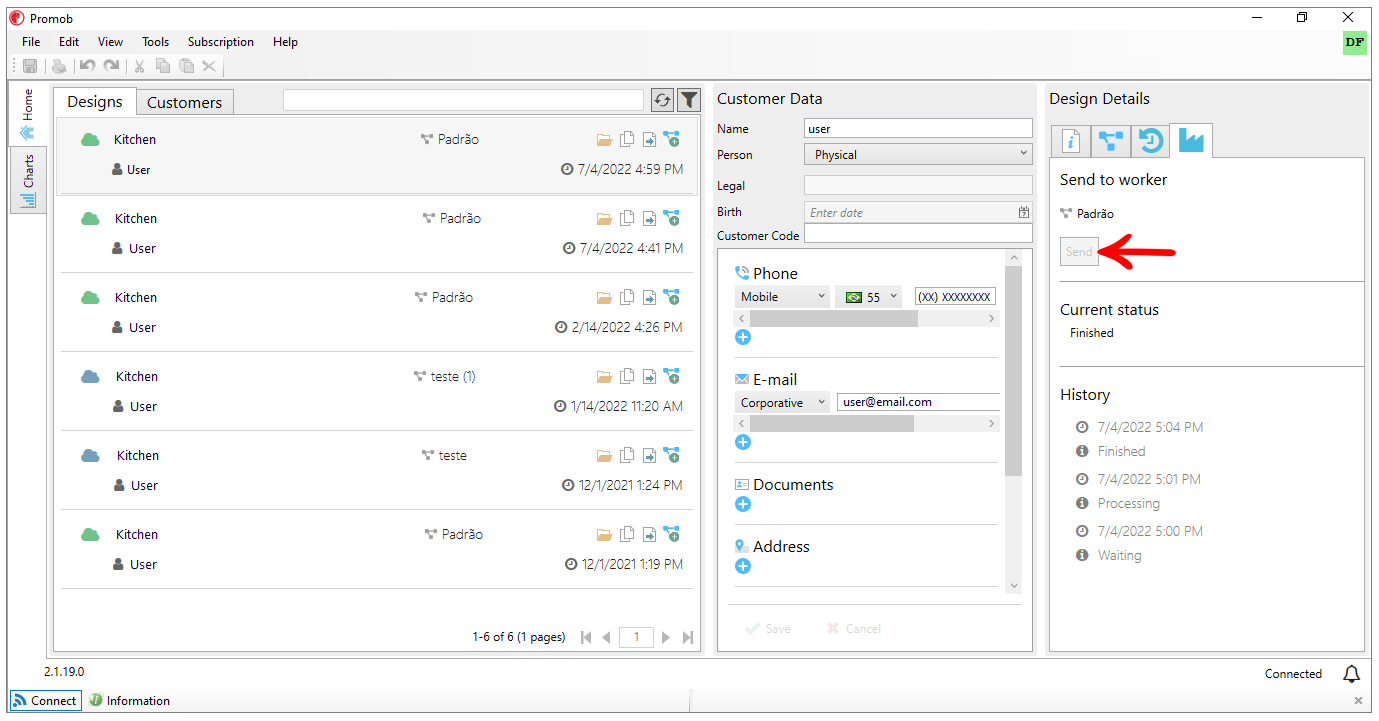
1. Select the design you want to send to the Worker, go to Design Details, and select the Factory tab.
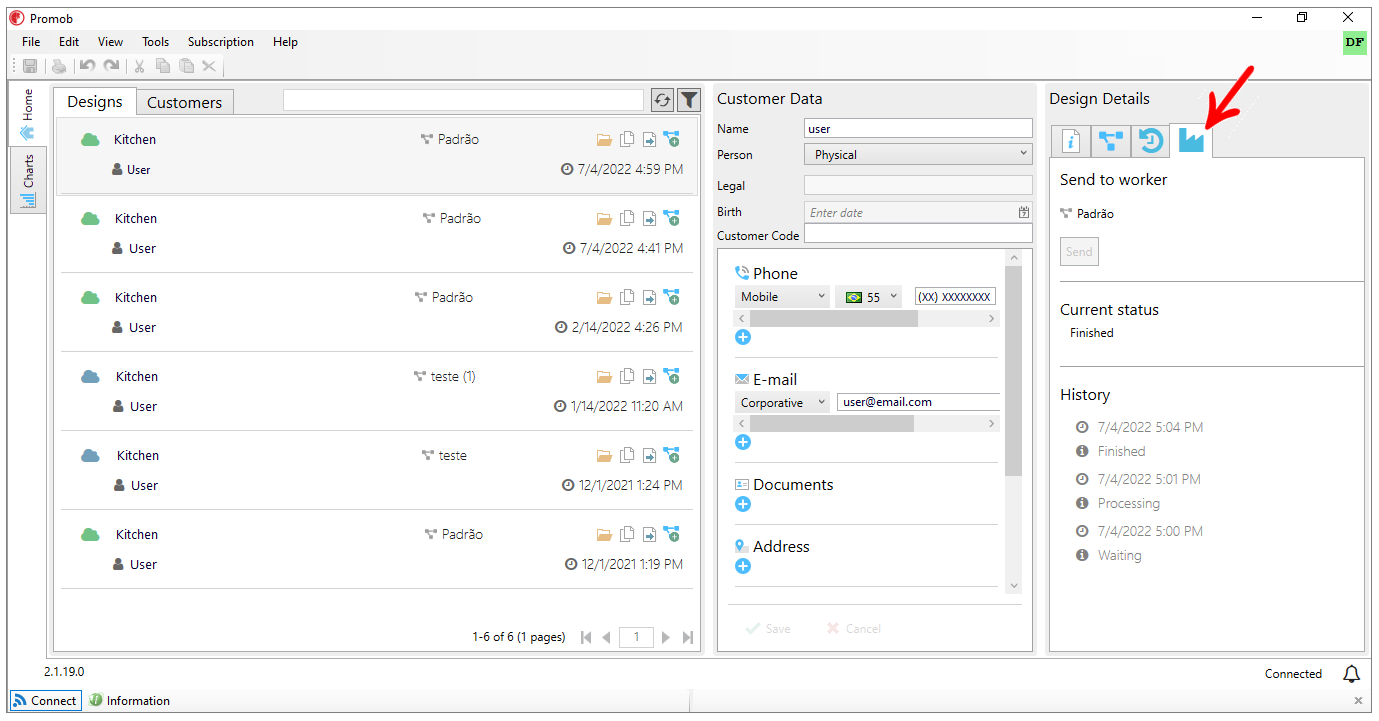
2. Under Send to Worker, click Send.
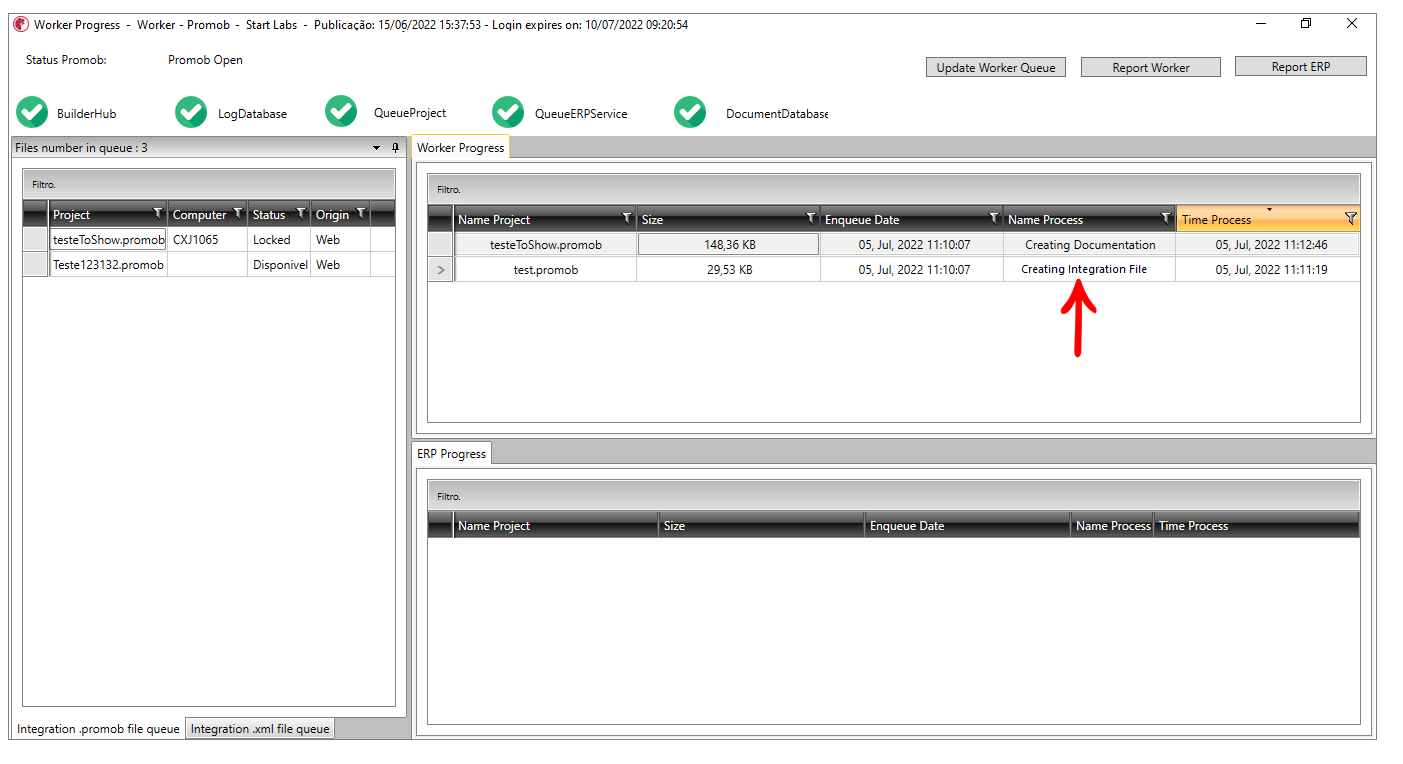
3. The Worker receives the design, and does the integration automatically, notice that in the Process Name column the information Creating Integration File is displayed.
4. Wait for Promob Worker to complete the process, and the Process Name column displays Process Completed.
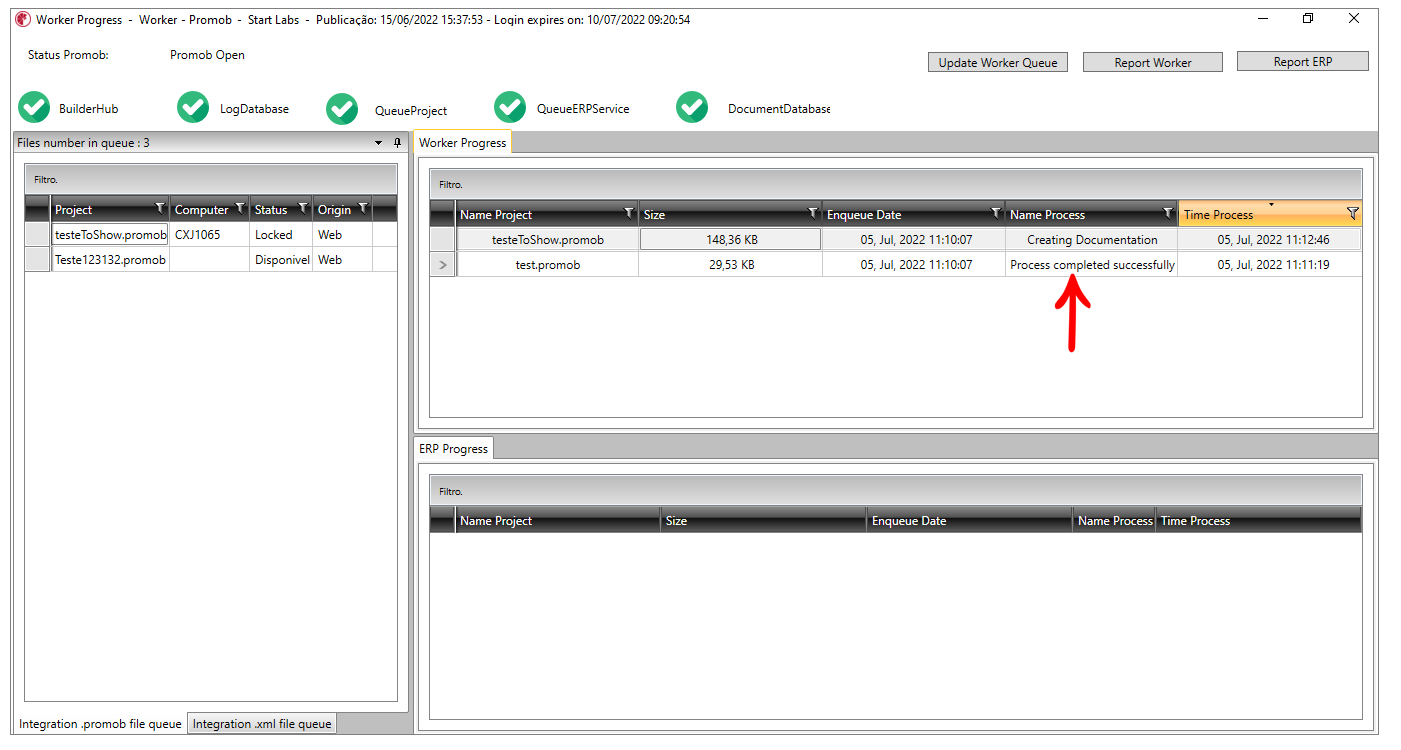
IMPORTANT: In the .promob file queue screen, in the Origin column you can identify whether the design was sent via the Worker Queue or via the Connect integration.
- Web: design sent through Connect integration.
- Local: design sent through the Worker's Queue directory.
