NOTES: Real Scene 2.0 uses cloud features, so internet connection is a minimum requirement for rendering to occur. Otherwise, rendering is not completed.
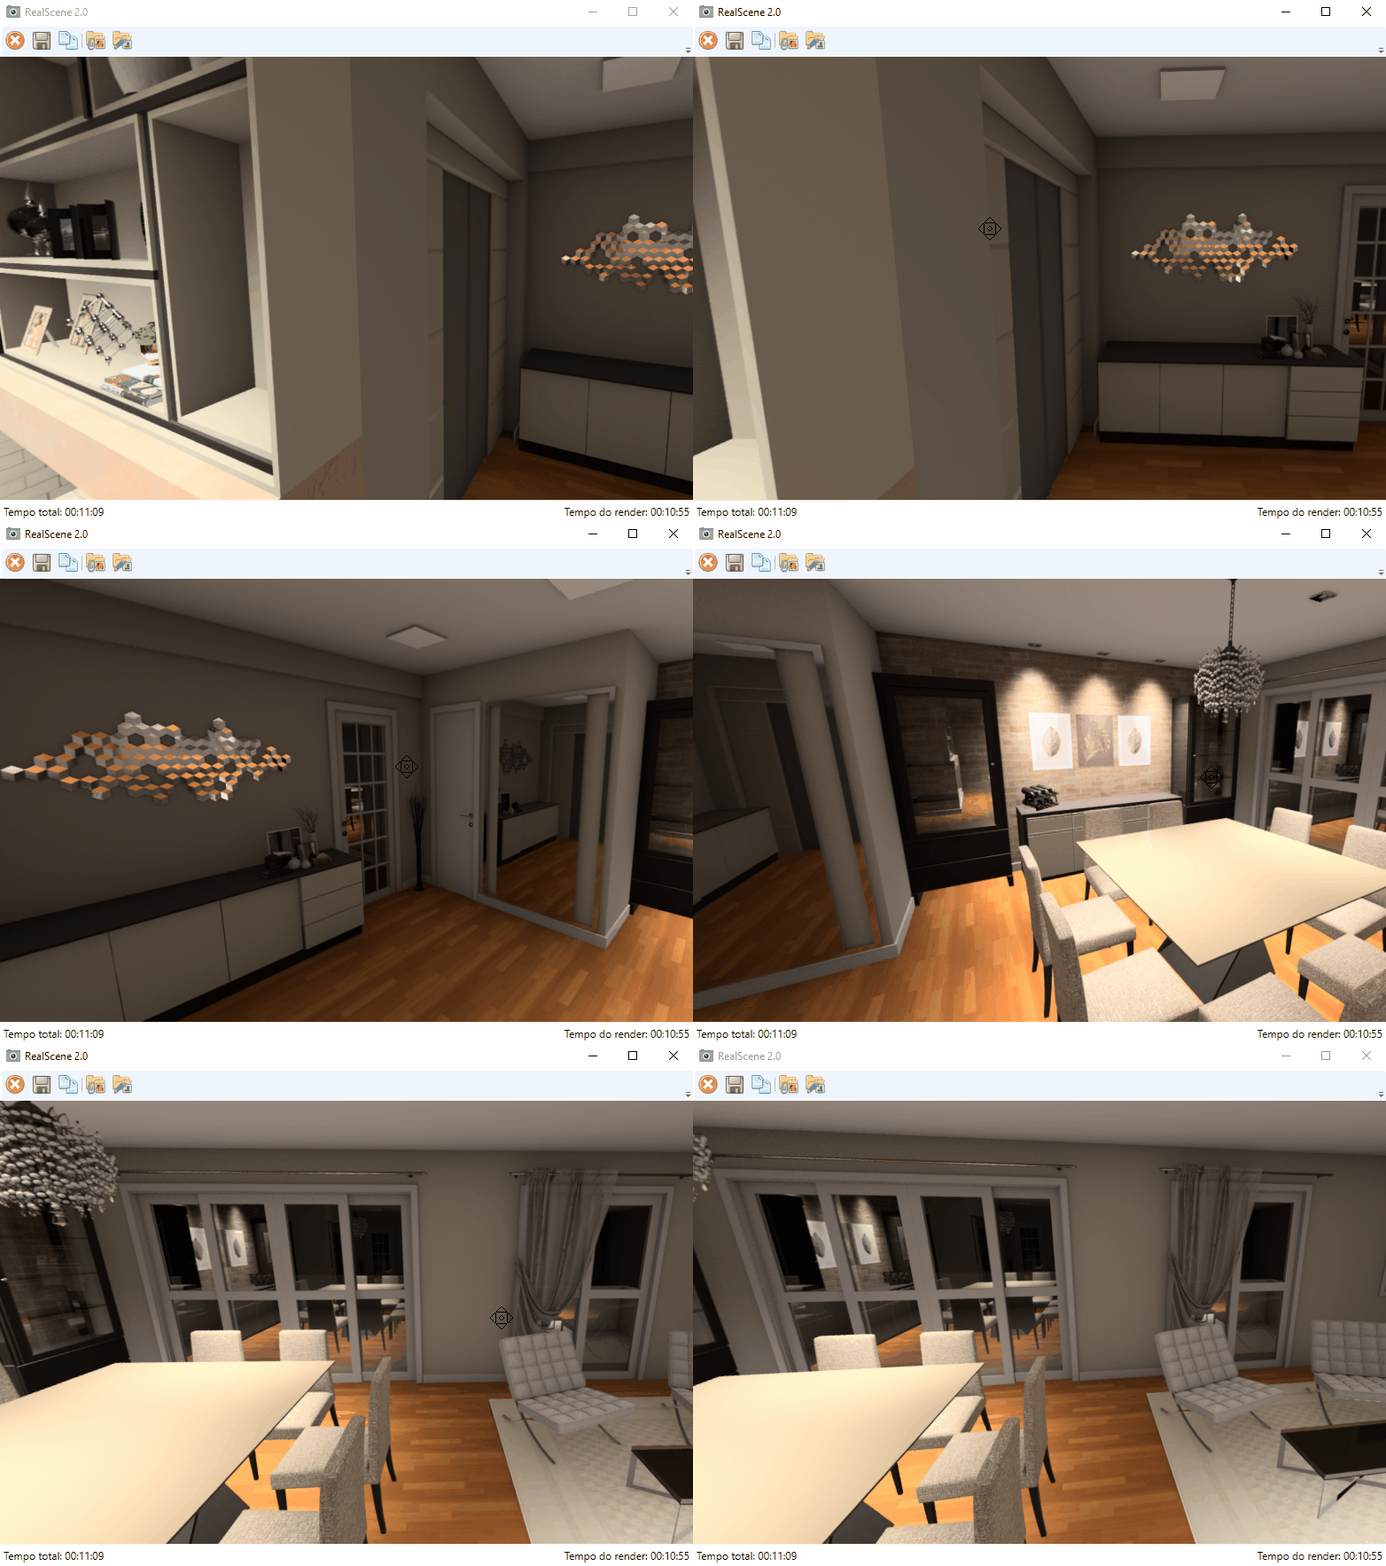
In Real Scene 2.0 you can view and present the project in 360 °. To do this, follow these procedures:
1. With the project ready and the lighting in, access the Real Scene 2.0 settings by clicking on the camera icon;
2. On the open screen, under Quality, check the Render 360 ° field. Then click Rendering.

3. he project will be rendered 360 °.
To move the image just hold down the left mouse button and move it, we can also zoom by moving the mouse scroll. This render can be attached to the project and accessed at any time.

When you save the 360 ° render to file, the render will be saved as a panorama image as shown below.

This image can be imported into other viewers such as Facebook and will be shown as a 360 ° render.
To view the 360 ° render on the VR glasses, just download a virtual reality application on your smartphone and open the image generated by the render 360.
IMPORTANT:
By checking this options, the dumension will be automatically update with the highest resolution available. Because to generate a good quality 360 ° render higher resolution is required. Also in resolution, the Height field is locked when you mark Render 360 °, because to import the render generated in other viewers you must generate a render with a 2: 1 aspect ratio.