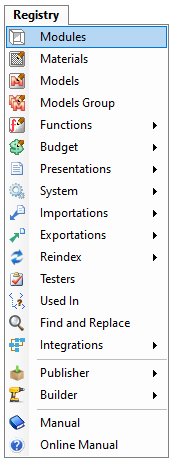
The definition of how the item should be budgeted is made by the Module Editor, accessible through the Registry - Modules menu, on the Budget tab. In this tab, it is possible to define and redefine how the module is presented in the budget.
To set up item budgeting:
1. Access the Registry - Modules menu.

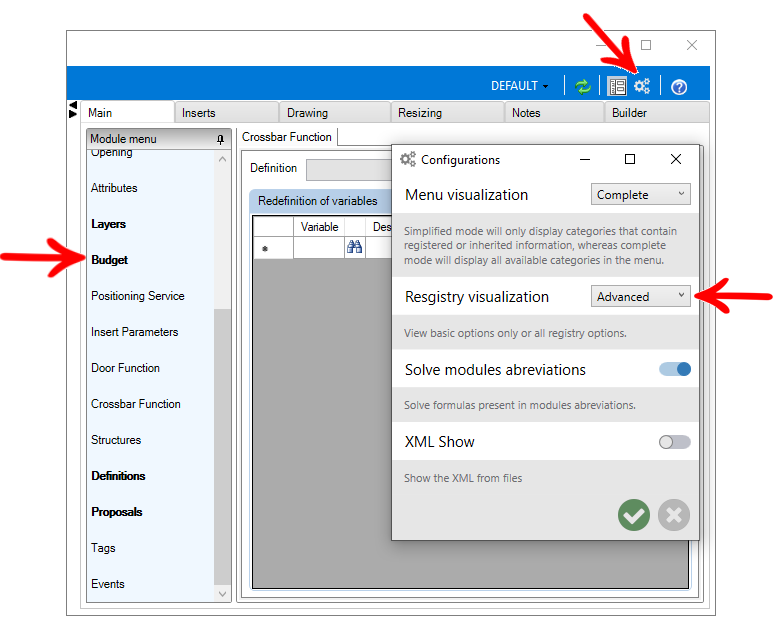
2. Select the item for which you want to make the budget settings.
3. In the module editor window, click the Advanced icon.
4. Access the Budget tab.


5. In Information, you can configure:
- Calculated: Relates to the Calculated attribute. If it is completely filled (as shown), it means that the item will inherit the condition defined in the group to which it belongs. Unchecked, the item will not be budgeted and checked, it will be displayed in the budget.
- Rule: This allows you to select the budget rule that should be applied to the item. Click Find to select from existing rules.
- Category: This allows you to configure which budget category the item belongs to. If it is filled with the information $ ROOTGROUP $, the category will be the root group, that is, Kitchens, Bedrooms, Rooms, etc.
- Width, Height, Depth: Through these fields, it is possible to configure the dimensions that should be displayed in the budget, ignoring the actual dimensions of the item in the environment.
6. In Price, you can configure:
- Provider: Generally, it inherits the information configured for the root group, where the default price provider for the system is configured. You can change this field by clicking the Find icon.
- Source: Generally, it inherits the information configured for the root group, where the source of prices is configured. You can change this field by clicking the Find icon.
- Reference: It allows configuring a reference for the item, ignoring the references registered by the References tab, in the COMPLETE reference.
7. In Margins, it is possible to configure:
- Apply margins: With the checkbox checked (default), the margins configured in Promob will be applied to the item. Unchecked, margins will not be applied to the item.
- Apply parent margin: Option used in systems that assemble the module by components (sides, bases, bottom, etc.), defining that the margins applied on the value of the components will be the margins applied on the parent module (counter, cabinet, etc.).
- Category: This allows you to select from the registered margin categories, to define which margin group will be applied to the module.
- Margin reset: The Margin and Reset fields allow you to configure the margin reset.
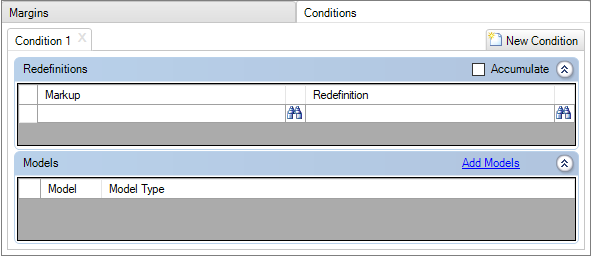
8. In Conditions, it is possible to configure conditions for the application of margin redefinitions, according to the model.

9. After making the desired settings, click the Refresh icon  to apply the changes. Repeat the procedure for the other items, as needed.