The registered materials can be accessed on Promob through the Materials tool. The Material Editor can be accessed through the Registry - Materials menu.
In the material register there are some materials already registered, which we call Standard Materials. These materials are made available by Promob and cannot be used or edited in the system in development, but they can be copied and used as a basis for development.
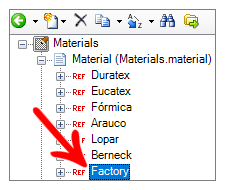
It is recommended that all material used by the system be created in the Factory folder.
Below are procedures on Materials:
- Create REF of Materials
- Create Materials folder
- Create color Materials
- Create texture Materials
- Create Materials with the same configuration
- Apply Materials
- What are the parameters for registering a texture
Create REF of Materials
A material REF is a grouping that creates a * .material file in the System folder. In this file, the folders created within this grouping are listed.
To create a material REF:
1. Access the Registry - Materials menu.
2. In the material editor, click New.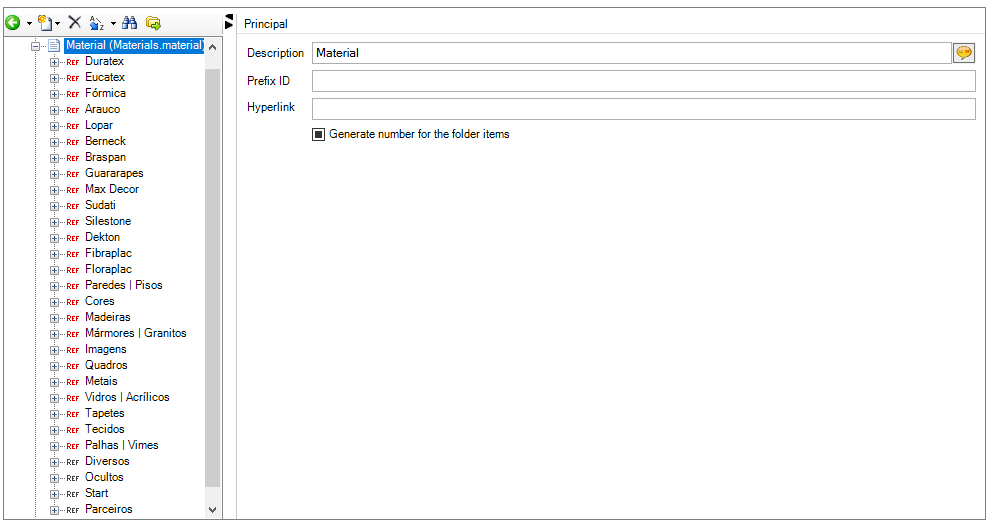
3. Choose the Add REF option.
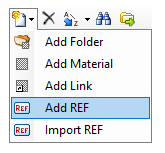
4. In the displayed window, fill in Name and File the desired name.
If you are starting to register the materials of the factory, we recommend Factory.
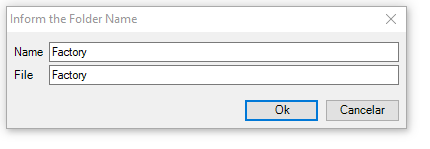
5. Click Ok.
6. The REF will be created. Then add folders to make subdivisions in the REF.
Create Materials folder
A materials folder is used to organize the materials created according to their characteristics. If you are starting the registration of the materials of the factory, it is necessary to create a REF of materials, where the registration of all materials of the factory must be done. To do this, click here and see how to proceed.
To create a new materials folder:
1. Access the Registry - Materials menu.
2. Select the REF Factory in Materials, in the Navigation Tree, or select the REF in which you want to create the folders.
IMPORTANT: Do not make changes to existing REFs, as these are standard Promob materials. If you wish, you can copy materials from other folders and paste them into your library's REF.
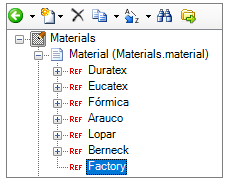
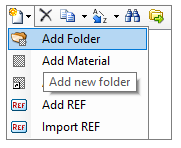
3. Click New - Add Folder.
4. In the displayed window, fill in the folder name as desired and click OK.

5. Create the material folders as you wish.
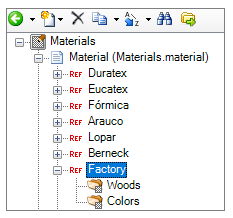
6. After creating the desired folders, click the Refresh icon to apply the changes.
Create color Materials
Color materials are those that do not need a link to an image.
To create a color material:
1. Access the Registry - Materials menu.
2. Select the folder in the Factory REF where the new material will be created.
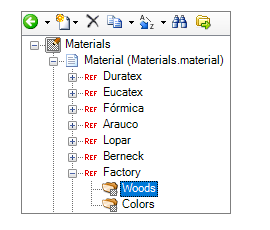
3. Click New - Add Material.
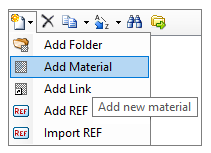
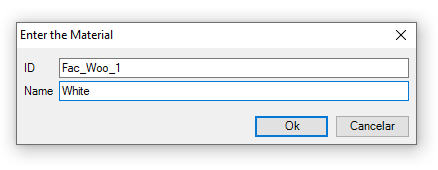
4. Enter the Material Name and click OK. This name will be visible next to the material in the Materials window.
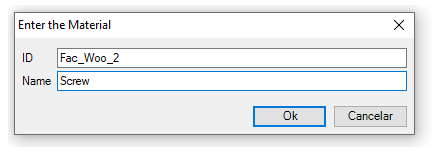
IMPORTANT: The ID field is automatically filled with a value suggested by the Catalog, with no need to change it, however, it can be changed, as shown in the image below.
5. Select the material created in the Navigation Tree.
6. In the details screen, locate the Base Color field and click on the color. Choose the desired color;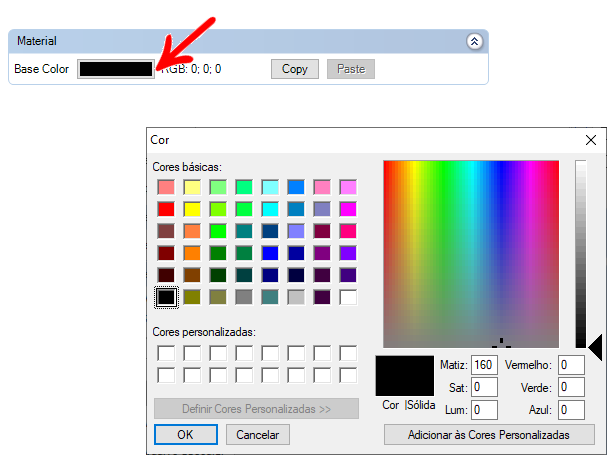
7. In the Effects area, change the effects as needed and check the result in the Preview area on the right.
All effect properties vary between 0 and 1, and can have two decimal places.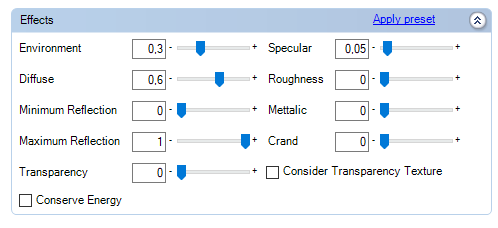
|
Environment |
Defines the amount of brightness of the object with the material in the environment, regardless of the lights present in the project. |
|
Diffuse |
Defines the amount of light that the object with the material receives in the environment. |
|
Minimum Reflection |
Controls the intensity of light reflection on objects with the material. |
|
Maximum Reflection |
Controls the intensity of the reflection of objects with the material. |
|
Transparency |
Controls the transparency of the object with the material, that is, how much the material allows light to pass through. |
|
Specular |
Controls the intensity of brightness in the object with the material where it receives light. |
|
Roughness |
Sets the roughness of the object with the material. |
|
Metallic |
Defines a metallic effect for the object with the material. |
|
Fresnel Term |
It allows to define the reflection of the objects with the material according to the angle. It is not used in Premium / Studio / Lite systems, only used for the Mooble tool renderer. |
|
Crand |
Defines a relief for the object with the material. |
|
Conserve energy |
With the checkbox checked, the object with the material will reflect more in the center and less on the sides. Unchecked, the object with the material reflects the light with the same intensity on all sides. |
|
Consider Transparency Texture |
With the checkbox checked, if the material has transparency, it will be considered. Unchecked, it will ignore transparency. |
| 3DE effects | Allows you to choose finishes that provide greater rendering reality. This option is only available for systems that have Real Scene. |
|
Effects LightWorks |
Allows you to choose finishes that provide greater rendering reality. This option is only available for systems that have a system render up. |
8. View the effects of the properties configured in the preview window, on the side.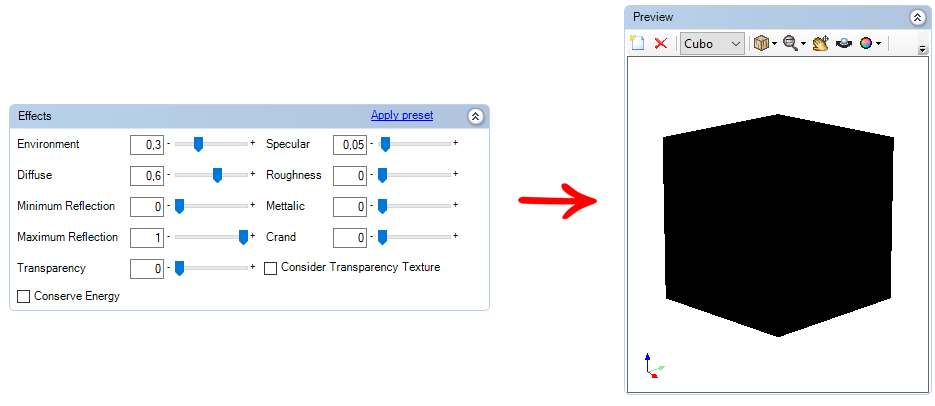
9. After completing the registration of the material, click the Refresh icon.
Create texture Materials
Textural materials are those that have a linked image, that is, only the registration of a color with effects does not convey the correct feeling to the user.
To create texture material:
1. Access the Registry - Materials menu.
2. Select the folder in the Factory REF where the new material will be created.

3. Click New - Add Material.

4. Enter the Material Name and click OK. This name will be visible next to the material in the Materials window.
IMPORTANT: The ID field is automatically filled with a value suggested by the Catalog, with no need to change it, however, it can be changed, as shown in the image below.
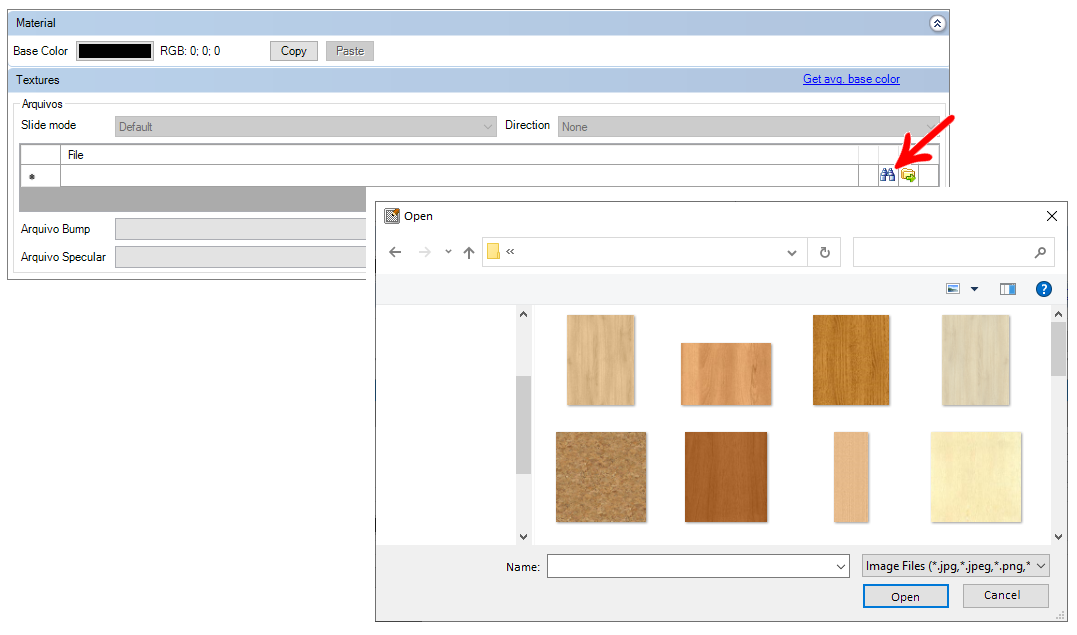
5. On the details screen, in the Textures area, click on the Find icon, and locate the image of the material to be registered.
IMPORTANT: This image must already be treated, that is, without spots and with treated vein sequence. To request the treatment of a texture, contact your product manager.
Observe the requirements of the texture file:
|
Requisitos do arquivo da textura:
|
Note: The Bump File and Specular File options are recognized only by the RealScene plugin, for rendering information.
6. Click Open to select the texture.
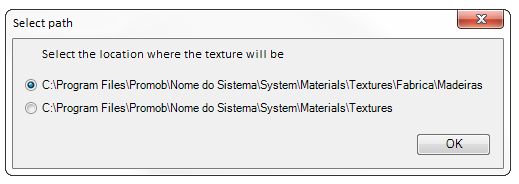
7. In the displayed message, select the directory where you want the texture to be saved and click OK.
8. In Direction, choose the direction of the shaft according to the image associated with the material.
IMPORTANT: The direction chosen must always indicate the direction of the shaft as shown in the image. Example: If a material is being registered horizontally, but whose image represents vertical veins, then Vertical must be chosen and only after Rotation should the texture be rotated.
9. Then click Get avg. base color. This tool calculates the RGB of the image color. This process is important to be able to visualize the object that has material with a similar color when the environment is with “Fill” fill mode applied.
10. In Borders, you can choose a color and thickness to be displayed on the object's edges with the material;

Example: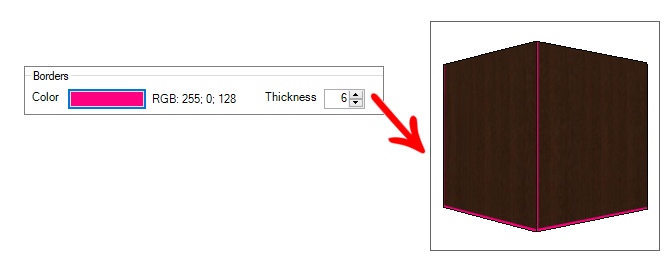
NOTES: The Color and Thickness properties of the Edges grouping of the Material Editor are not enabled for materials that have no texture.
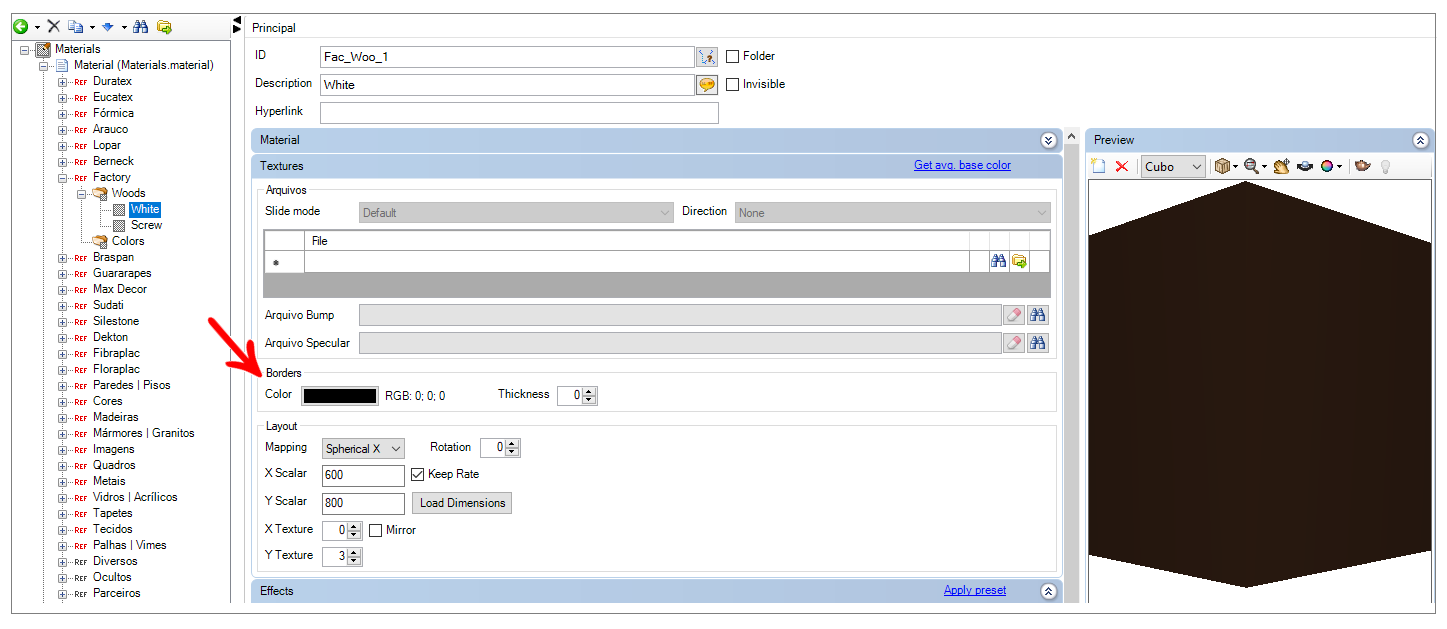
11. In Layout, configure:
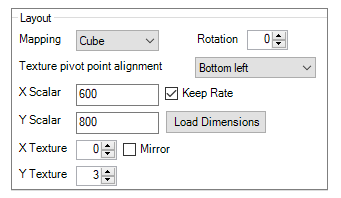
Mapping: For most textures, Cube mapping is used. However, you can change this mapping as desired.
Alignment of the pivot point of the texture: It allows to define the alignment of the point of origin of the texture mapping, to avoid that it becomes unconfigured.
Rotation: If the image of the texture has the veins in the Vertical, and if you want to register a material with horizontal veins, fill in 90 in the Rotation field; or fill in other values as desired.
Scalar X and Y: Fill in the X and Y scale for the material. This value is loaded automatically when associating the image, according to the pixels of the image, but can be changed to bring the material closer to reality. The Keep Proportion checkbox should be checked when you want the texture proportion to be maintained when changing one of the fields (Scale X or Scale Y).
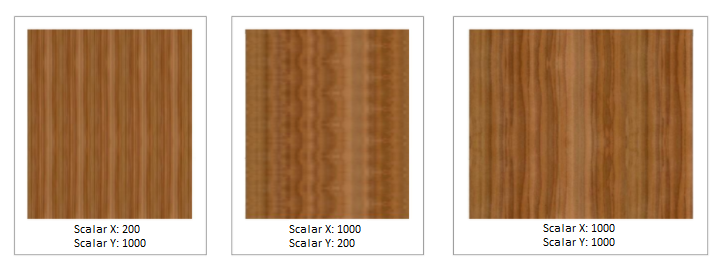
Load Dimensions: By clicking on this button, the original dimensions of the associated texture are loaded again.
Textures X and Y: It allows configuring the repetition of textures in X and Y.
Mirror: By checking this option, the texture is mirrored.
12. On the right, in Preview, you can view a texture preview in the room. Through this area define the type of mapping to be used. For most textures we use the Cube mapping.
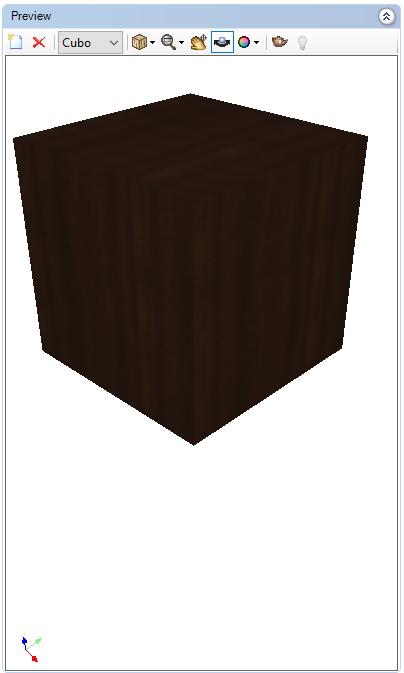
New: With this button, it is possible to insert another 3D file to be represented in the preview.
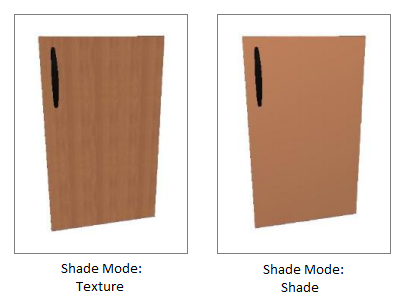
Shade mode: Through this option, it is possible to choose the fill mode to simulate the representation in the 3D space.
3D tools: Allows you to zoom, pan and rotate the shape in the preview.
Background Color / Image: Allows you to change the background color or apply an image to the preview background.
Render: Allows you to render the object with the texture to simulate the rendering in the design and test whether the applied effects are producing the desired effect.
Light configuration: Allows you to configure the light for rendering and better view in the Preview.
13. In the Effects area, change the effects as needed and check the result in the Preview area, on the right.

14. After making the desired changes, click the Refresh icon to apply the changes.
Create Materials with the same configuration
When several materials have the same configuration, it is possible to create a “material folder” so that it is not necessary to create several material files and repeat the configurations one by one.
To create a folder material:
1. Access the Registry - Materials menu.
2. Create the material that is to group the materials in a folder.
3.After creation, select the material that will group the materials.
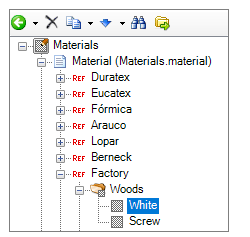
4. Check the Folder option next to the material ID.
5. Then, in the Textures box, select the first material in the folder.
IMPORTANT: The name of the materials will be equivalent to the name of the image in the folder. Therefore, adjust the file names in the directory as desired before creating the material Folder.
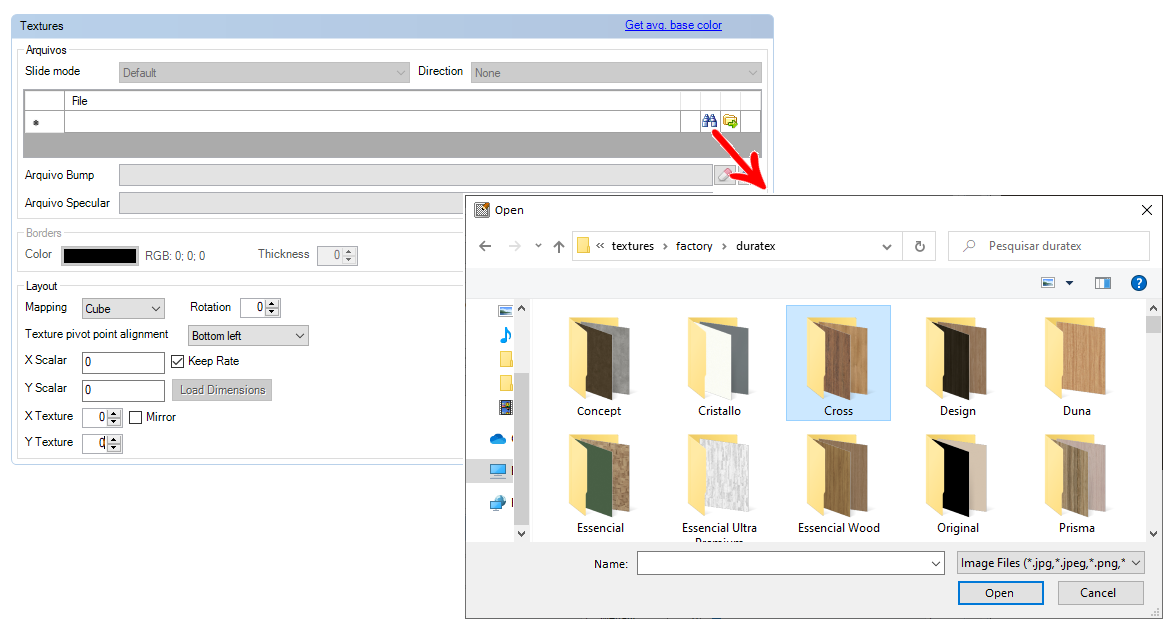
6. When selecting the directory, the other images in the directory will be added within the Material Folder.
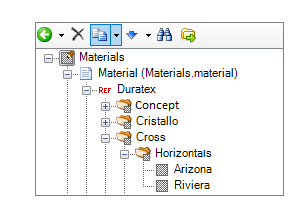
7. Make the desired settings on the material. These settings will be applied to all materials in the group.
8. Update the registration by clicking on the Refresh icon to reindex the materials.
9. In the Materials tab of 3D space, the materials will be displayed inside a folder.
Apply Materials
Some modules have only one color option. Material is applied to these modules, as there will be no exchange for another material. The material application is directly linked to the drawing and its layers.
To apply material to a module:
1. Access the Registry - Modules menu.
2. Select the module in which you want to apply the material via the Navigation Tree.
3. In Main, in the Materials tab, Click on the icon ![]() to load the layers of the associated drawing.
to load the layers of the associated drawing.
If you do not already have the associated drawing, make the drawing association.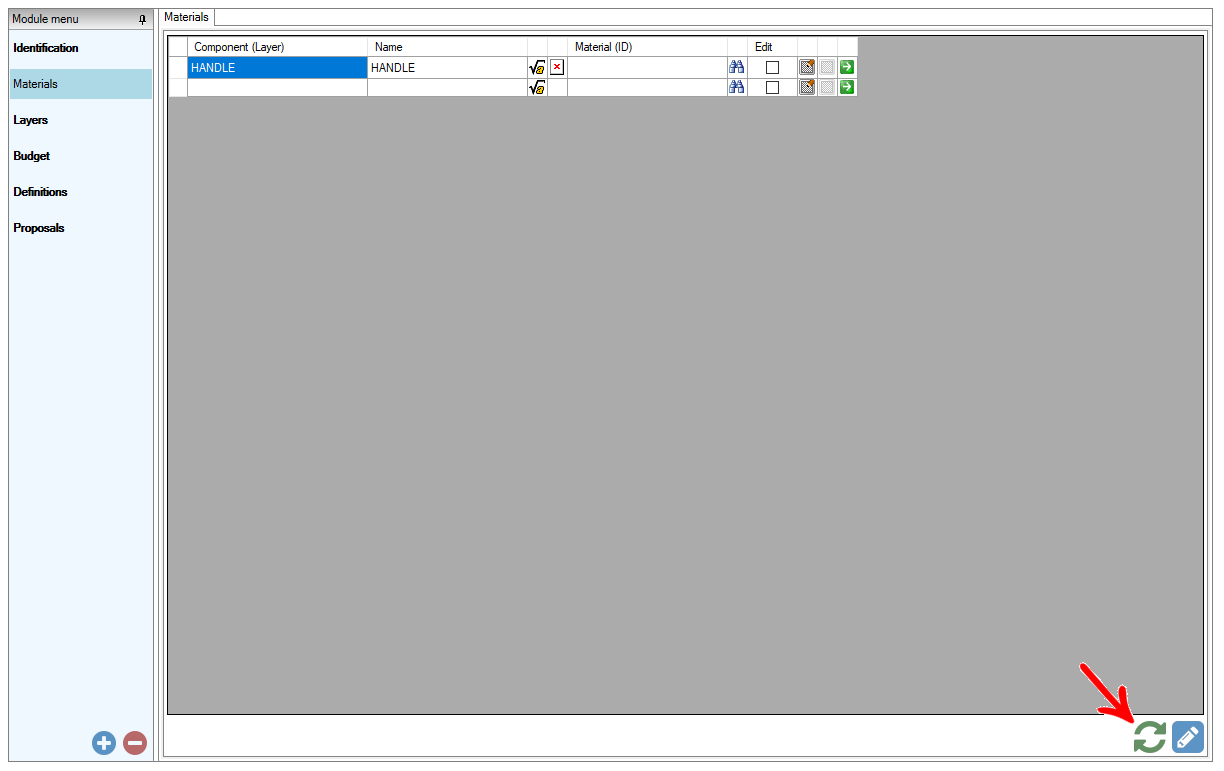
4. In the Material field, click the Find button and select the material to be applied.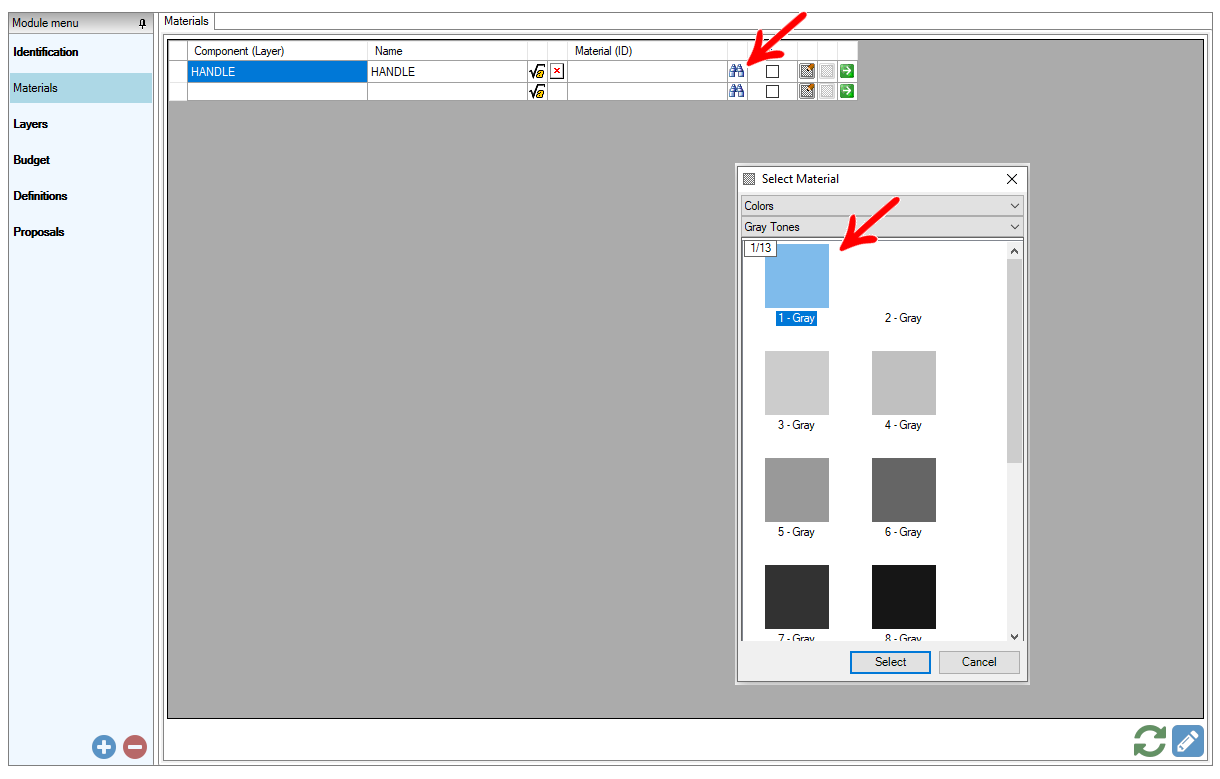
5. After applying the material, click the Refresh icon in the module editor to apply the changes.

IMPORTANT: Each layer can have only one related material. Each module can have more than one layer registered.
When directly associating a material, it is not possible to change its finish after insertion in 3D space. However, it is possible to associate Models. These allow the alteration of the finishes after insertion of the item in the environment.
Parameters for registering a texture Material
To create a material, it is often necessary to associate a texture with the material being registered. Such texture must be an image (treated) and that meets the following requirements:
IMPORTANT: note the requirements of the texture file:
1. Files with extension: jpg, gif, jpeg, bmp, png, among others, except tif.
2. File size: maximum 1MB.
3. The number of characters in the name is limited and special characters should not be used, as it is a Windows limitation.