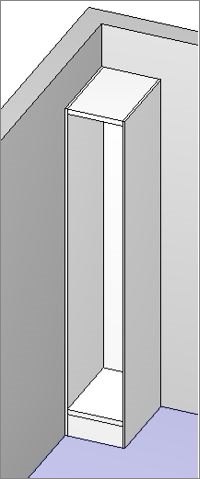
Insert parameters are configurations made in the module to be respected when inserting the item in the design.
The settings available in the Insert Parameters can be used on linear shelves, for example, to fill the gap between one point and another at the time of insertion.
The settings that can be changed are:
- Dimensioning: allows configuring whether, when the item is inserted in the design, its dimensions are adjusted to the dimensions of the design, filling the plan in which it is inserted by width, depth or height and whether it must be repeated to fill the plan.
- Orientation: adjusts the orientation in which the item is inserted into the design, which can be: vertical, vertical inverted, vertical in the plan and horizontal in the plan.
- Separation: through this option it is possible to configure the separations front, rear, top, bottom, left, right of the floor or plan when it is inserted in the design.
Below are procedures of insert parameters:
How to adjust linear items in the design?
How to configure the insertion orientation of modules in 3D space?
How to configure the separation of an item on insertion in 3D space?
How to adjust linear items in the design?
During insertion into the design, a linear item can adapt to the space in which it is being inserted.
To adjust linear items in the design:
1. Access the Registry - Modules menu.
2. Select the linear item in the Navigation Tree.
3. In Main - access the Insert Parameters tab.
4. In Dimension, check the dimension option you want to be adjusted when placing the item in the design.
To adjust linear items in the design, it is necessary to check the option Adjust Width.

By checking Adjust Width, when the item is inserted in the design, the item's width will be automatically adjusted to the plan in which it is inserted. The same will happen respectively in other dimensions: depth and height.
IMPORTANT: If the item's dimensions are limited, it is necessary to configure the Repeat field. If the Request option is selected, when inserting the item in the design you will be asked if you want to insert more modules to adjust the dimension.

If Yes is selected, the item will be repeated as many times as necessary to fill the gap in the plan in which the item was inserted without asking for confirmation.

5. After making changes in the registration, click the Refresh icon in the header.
Below is an example of the application of the Adjust Width function, when inserting the shelf:

How to configure the insertion orientation of modules in the 3D space?
During insertion into the design, a particular item can be inserted with a different orientation than normal.
IMPORTANT: Once the insertion orientation is configured by registering the module, the orientation options will no longer be available through the modulation bar.
To configure the orientation of inserting modules in the design:
1. Access the Registry - Modules menu.
2. Select the linear item in the Navigation Tree.
3. In Main - access the Insert Parameters tab.
4. In Orientation, select the desired orientation option.
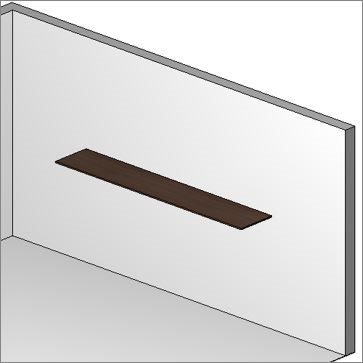
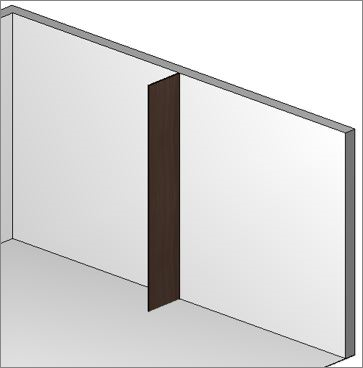
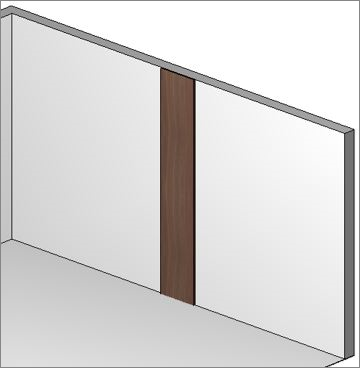
Below are examples of applying different orientations to a shelf:
Standart:
Vertical:
Vertical in the Plan:
Horizontal in the Plan:
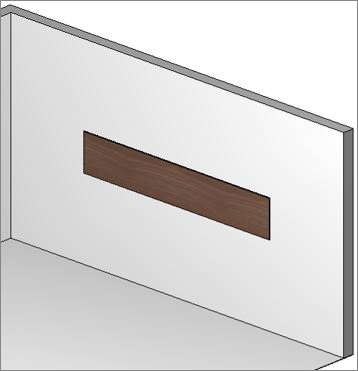
5. After making changes to the registration, click the Refresh icon in the header.
How to configure the separation of an item on insertion in 3D space?
During insertion into the design, a particular item can have a distance configured with respect to the entities close to it.
A common application for this feature is in bedroom cabinets that have joints. So that, when inserting the cabinet in the design, the side does not face into the wall, it is necessary to configure distance in the cabinet register.
To configure the distance between the insertion of modules in the design:
1. Access the Registry - Modules menu.
2. Select the linear item in the Navigation Tree.
3. In Main - access the Insert Parameters tab.
4. In Distances, configure distances by filling in the fields as desired.
For the case discussed above, of bedroom cabinets, fill in the Left and Right fields with the thickness of the side of the cabinet.
5. After making changes to the registration, click the Refresh icon in the header.
Below is an example of a cabinet with junctions on the sides configured and without distances.
Before the change, note that the side is positioned inside the wall:
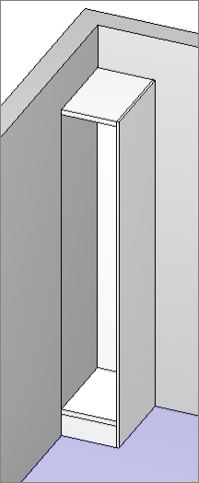
After changing Left and Right Distances, note that the side is positioned after the wall:
