Slides are representative images of the registered modules, viewed by the modulation bar.
They serve for the user to have a preview of the module that will be inserted in the design.
Below are the slides procedures:
- How to generate module slides?
- Como salvar as configurações de vista para slides?
- Como importar slides dos módulos?
How to generate module slides?
After the registration of the module is complete, it is possible to generate the slide of the same, so that its image can be previewed by the modulation bar and, in this way, the user can more easily identify which module is inserted in the design.
Before generating a slide of the module, it is necessary to insert it in the design and make some configurations:
1. Apply different models to the box and the door (s) to generate contrast in the image.
Example: White Box and Oak door (s).
2. Make sure that the model applied to the module will allow the best view of the item through the modulation bar. We recommend applying the most used models.
To generate module slides:
1. Insert the module for which you will generate the slide in the 3D space.
2. With the module selected, access the Registry - Presentations menu and click Generate Slide.

IMPORTANT: In addition to accessing the Registry menu, you can right-click on the module already inserted in the environment and select the option Generate Slide:

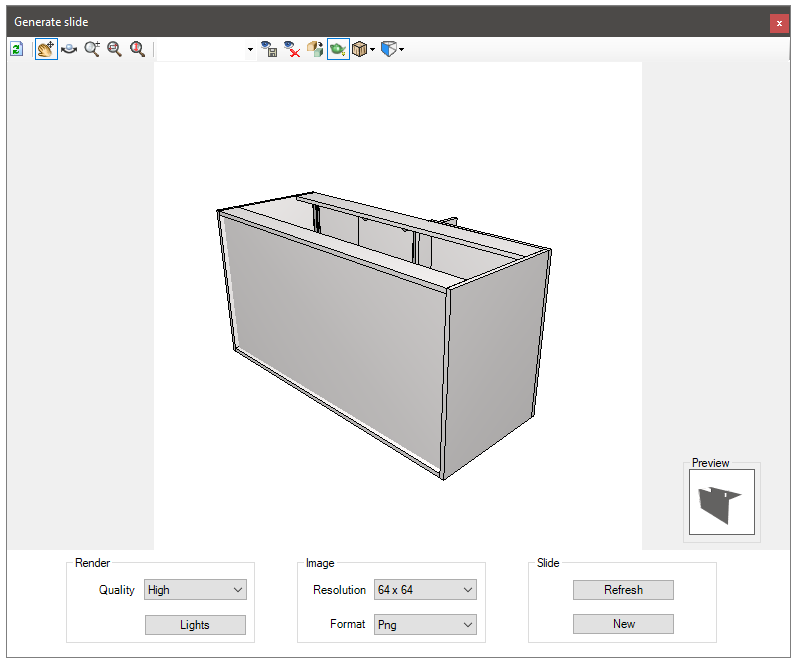
3. A window for configuring the slide will open.
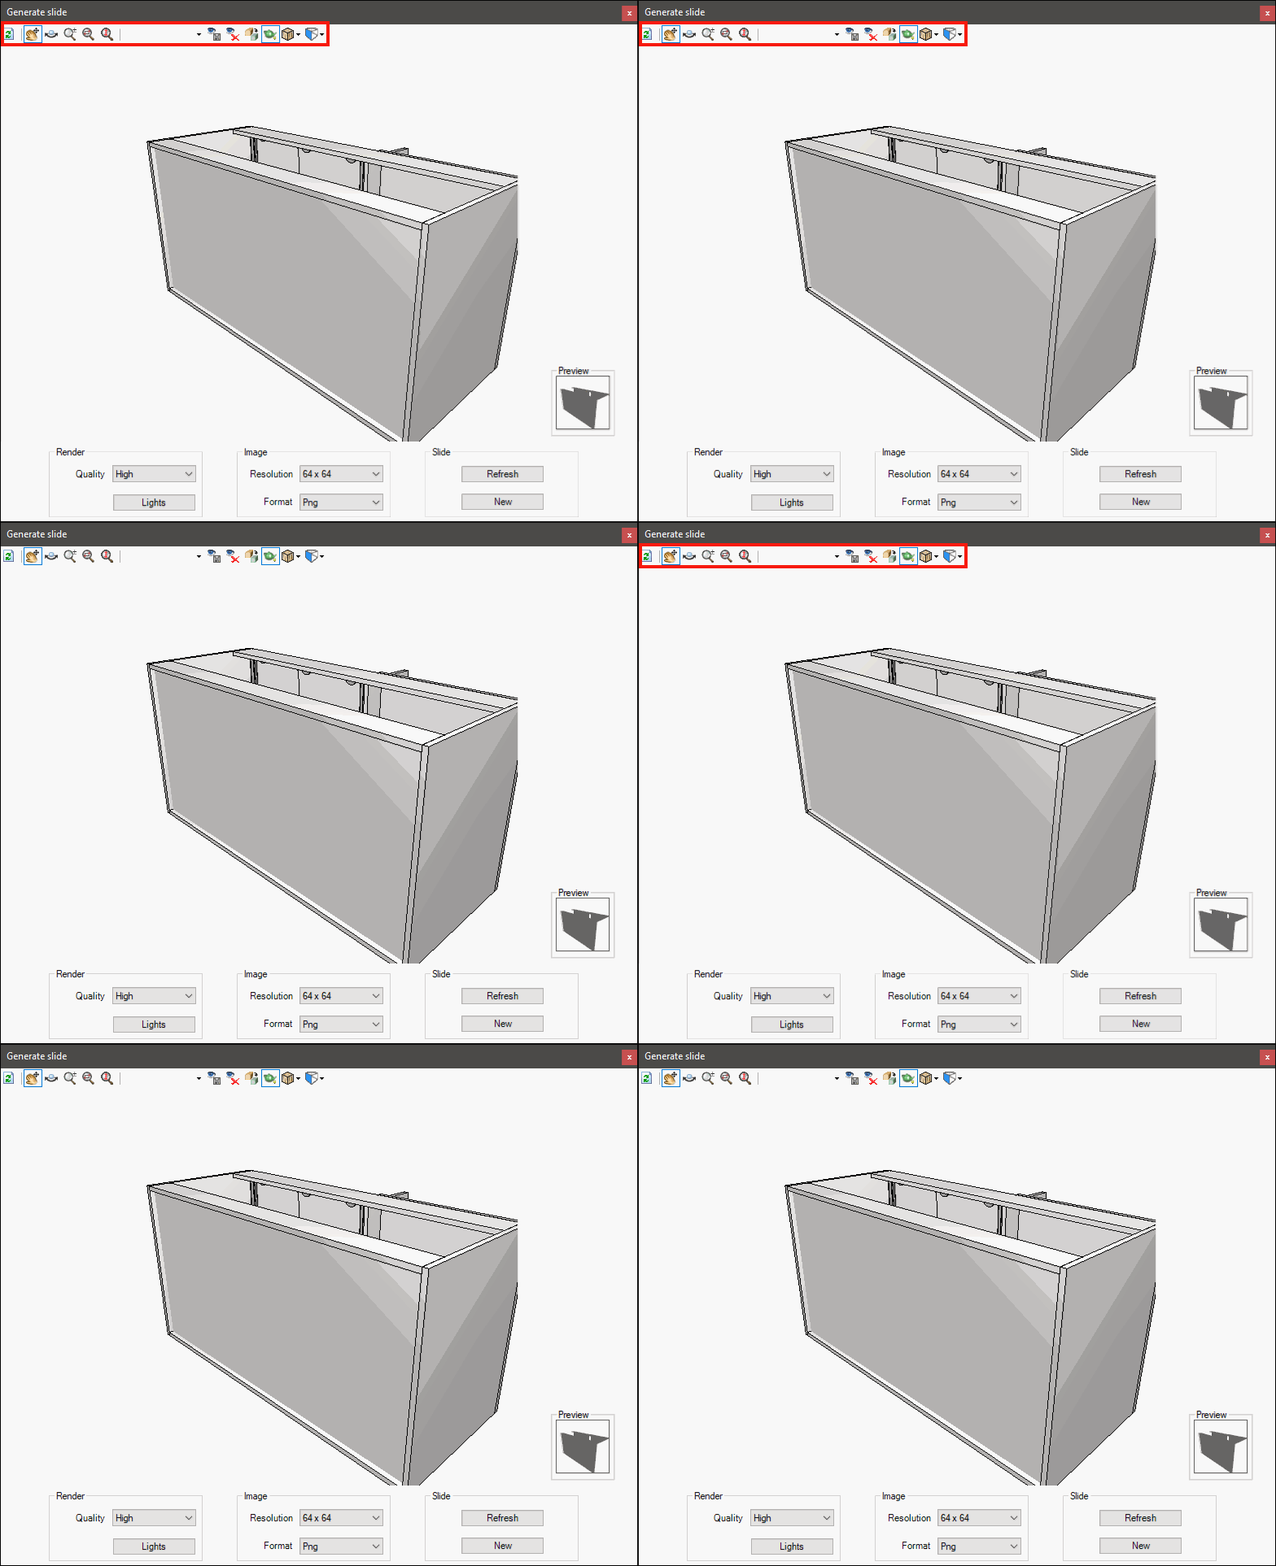
Visualization Tool: It has tools that allow you to visually manipulate the item in the movement area
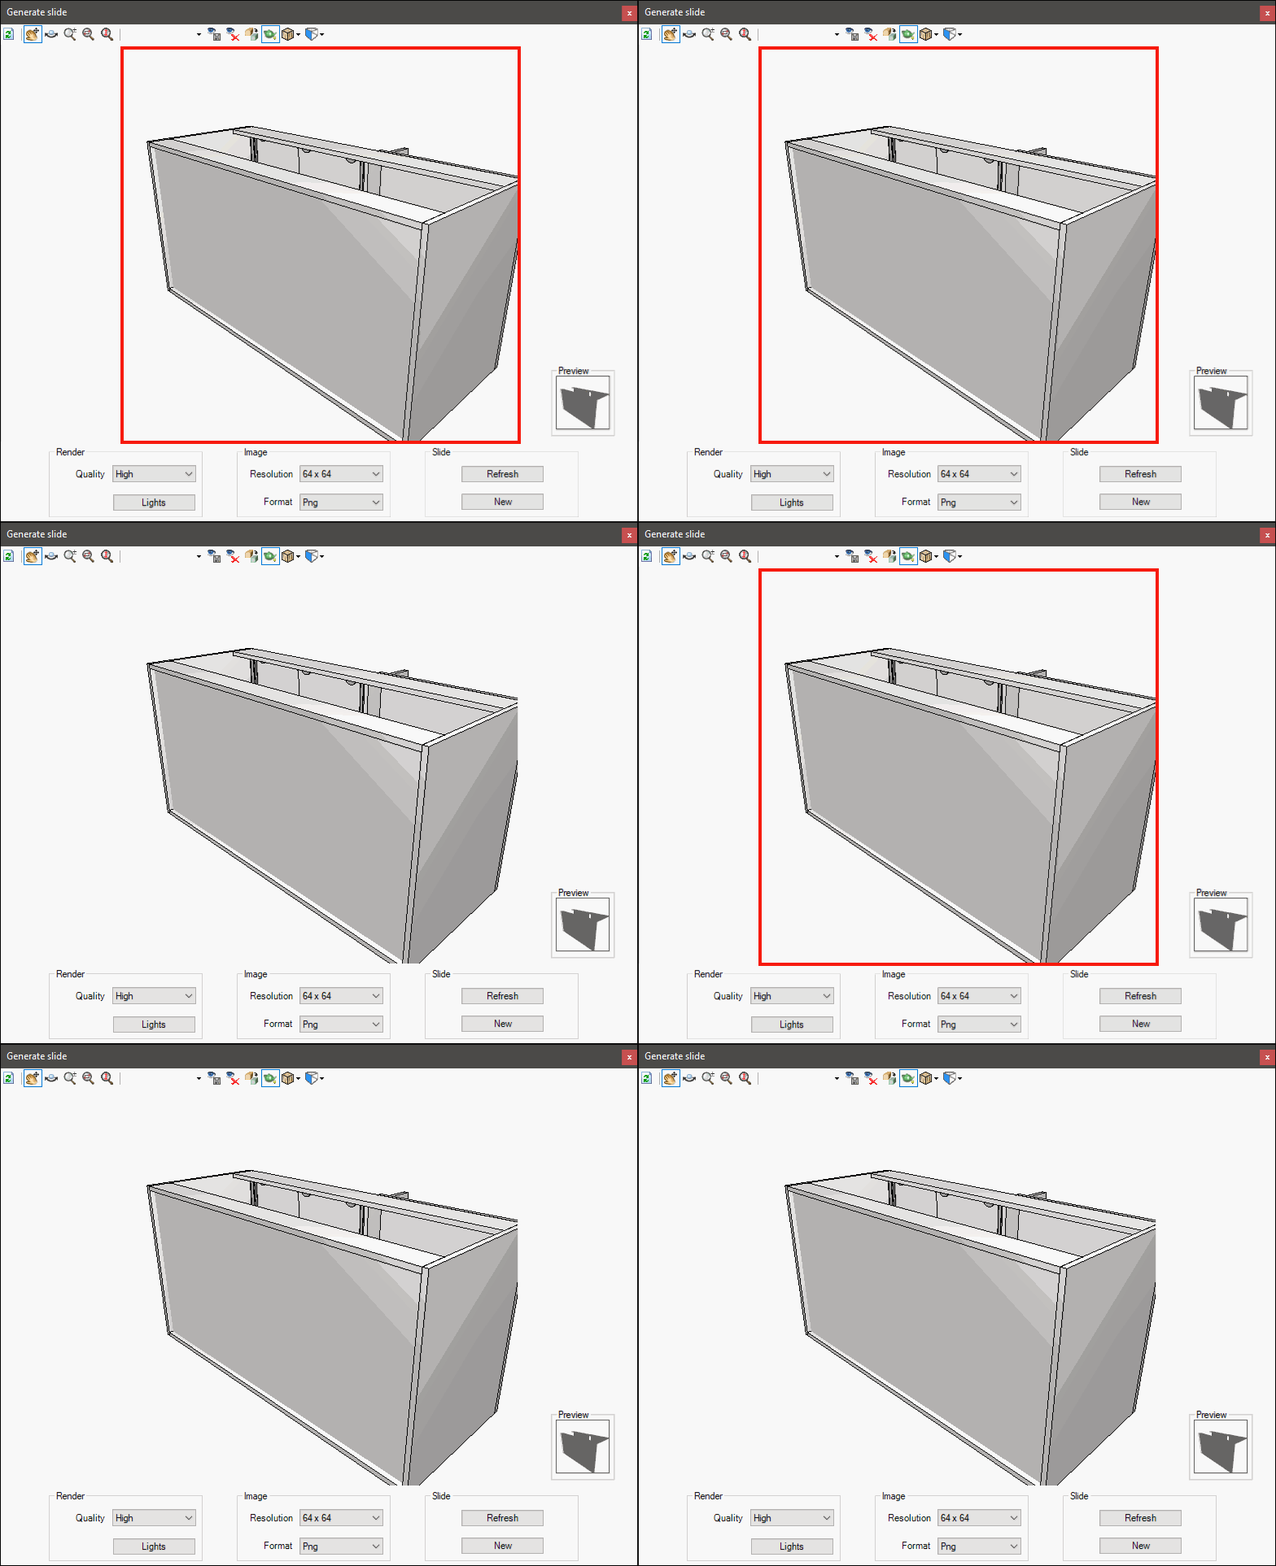
Movement Area: It is possible to view and move the item to find the best position to generate the slide
Render configuration: It is possible to change the quality and intensity of the light to generate the image through the render.
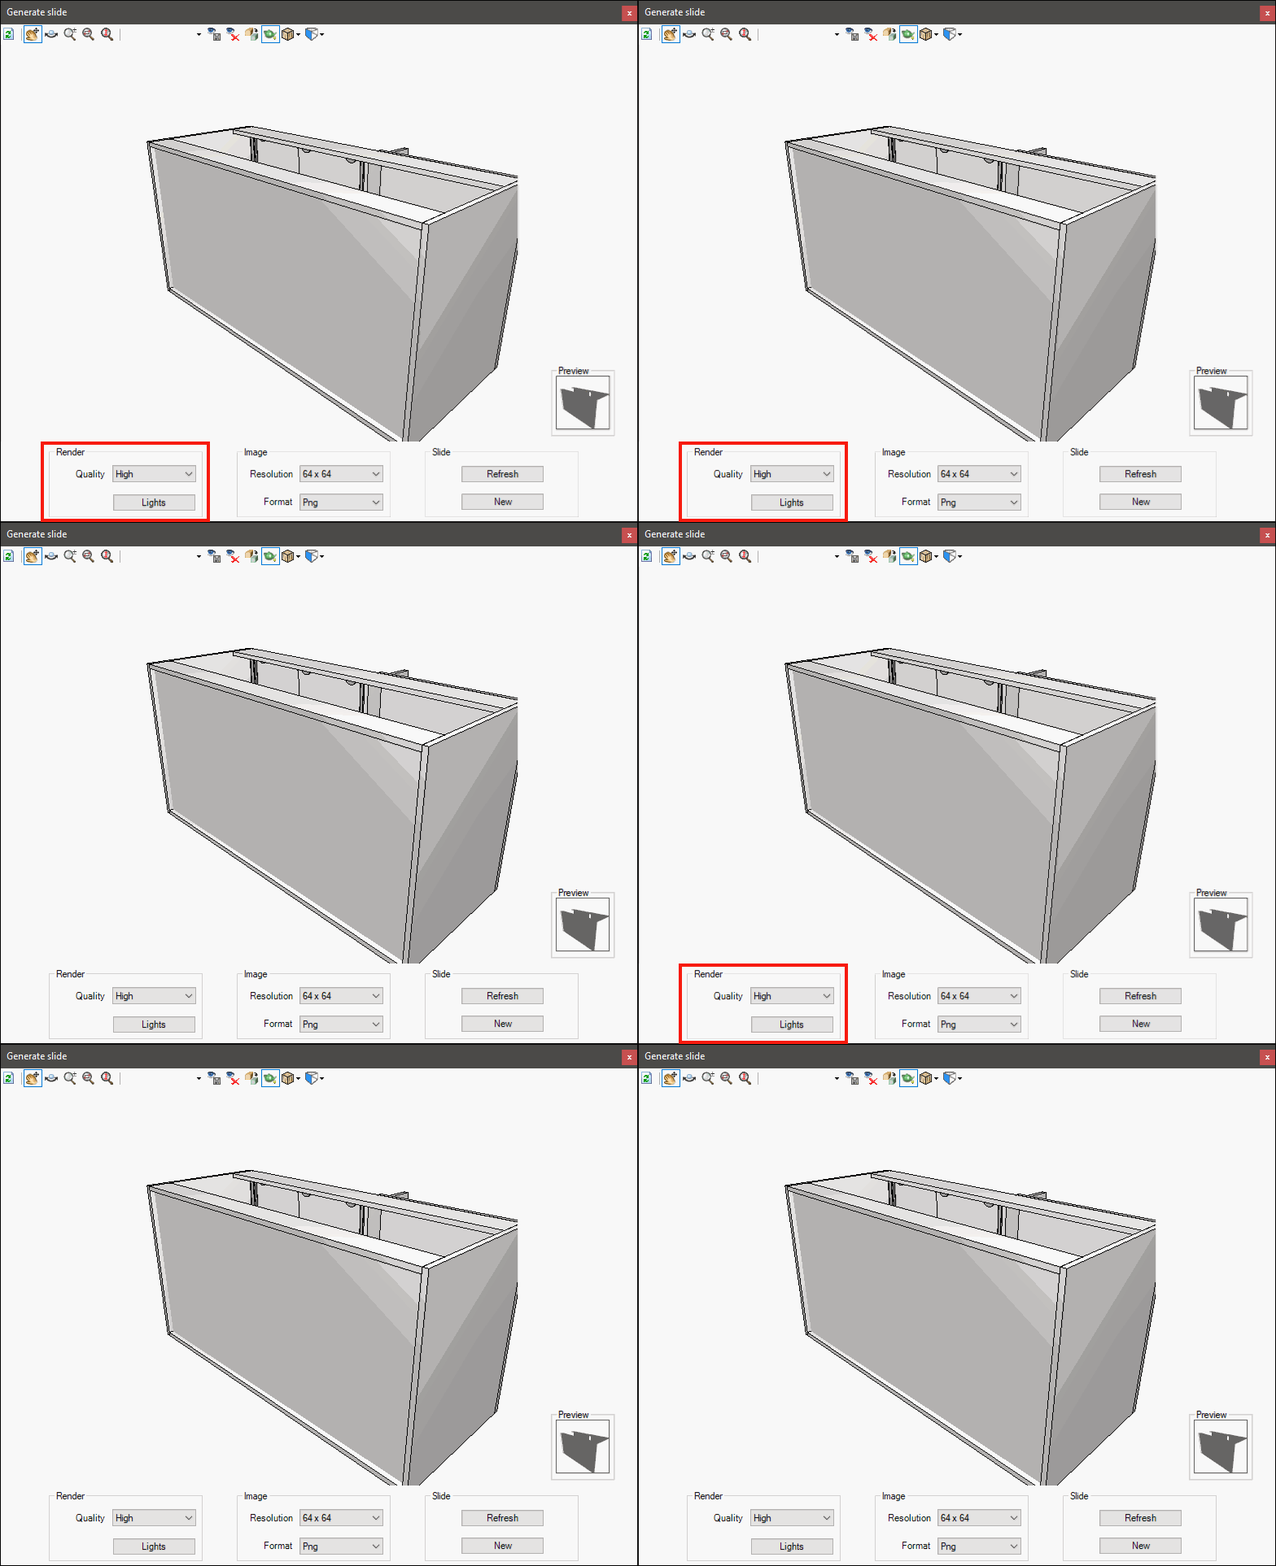
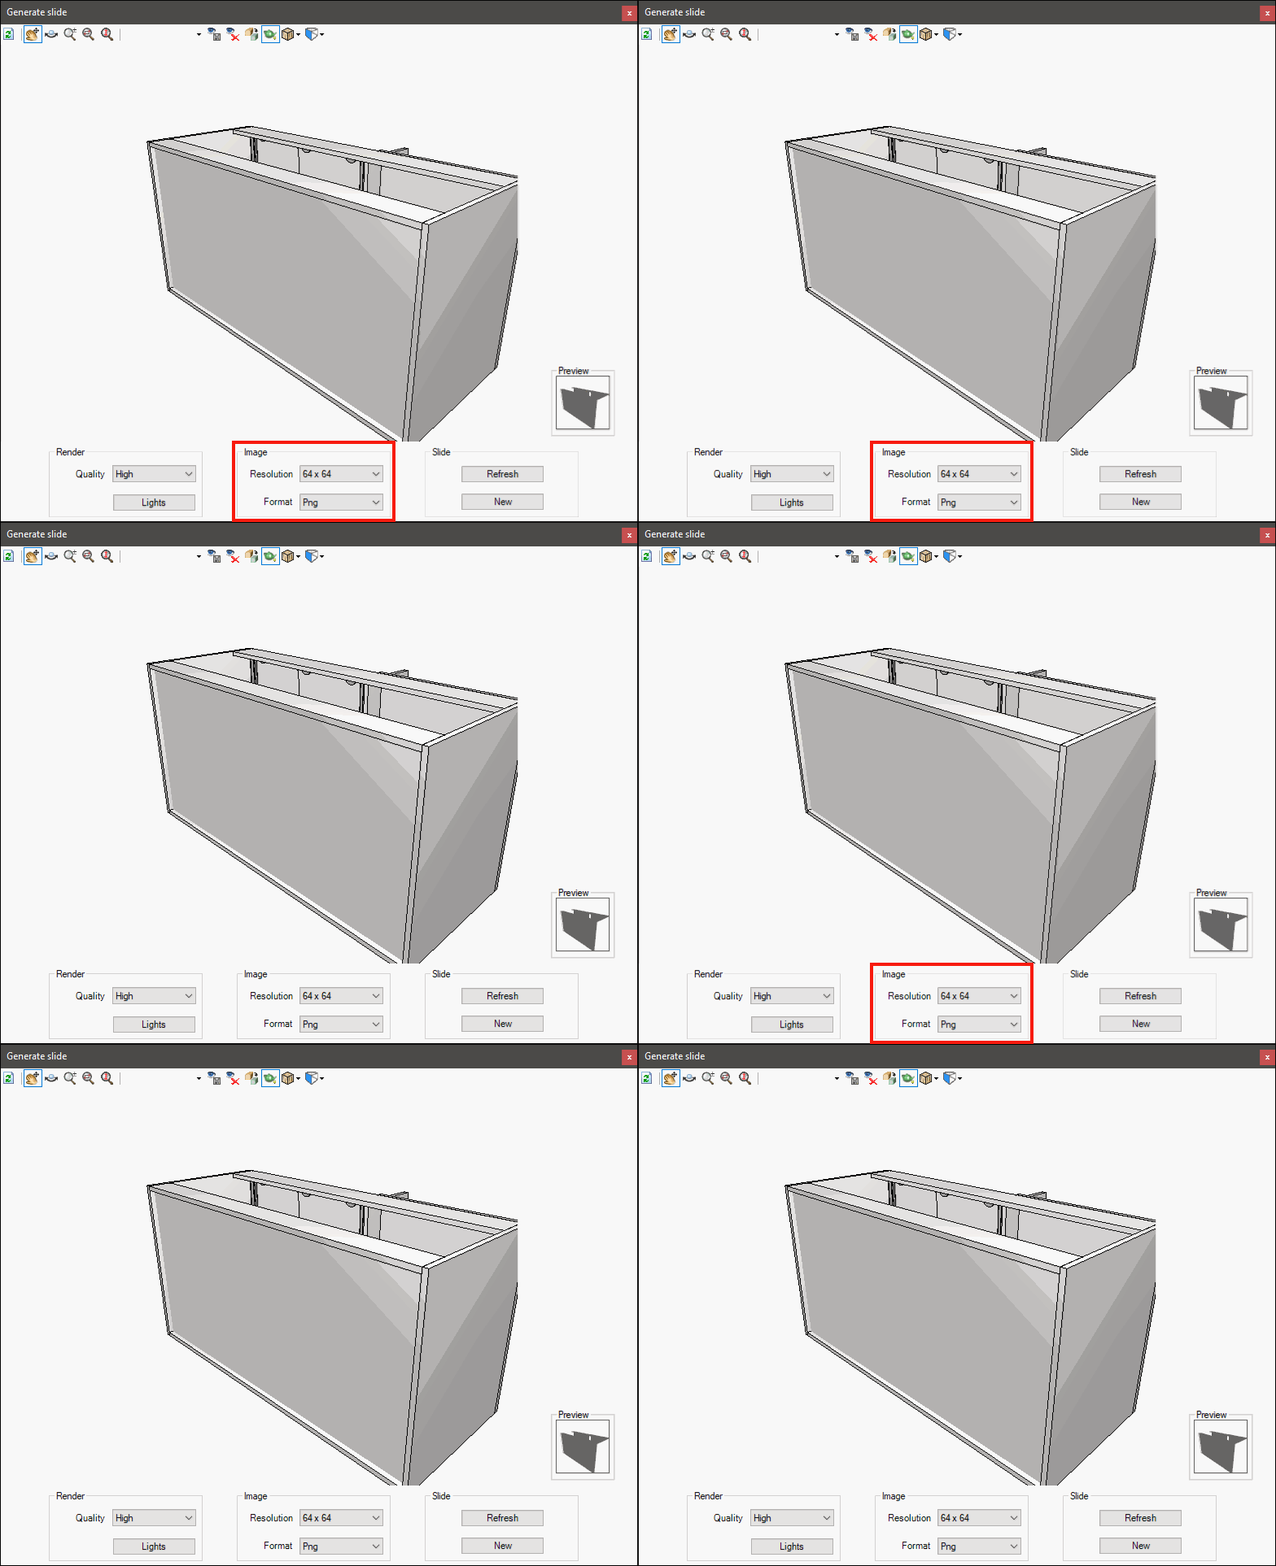
Image Configuration: Configuration area for resolution and image format to be generated.
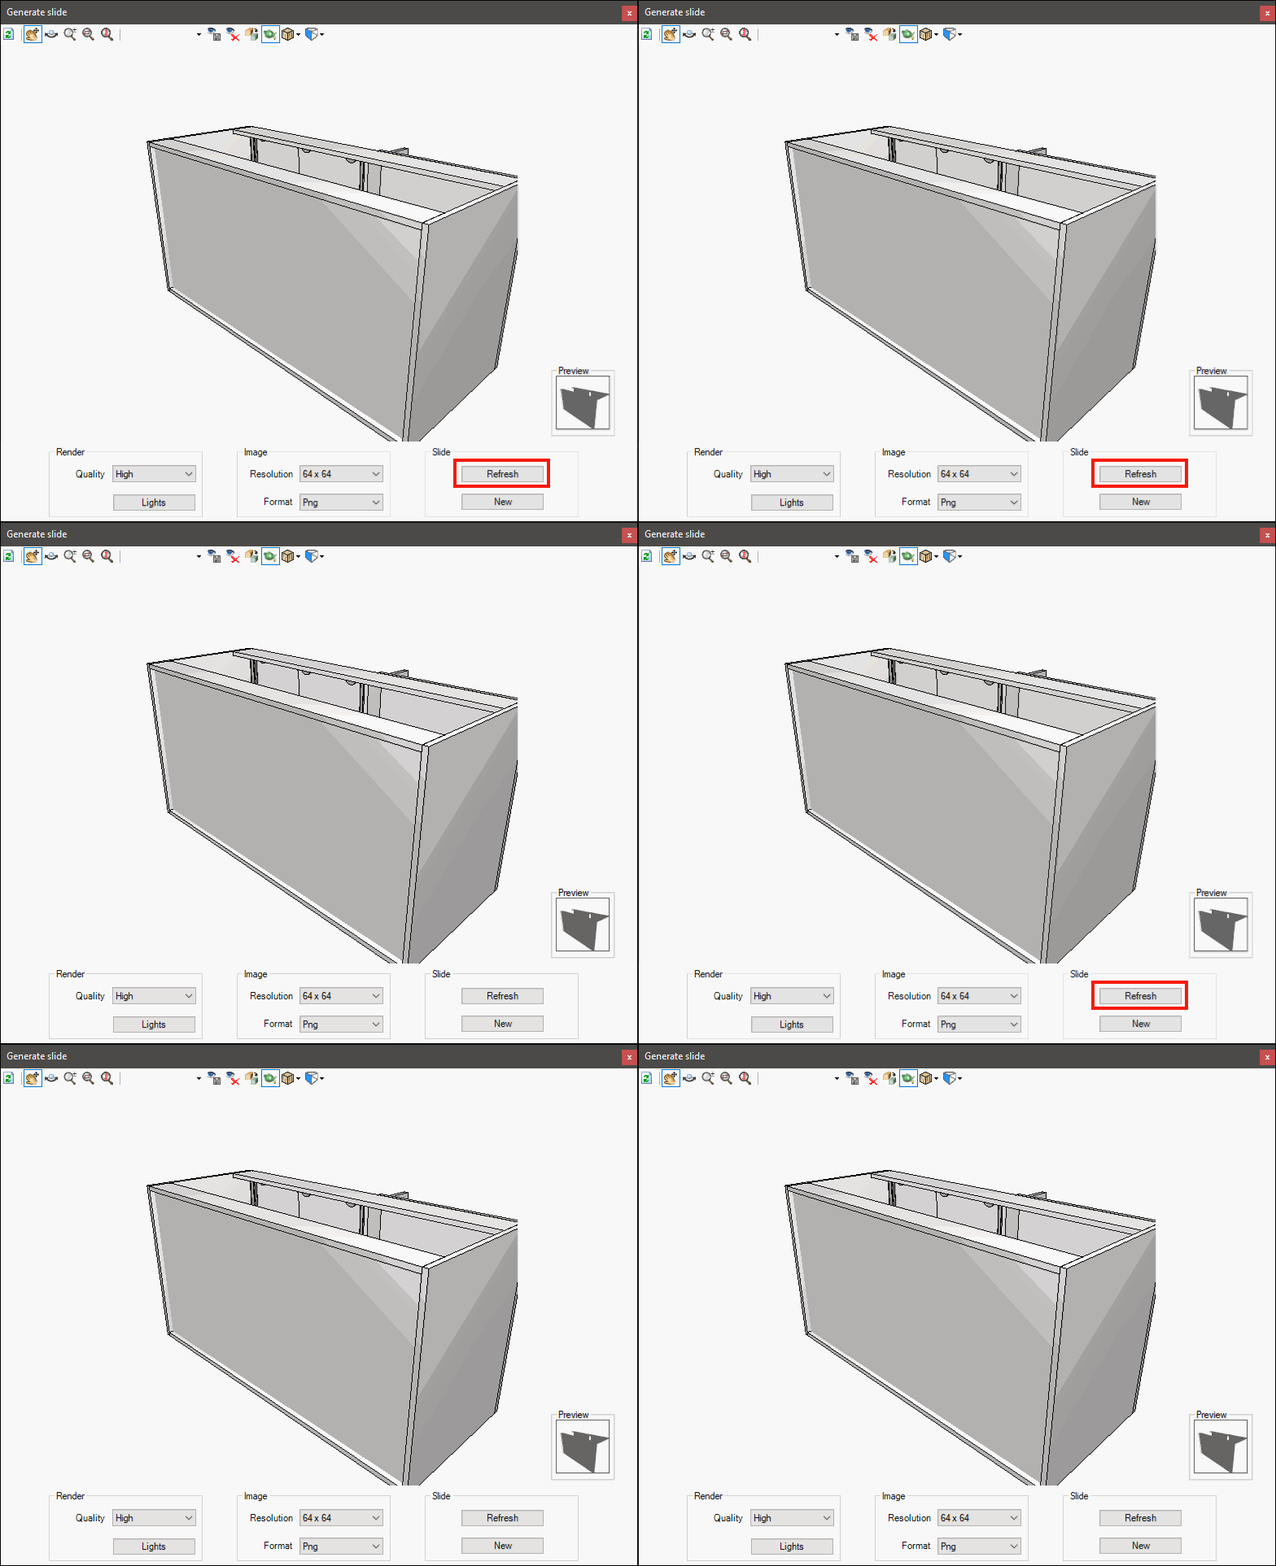
Refresh Slide: Allows you to update an existing slide.
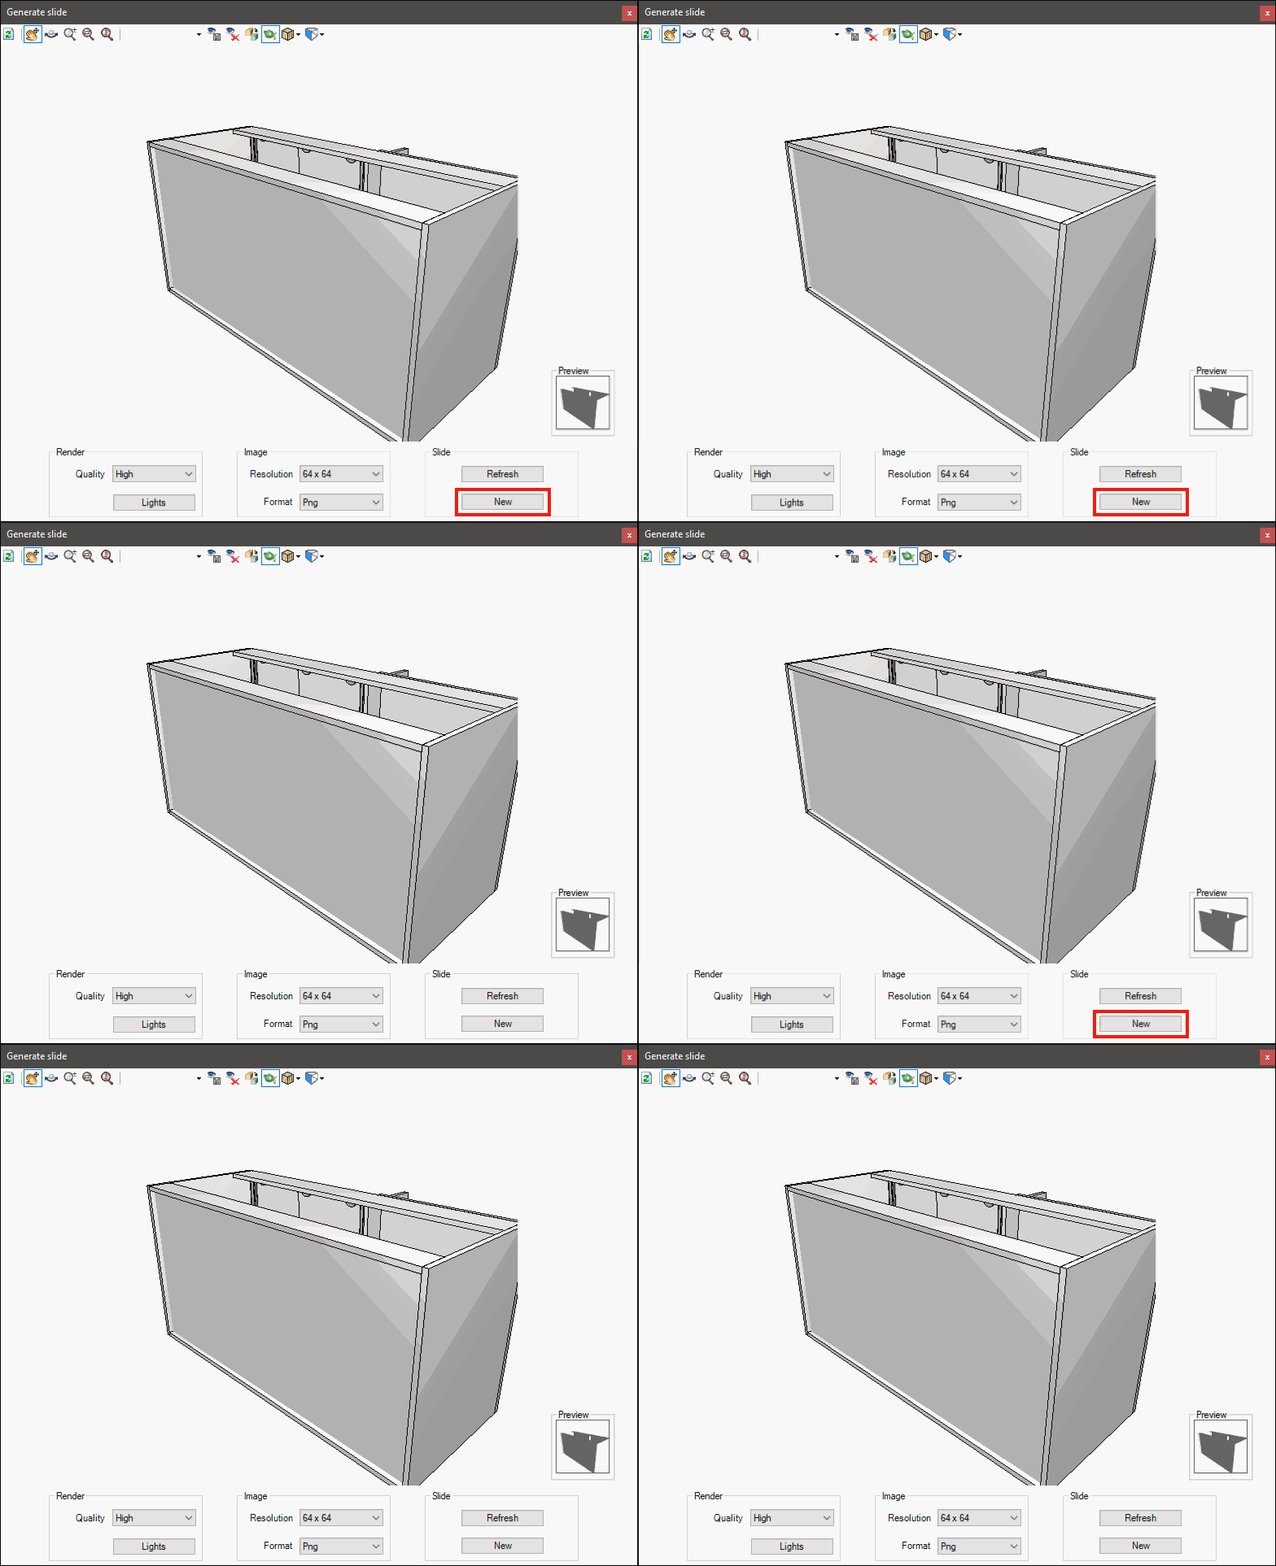
New Slide: Create a new slide.
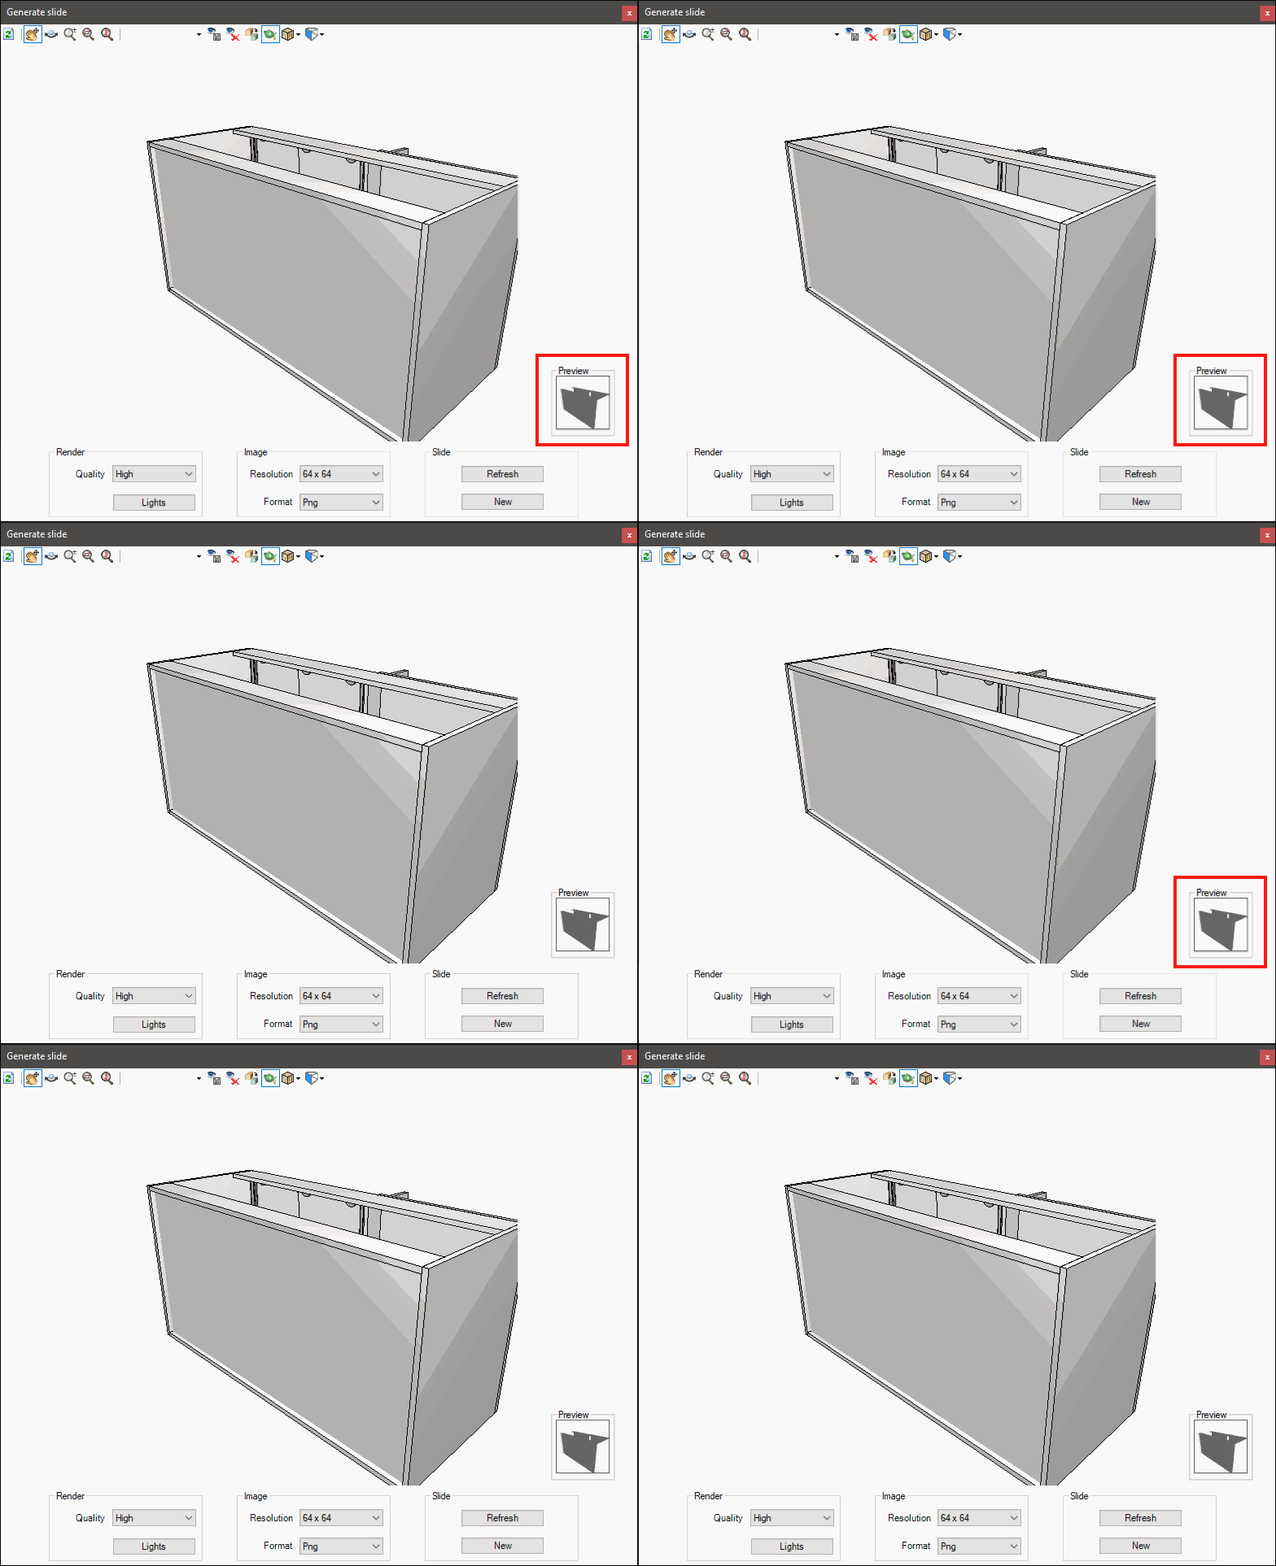
Preview: Allows you to view the slide that will be generated.
4. After the window is opened, place the item in the movement area. We recommend using the right isometric view.
5. Perform other settings as desired.
6. After making the desired settings, click New Slide if the item does not already have a slide, and click Refresh Slide if the item already has a slide.
7. Click Close. The slide will be added to the item in the modulation bar and in the module register.
IMPORTANT: If the slide is generated without rendering, it will not be possible to change the quality or the light, as both do not affect the generation of the image other than through rendering.
Example:

How to save view settings for slides?
It is possible to save the view in which the module is currently generating the slides to be used again in new slides.
To save the view settings for slides:
1. In the slide configuration window, make the necessary settings for a module.
2. Above the Move Area, in the View field, type a name for the configuration to be saved.

3. Click the Save Viewpoint button.

4. Click Close. The viewpoint will be saved and can be used when generating new slides.
How to import slides from modules?
Some modules may use images from suppliers such as slides, such as handles and wires. Therefore, it is necessary to import the images into the slides.
The images provided must follow some standards:
1. It must be at 64x64 resolution.
2. It must be in JPG format.
To import the images into slides:
1. Access the Registry - Modules menu.
2. Select the module to which the slide is to be imported into the Navigation Tree.
3. In Main - click on the Find icon to find the image that should be imported.

IMPORTANT: When performing the procedure to import the image, the image file in question will have a copy saved in the system folder.
4. After making changes, click the Refresh icon in the header.