In Mooble it is possible to manage floors in a fast and simple way. Let's see how this works!
How adding a new floor
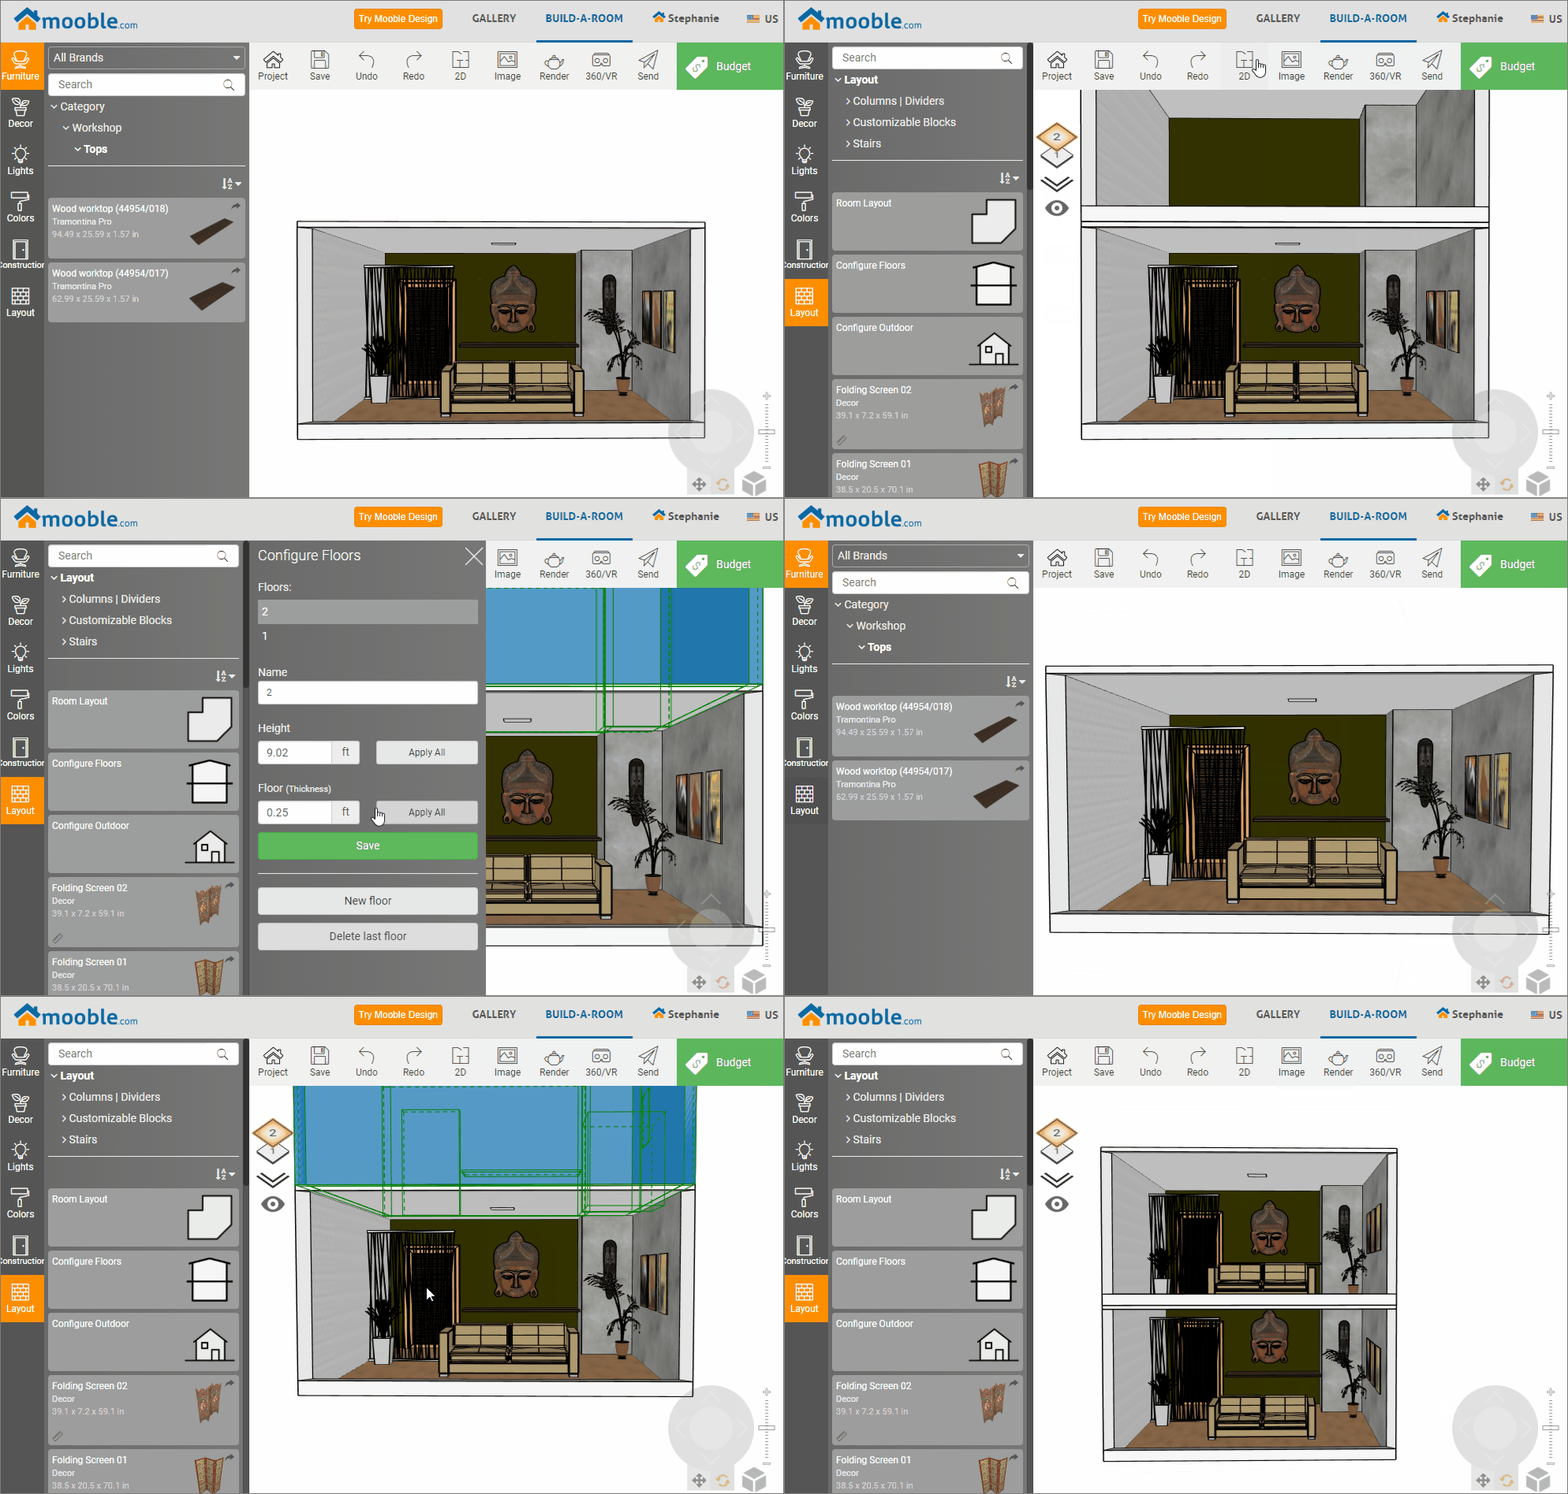
In Mooble you can add as many floors as you need. To do this, follow the procedures below:
1. Access the Layout menu on the left side and locate the Configure Floor option;
2. On the open screen, click New floor;
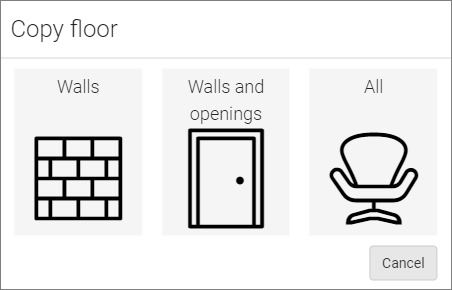
3. On the open screen you can select what you want to copy:
- Walls: only the walls of the lower floor will be copied to the new floor.
- Walls and openings: in this case all walls and openings are copied.
- All: by selecting this option, the entire lower floor will be copied, including walls, openings, modules, and decorations.
How to configure floors
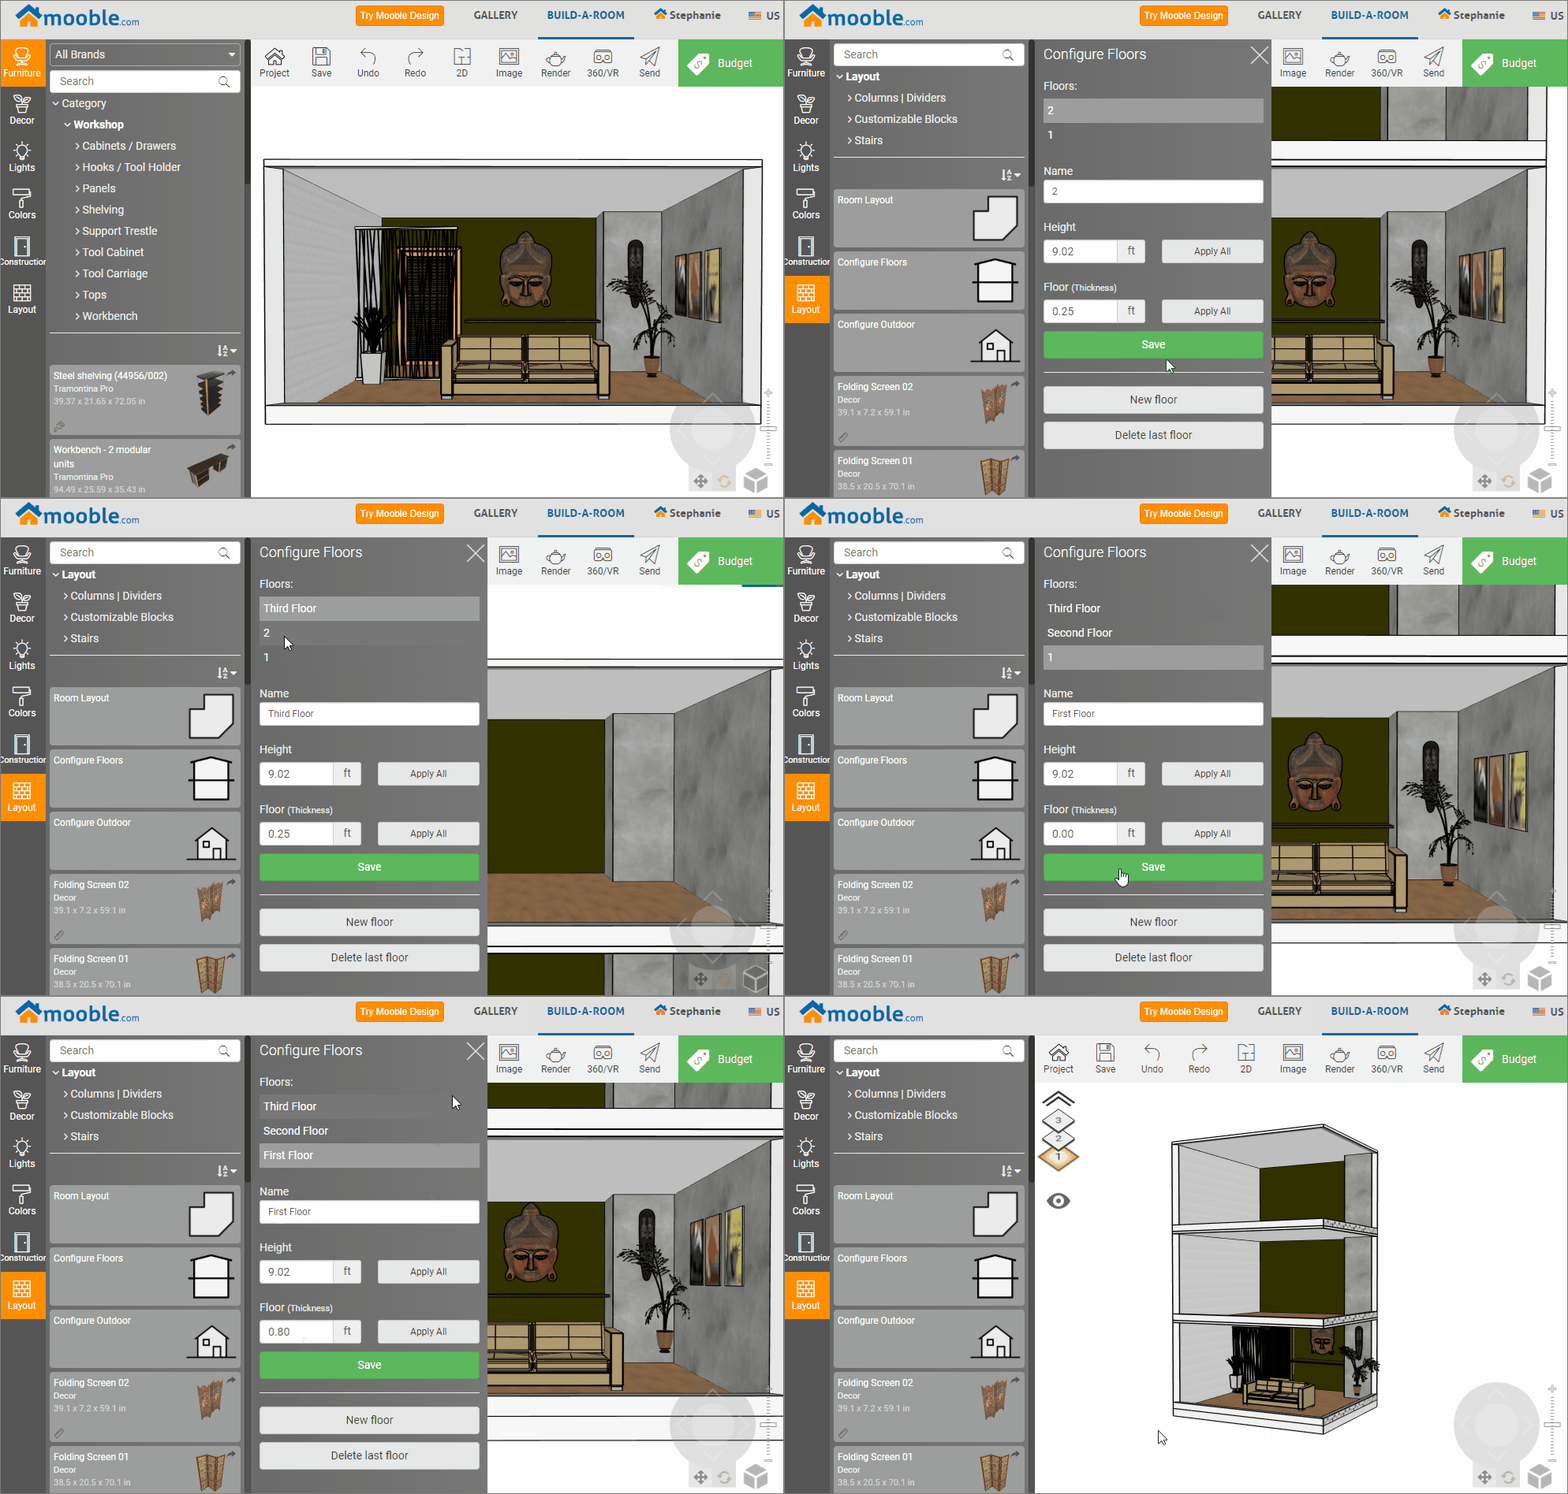
To configure the floors already created, follow the step-by-step described below:
1. On the left side, go to the Layout tab and select the Configure Floor option;
2. In the option Floors, select the floor you want to configure;
3. In these fields, you can change the floor name, wall height, and floor thickness. After making the client changes in Save;
How excluding a floor
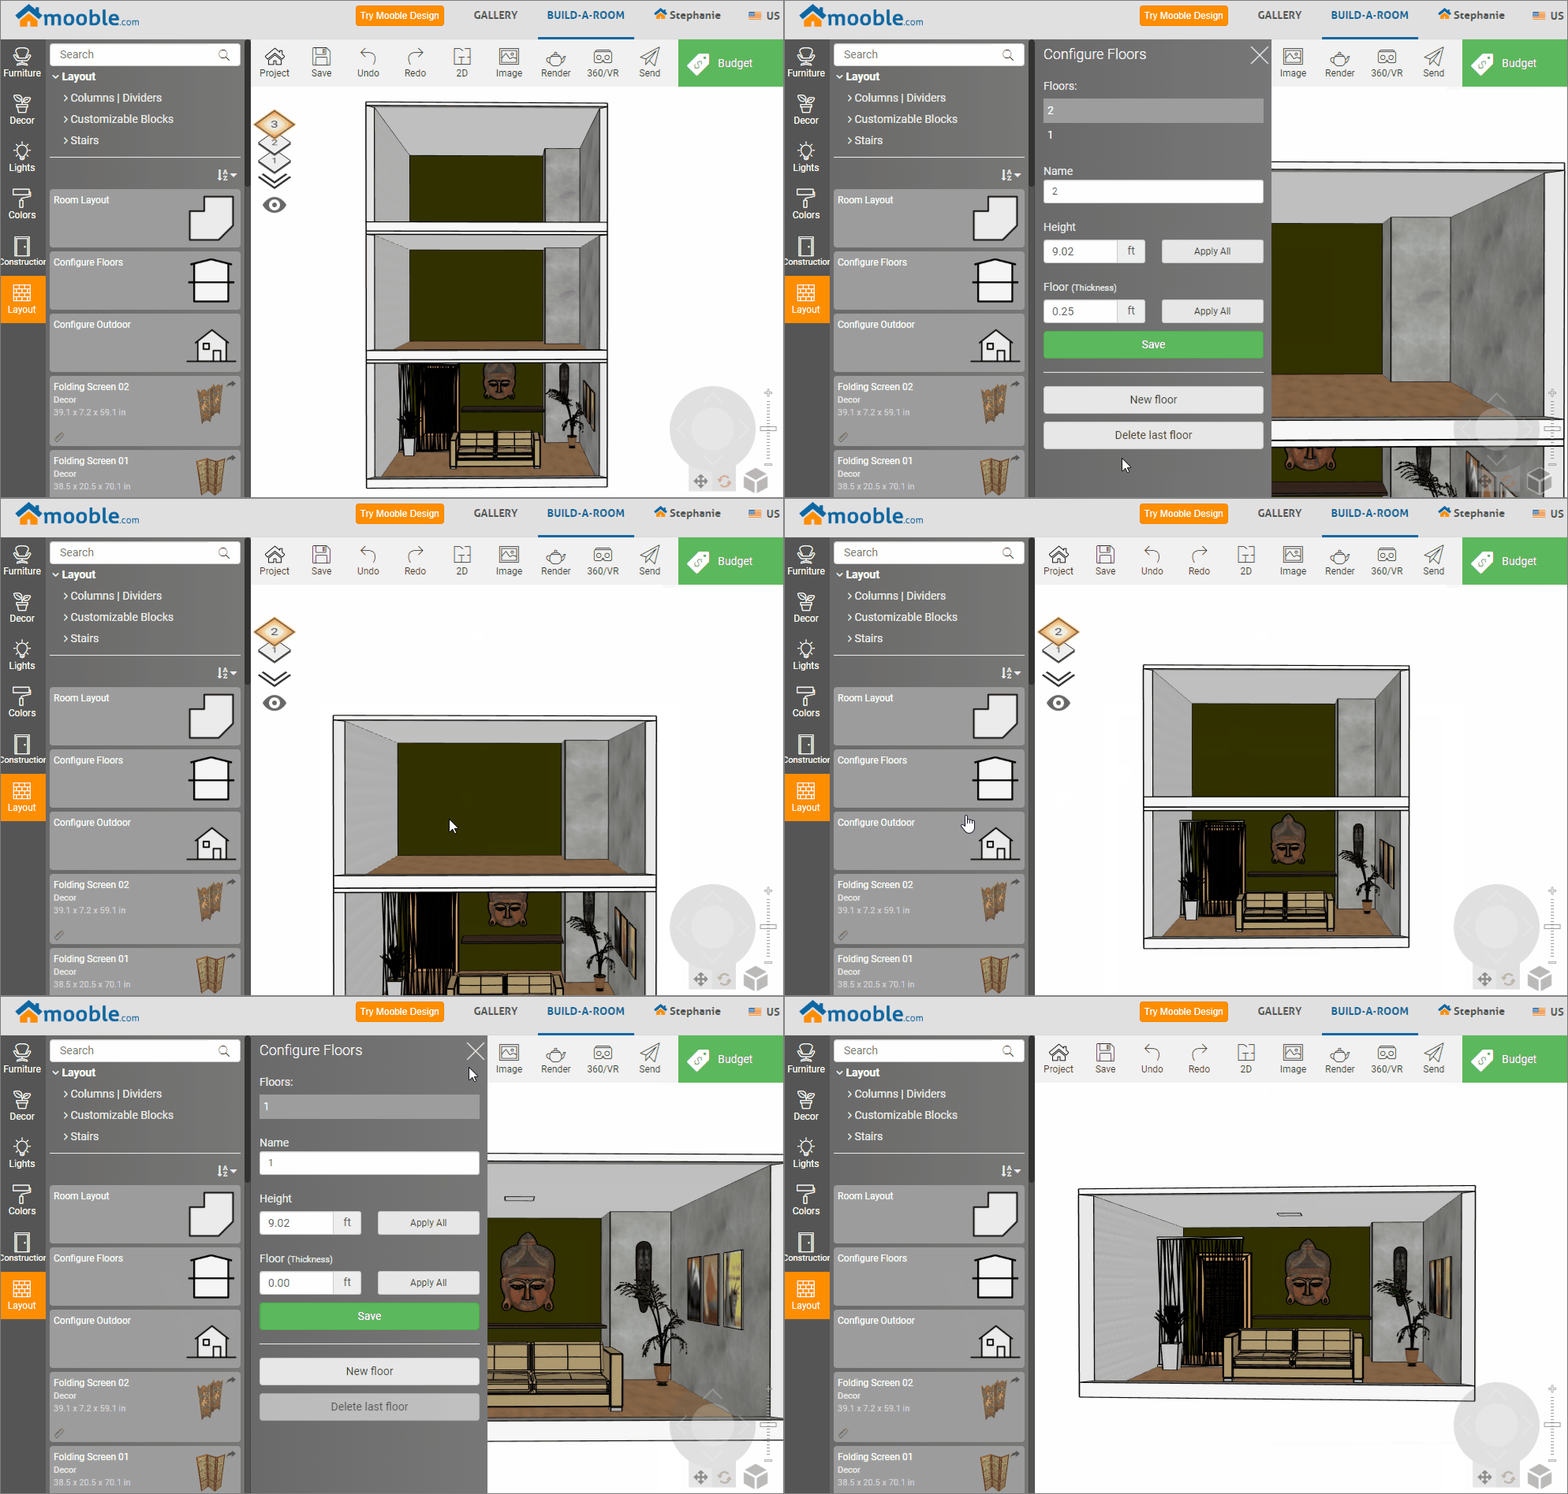
In Mooble you can only exclude the top floor of the design. To do this, follow the procedures below:
1. On the left side, go to the Layout tab and select the Configure Floor option;
2. On the open screen, click on Delete last floor;
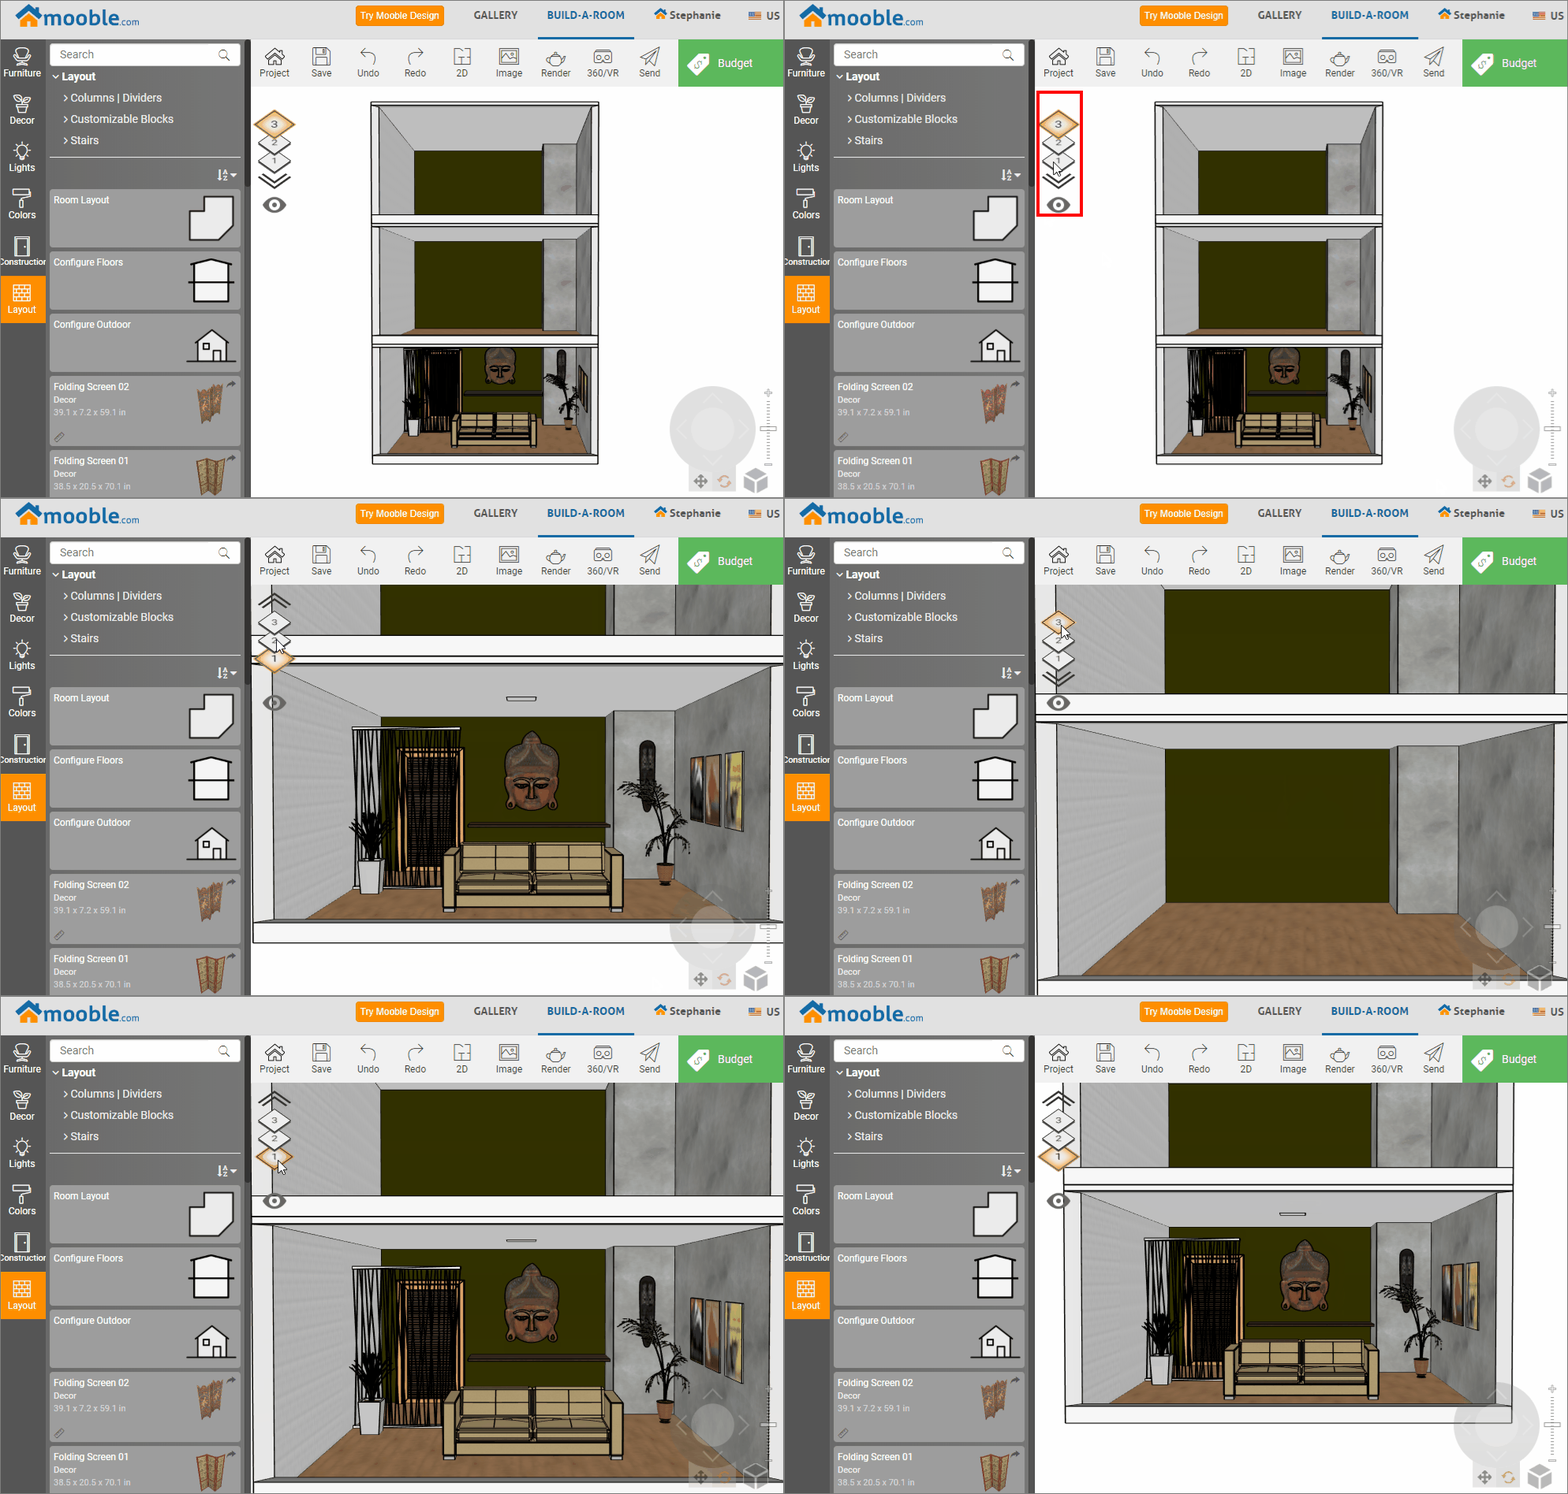
How to navigate between floors
Navigation between the floors is quite simple. Shall we see how it works?
With the floors already built, on the icons in the top left corner, we can click on the floor we want to work on. Or use the arrows to navigate between them.

By selecting one of the floors and disabling the eye icon, only the selected floor will be displayed, the others will be hidden until the eye is enabled again.
