Promob Cut Pro offers different models of labels. To access them:
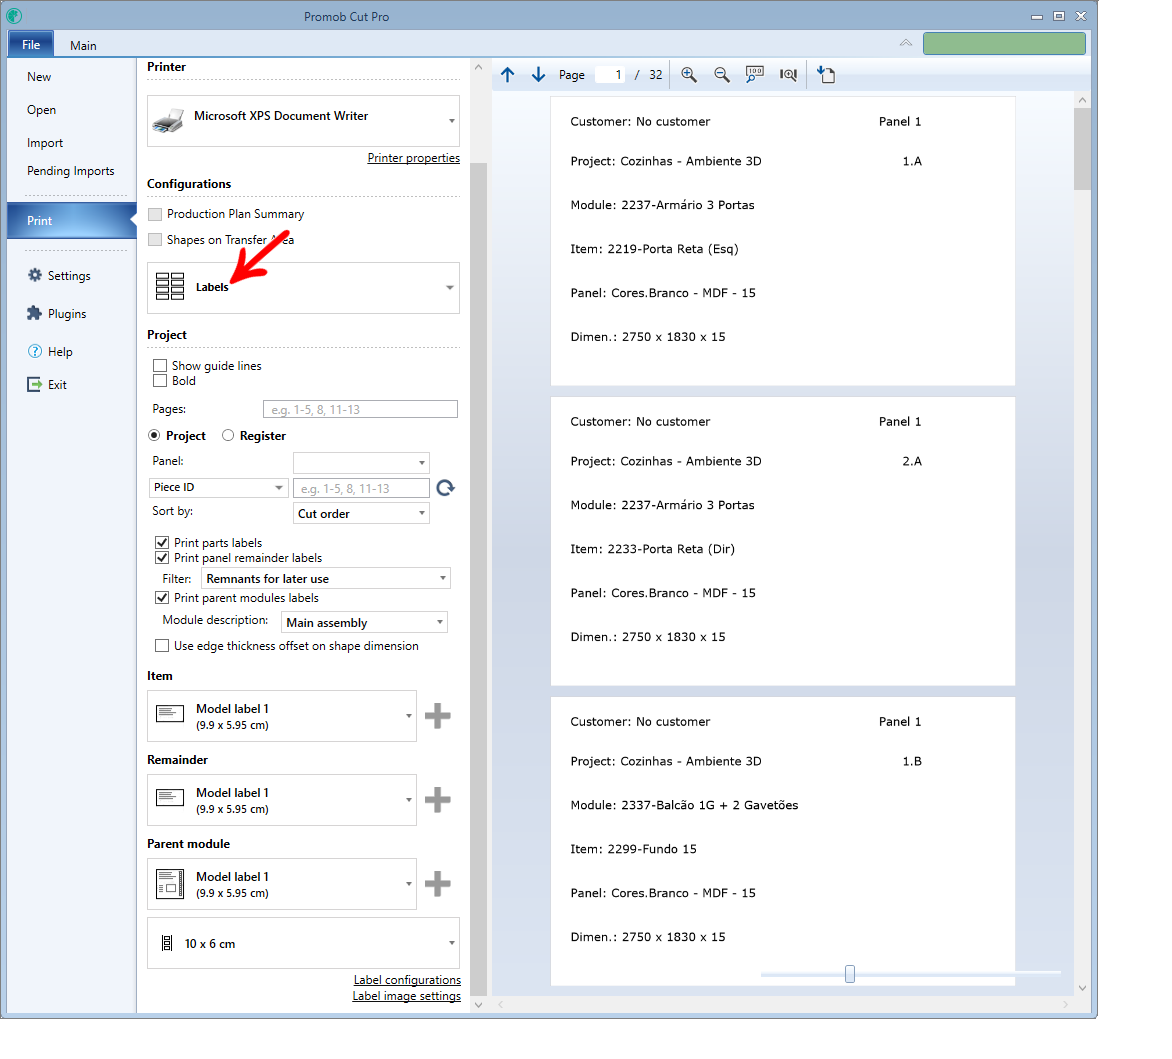
 1. Access the Main - Print menu:
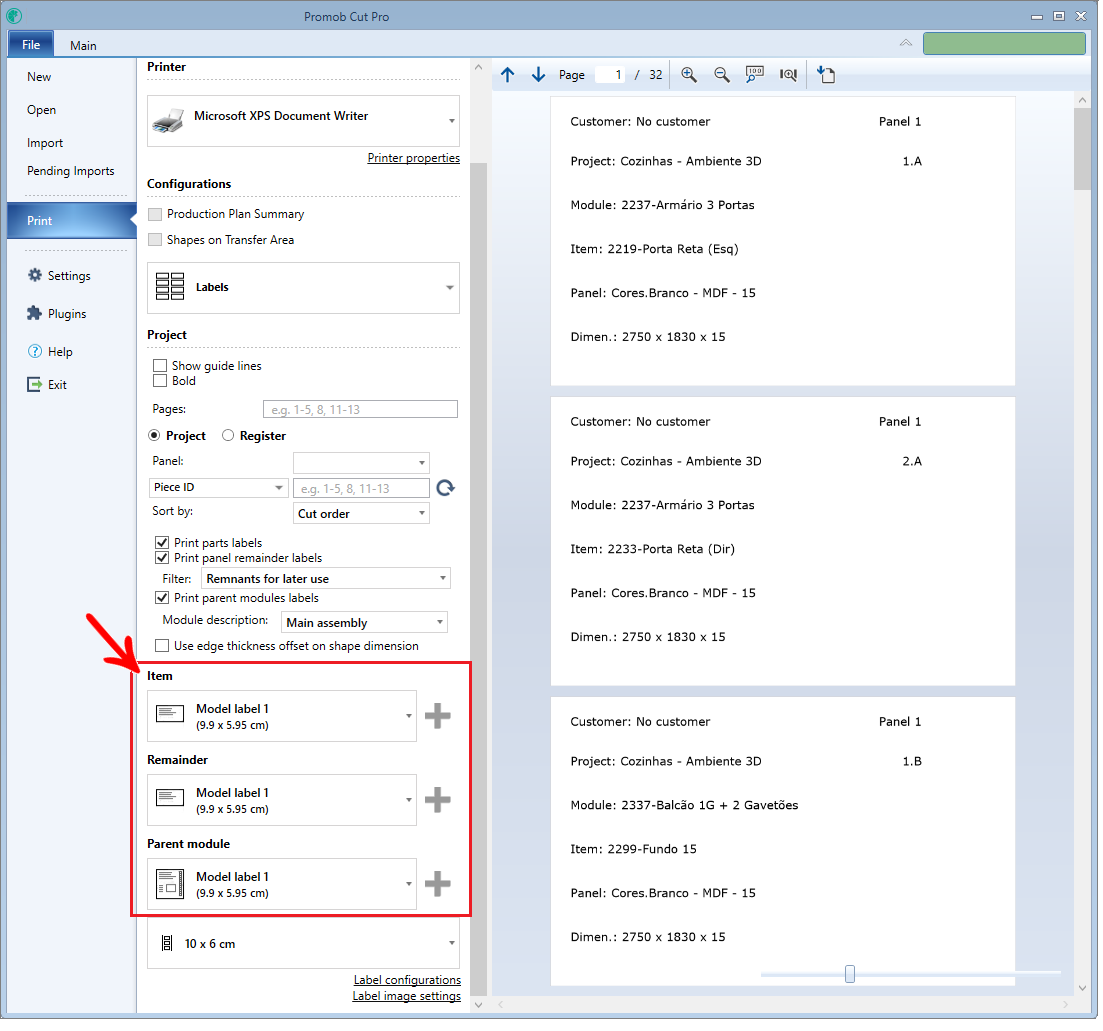
2. Select the Labels option. The following screen will appear:
3. In Project, select the label you want to print.
IMPORTANT: You can print labels individually, by selecting only the type of label you want to print.
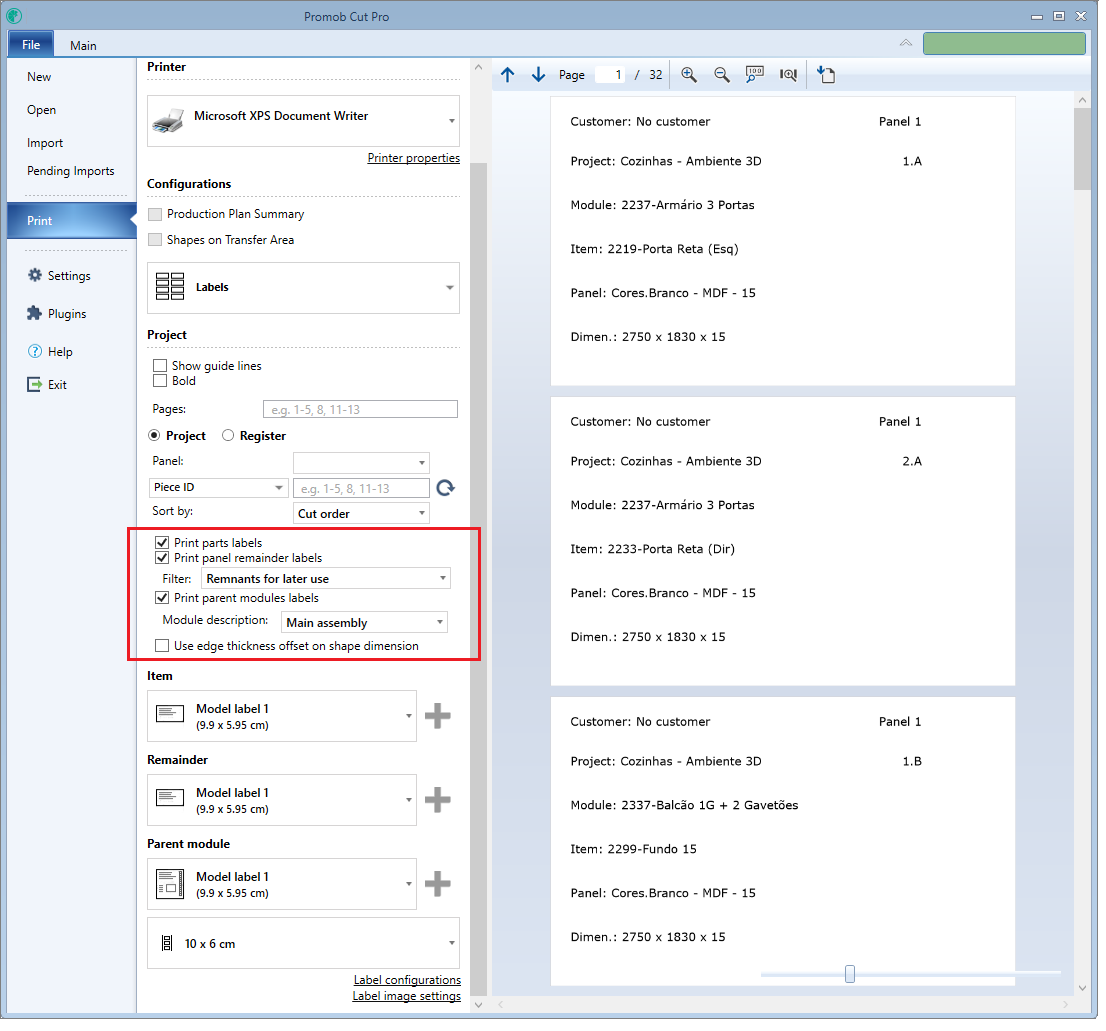
Print part labels: with this option enabled, Promob Cut Pro will print labels for each part in the project.
Print remainder of labels: With this option enabled, Promob Cut Pro will print the labels of leftovers.
To learn how to save leftovers from the cutting plan, click here.


Print labels parent modules: With this option enabled, Cut Pro will print the labels for the parent modules.
IMPORTANT: tags parent modules are generated only when there is integration with Promob. That is, the project must come from the Promob Plus or Promob Start, if a project received via.csv, for example, the labels parent modules will not be available.
Standard Label Templates
There are four standard models available, these are:
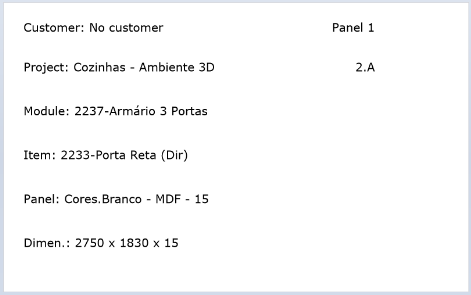
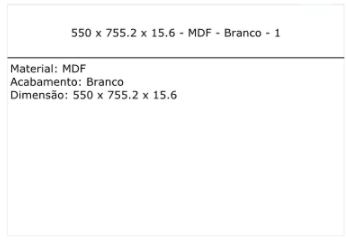
- Model 1: is the simplest model, composed of the information shown in the image below:
TIP: For Model 1 uses the 10x3 configuration.
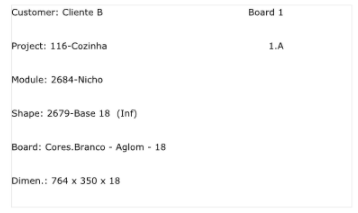

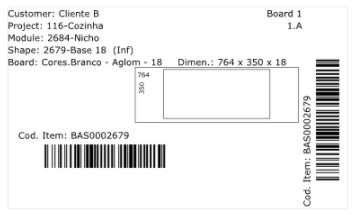
- Model 2: More complete model, composed of the information shown in the image below.
IMPORTANT: The horizontal bar code is the code of the machine program and will only be displayed when the machine programs have already been generated:

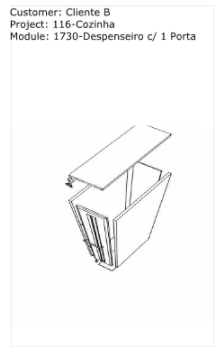
- Model 3: similar to the previous model, but the model 3 is intended for integration between Promob Start and Promob Cut Pro, it will display the design of the part arising Promob Start.
IMPORTANT: The horizontal bar code is the code of the machine program and will only be displayed when the machine programs have already been generated:
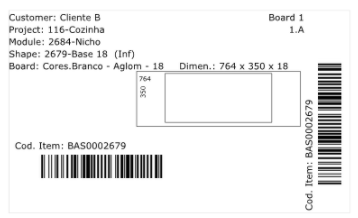
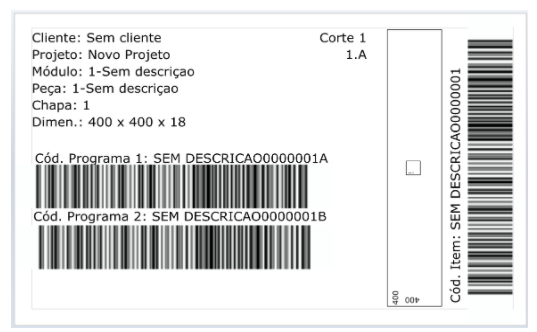
- Model 4: the most complete model, consisting of the information shown in the image below.
IMPORTANT: the horizontal barcode is the code referring to the machine program and will only be displayed when the machine programs have already been generated:
After the template is defined, the selected label template is displayed individually for the parts, remainder and parent module:
Custom Label Template
If the configurations mentioned above do not meet your demand, it is possible to customize the information displayed on the labels, for this:
1. In the displayed label template, click Edit.
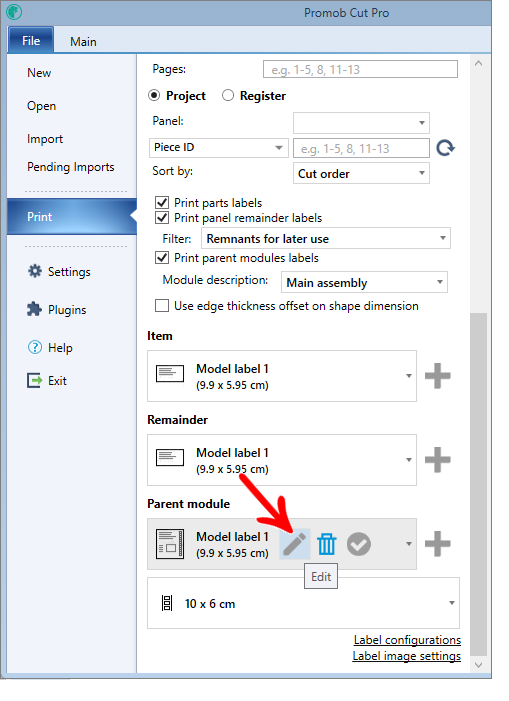
2. Change the desired information, rename the custom label, click Save As and Close.
You can set the size of the label according to your need, click here to learn more.
IMPORTANT: The barcode reader, in order to read the codes of the labels generated by Promob Cut Pro, must read Code 128 symbology. Barcode 128 is a linear symbology capable of encoding all 128 ASCII characters and a wide variety of special characters.