The settings of Panels are the settings of measurements and materials for each component of the modules.
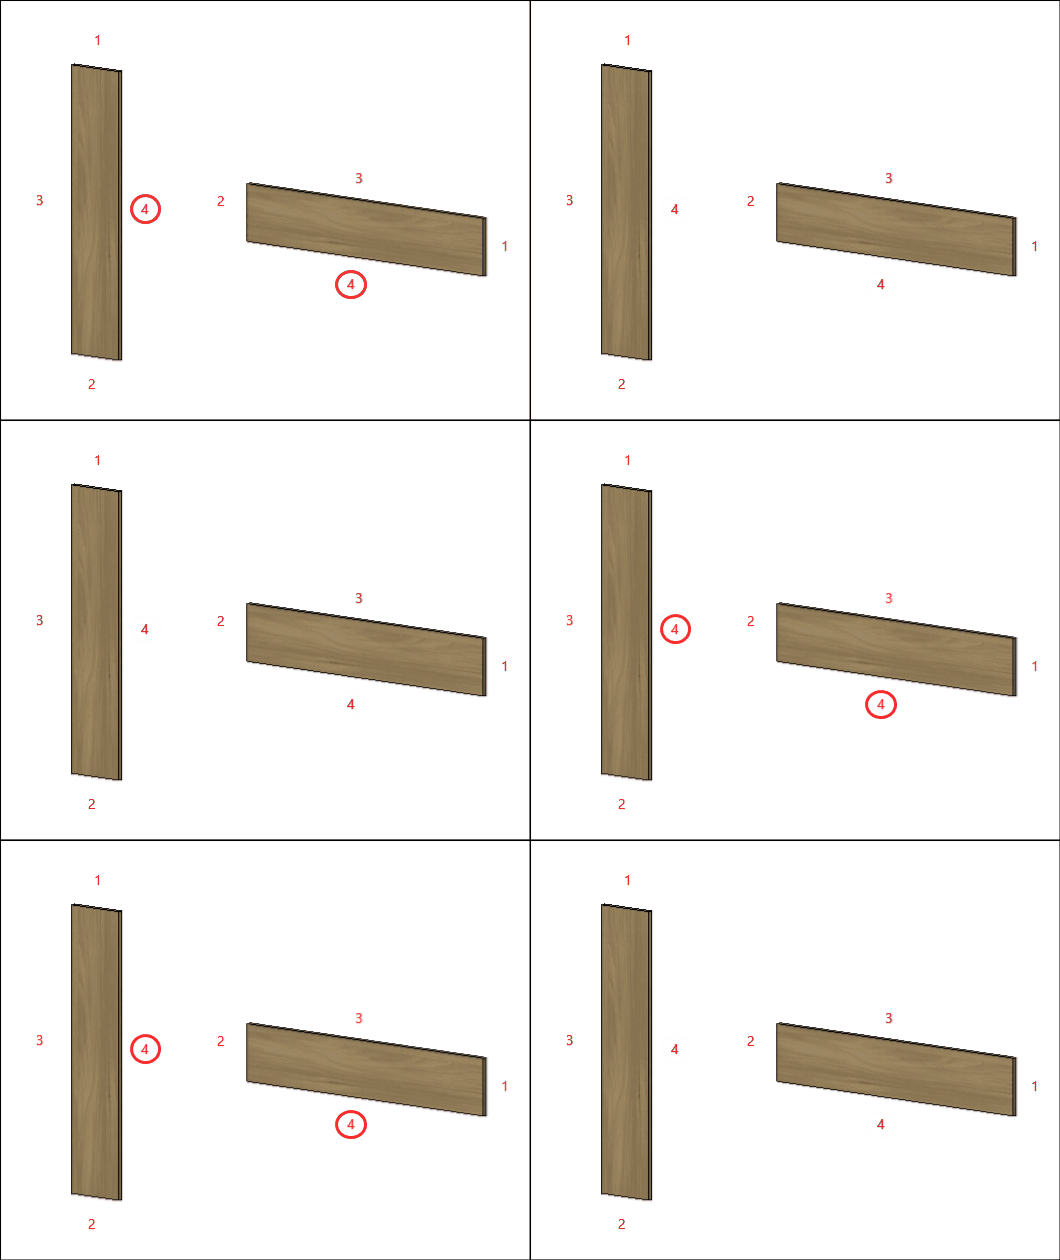
Check below, the definitions of each configuration available in Features Configurator - Kitchen - Panels. If necessary, see here how to apply dimension settings.
|
|
|
General configuration
A – Material: Defines the sheet material to be used in manufacturing the side of the module.
B – Panel Maximum Width: Defines the maximum width of the plate to be used in the manufacture of the module.
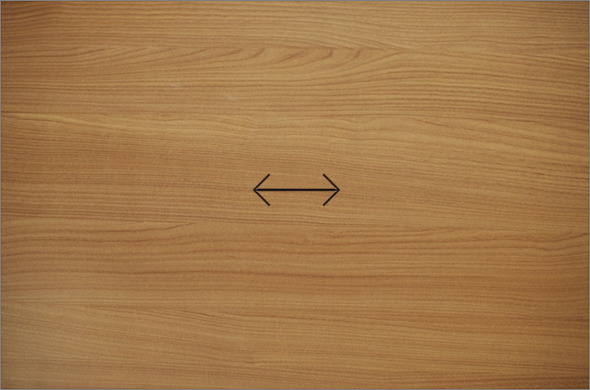
C – Panel Maximum Length: Defines the maximum plate length to be used in the module manufacturing.
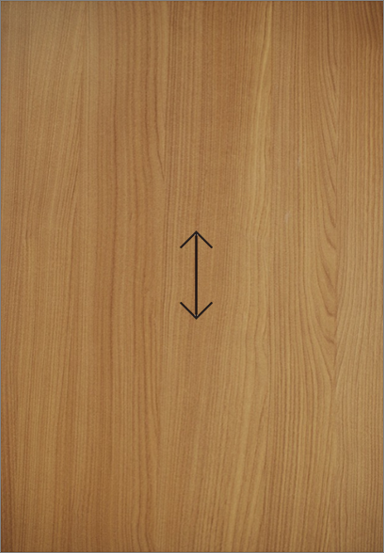
D – Panel Thickness: Defines the thickness of the panel to be used in the manufacture of the side of the module.


Side Panel
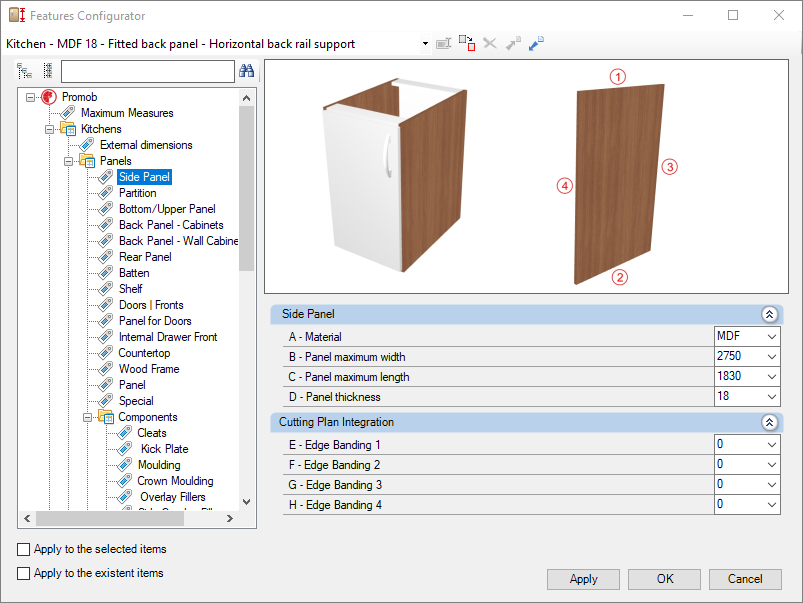
Check the settings for the Kitchen Side Panel library below:
Integration with cutting plane
To set up the chant, click here.
E – Edge 1: To cut planes that read the thickness of the ridge cap, set the thickness to Side 1.
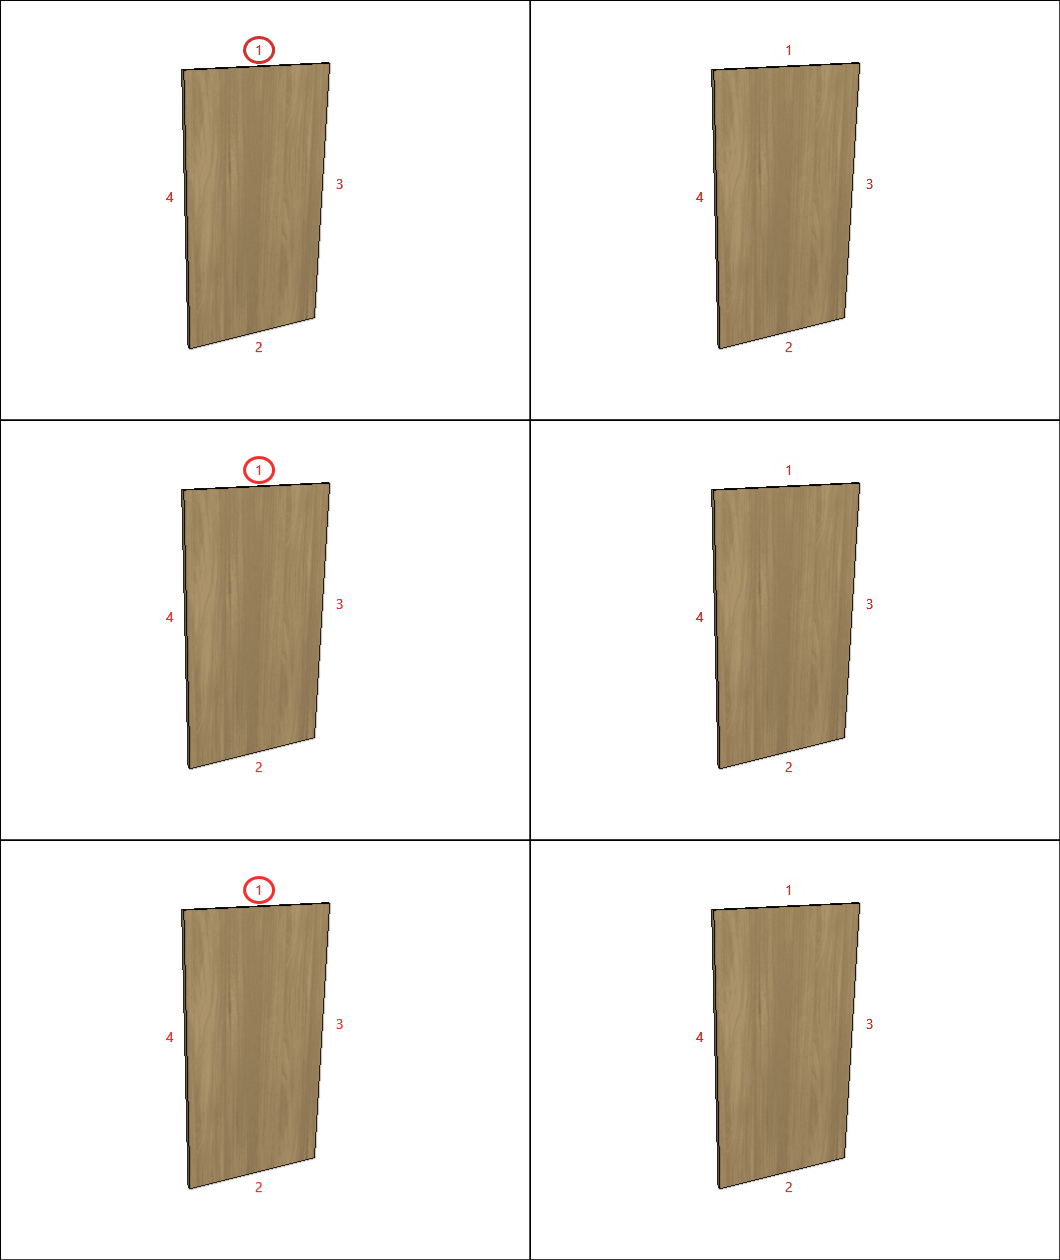
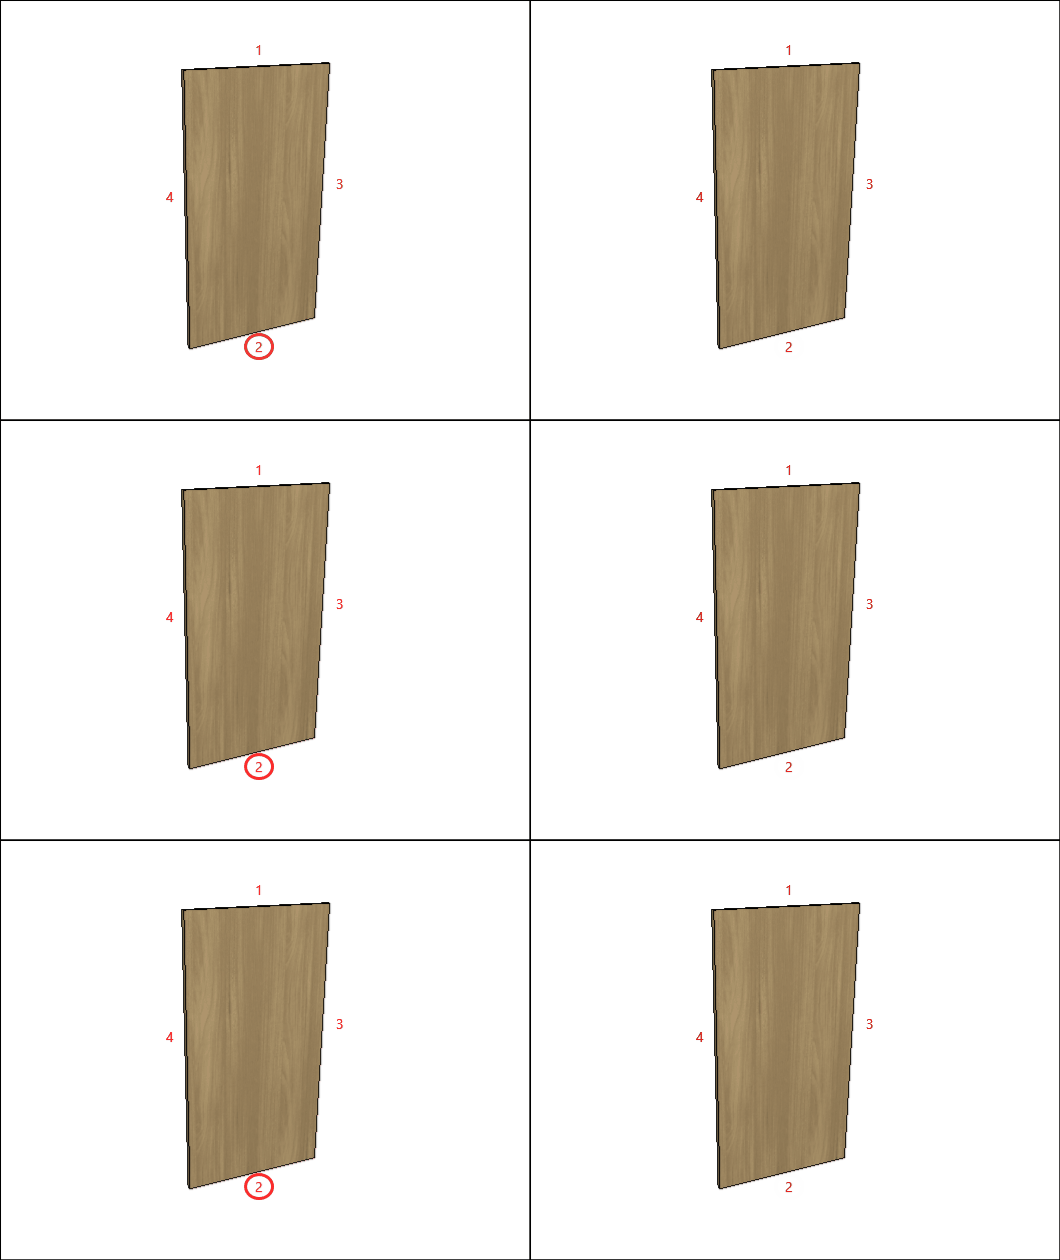
F – Edge 2: To cut planes that read the thickness of the ridge cap, set the thickness to Side 2.
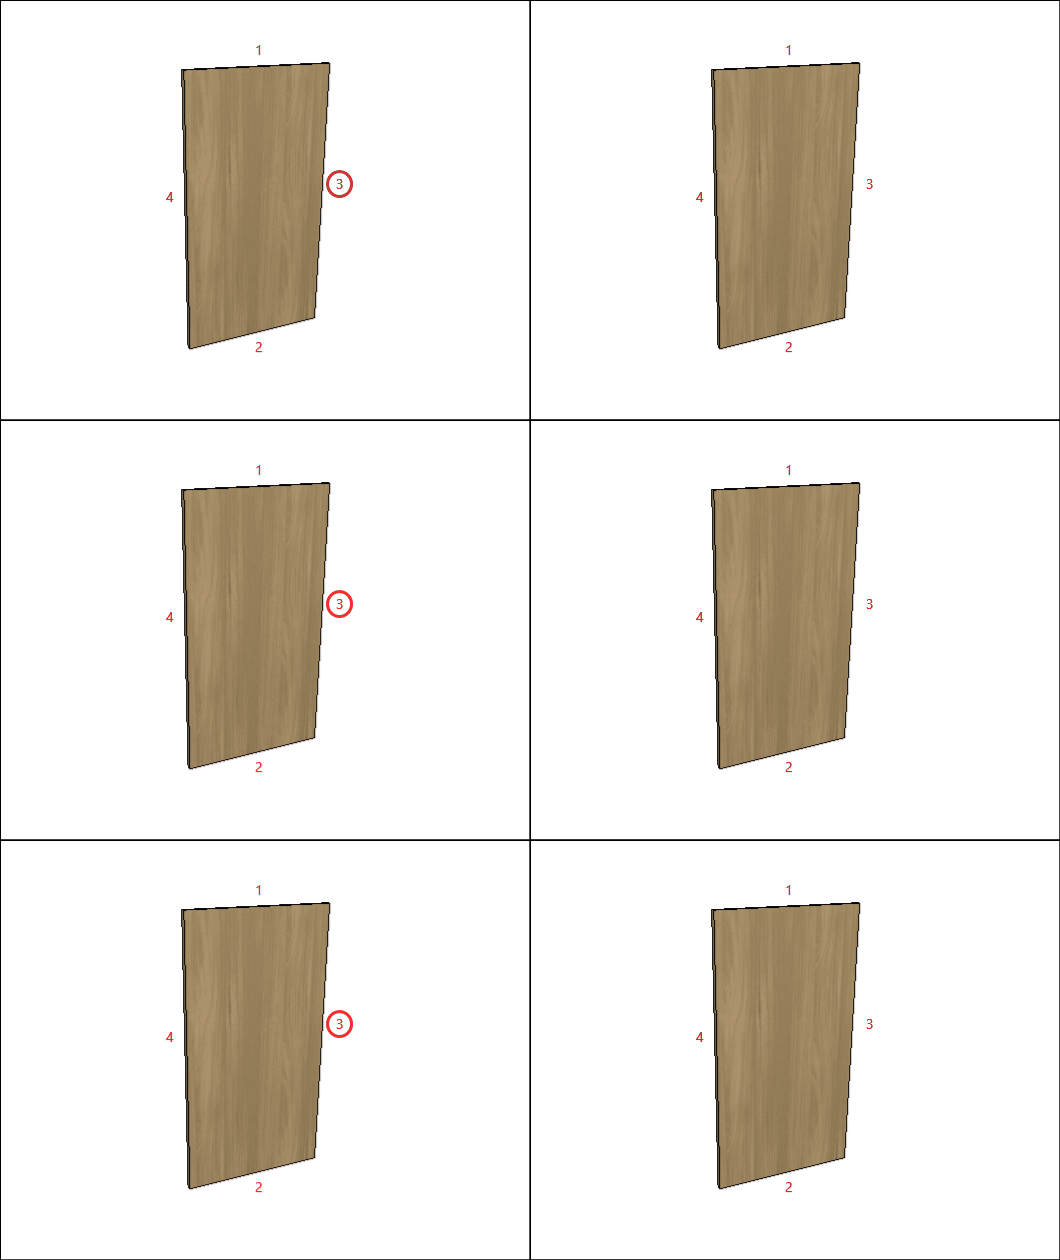
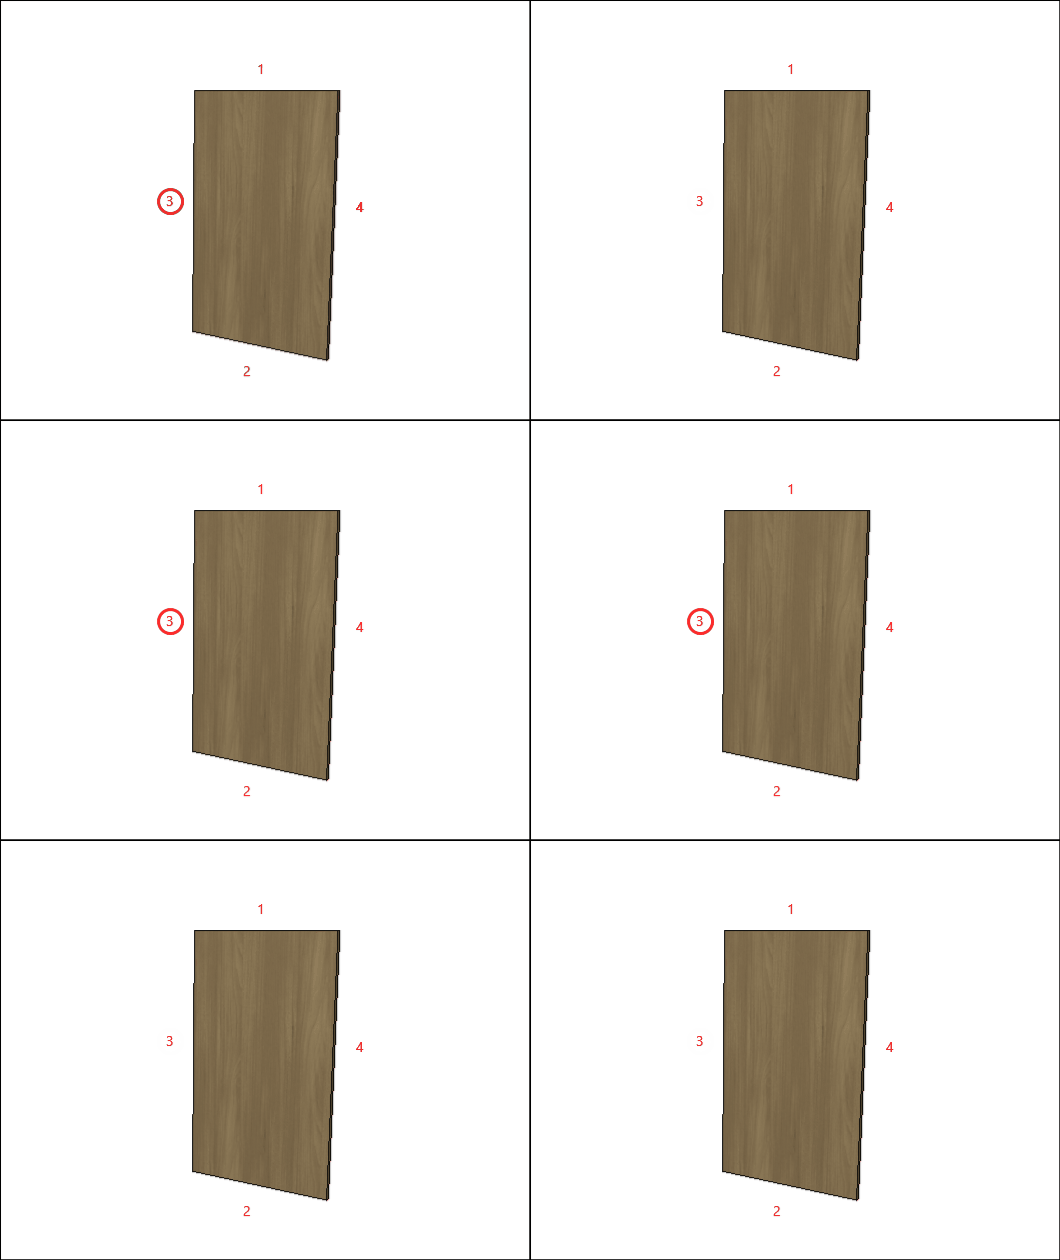
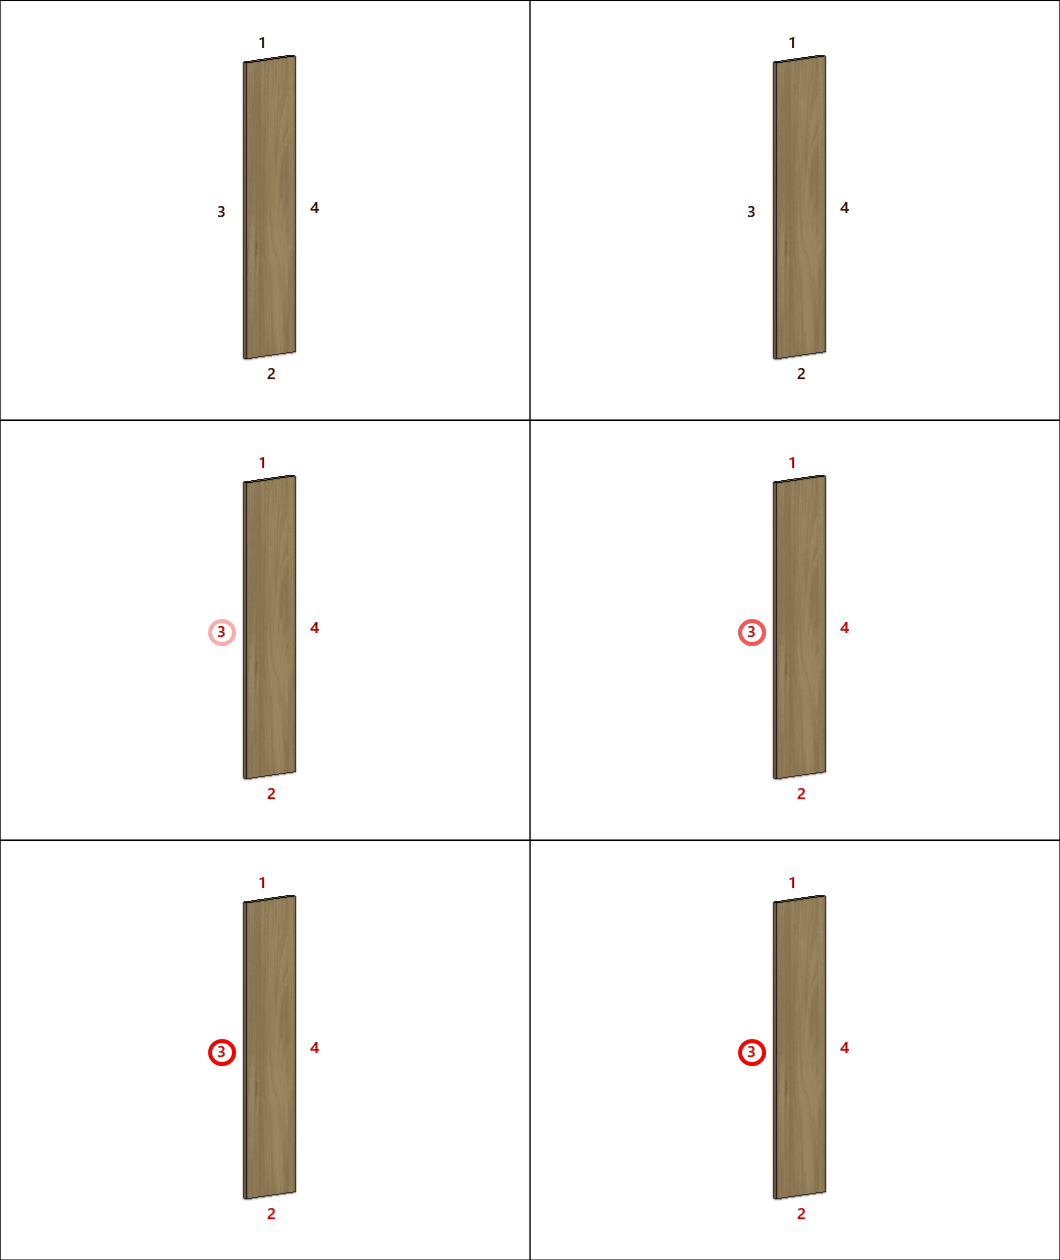
G – Edge 3: To cut planes that read the thickness of the ridge cap, set the thickness to Side 3
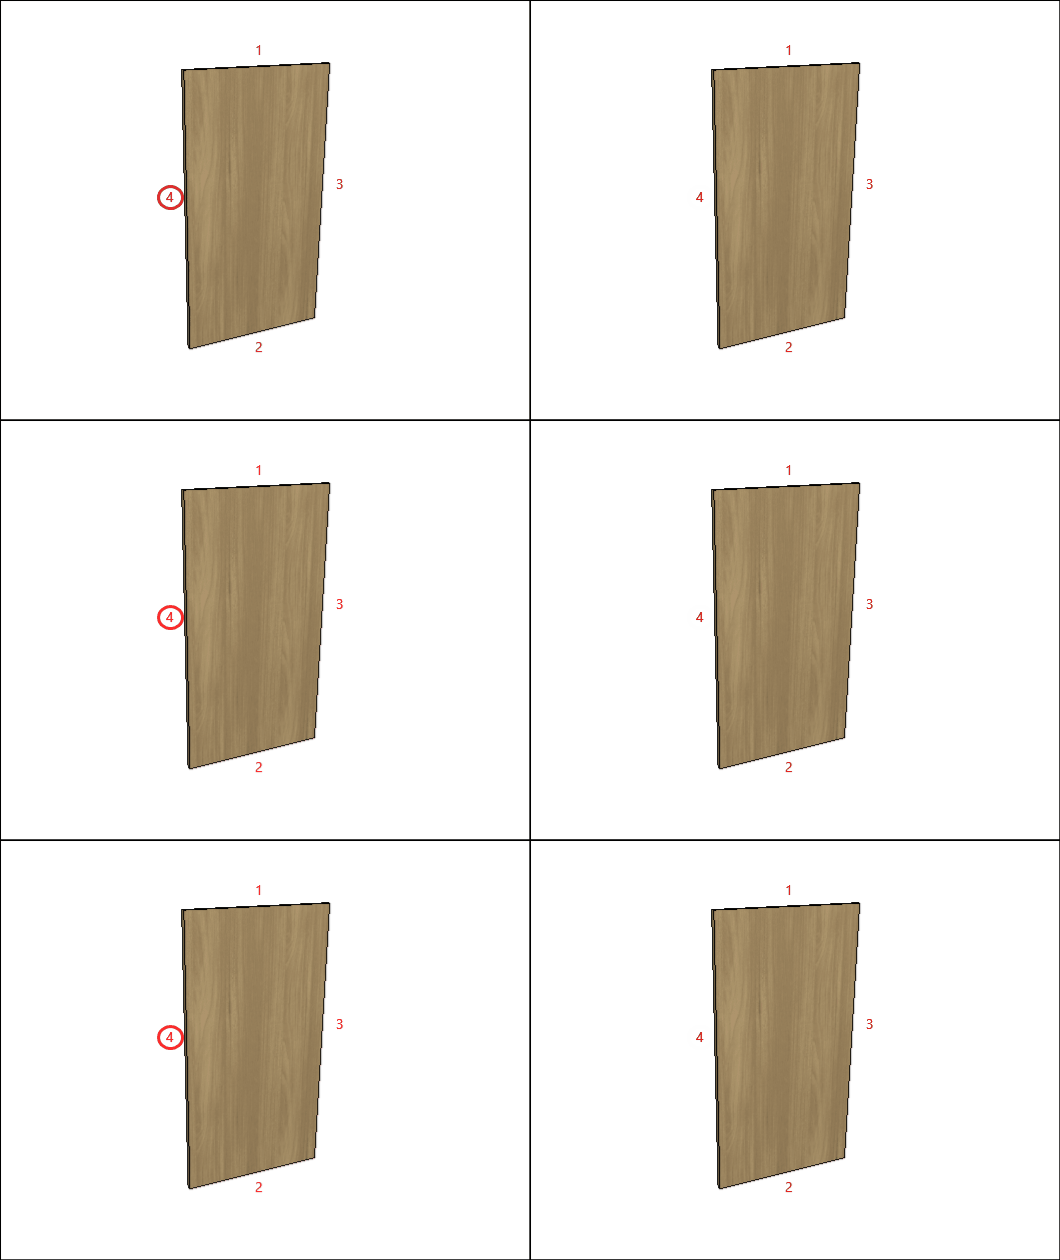
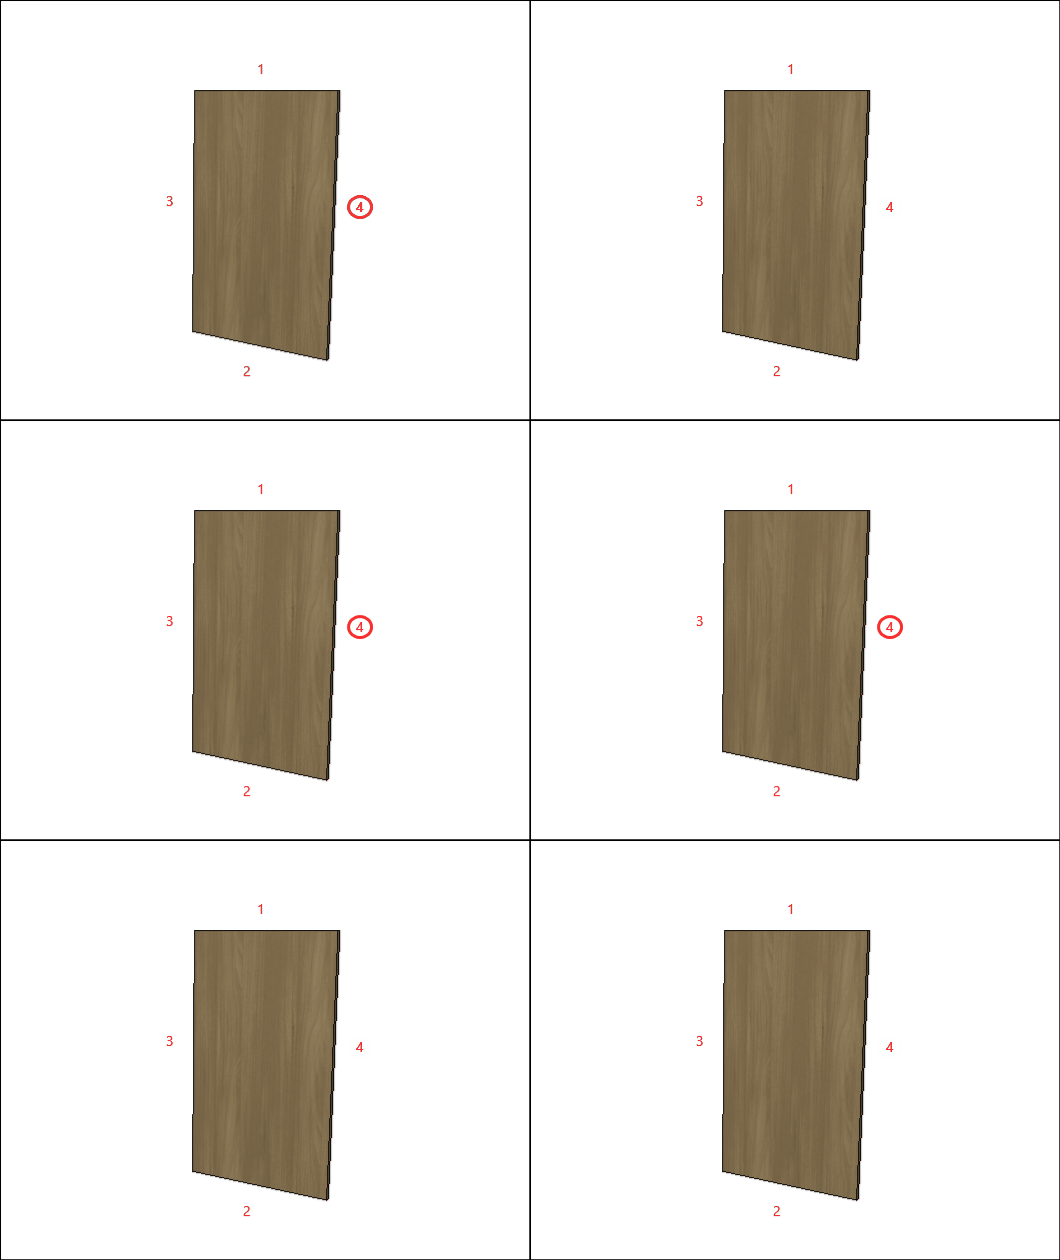
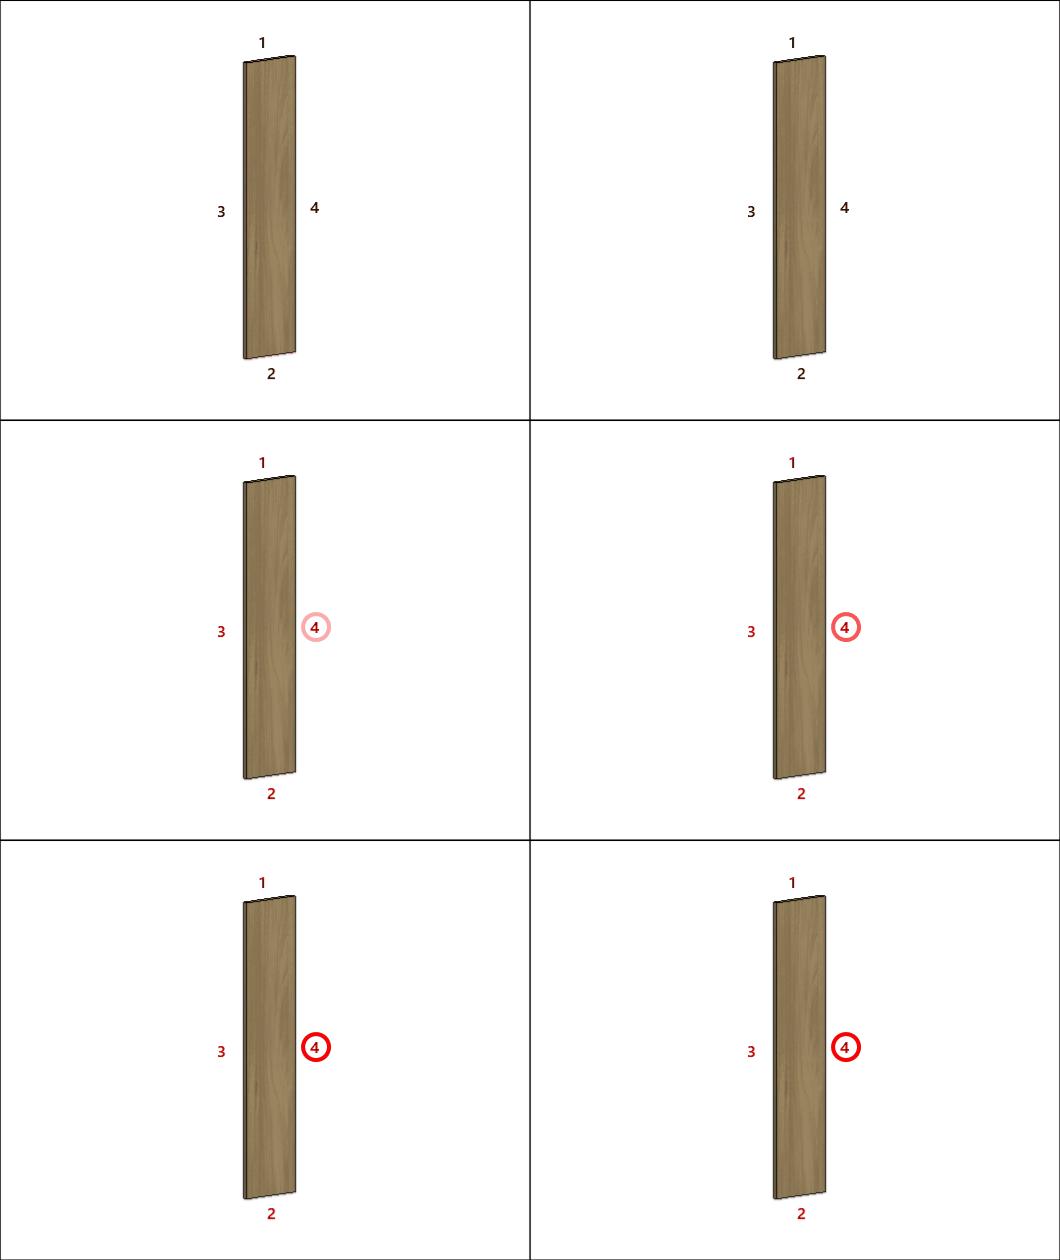
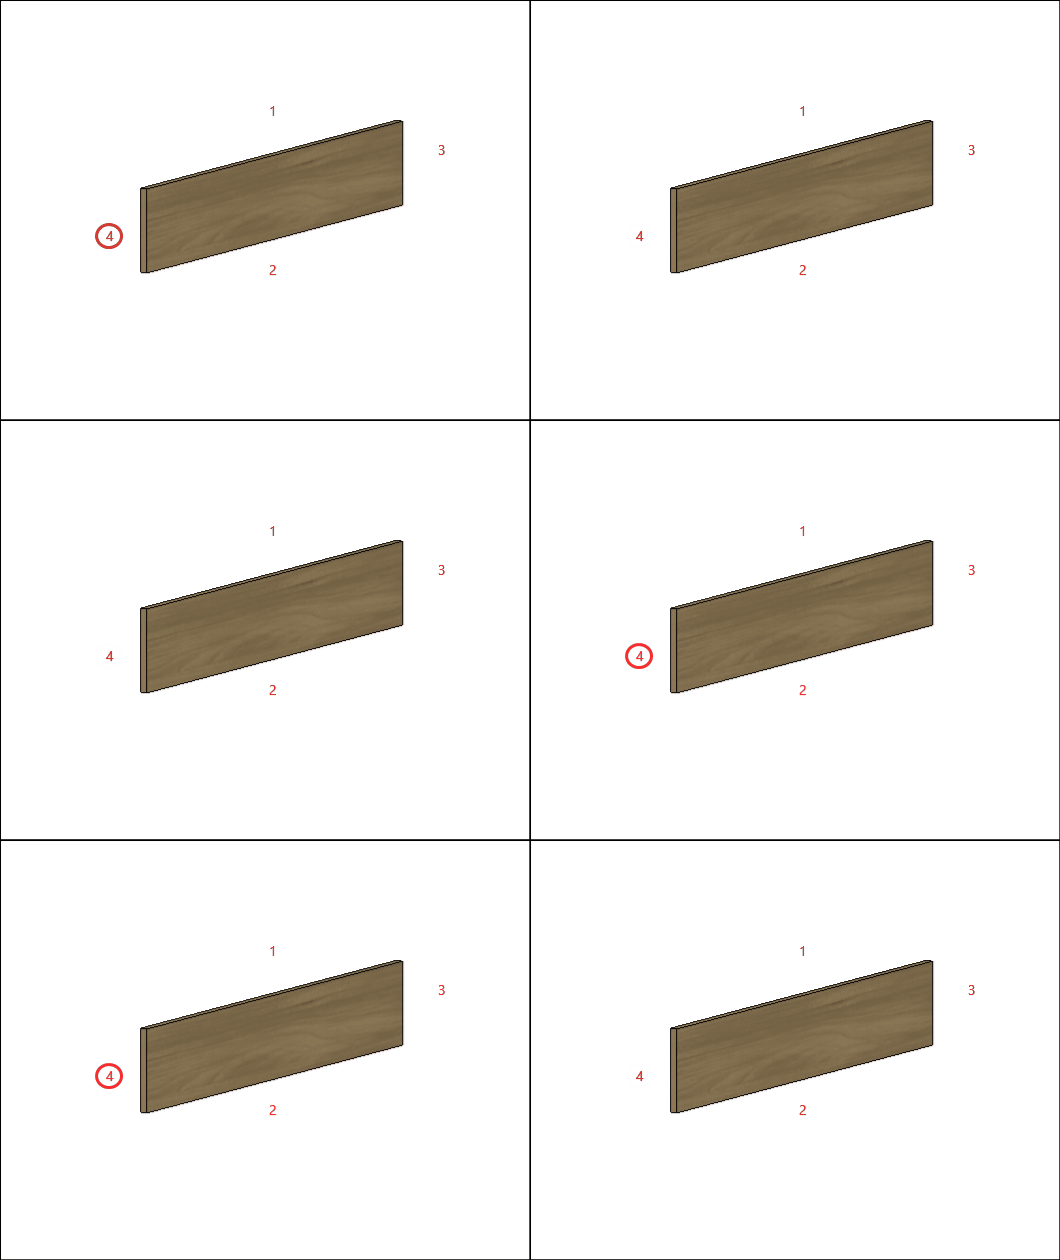
H – Edge 4: To cut planes that read the thickness of the ridge cap, set the thickness to Side 4.
Partition
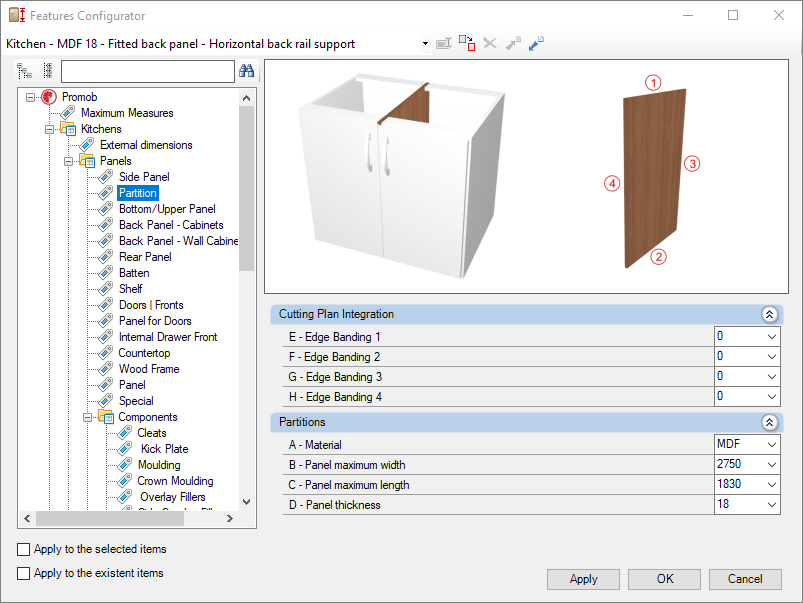
Check the settings for the Kitchen Library Partition below:
Integration with cutting plane
To set up the chant, click here.
E – Edge 1: To cut planes that read the thickness of the ridge cap, set the thickness to Side 1.

F – Edge 2: To cut planes that read the thickness of the ridge cap, set the thickness to Side 2.

G – Edge 3: To cut planes that read the thickness of the ridge cap, set the thickness to Side 3

H – Edge 4: To cut planes that read the thickness of the ridge cap, set the thickness to Side 4.

Bottom/Upper Panel
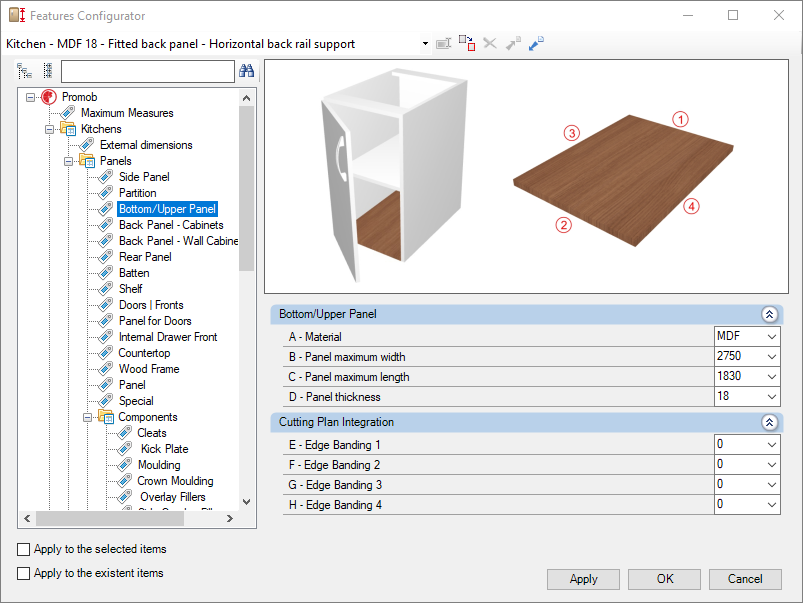
Check the settings for the Kitchen Library Bottom/Upper Panel below:
Integration with cutting plane
To set up the chant, click here.
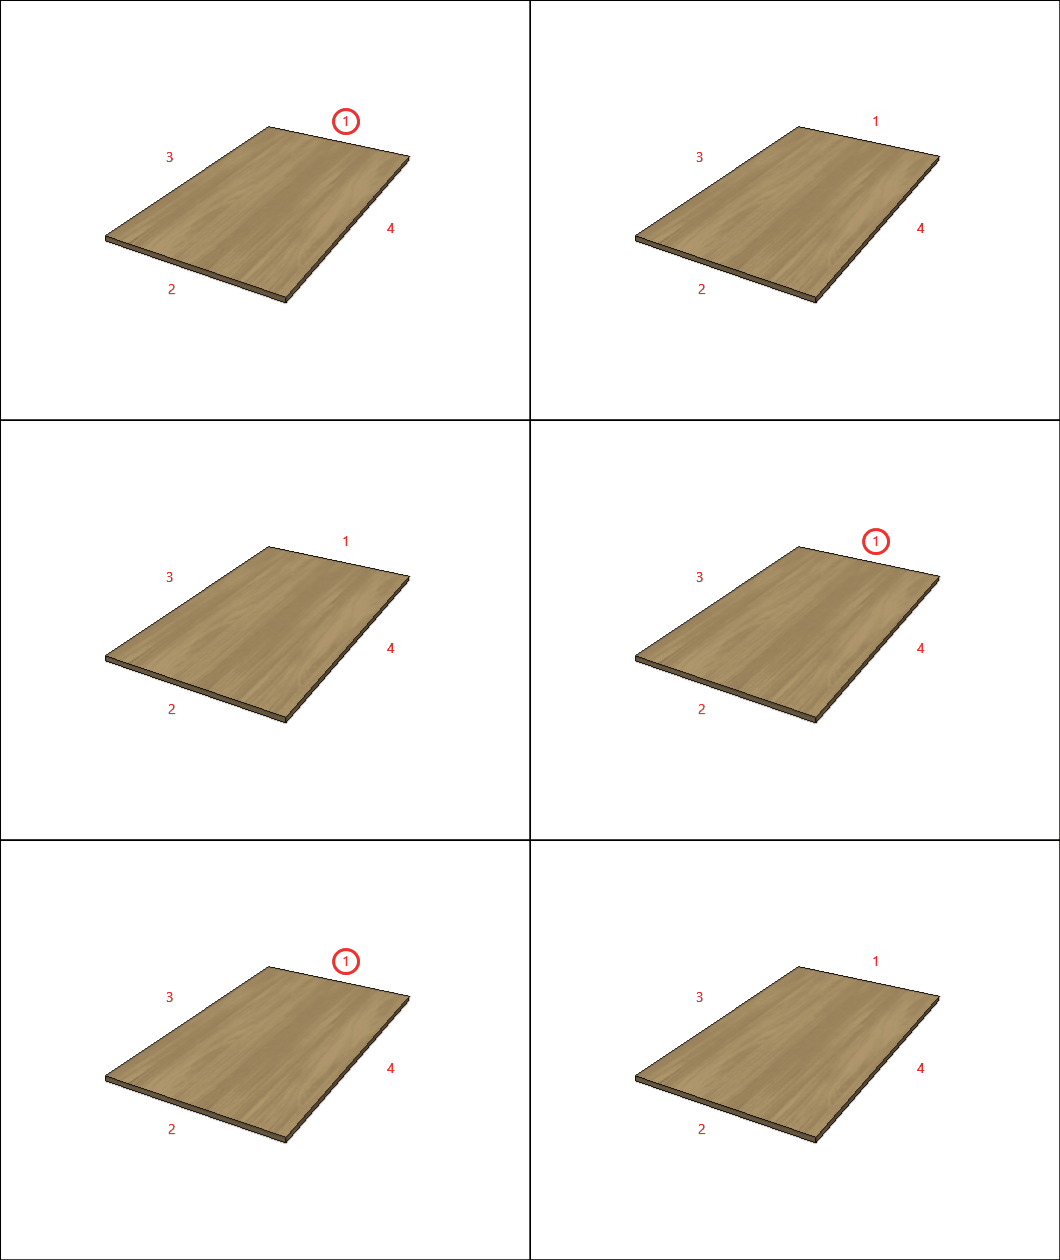
E – Edge 1: To cut planes that read the thickness of the ridge cap, set the thickness to Side 1.
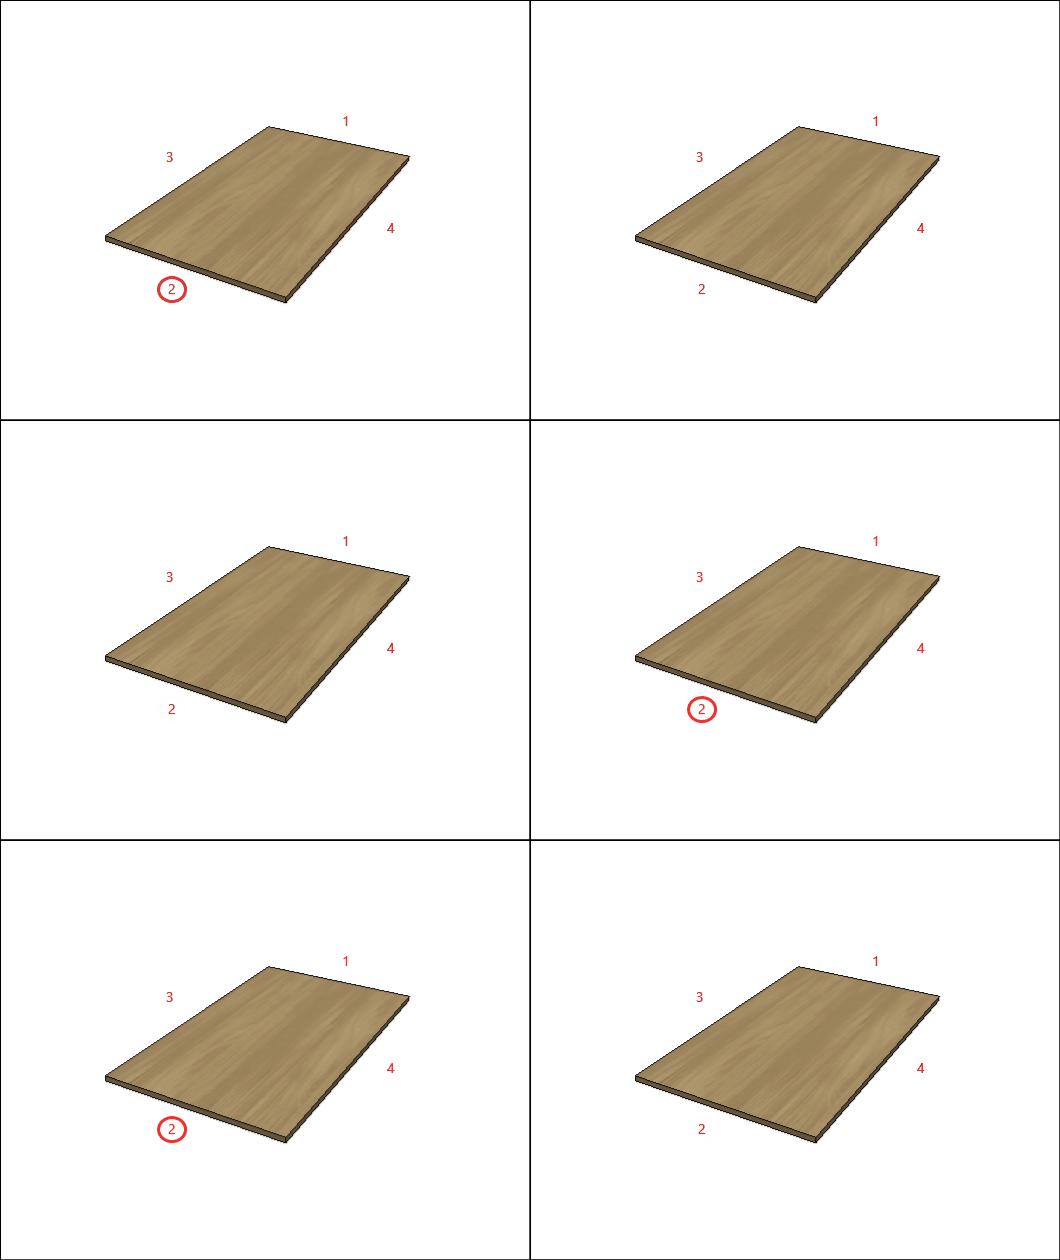
F – Edge 2: To cut planes that read the thickness of the ridge cap, set the thickness to Side 2.
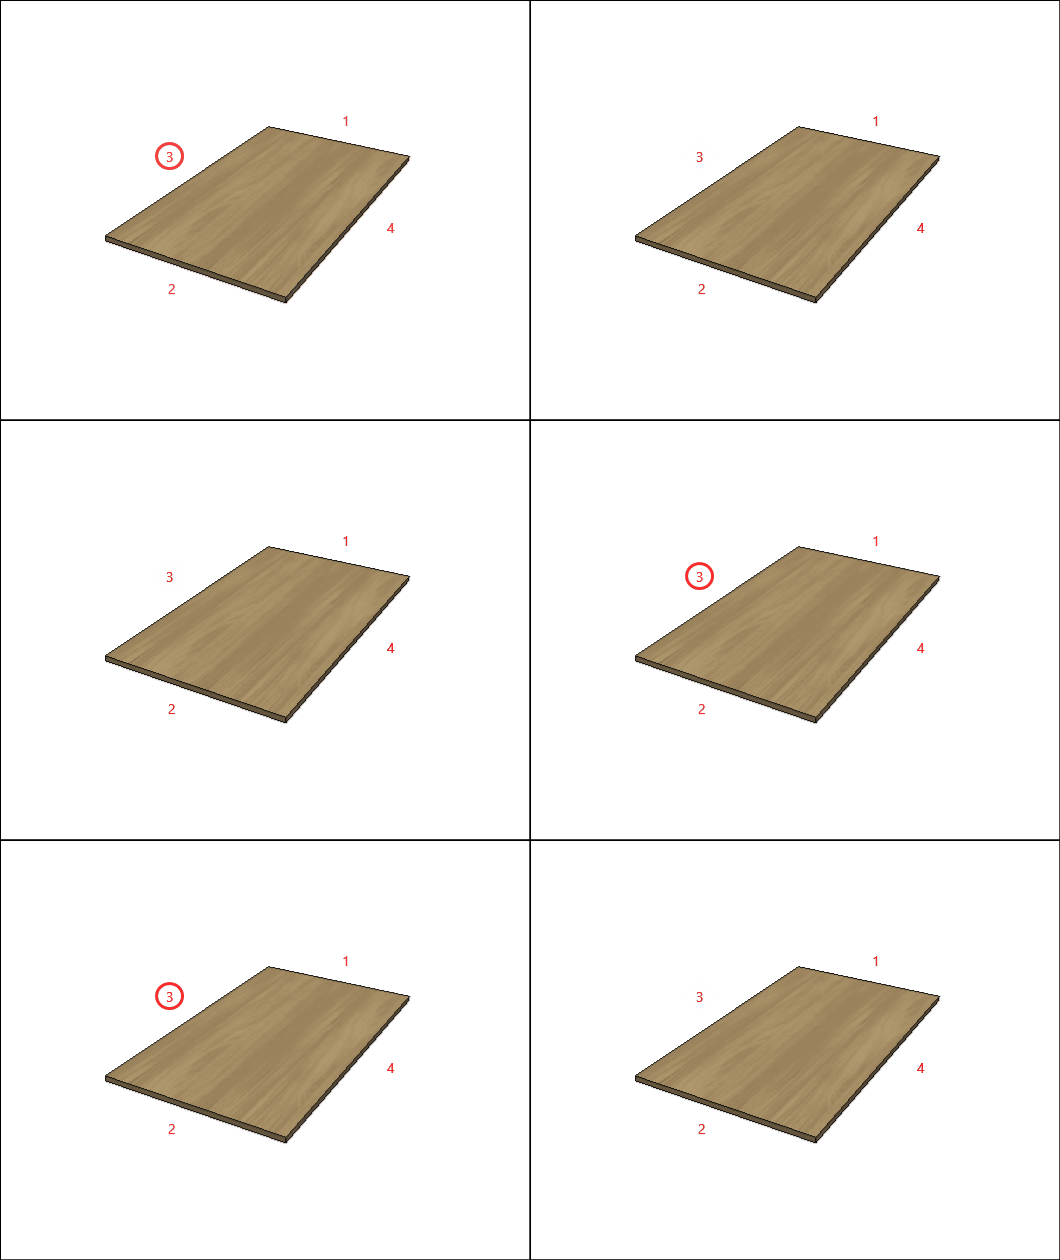
G – Edge 3: To cut planes that read the thickness of the ridge cap, set the thickness to Side 3
H – Edge 4: To cut planes that read the thickness of the ridge cap, set the thickness to Side 4.
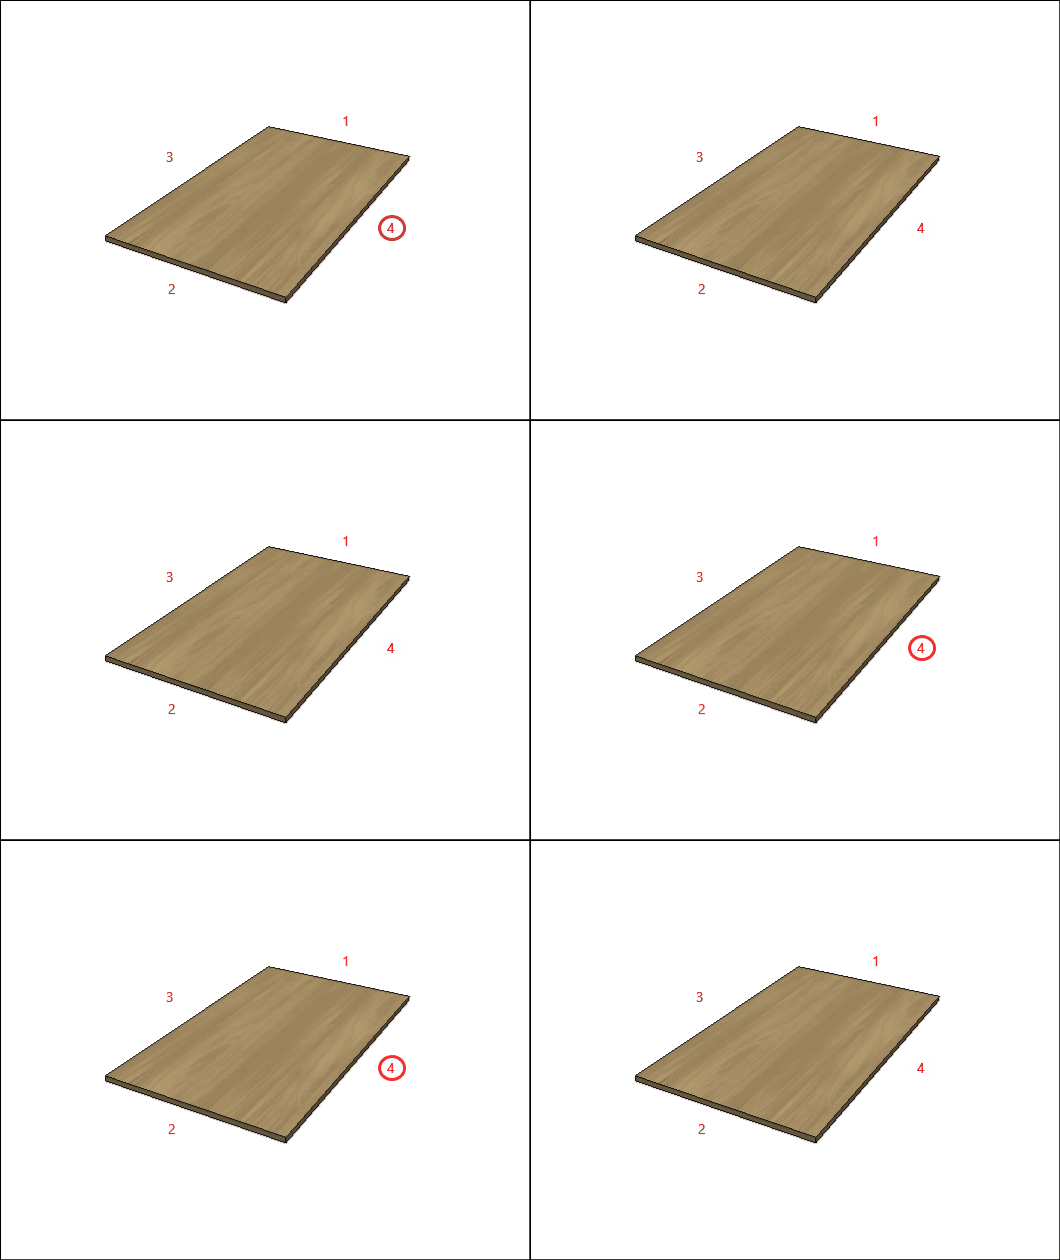
Back Panel - Cabinets
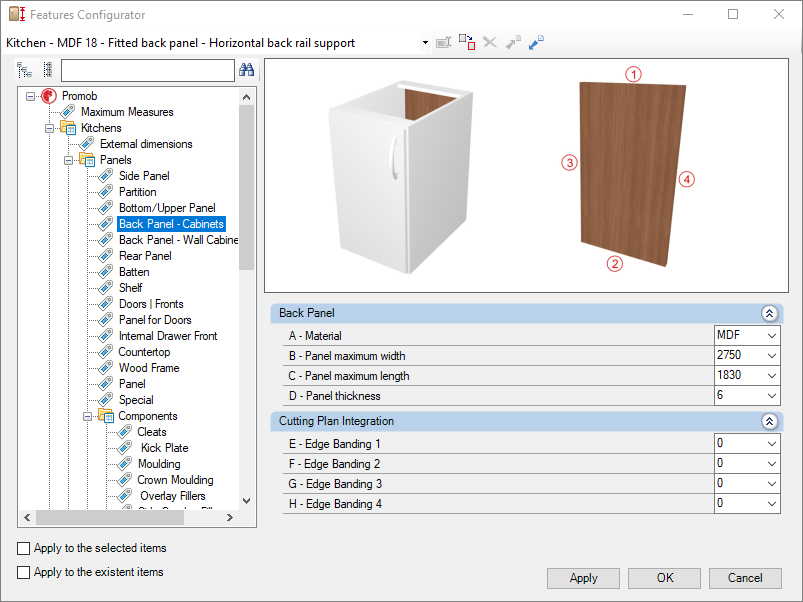
Check the settings for the Kitchen Library Back Panel - Cabinets below:
Integration with cutting plane
To set up the chant, click here.
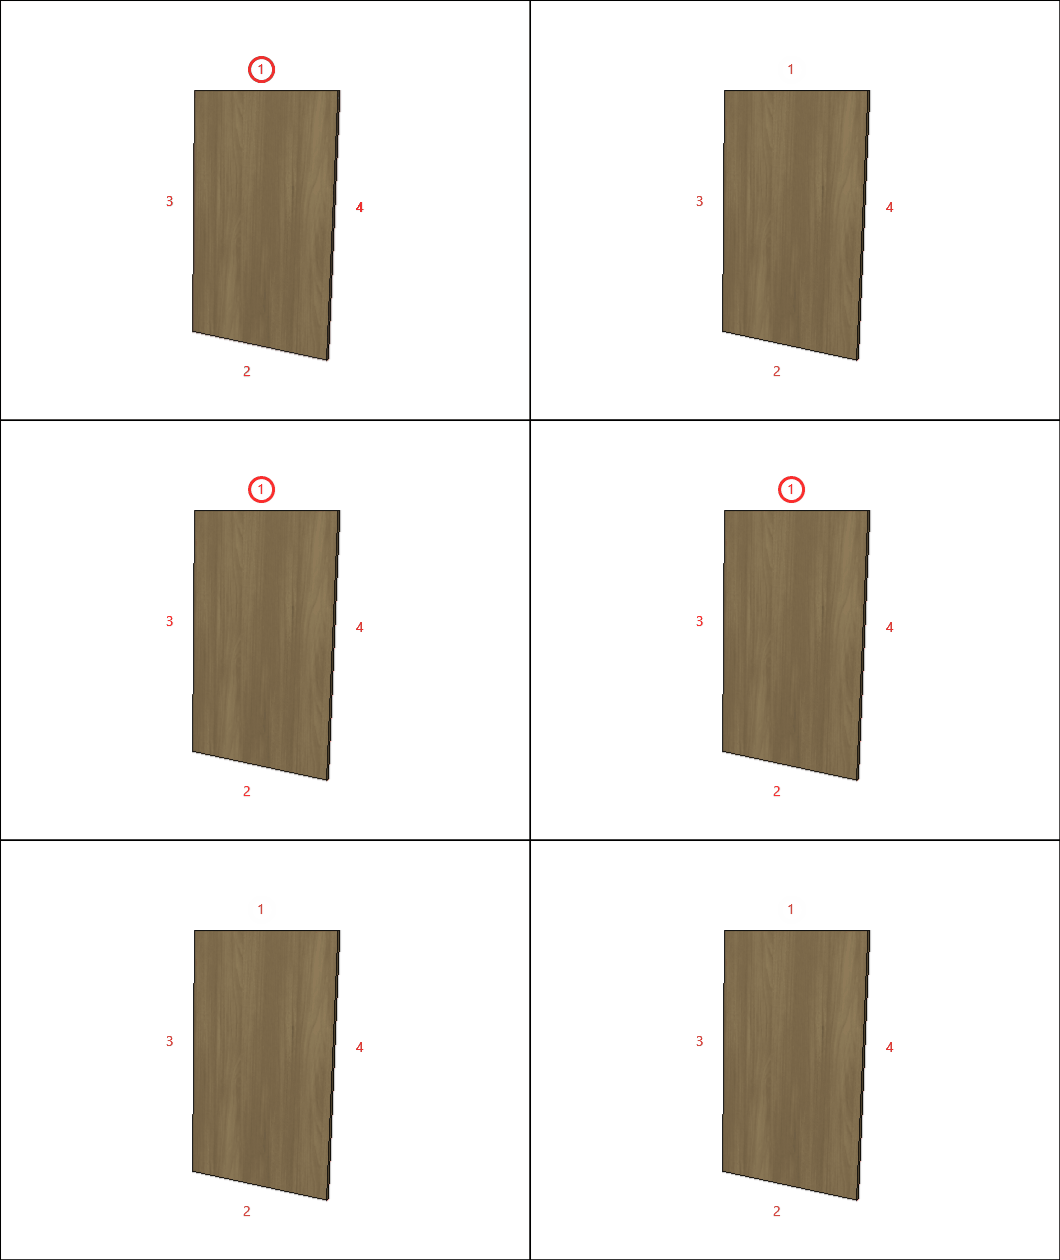
E – Edge 1: To cut planes that read the thickness of the ridge cap, set the thickness to Side 1.
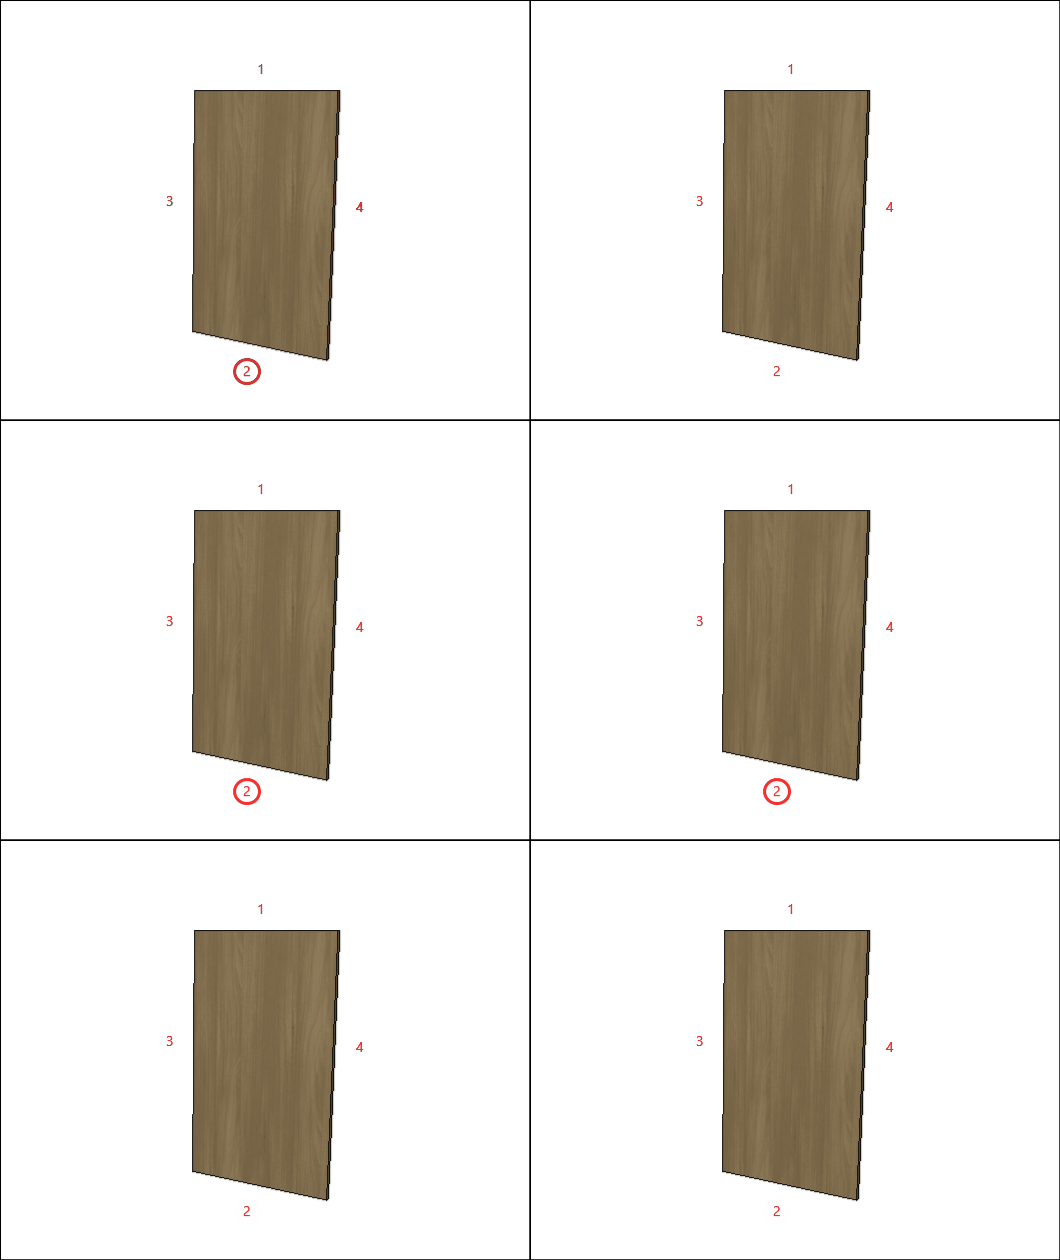
F – Edge 2: To cut planes that read the thickness of the ridge cap, set the thickness to Side 2.
G – Edge 3: To cut planes that read the thickness of the ridge cap, set the thickness to Side 3
H – Edge 4: To cut planes that read the thickness of the ridge cap, set the thickness to Side 4.
Back Panel - Wall Cabinets
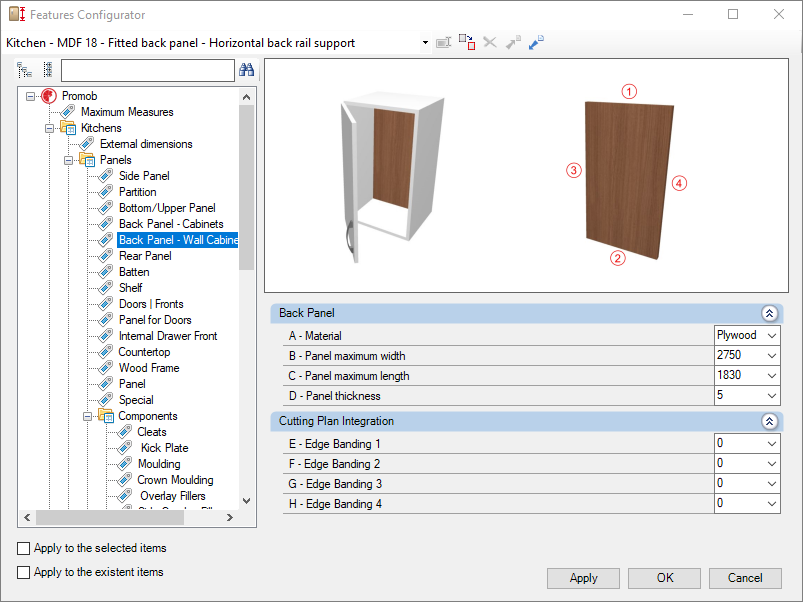
Check below the configuration of the Back Panel - Wall Cabinets of the Kitchens library:
Integration with cutting plane
To set up the chant, click here.
E – Edge 1: To cut planes that read the thickness of the ridge cap, set the thickness to Side 1.

F – Edge 2: To cut planes that read the thickness of the ridge cap, set the thickness to Side 2.

G – Edge 3: To cut planes that read the thickness of the ridge cap, set the thickness to Side 3

H – Edge 4: To cut planes that read the thickness of the ridge cap, set the thickness to Side 4.

Rear Panel
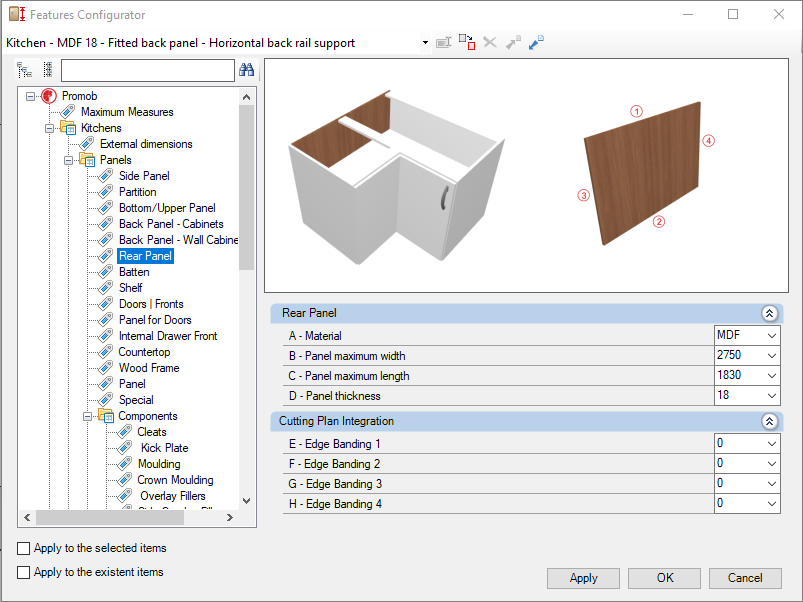
Check below the configuration of the Rear Panel of the Kitchens library:
Integration with cutting plane
To set up the chant, click here.
E – Edge 1: To cut planes that read the thickness of the ridge cap, set the thickness to Side 1.

F – Edge 2: To cut planes that read the thickness of the ridge cap, set the thickness to Side 2.

G – Edge 3: To cut planes that read the thickness of the ridge cap, set the thickness to Side 3

H – Edge 4: To cut planes that read the thickness of the ridge cap, set the thickness to Side 4.

Batten
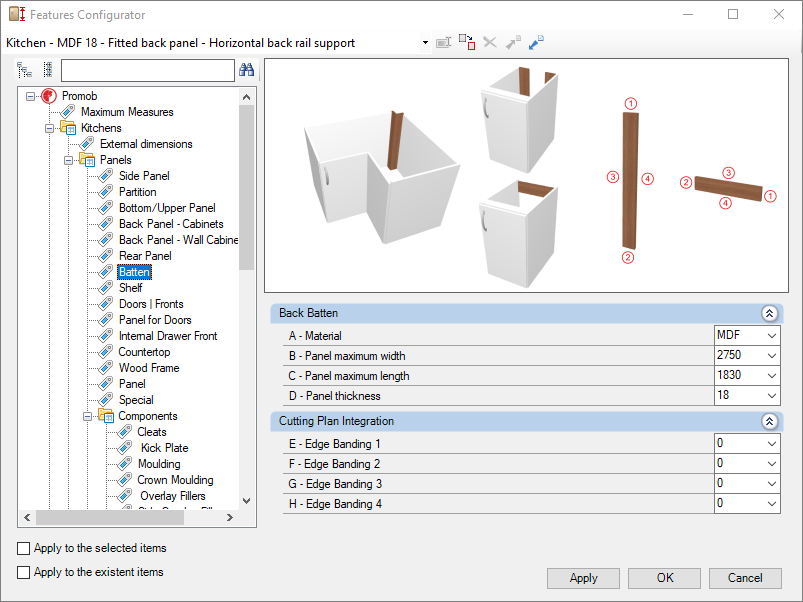
Check below the configuration of the Batten of the Kitchens library:
Integration with cutting plane
To set up the chant, click here.
E – Edge 1: To cut planes that read the thickness of the ridge cap, set the thickness to Side 1.
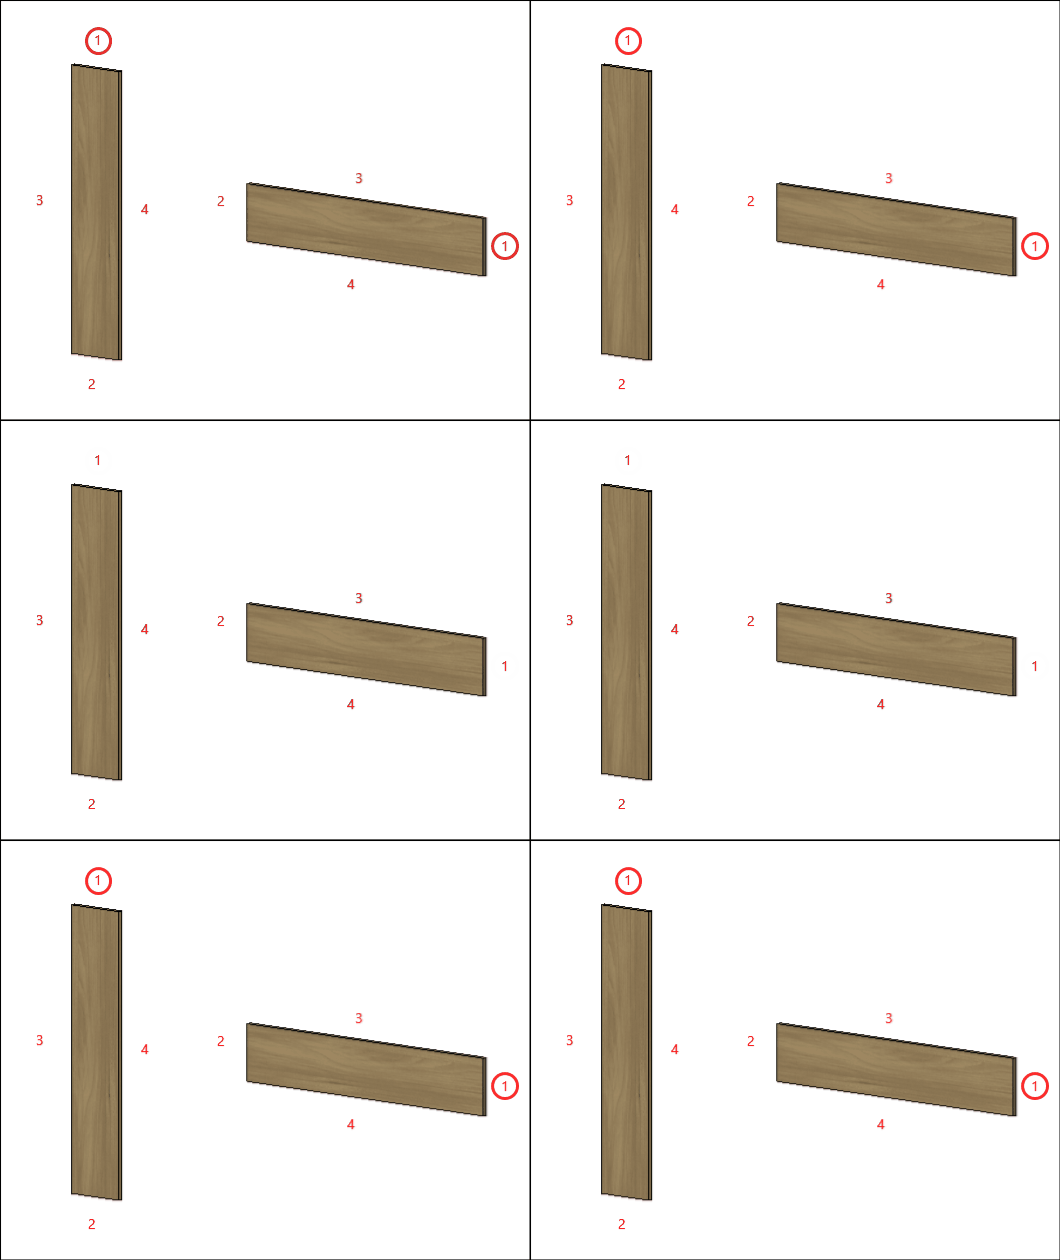
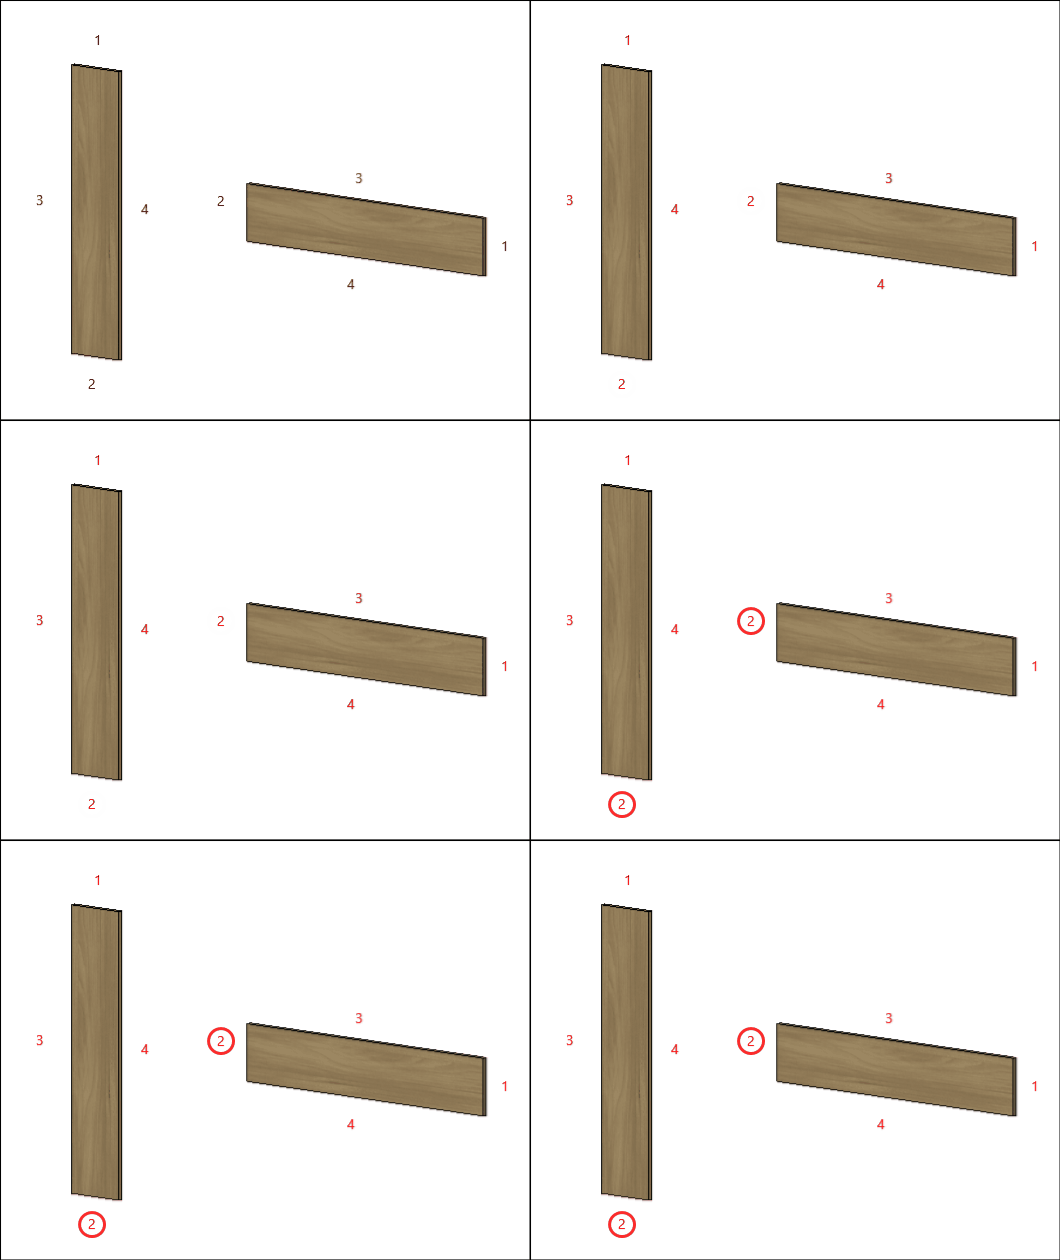
F – Edge 2: To cut planes that read the thickness of the ridge cap, set the thickness to Side 2.
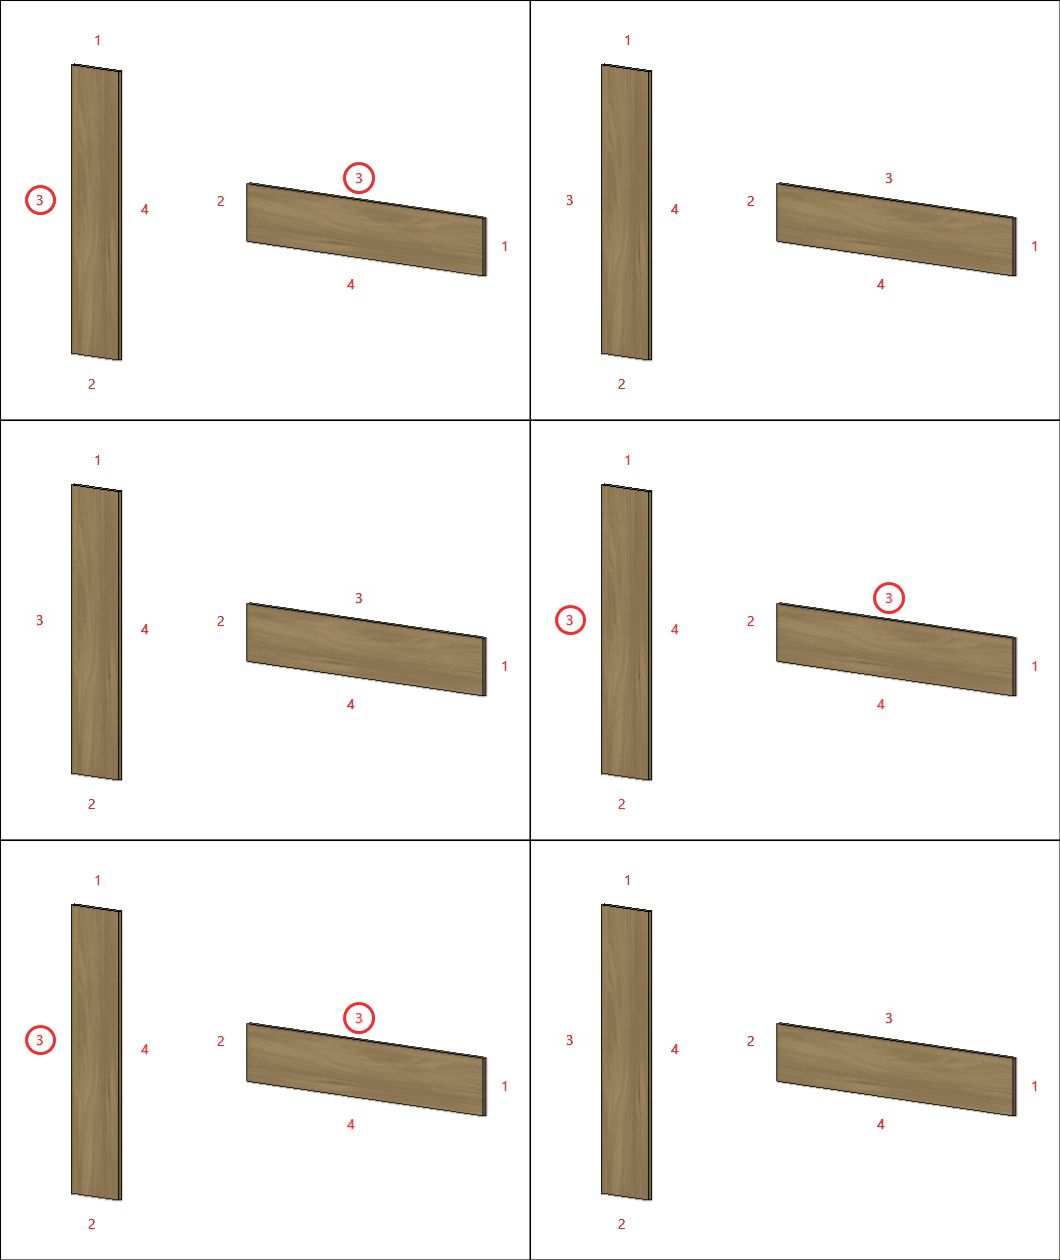
G – Edge 3: To cut planes that read the thickness of the ridge cap, set the thickness to Side 3
H – Edge 4: To cut planes that read the thickness of the ridge cap, set the thickness to Side 4.
Shelf
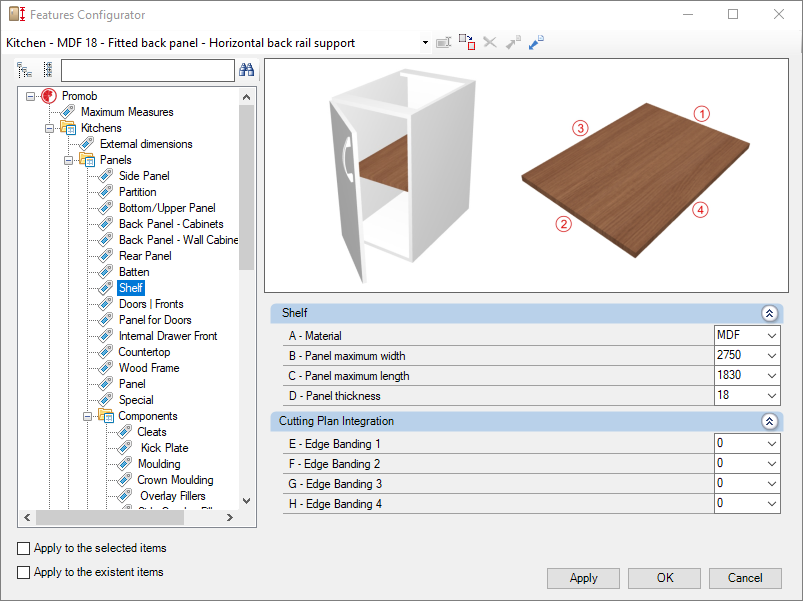
Check below the configuration of the Shelf of the Kitchens library:
Integration with cutting plane
To set up the chant, click here.
E – Edge 1: To cut planes that read the thickness of the ridge cap, set the thickness to Side 1.

F – Edge 2: To cut planes that read the thickness of the ridge cap, set the thickness to Side 2.

G – Edge 3: To cut planes that read the thickness of the ridge cap, set the thickness to Side 3

H – Edge 4: To cut planes that read the thickness of the ridge cap, set the thickness to Side 4.

Doors | Fronts
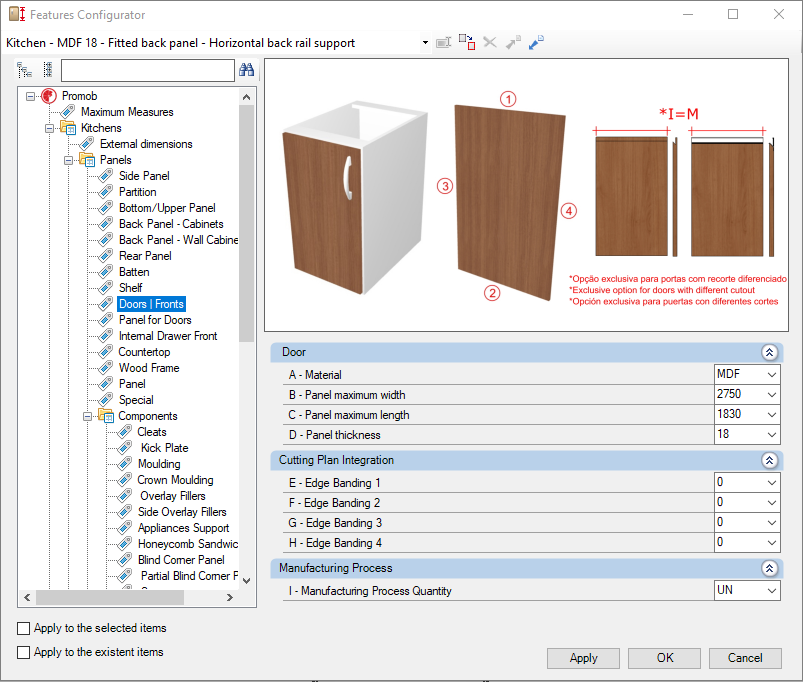
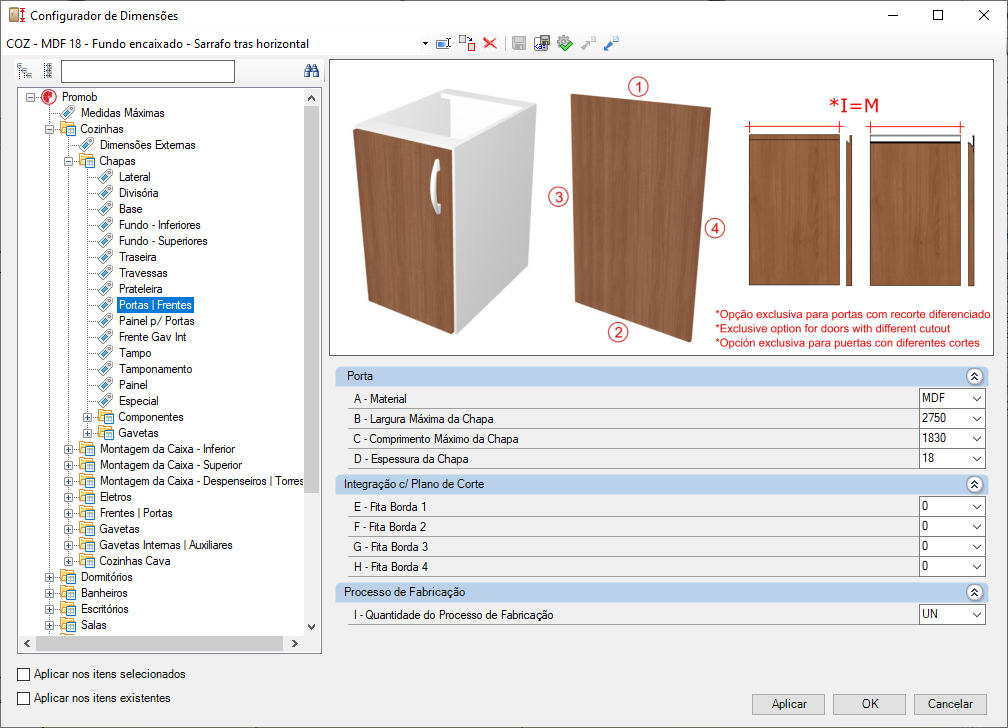
Check below the configuration of the Doors | Fronts of the Kitchens library:
Integration with cutting plane
To set up the chant, click here.
E – Edge 1: To cut planes that read the thickness of the ridge cap, set the thickness to Side 1.

F – Edge 2: To cut planes that read the thickness of the ridge cap, set the thickness to Side 2.

G – Edge 3: To cut planes that read the thickness of the ridge cap, set the thickness to Side 3

H – Edge 4: To cut planes that read the thickness of the ridge cap, set the thickness to Side 4.

Manufacturing process
I - Quantity of Manufacturing Process: defines whether the manufacturing process will be carried out in a unit or in a meter (exclusive option for holders with differentiated cutout, only: Cava holder and Profile Y holder).
IMPORTANT: using meters, the calculation will be made only on the side of the door that has the cut.
Panel for Doors
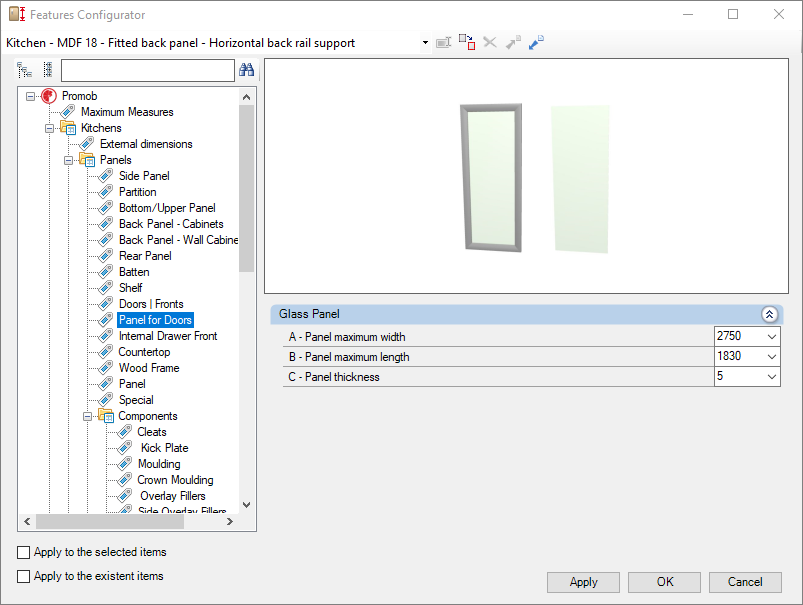
Check below the configuration of the Panel for Doors of the Kitchens library:
Glass Panel
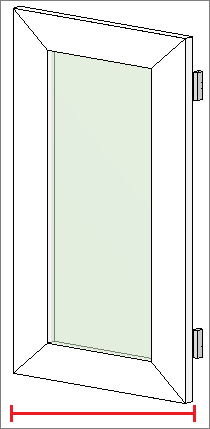
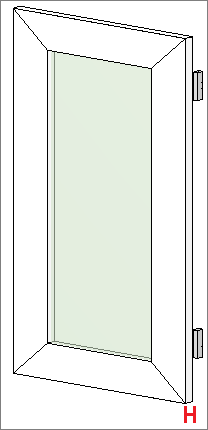
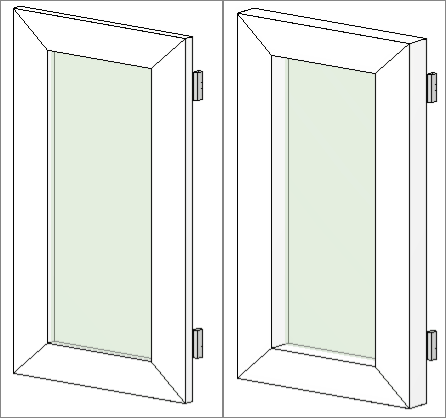
A – Panel Maximum Width: Defines the maximum width of glass to be used in the manufacture of panel for module doors.
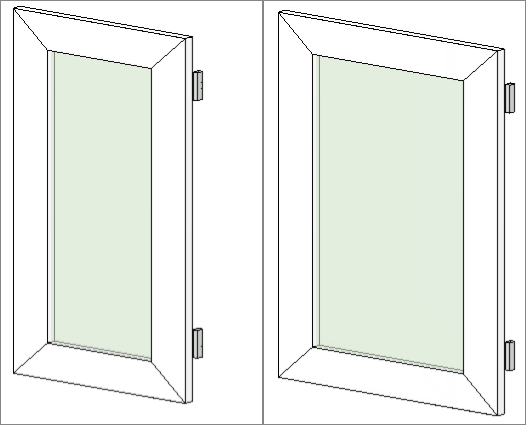
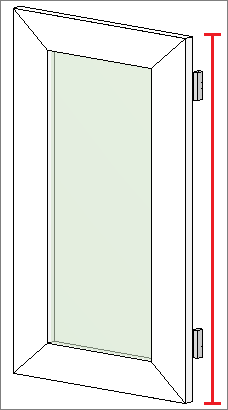
B – Panel Maximum Length: Defines the maximum length of glass to be used in the manufacture of panels for module doors.
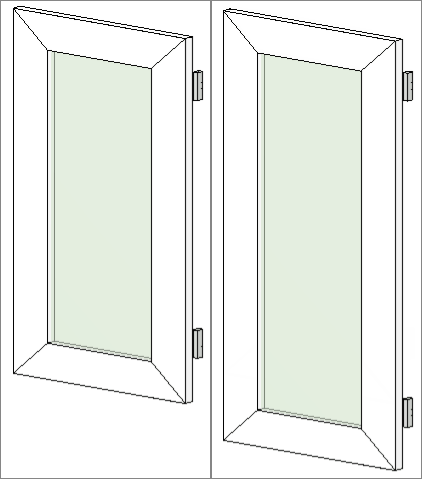
C – Panel Thickness: Defines the thickness of the glass to be used in the manufacture of panel for module doors.
Internal Drawer Front
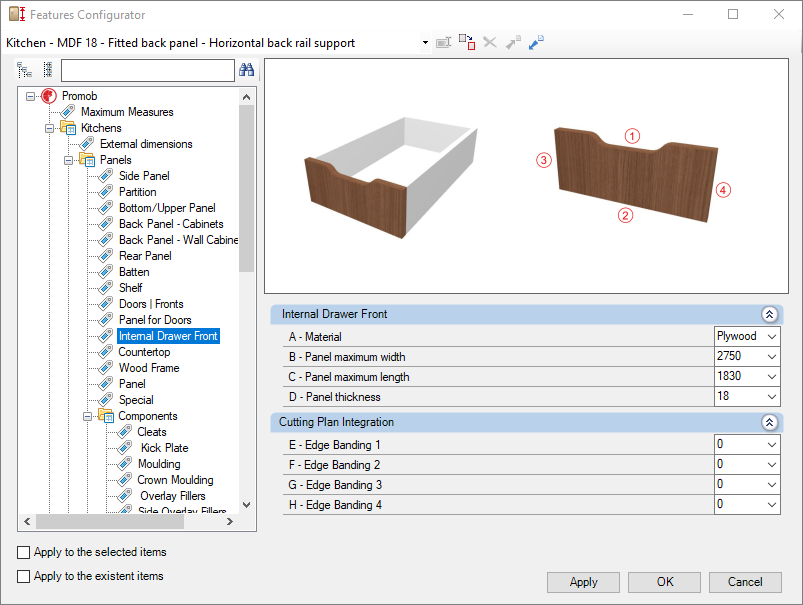
Check below the configuration of the Internal Drawer Front of the Kitchens library:
Integration with cutting plane
To set up the chant, click here.
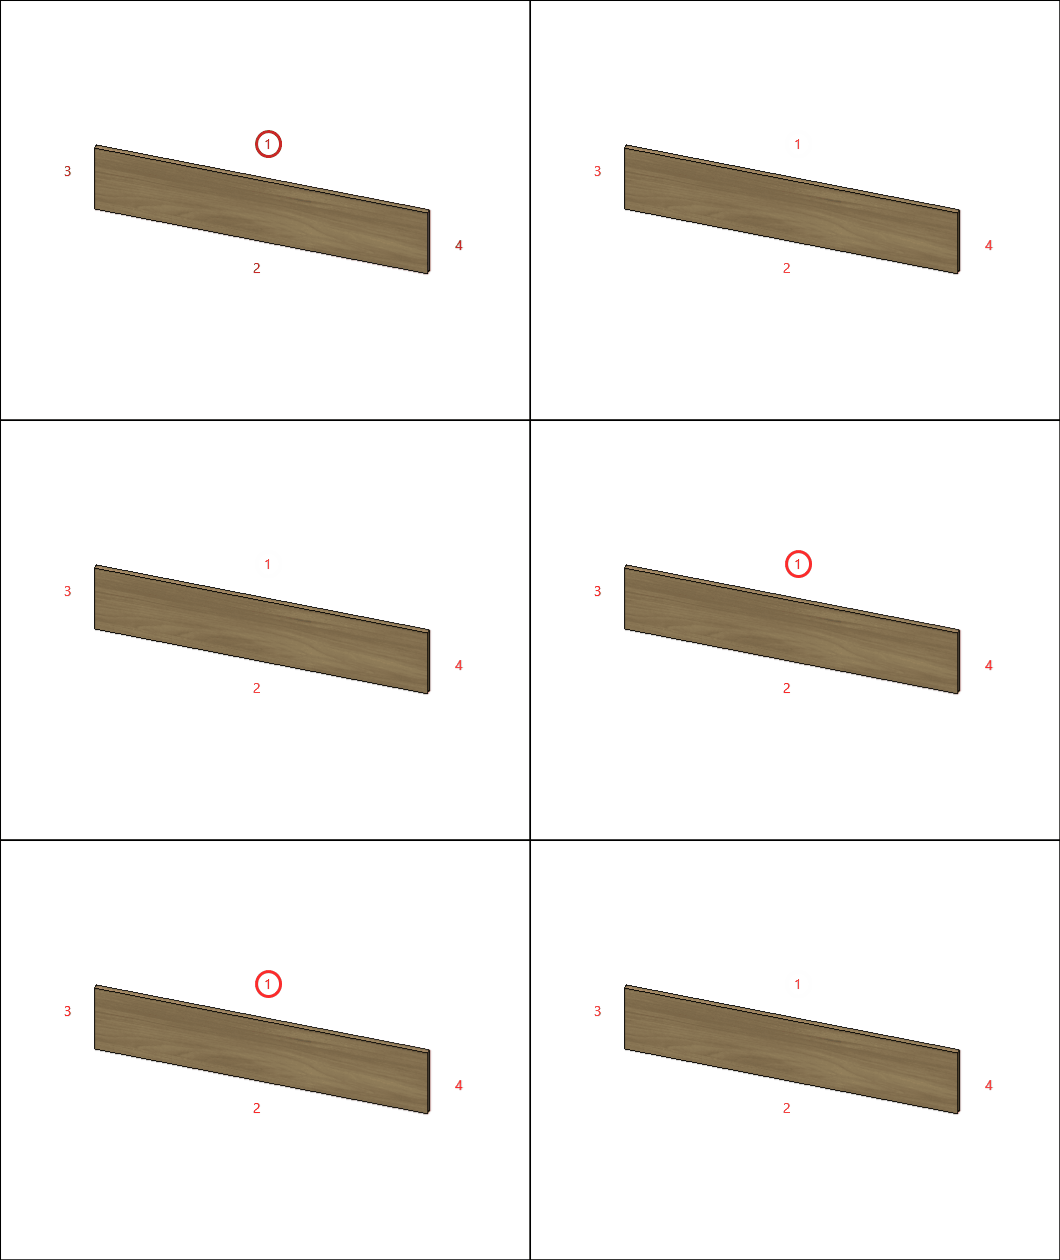
E – Edge 1: To cut planes that read the thickness of the ridge cap, set the thickness to Side 1.
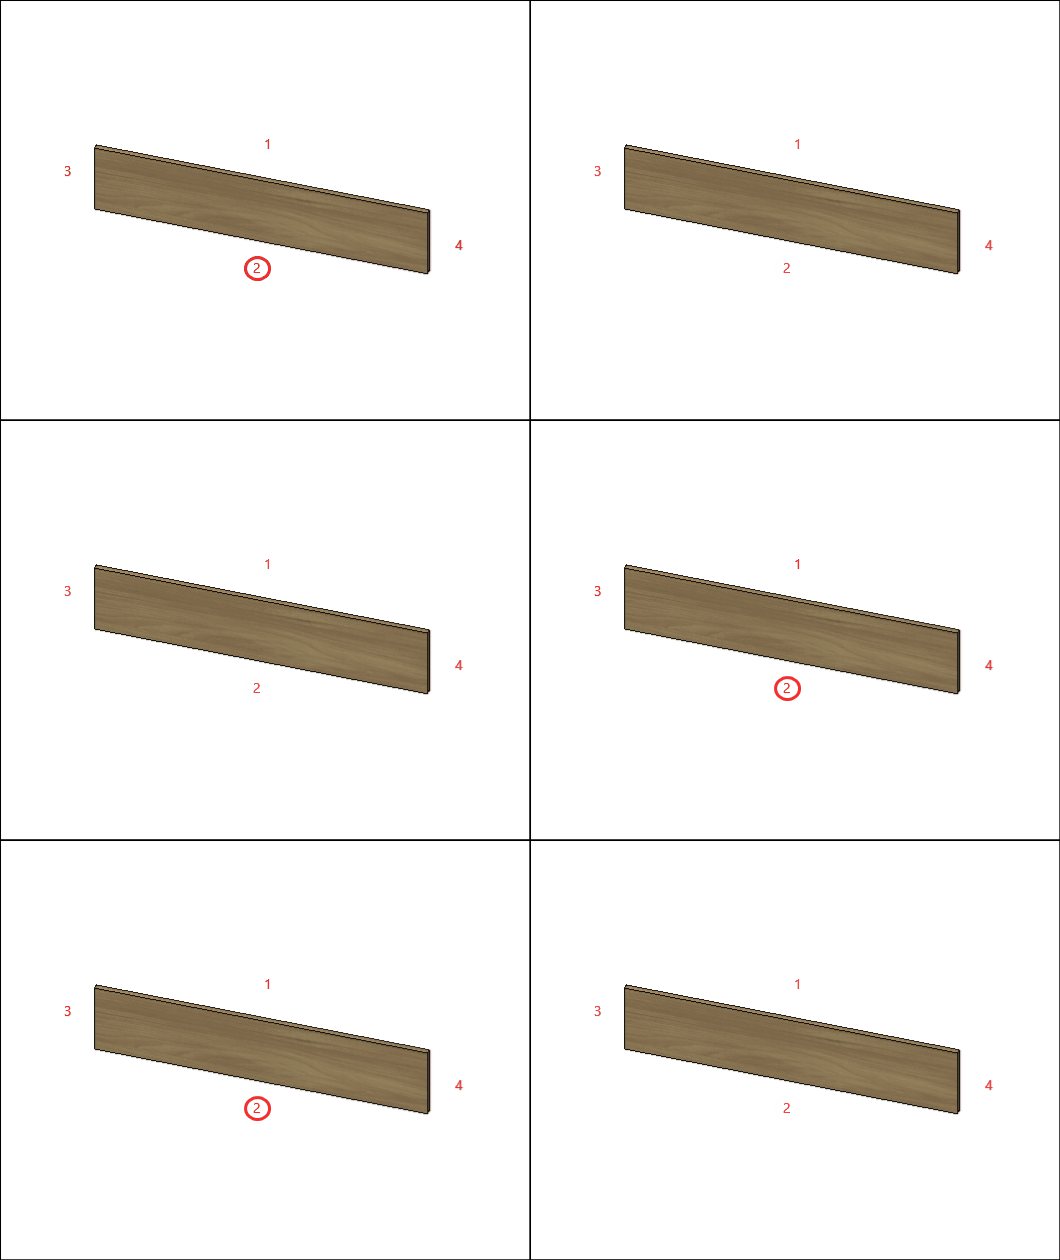
F – Edge 2: To cut planes that read the thickness of the ridge cap, set the thickness to Side 2.
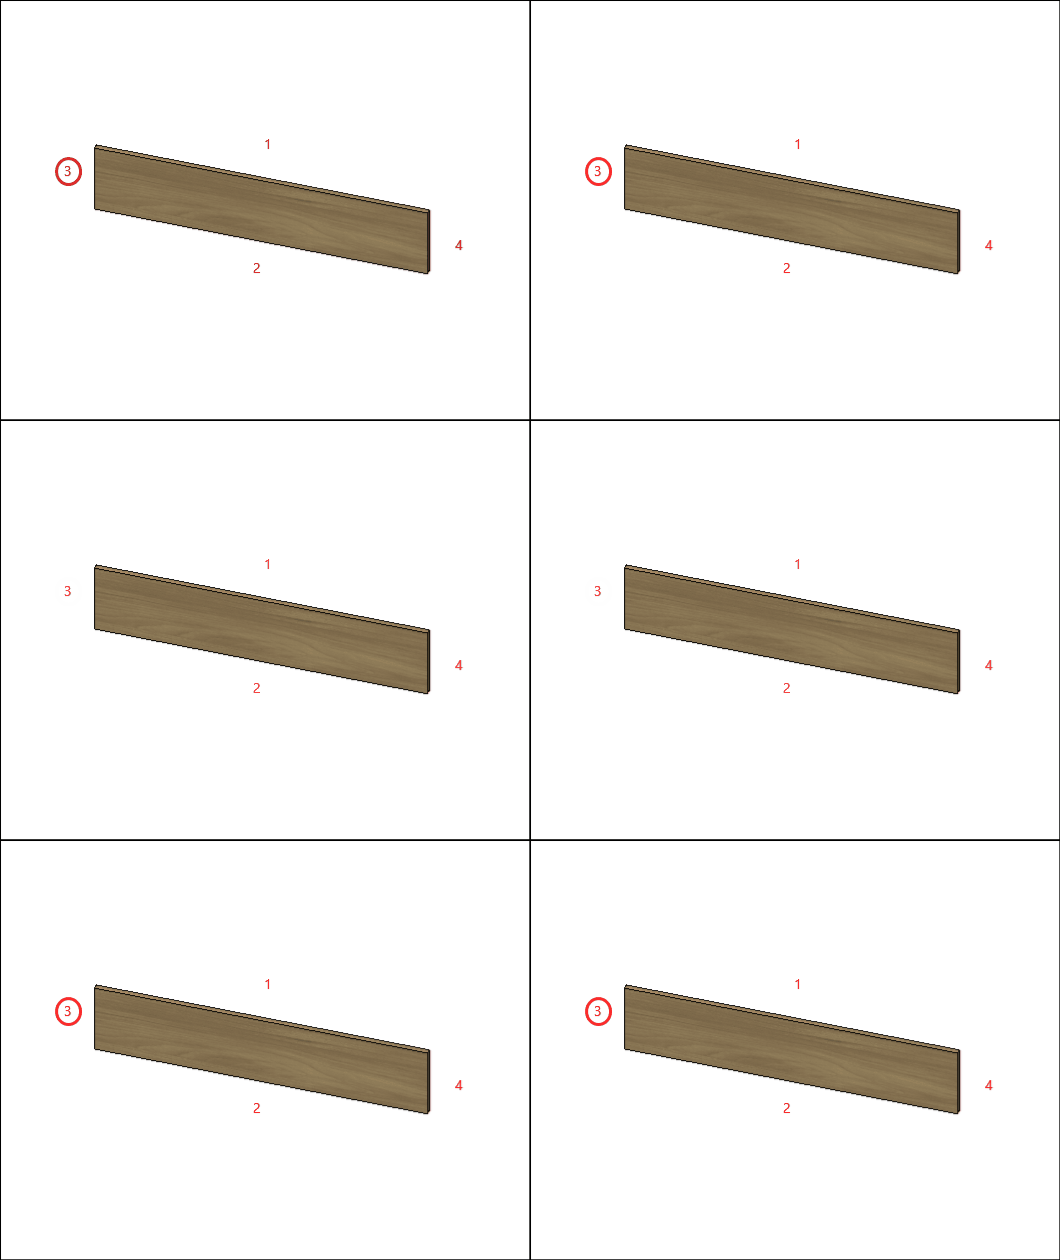
G – Edge 3: To cut planes that read the thickness of the ridge cap, set the thickness to Side 3
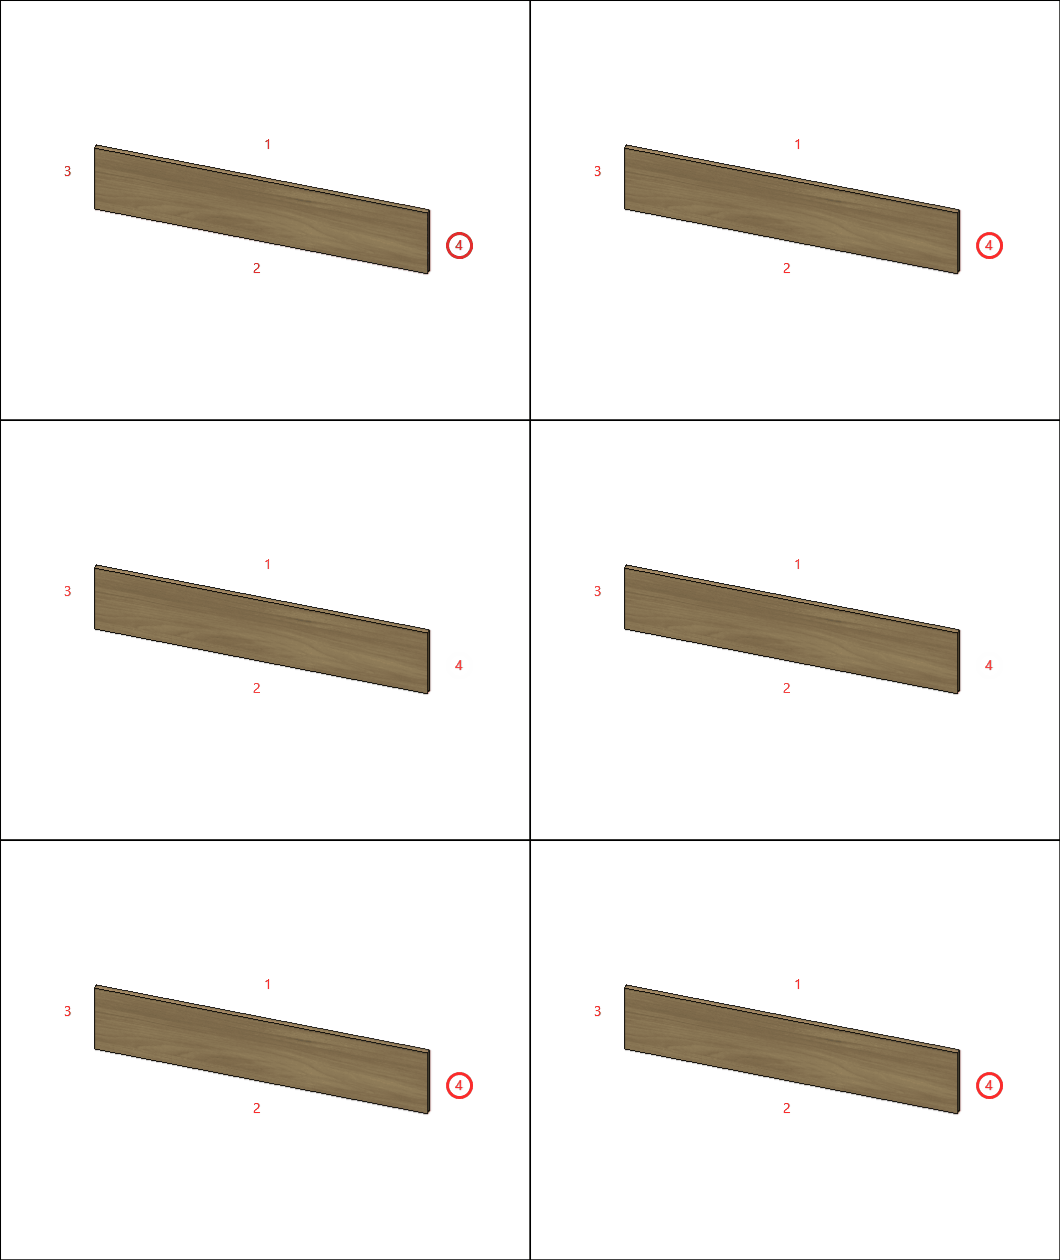
H – Edge 4: To cut planes that read the thickness of the ridge cap, set the thickness to Side 4.
Countertop
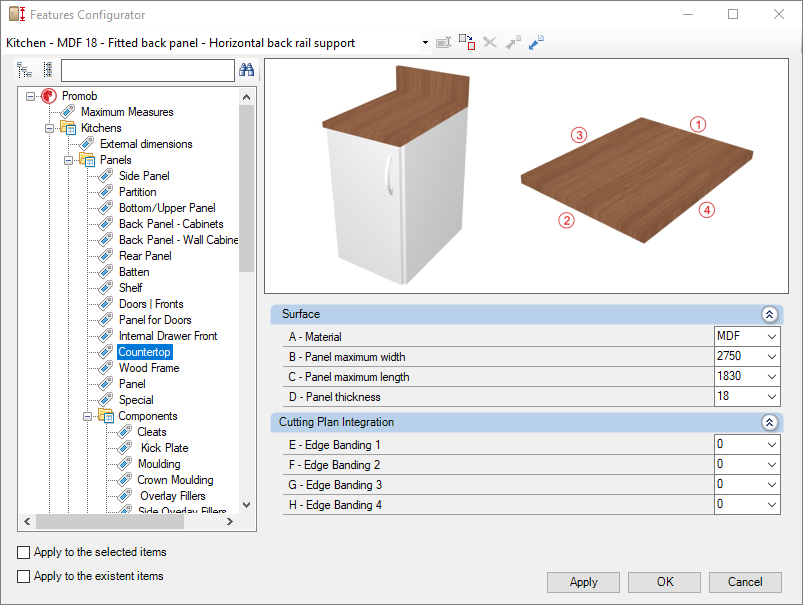
Check below the configuration of the Countertop of the Kitchens library:
Integration with cutting plane
To set up the chant, click here.
E – Edge 1: To cut planes that read the thickness of the ridge cap, set the thickness to Side 1.

F – Edge 2: To cut planes that read the thickness of the ridge cap, set the thickness to Side 2.

G – Edge 3: To cut planes that read the thickness of the ridge cap, set the thickness to Side 3

H – Edge 4: To cut planes that read the thickness of the ridge cap, set the thickness to Side 4.

Wood Frame
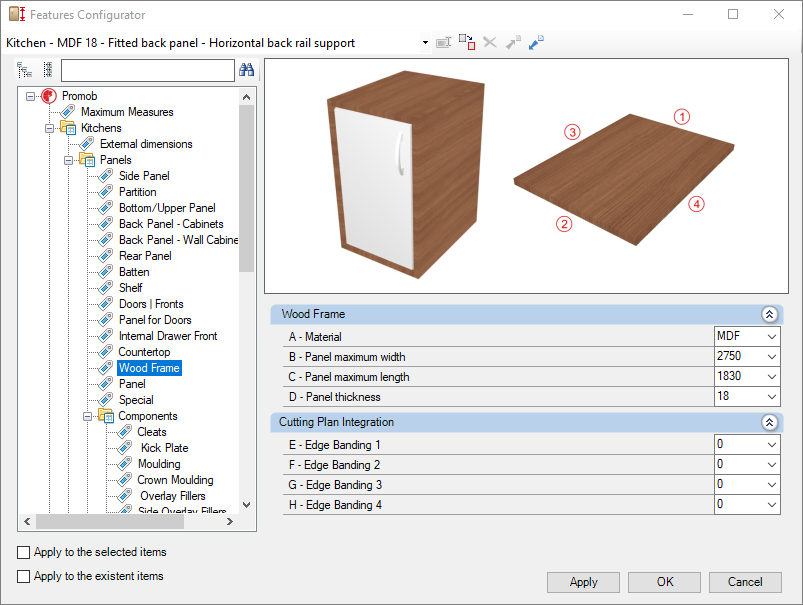
Check below the configuration of the Wood Frame of the Kitchens library:
Integration with cutting plane
To set up the chant, click here.
E – Edge 1: To cut planes that read the thickness of the ridge cap, set the thickness to Side 1.

F – Edge 2: To cut planes that read the thickness of the ridge cap, set the thickness to Side 2.

G – Edge 3: To cut planes that read the thickness of the ridge cap, set the thickness to Side 3

H – Edge 4: To cut planes that read the thickness of the ridge cap, set the thickness to Side 4.

Panel
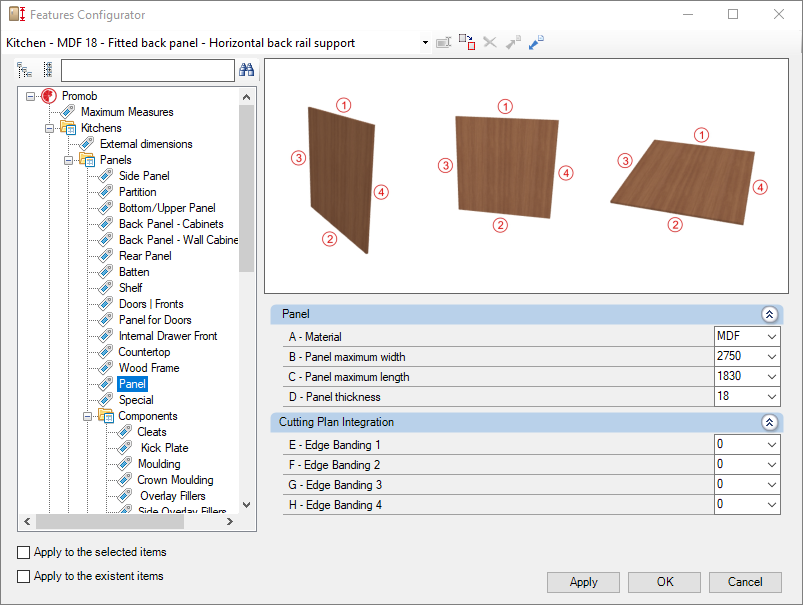
Check below the configuration of the Panel of the Kitchens library:
Integration with cutting plane
To set up the chant, click here.
E – Edge 1: To cut planes that read the thickness of the ridge cap, set the thickness to Side 1.
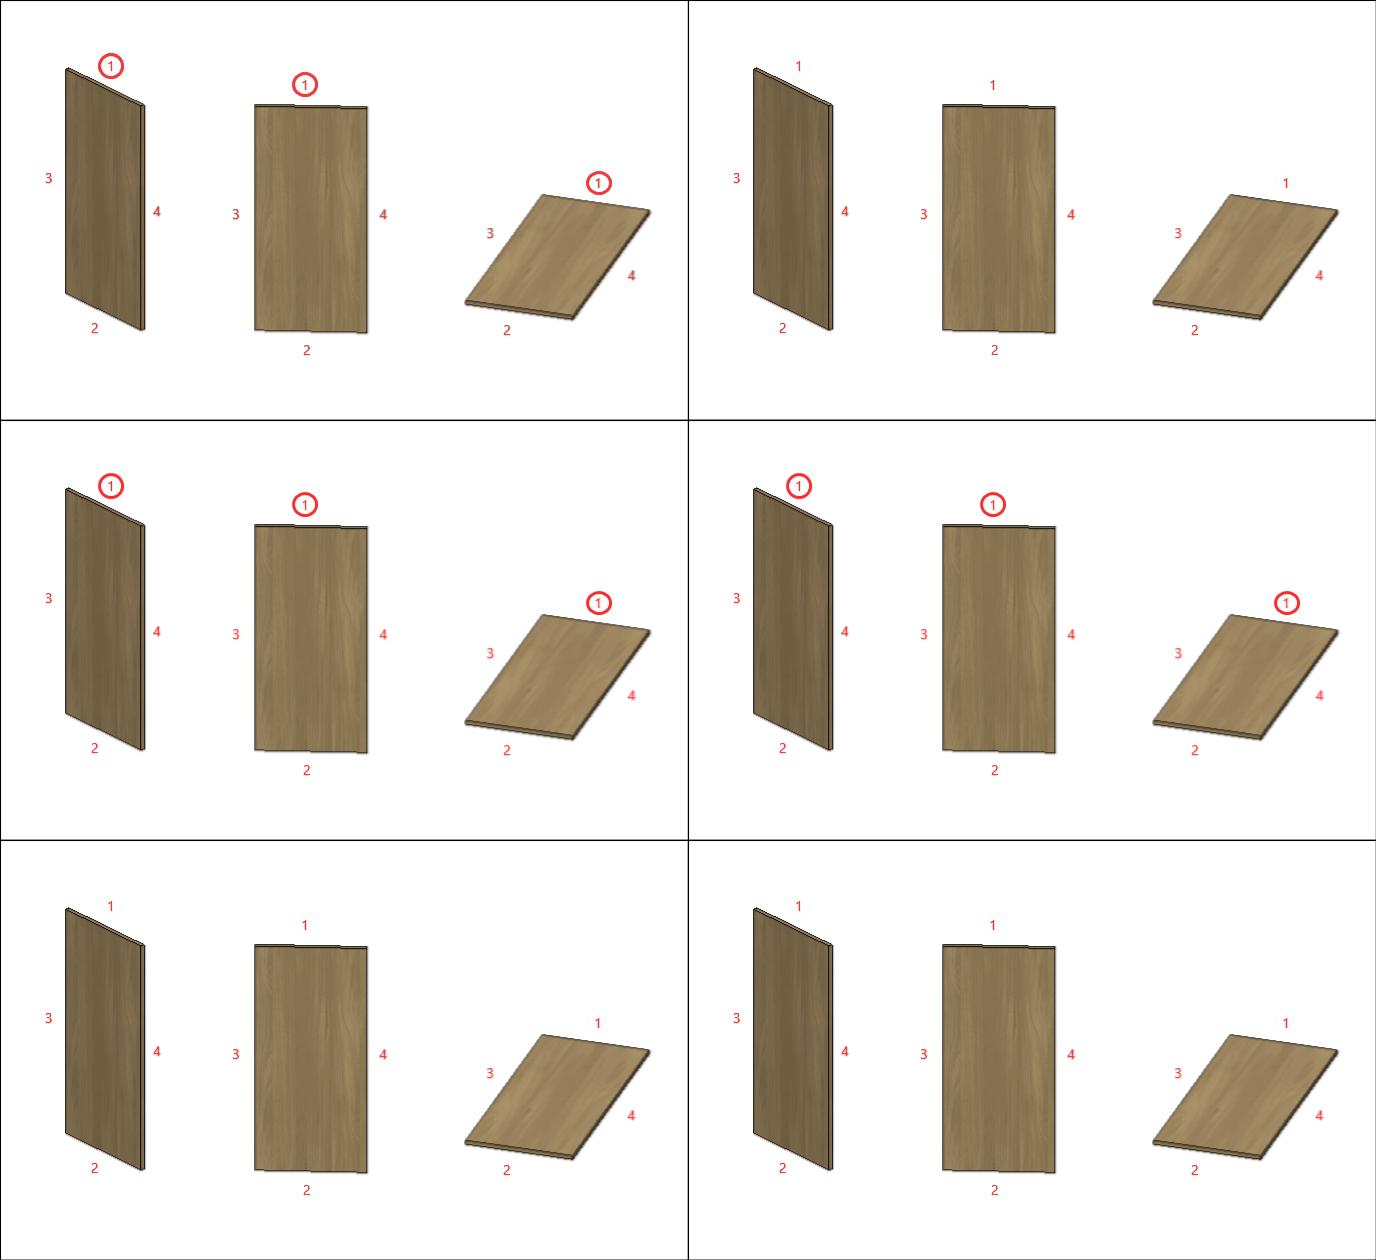
F – Edge 2: To cut planes that read the thickness of the ridge cap, set the thickness to Side 2.
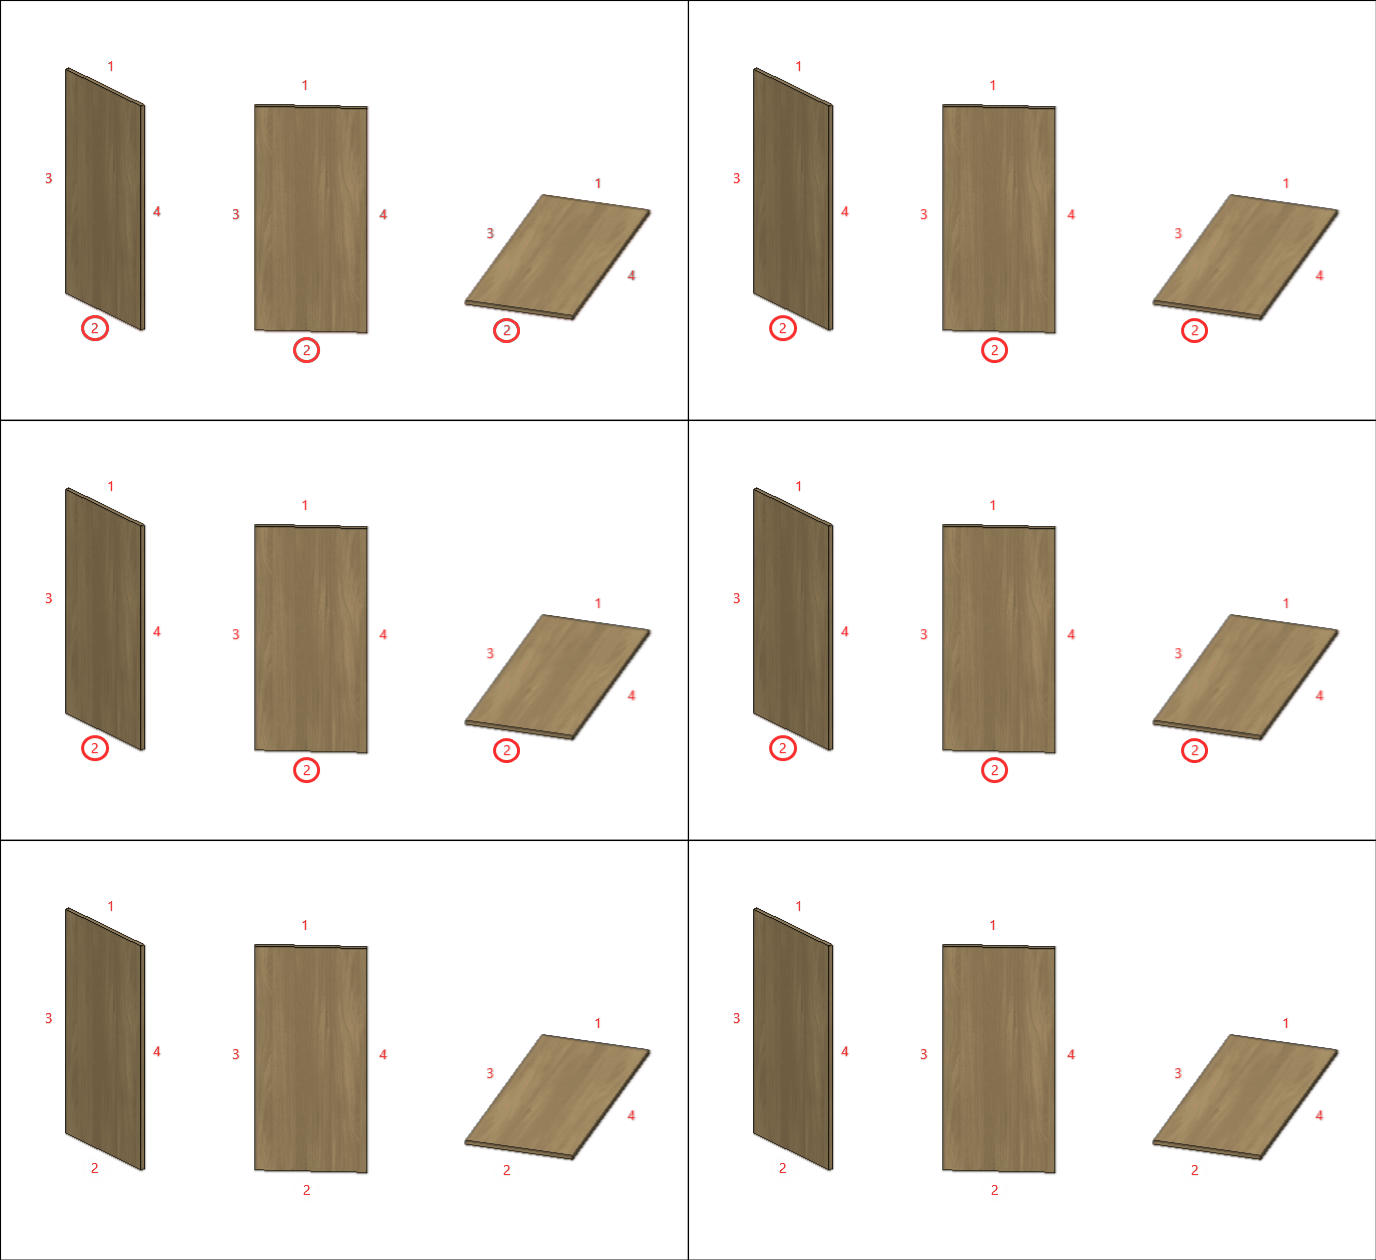
G – Edge 3: To cut planes that read the thickness of the ridge cap, set the thickness to Side 3
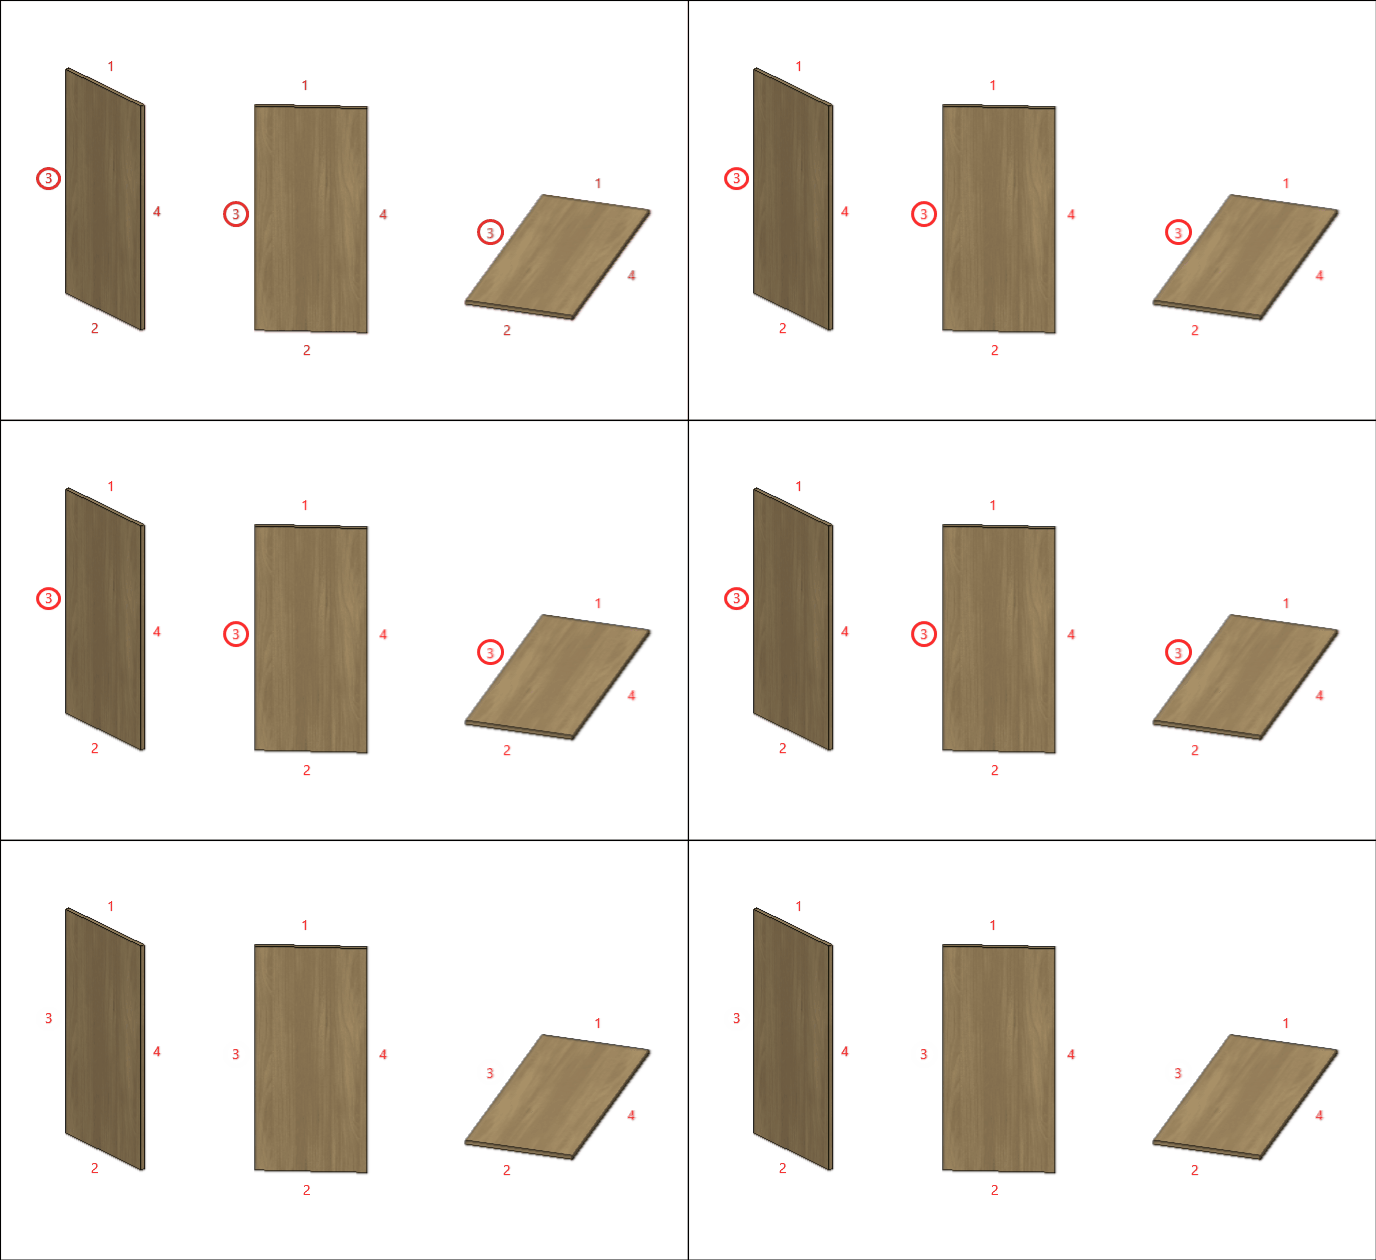
H – Edge 4: To cut planes that read the thickness of the ridge cap, set the thickness to Side 4.
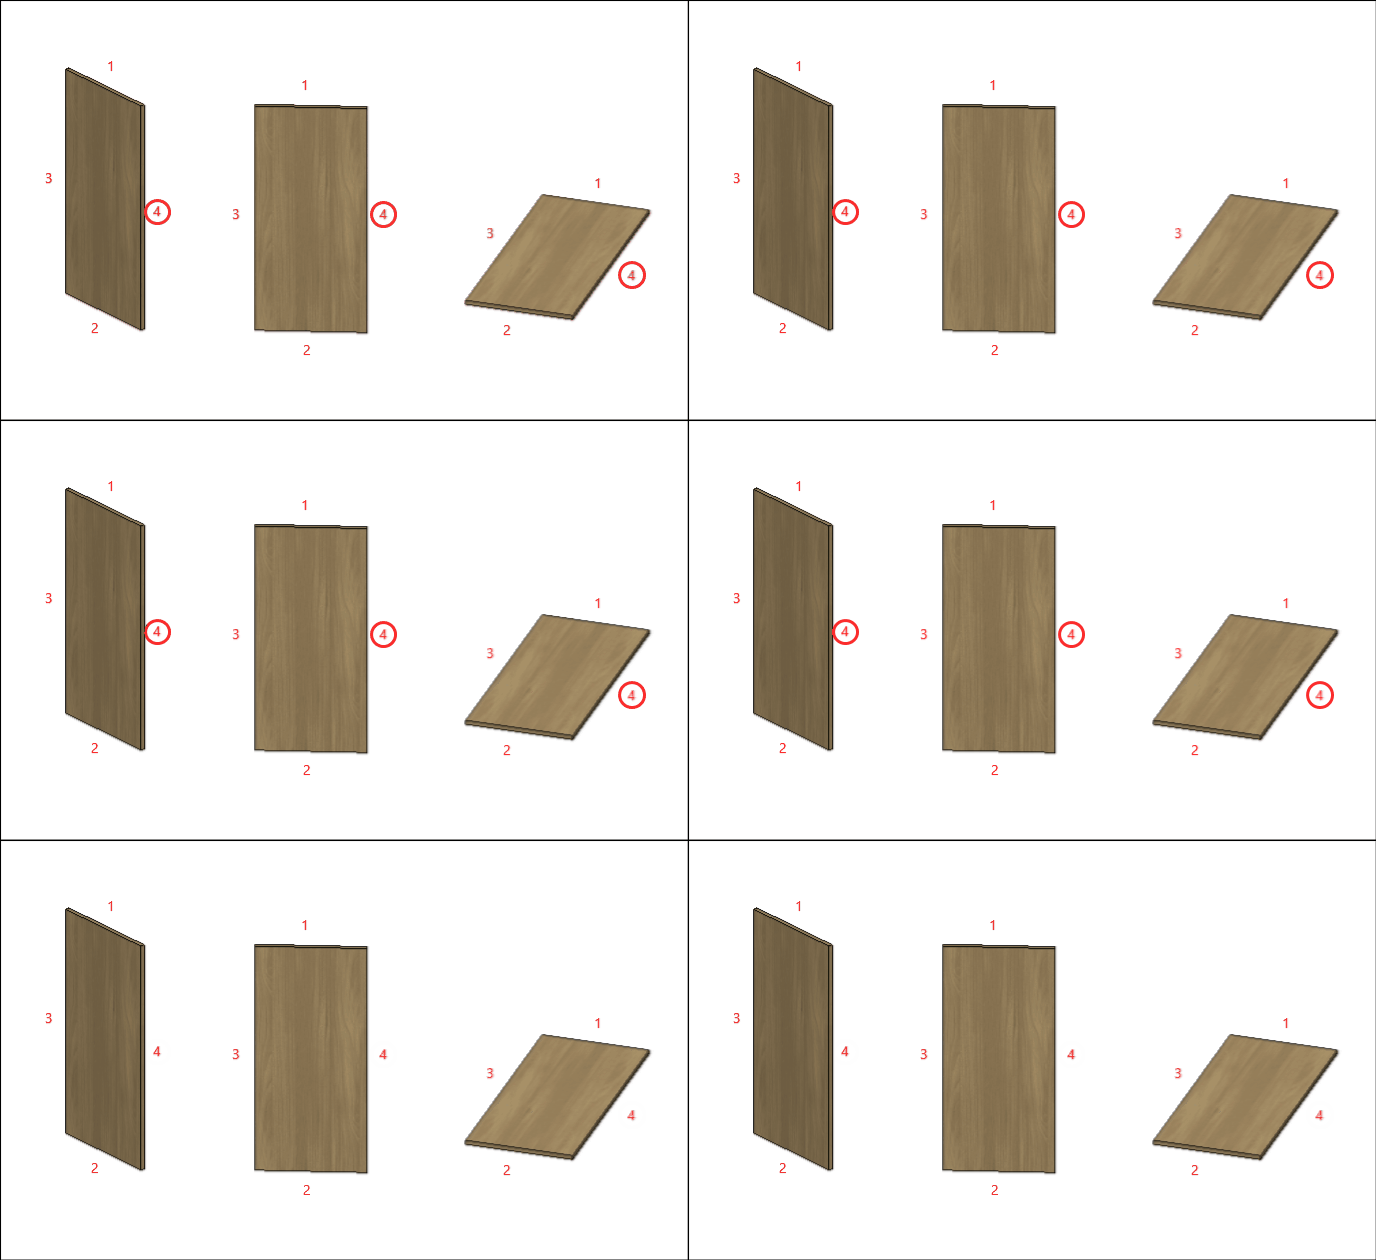
Special
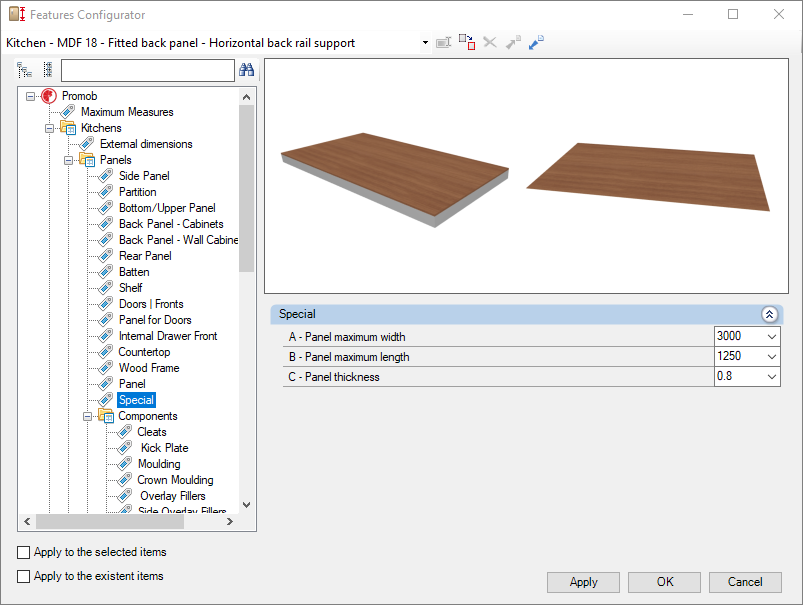
Check out the Kitchens library Special library settings below:
Special
A – Panel Maximum Width: Defines the maximum width of the plate to be used in the manufacture of modules with special panels.

B – Panel Maximum Length: Defines the maximum length of the panels to be used in the manufacture of modules with special panels.

C – Panel Thickness: Defines the thickness of the panel to be used in the manufacture of modules with special panels.


Componentes
Cleats
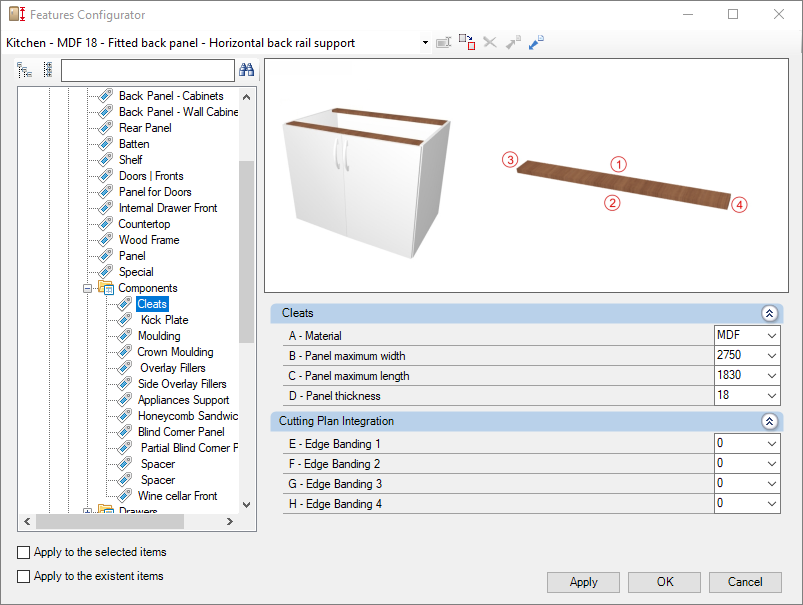
Check below the configuration of the Cleats of the Kitchens library:
Integration with cutting plane
To set up the chant, click here.
E – Edge 1: To cut planes that read the thickness of the ridge cap, set the thickness to Side 1.
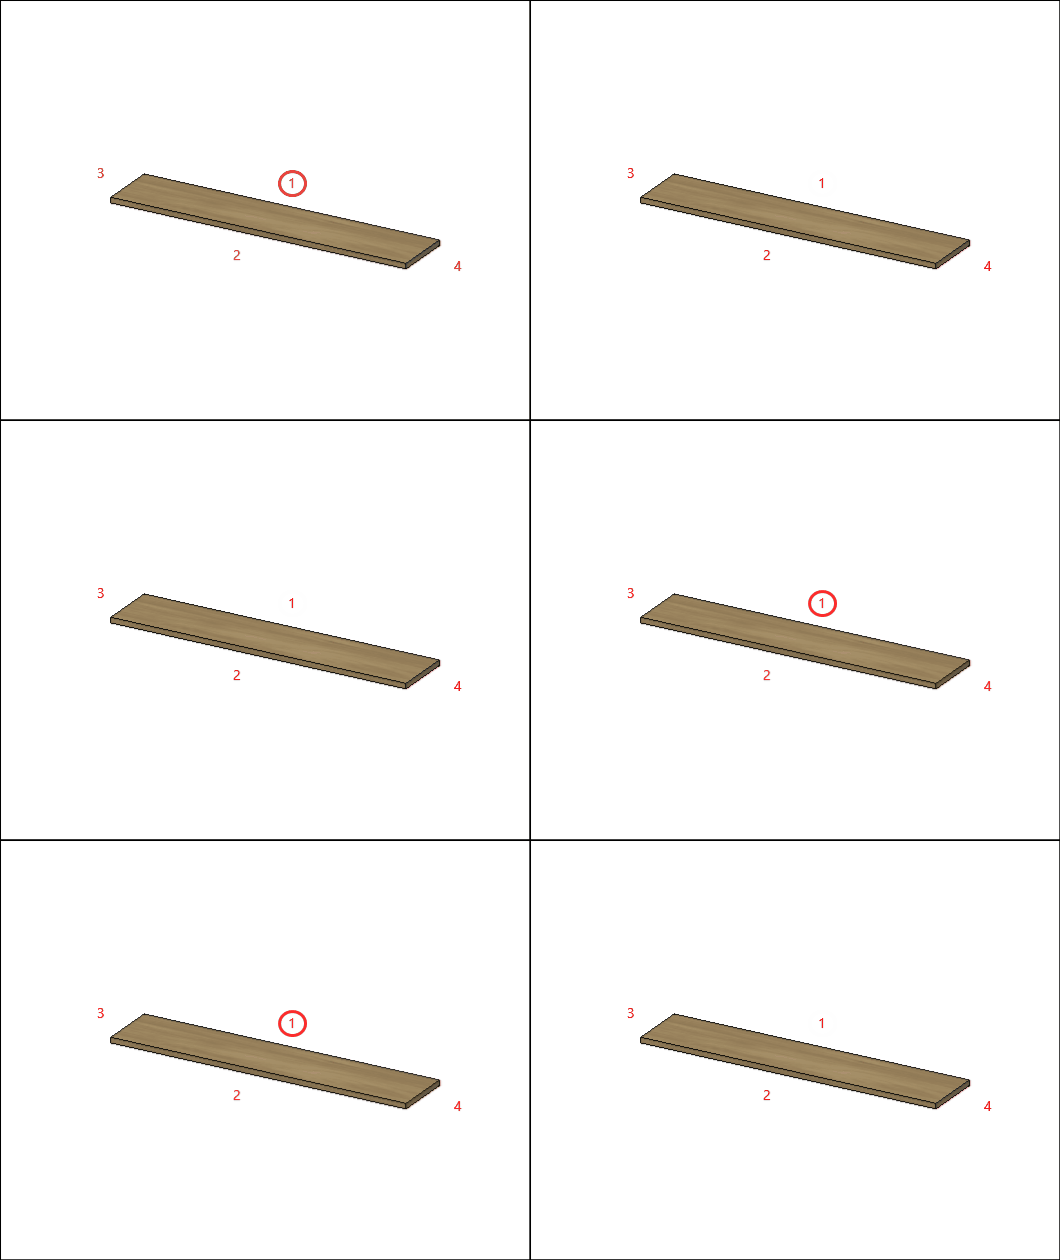
F – Edge 2: To cut planes that read the thickness of the ridge cap, set the thickness to Side 2.
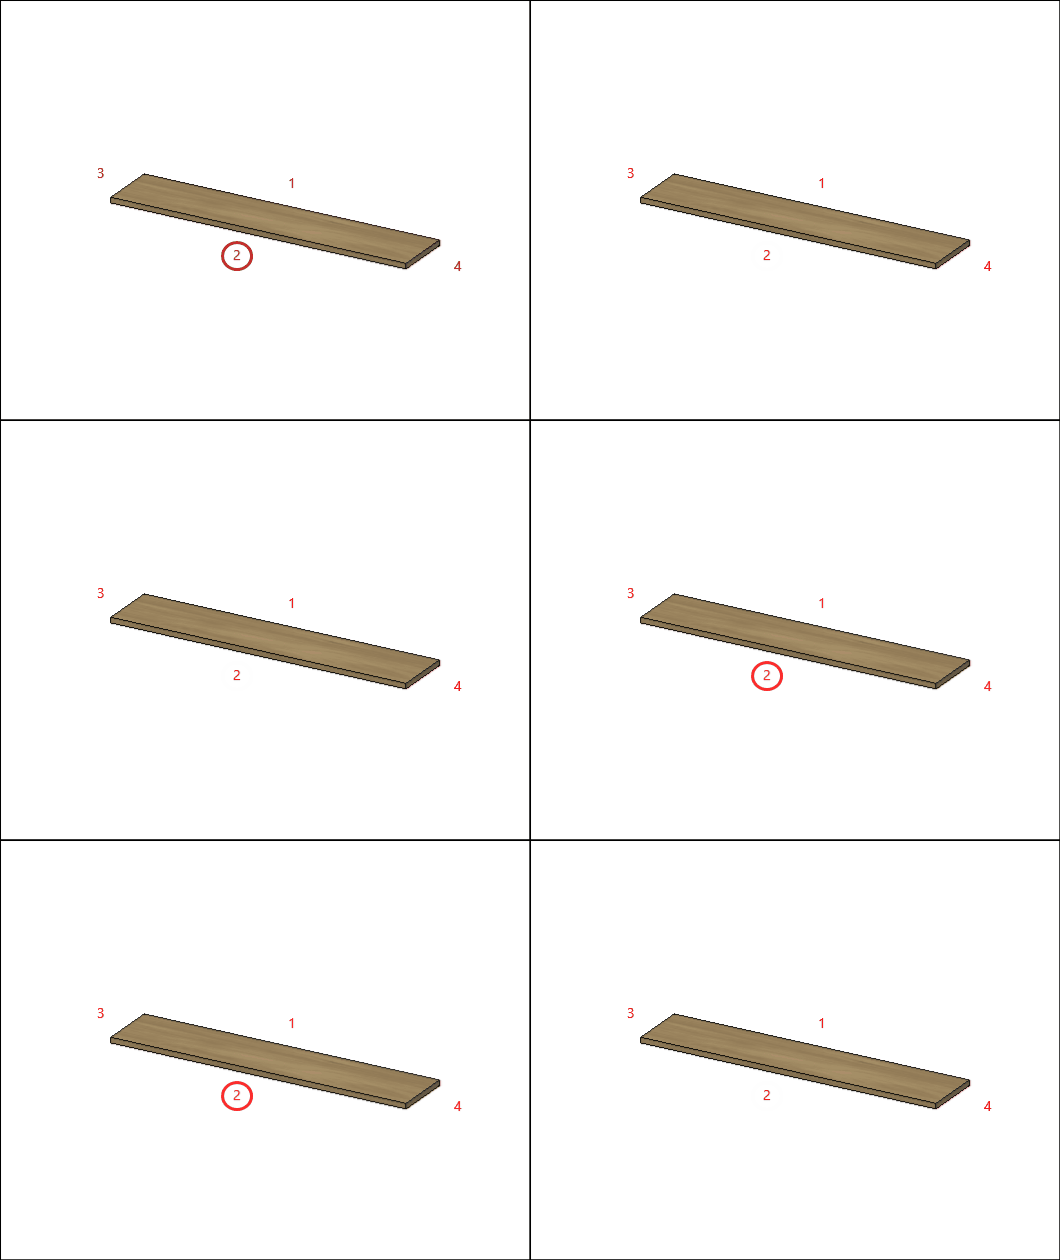
G – Edge 3: To cut planes that read the thickness of the ridge cap, set the thickness to Side 3
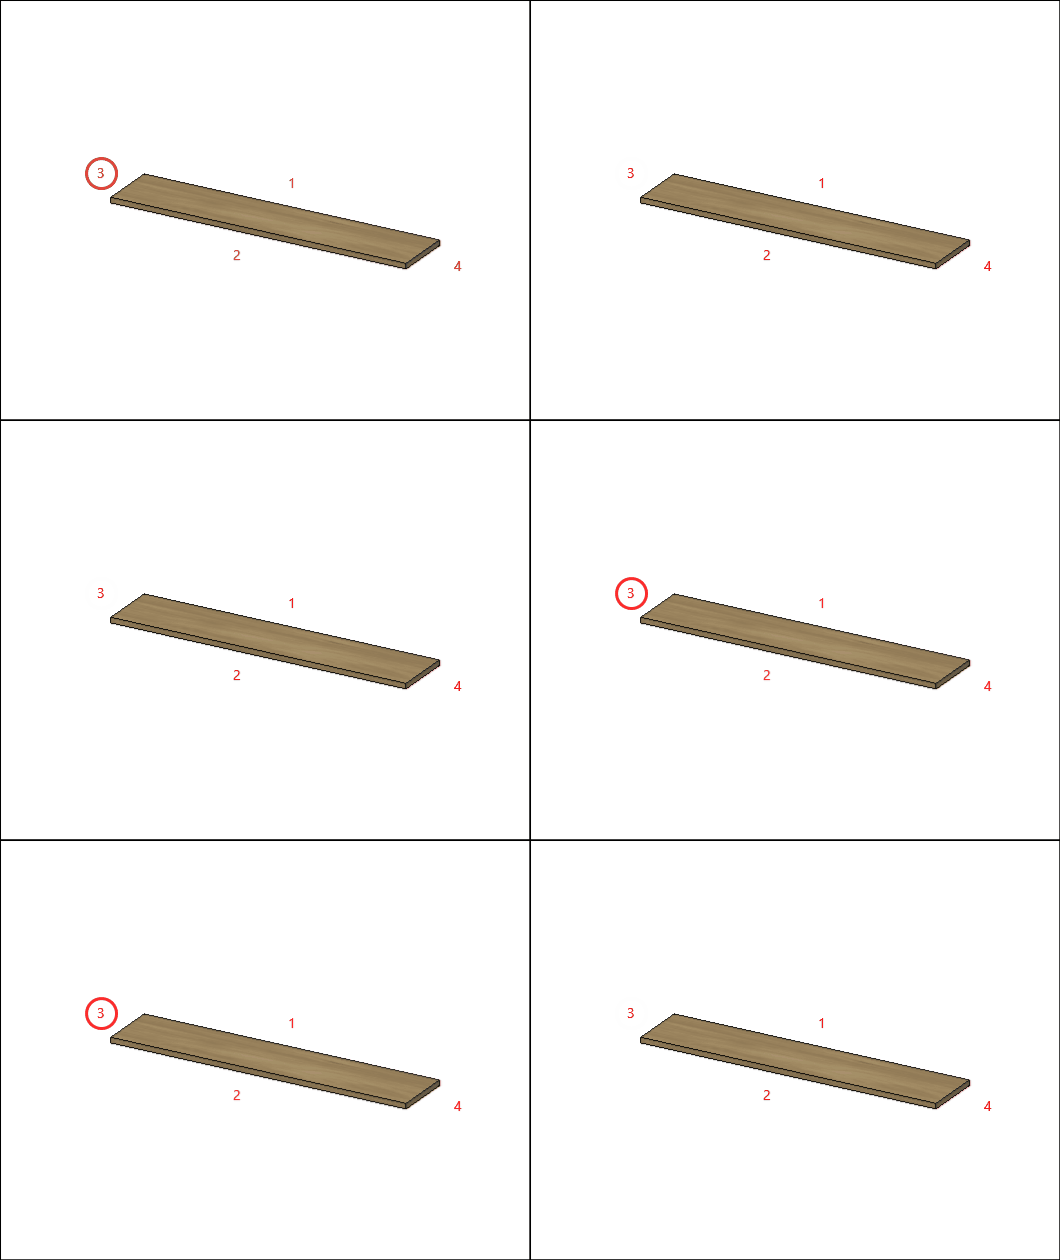
H – Edge 4: To cut planes that read the thickness of the ridge cap, set the thickness to Side 4.
Kick Plate
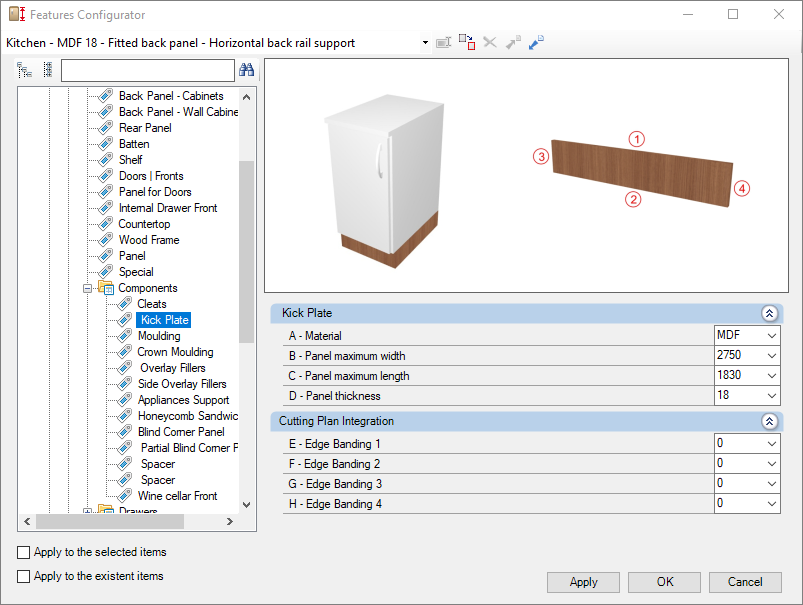
Check below the configuration of the Kick Plate of the Kitchens library:
Integration with cutting plane
To set up the chant, click here.
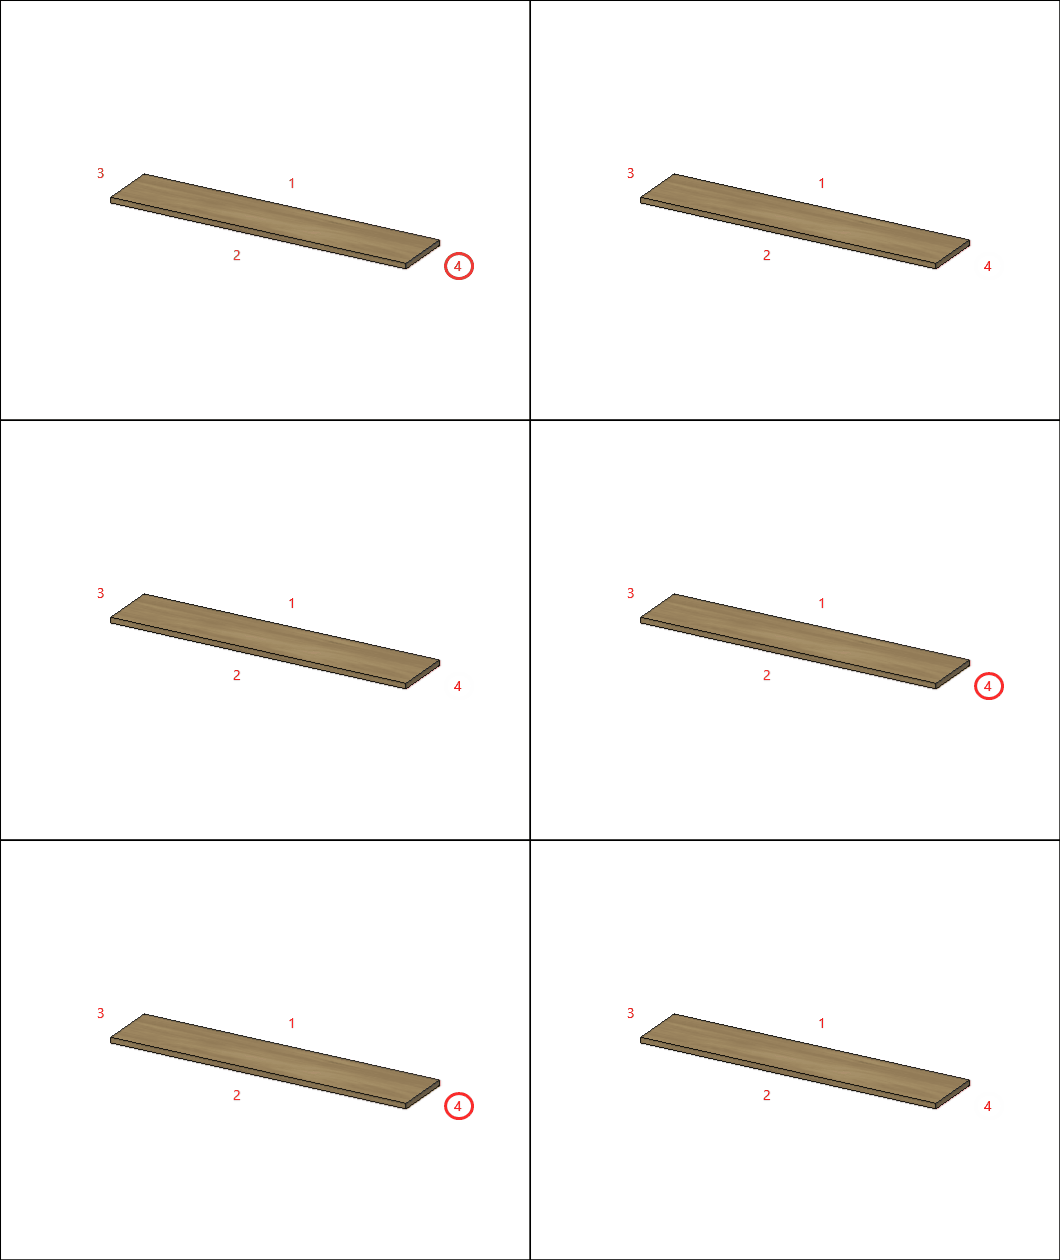
E – Edge 1: To cut planes that read the thickness of the ridge cap, set the thickness to Side 1.

F – Edge 2: To cut planes that read the thickness of the ridge cap, set the thickness to Side 2.

G – Edge 3: To cut planes that read the thickness of the ridge cap, set the thickness to Side 3

H – Edge 4: To cut planes that read the thickness of the ridge cap, set the thickness to Side 4.

Moulding
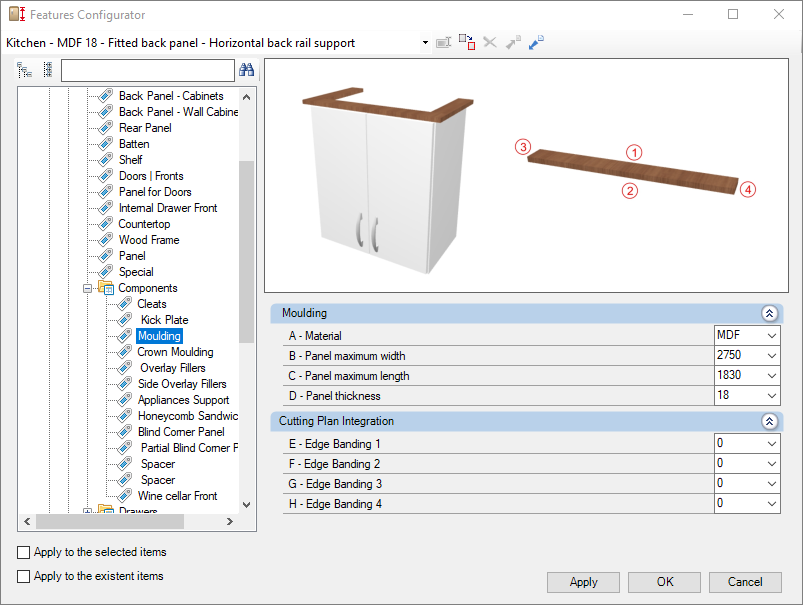
Check below the configuration of the Moulding of the Kitchens library:
Integration with cutting plane
To set up the chant, click here.
E – Edge 1: To cut planes that read the thickness of the ridge cap, set the thickness to Side 1.
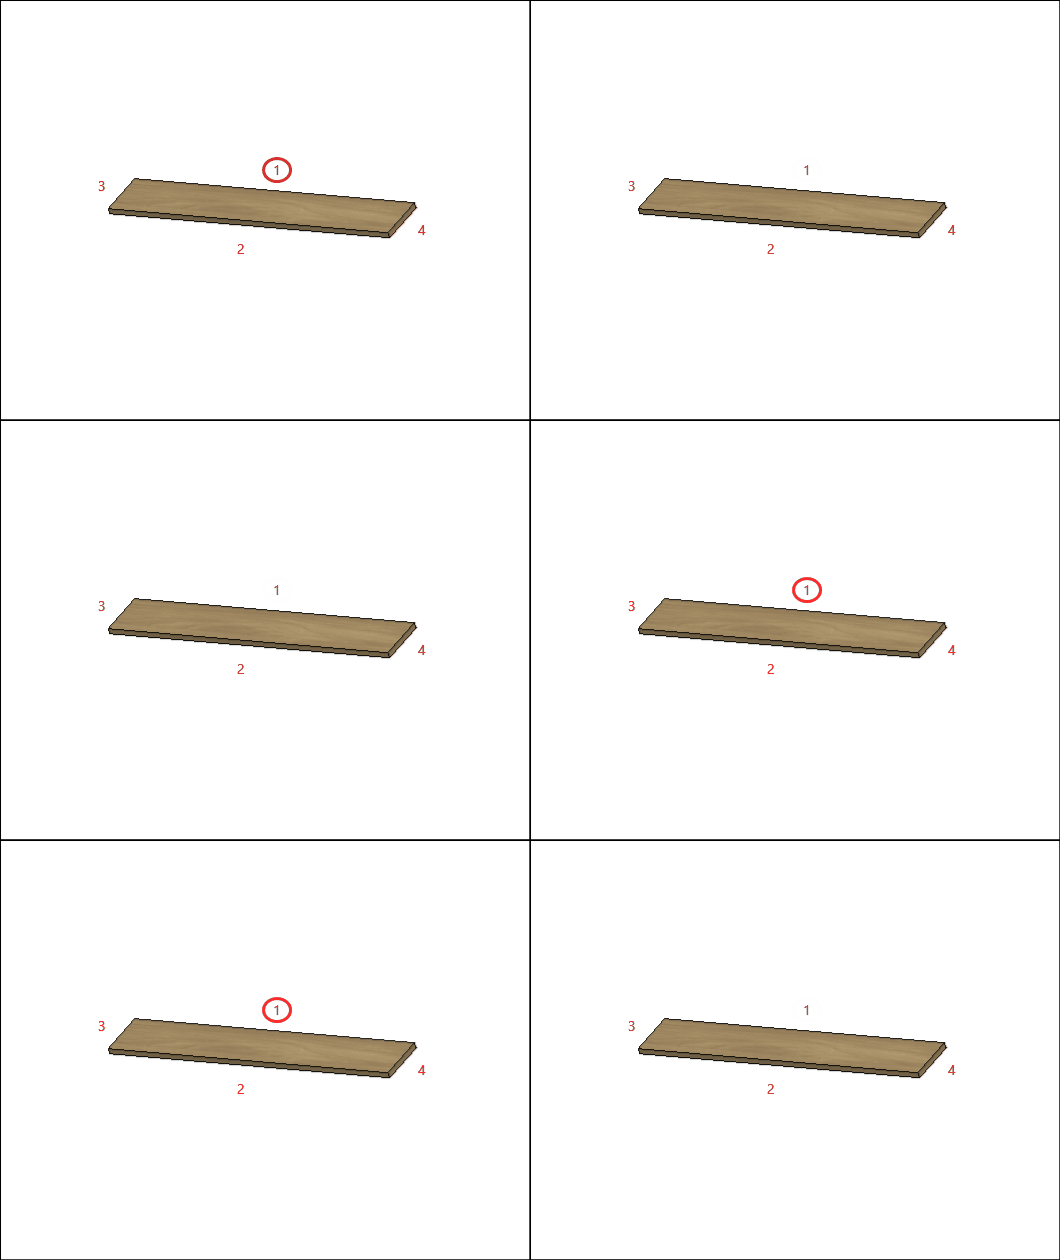
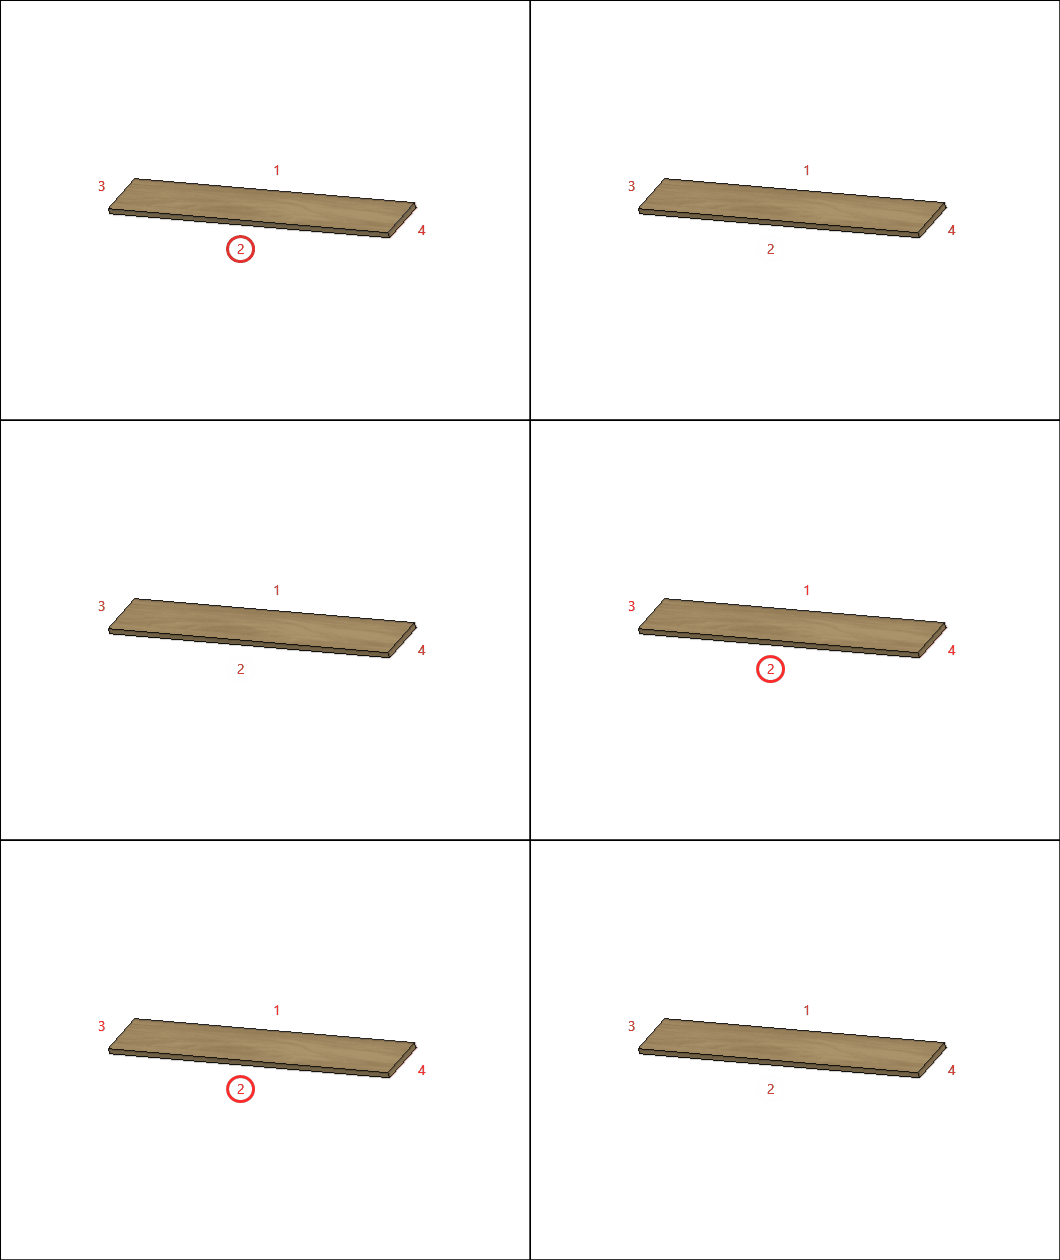
F – Edge 2: To cut planes that read the thickness of the ridge cap, set the thickness to Side 2.
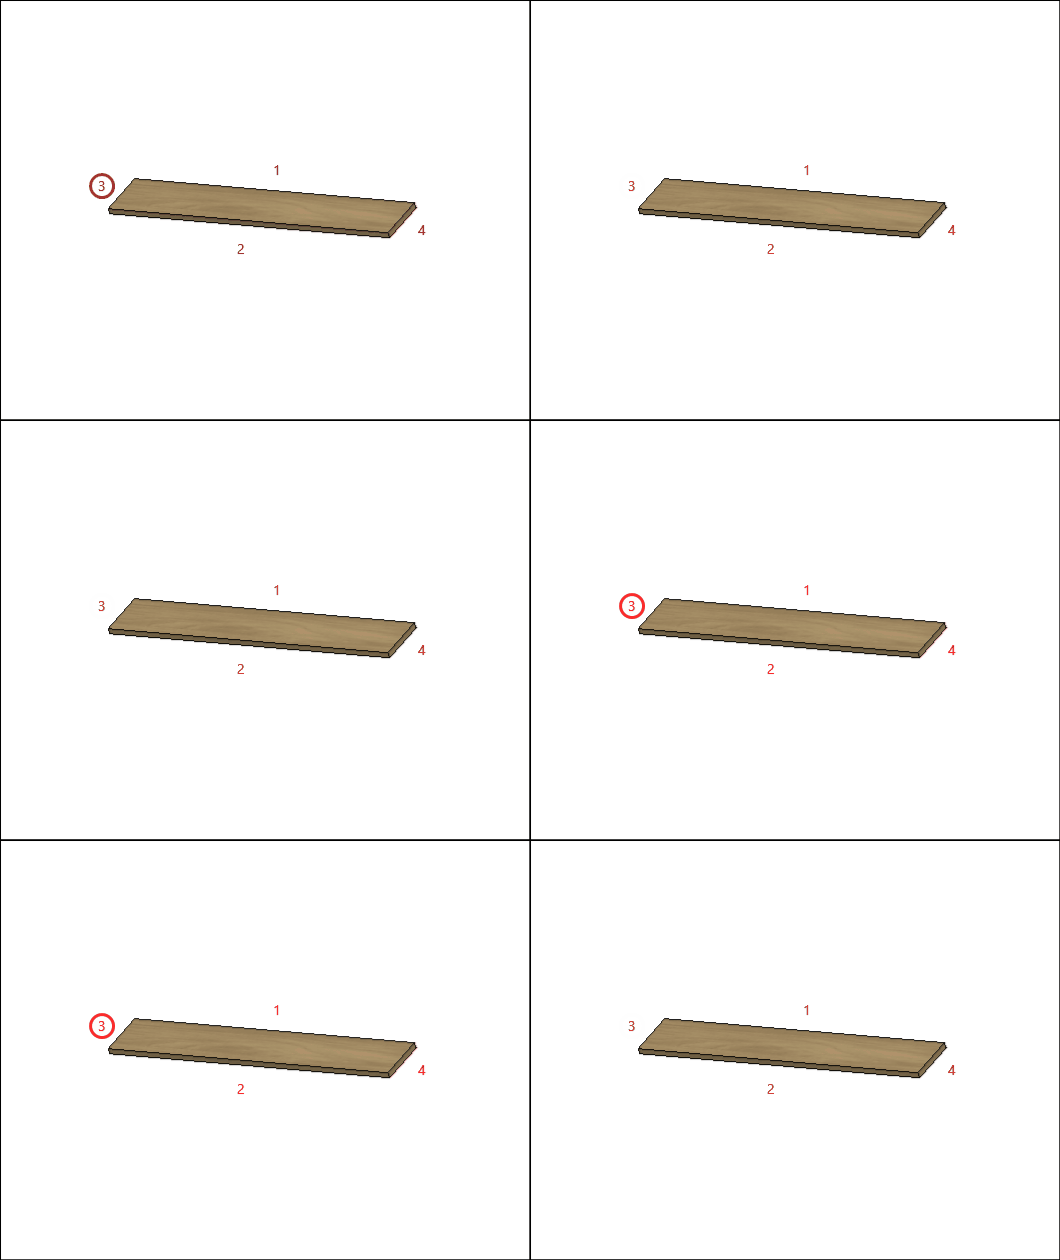
G – Edge 3: To cut planes that read the thickness of the ridge cap, set the thickness to Side 3
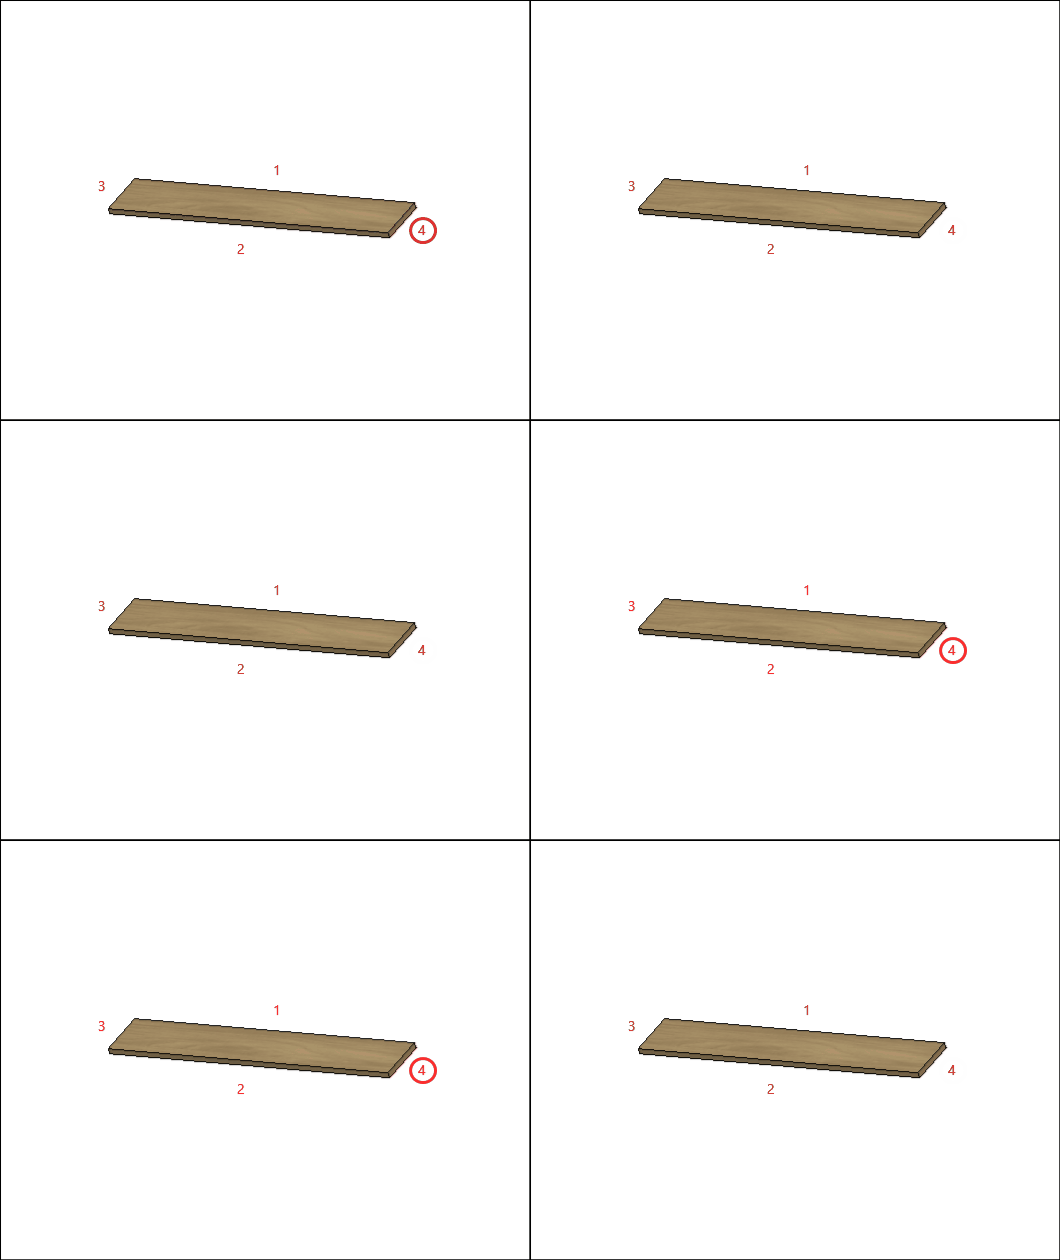
H – Edge 4: To cut planes that read the thickness of the ridge cap, set the thickness to Side 4.
Crown Moulding
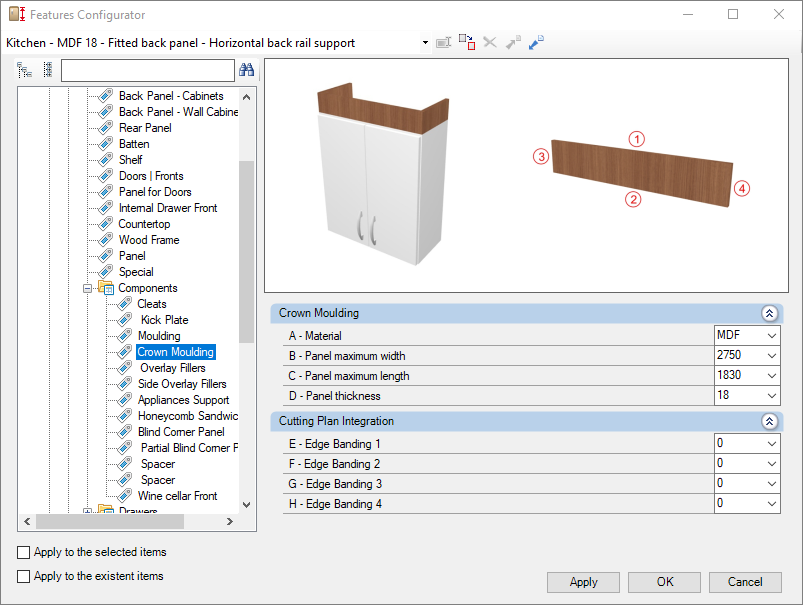
Check below the configuration of the Crown Moulding of the Kitchens library:
Integration with cutting plane
To set up the chant, click here.
E – Edge 1: To cut planes that read the thickness of the ridge cap, set the thickness to Side 1.
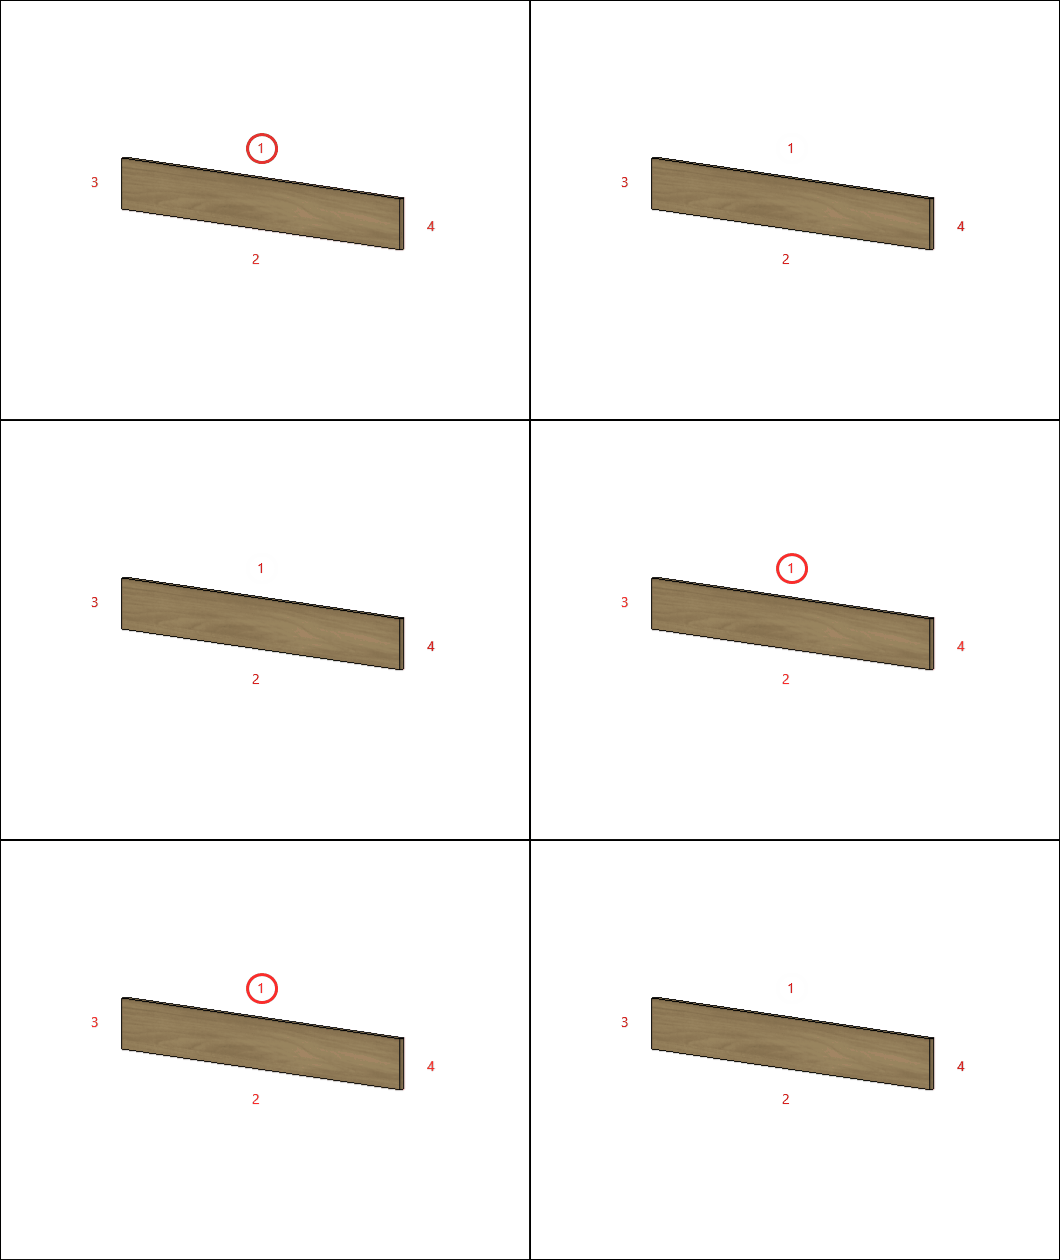
F – Edge 2: To cut planes that read the thickness of the ridge cap, set the thickness to Side 2.
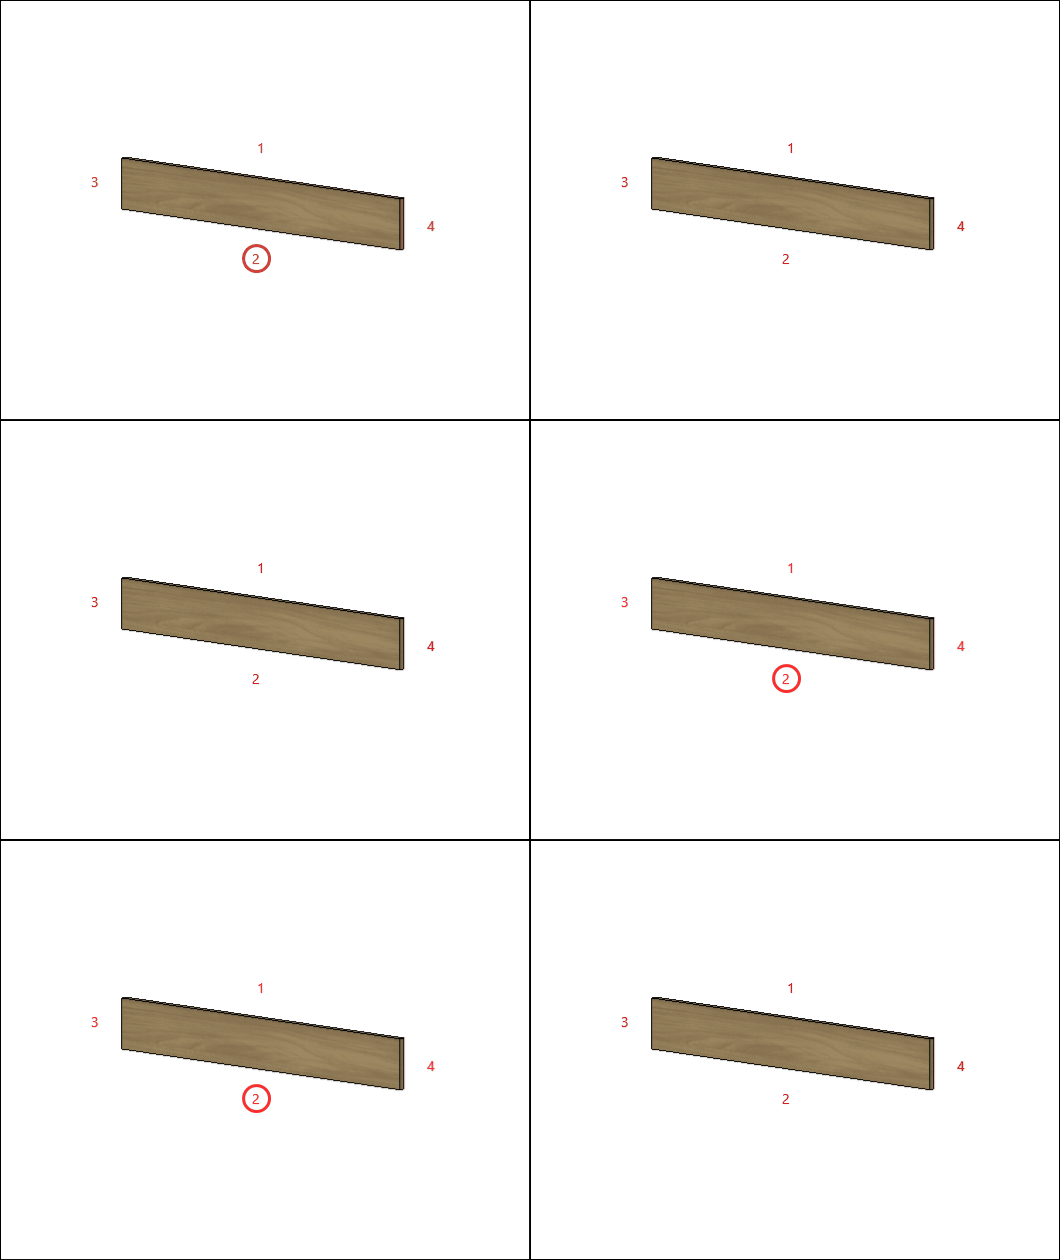
G – Edge 3: To cut planes that read the thickness of the ridge cap, set the thickness to Side 3
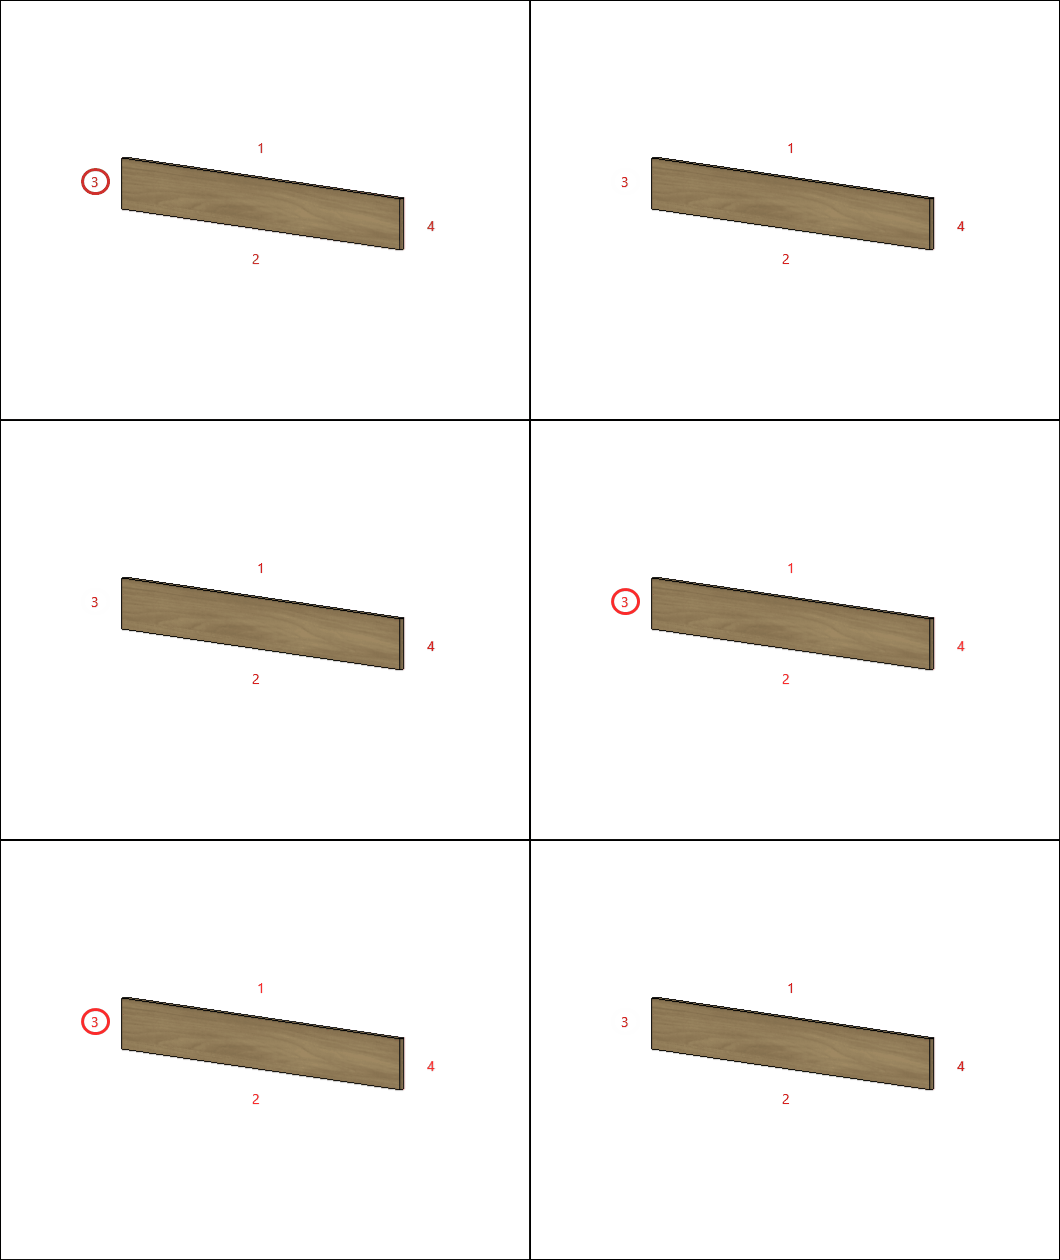
H – Edge 4: To cut planes that read the thickness of the ridge cap, set the thickness to Side 4.
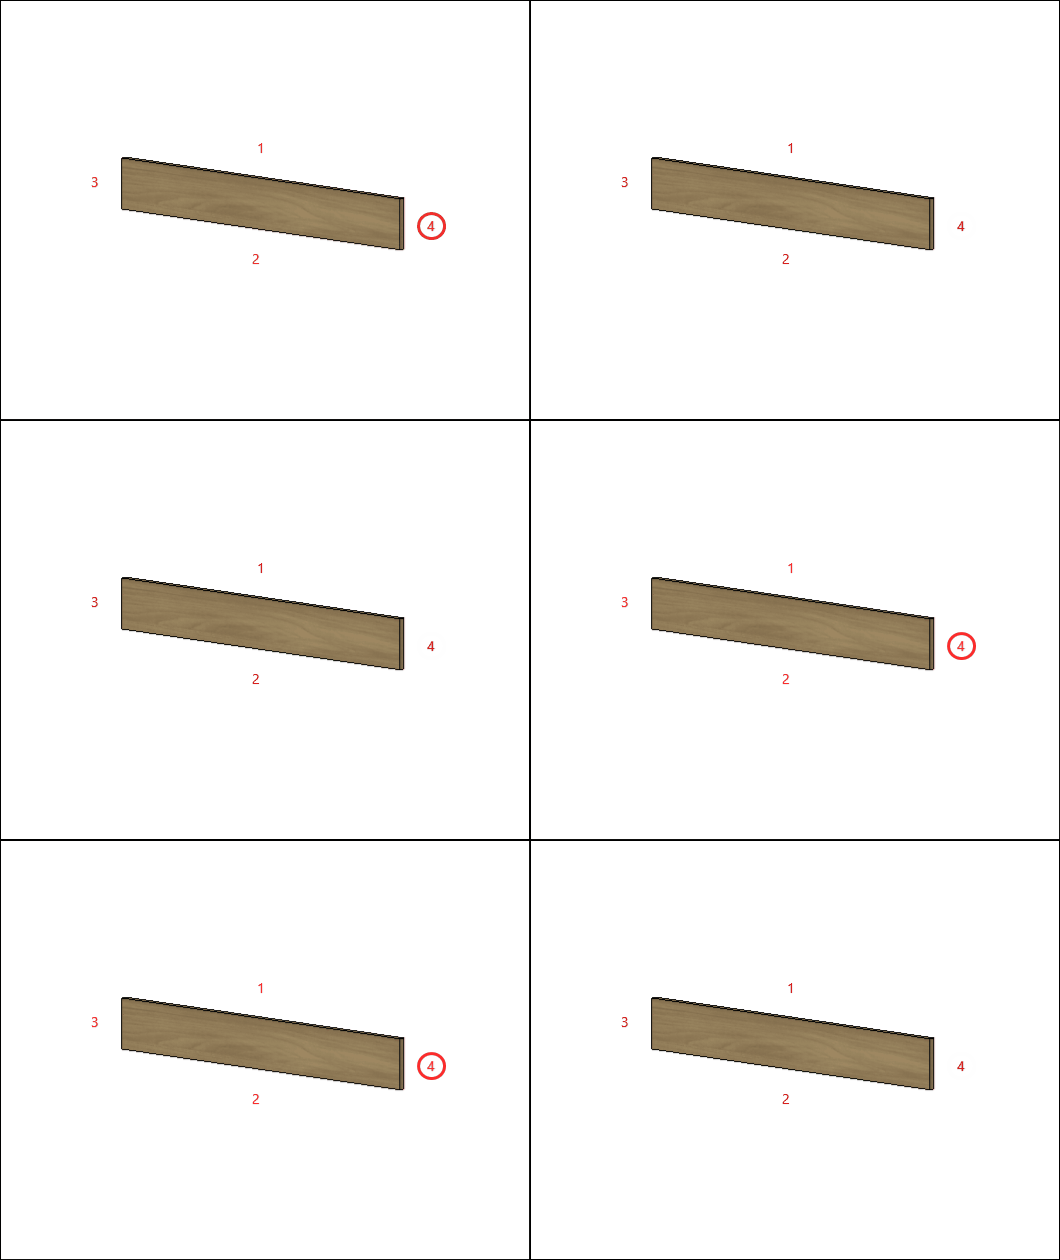
Overlay Fillers
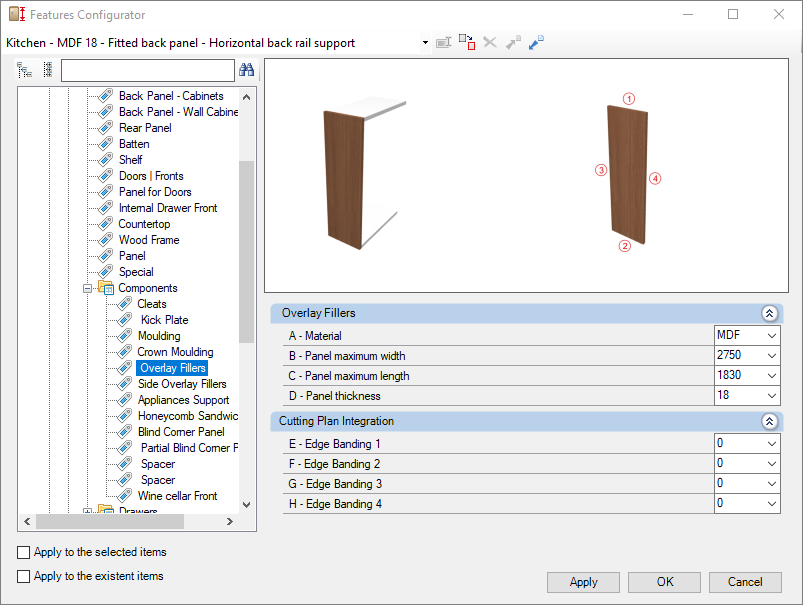
Check below the configuration of the Overlay Fillers of the Kitchens library:
Integration with cutting plane
To set up the chant, click here.
E – Edge 1: To cut planes that read the thickness of the ridge cap, set the thickness to Side 1.
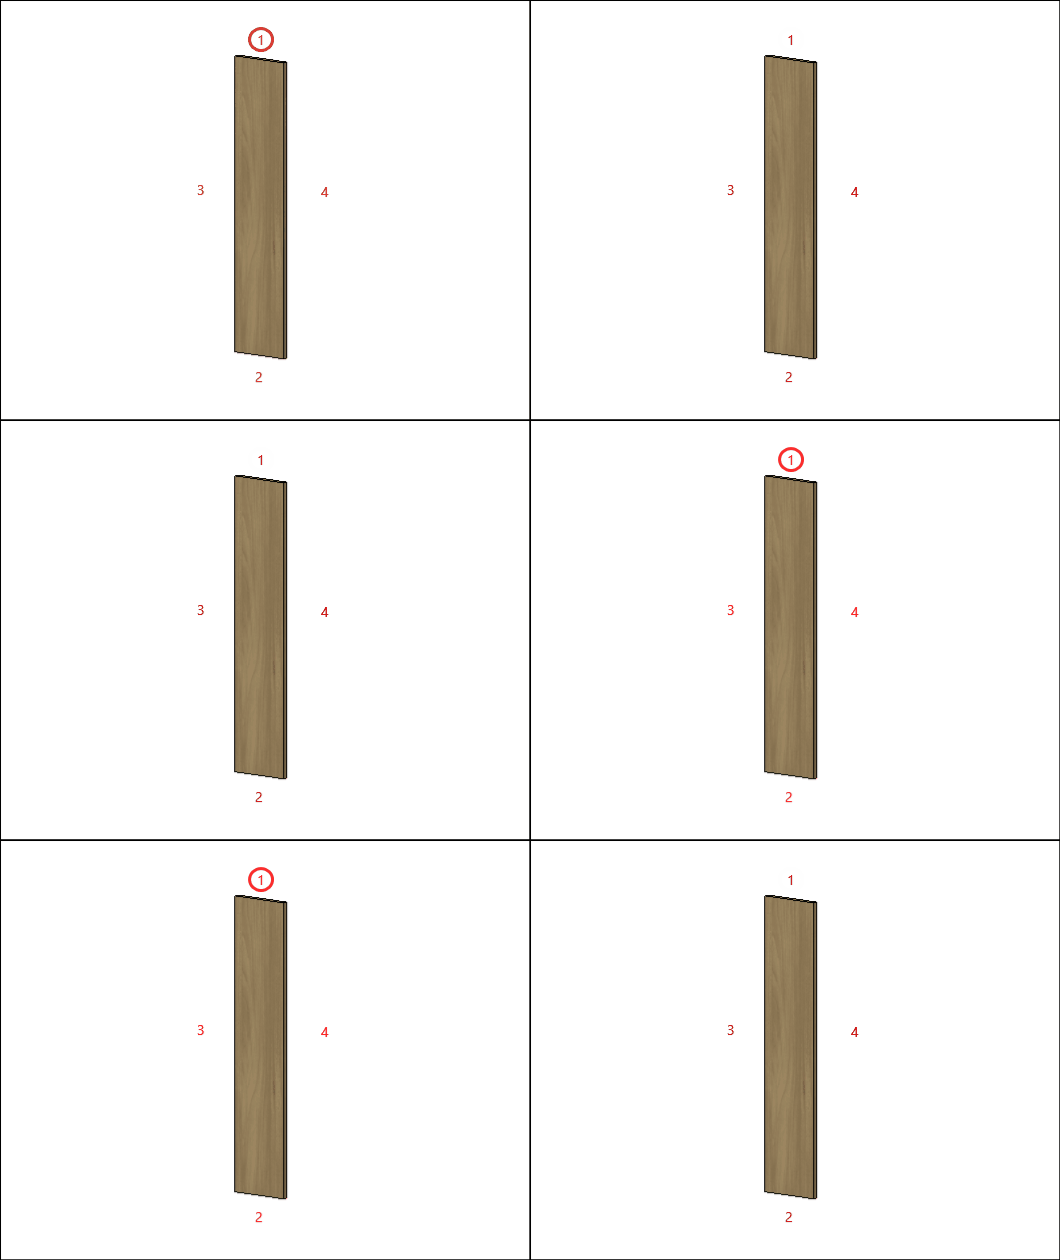
F – Edge 2: To cut planes that read the thickness of the ridge cap, set the thickness to Side 2.
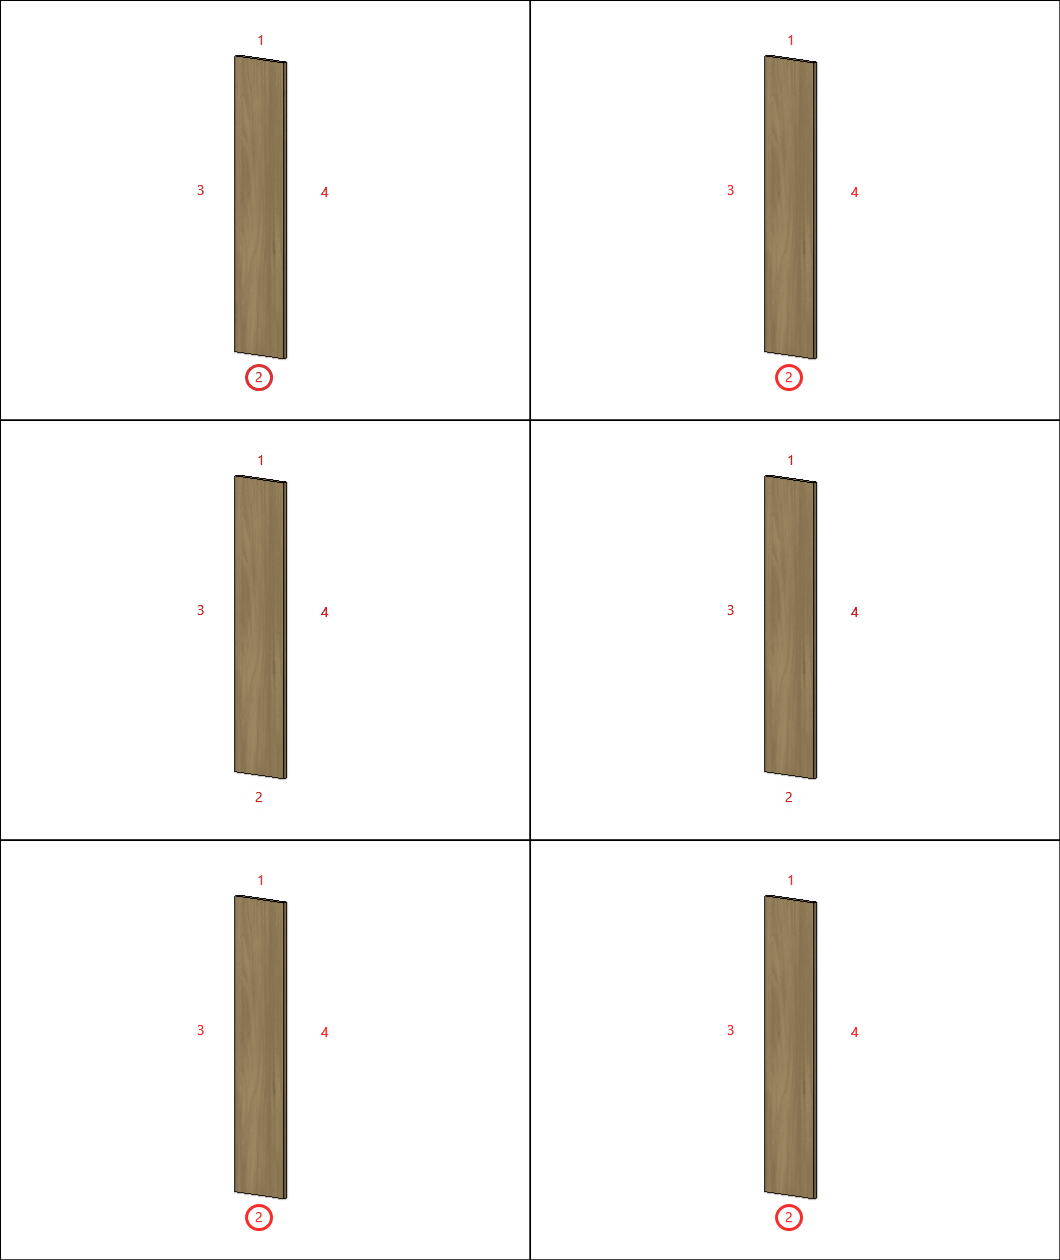
G – Edge 3: To cut planes that read the thickness of the ridge cap, set the thickness to Side 3
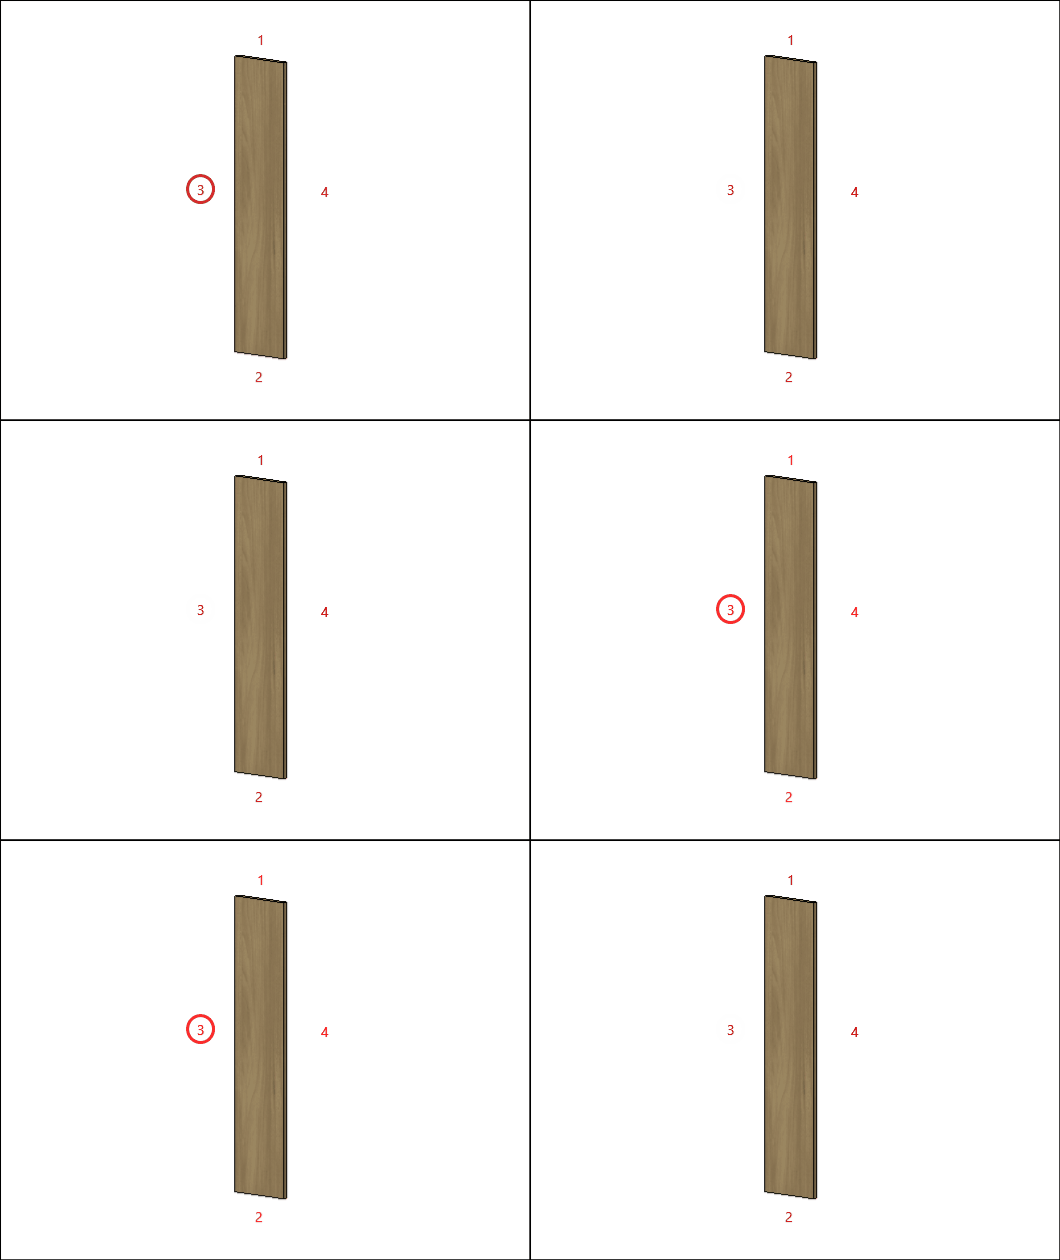
H – Edge 4: To cut planes that read the thickness of the ridge cap, set the thickness to Side 4.
Side Overlay Fillers
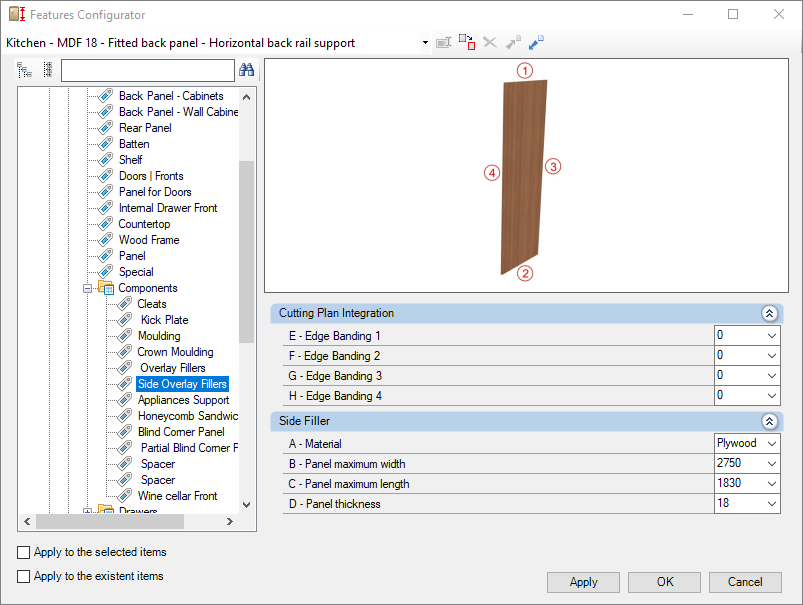
Check below the configuration of the Side Overlay Fillers of the Kitchens library:
Integration with cutting plane
To set up the chant, click here.
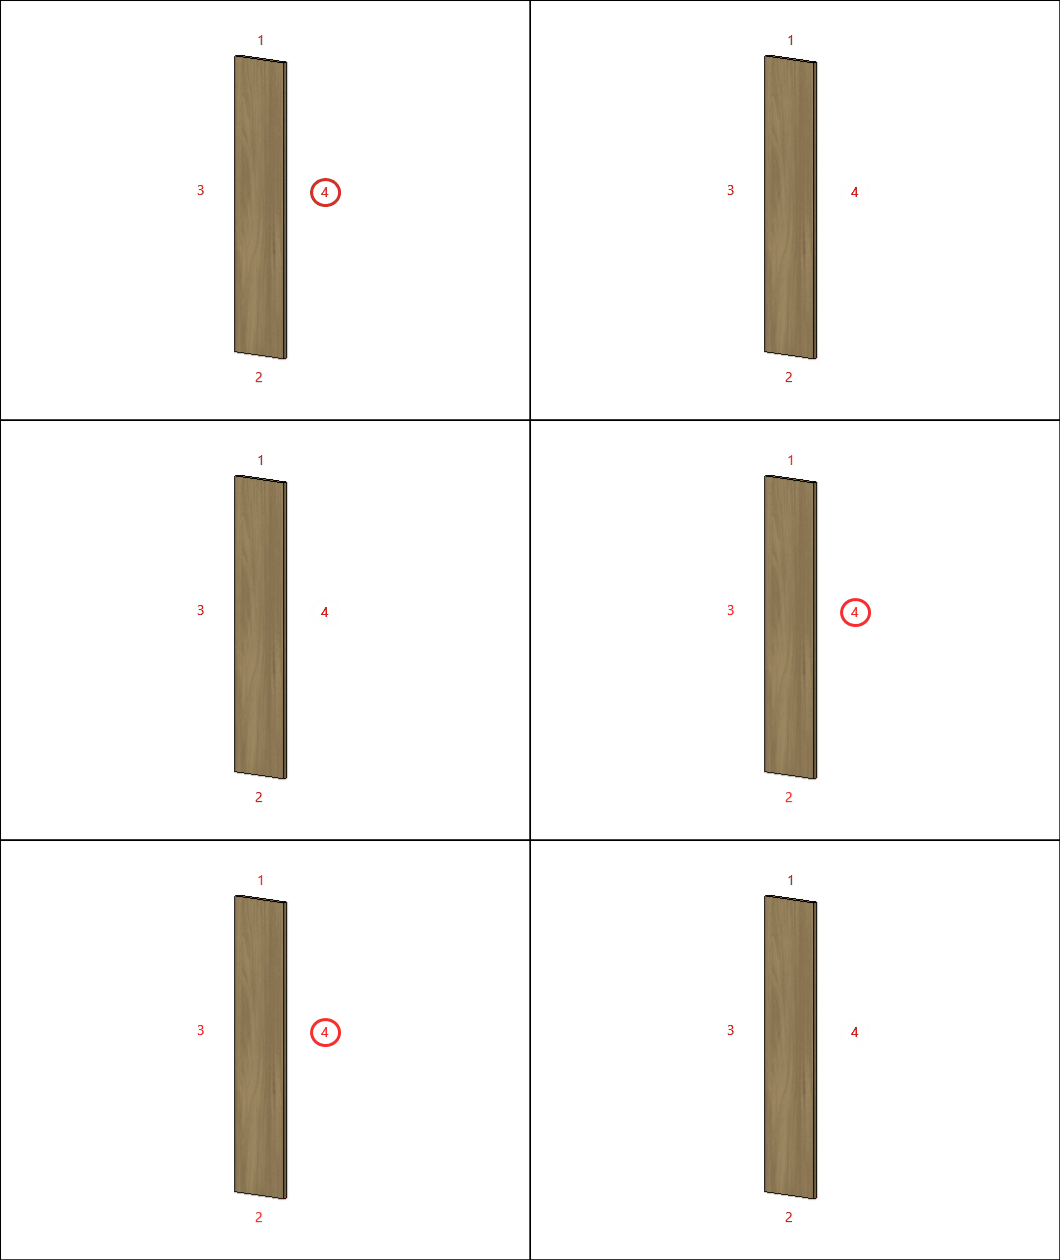
E – Edge 1: To cut planes that read the thickness of the ridge cap, set the thickness to Side 1.
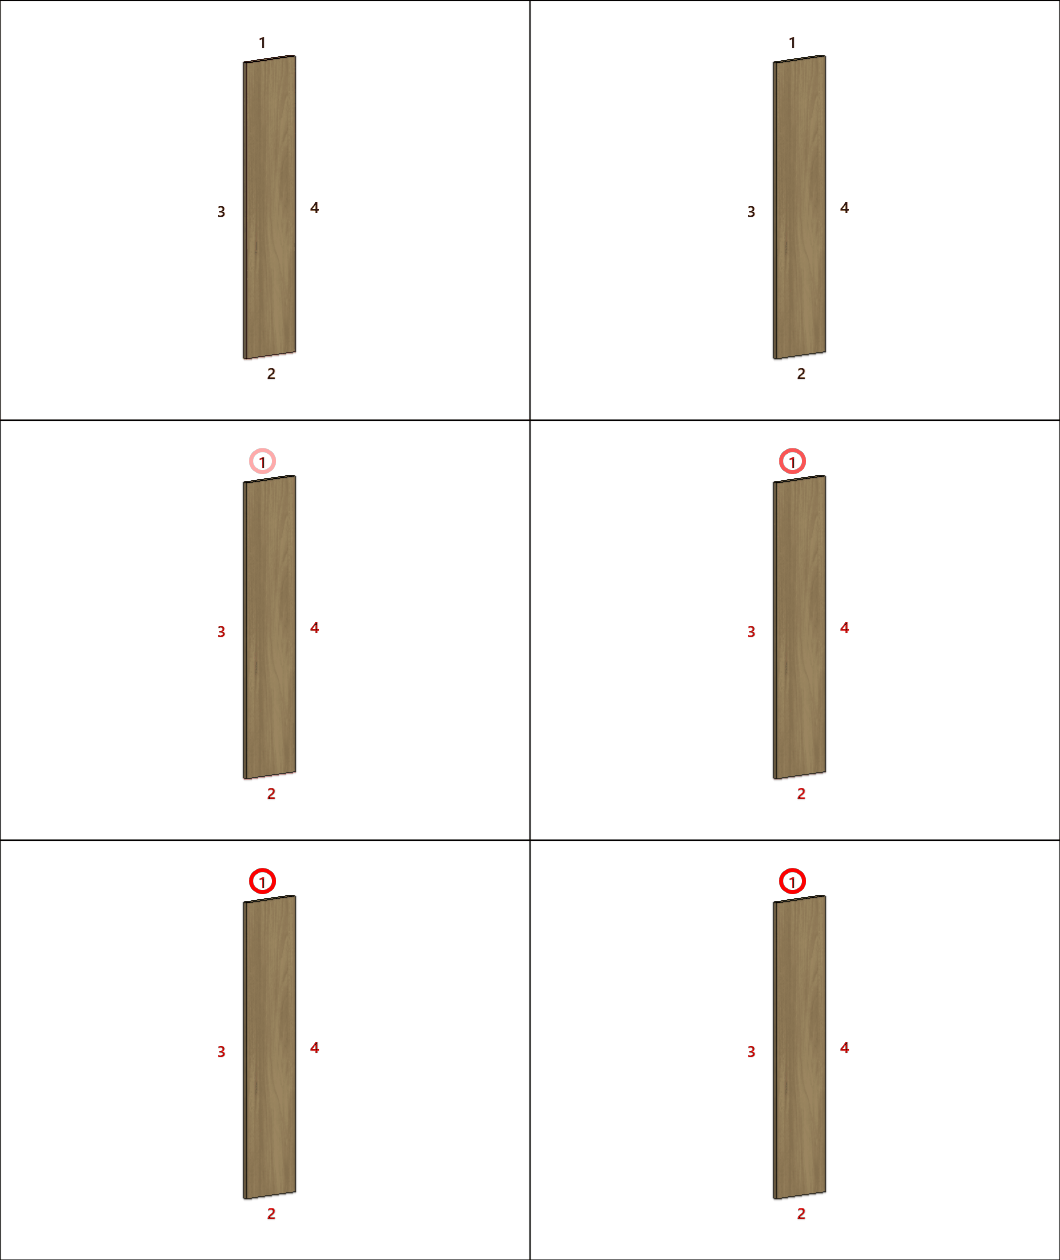
F – Edge 2: To cut planes that read the thickness of the ridge cap, set the thickness to Side 2.
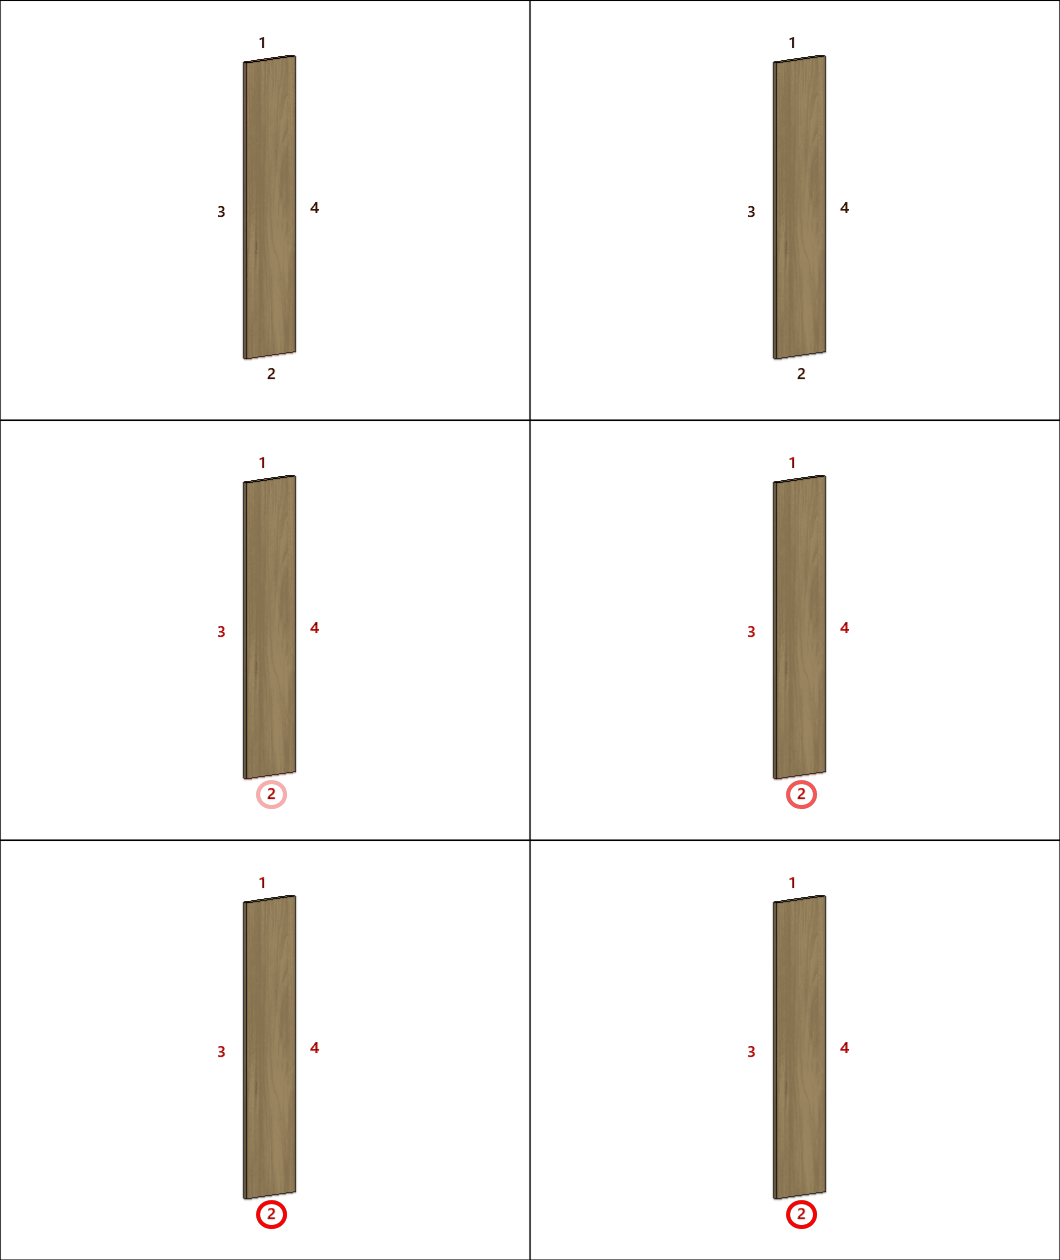
G – Edge 3: To cut planes that read the thickness of the ridge cap, set the thickness to Side 3
H – Edge 4: To cut planes that read the thickness of the ridge cap, set the thickness to Side 4.
Appliances Support
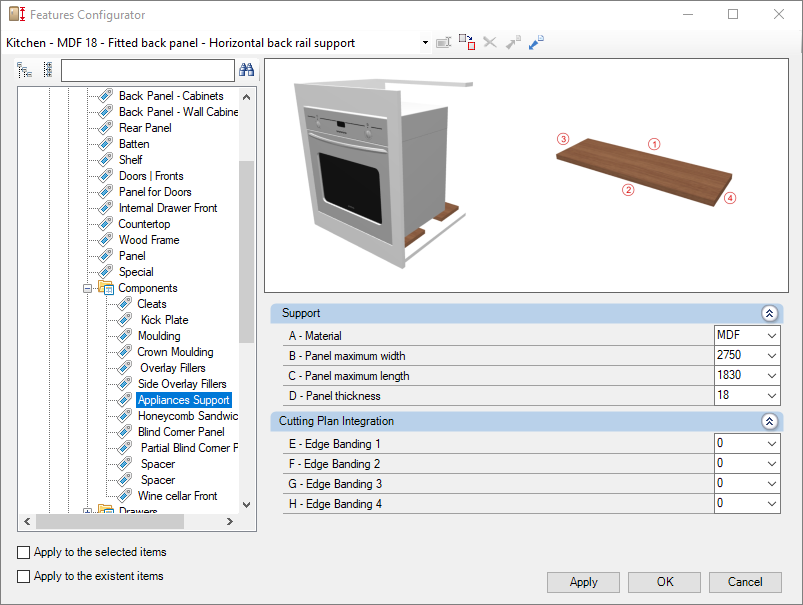
Check below the configuration of the Appliances Support of the Kitchens library:
Integration with cutting plane
To set up the chant, click here.
E – Edge 1: To cut planes that read the thickness of the ridge cap, set the thickness to Side 1.

F – Edge 2: To cut planes that read the thickness of the ridge cap, set the thickness to Side 2.

G – Edge 3: To cut planes that read the thickness of the ridge cap, set the thickness to Side 3

H – Edge 4: To cut planes that read the thickness of the ridge cap, set the thickness to Side 4.

Honeycom Sandwich
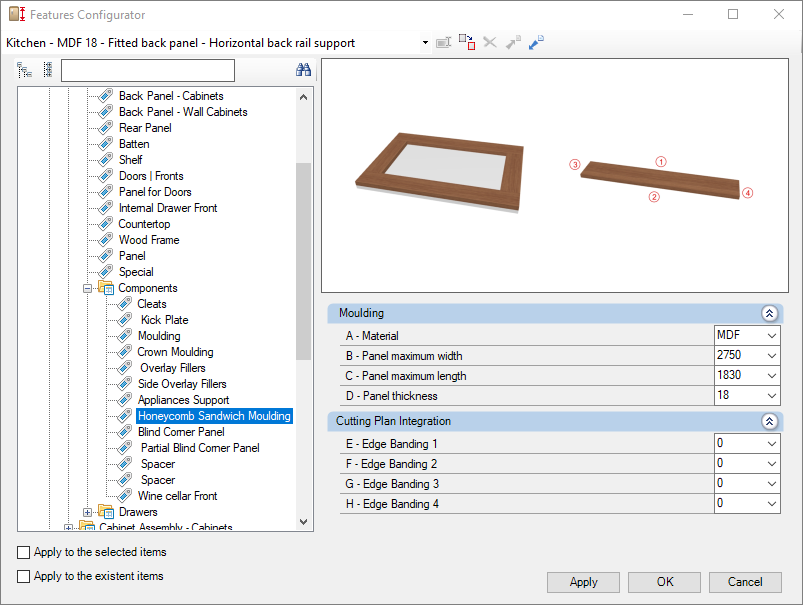
Check below the configuration of the Top Bottoms of the Kitchens library:
Integration with cutting plane
To set up the chant, click here.
E – Edge 1: To cut planes that read the thickness of the ridge cap, set the thickness to Side 1.

F – Edge 2: To cut planes that read the thickness of the ridge cap, set the thickness to Side 2.

G – Edge 3: To cut planes that read the thickness of the ridge cap, set the thickness to Side 3

H – Edge 4: To cut planes that read the thickness of the ridge cap, set the thickness to Side 4.

Blind Corner Panel
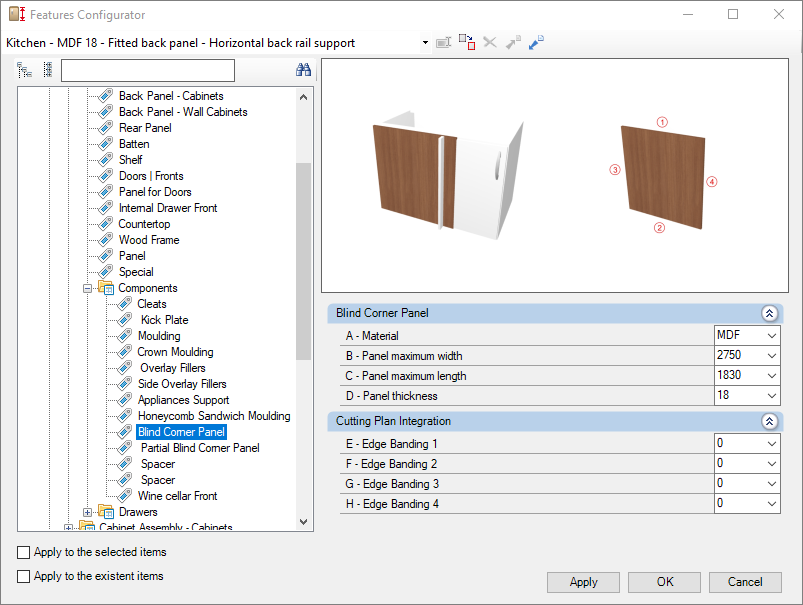
Check below the configuration of the Blind Corner Panel of the Kitchens library:
Integration with cutting plane
To set up the chant, click here.
E – Edge 1: To cut planes that read the thickness of the ridge cap, set the thickness to Side 1.

F – Edge 2: To cut planes that read the thickness of the ridge cap, set the thickness to Side 2.

G – Edge 3: To cut planes that read the thickness of the ridge cap, set the thickness to Side 3

H – Edge 4: To cut planes that read the thickness of the ridge cap, set the thickness to Side 4.

Partial Blind Corner Panel
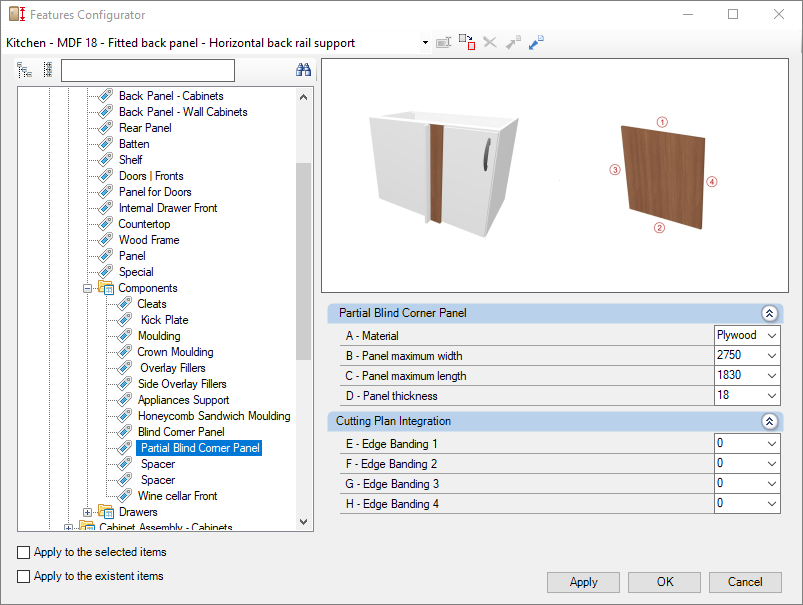
Check below the configuration of the Partial Blind Corner Panel of the Kitchens library:
Integration with cutting plane
To set up the chant, click here.
E – Edge 1: To cut planes that read the thickness of the ridge cap, set the thickness to Side 1.

F – Edge 2: To cut planes that read the thickness of the ridge cap, set the thickness to Side 2.

G – Edge 3: To cut planes that read the thickness of the ridge cap, set the thickness to Side 3

H – Edge 4: To cut planes that read the thickness of the ridge cap, set the thickness to Side 4.

Spacer - Blind Corner
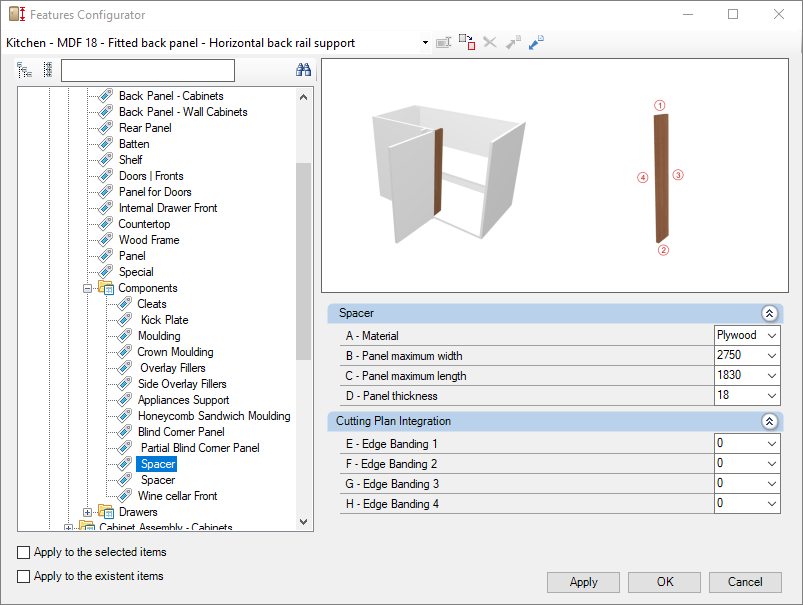
Check below the configuration of the Spacer of the Kitchens library:
Integration with cutting plane
To set up the chant, click here.
E – Edge 1: To cut planes that read the thickness of the ridge cap, set the thickness to Side 1.

F – Edge 2: To cut planes that read the thickness of the ridge cap, set the thickness to Side 2.

G – Edge 3: To cut planes that read the thickness of the ridge cap, set the thickness to Side 3

H – Edge 4: To cut planes that read the thickness of the ridge cap, set the thickness to Side 4.

Spacer
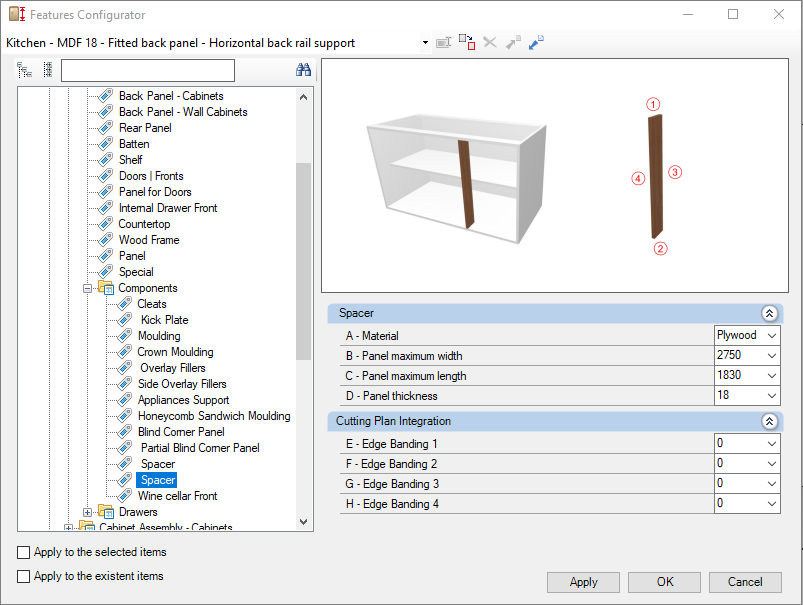
Check below the configuration of the Spacer of the Kitchens library:
Integration with cutting plane
To set up the chant, click here.
E – Edge 1: To cut planes that read the thickness of the ridge cap, set the thickness to Side 1.

F – Edge 2: To cut planes that read the thickness of the ridge cap, set the thickness to Side 2.

G – Edge 3: To cut planes that read the thickness of the ridge cap, set the thickness to Side 3

H – Edge 4: To cut planes that read the thickness of the ridge cap, set the thickness to Side 4.

Wine Cellar Front
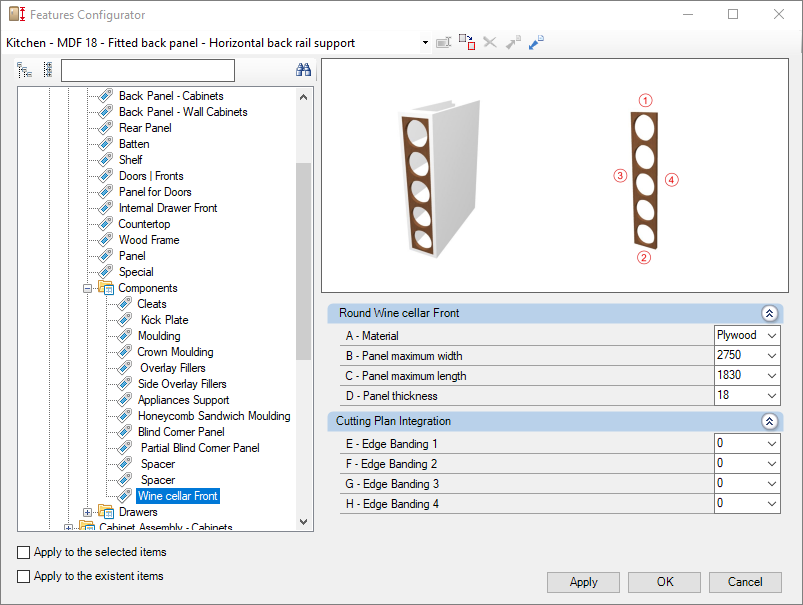
Check below the configuration of the Wine Cellar Front of the Kitchens library:
Integration with cutting plane
To set up the chant, click here.
E – Edge 1: To cut planes that read the thickness of the ridge cap, set the thickness to Side 1.
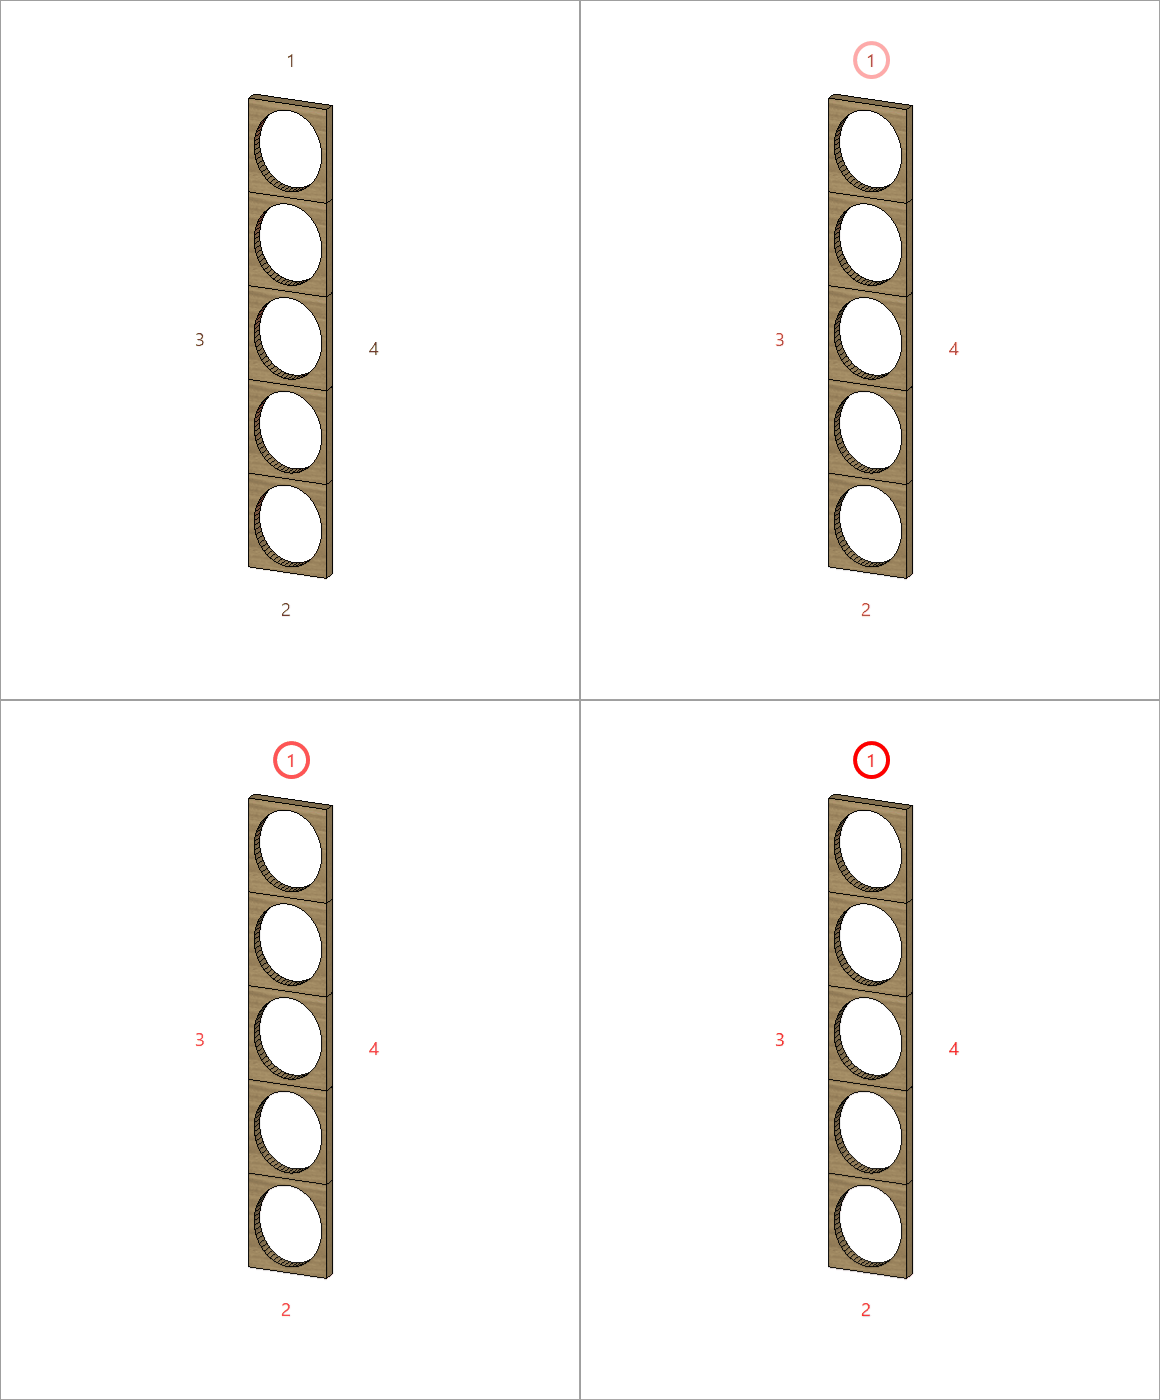
F – Edge 2: To cut planes that read the thickness of the ridge cap, set the thickness to Side 2.
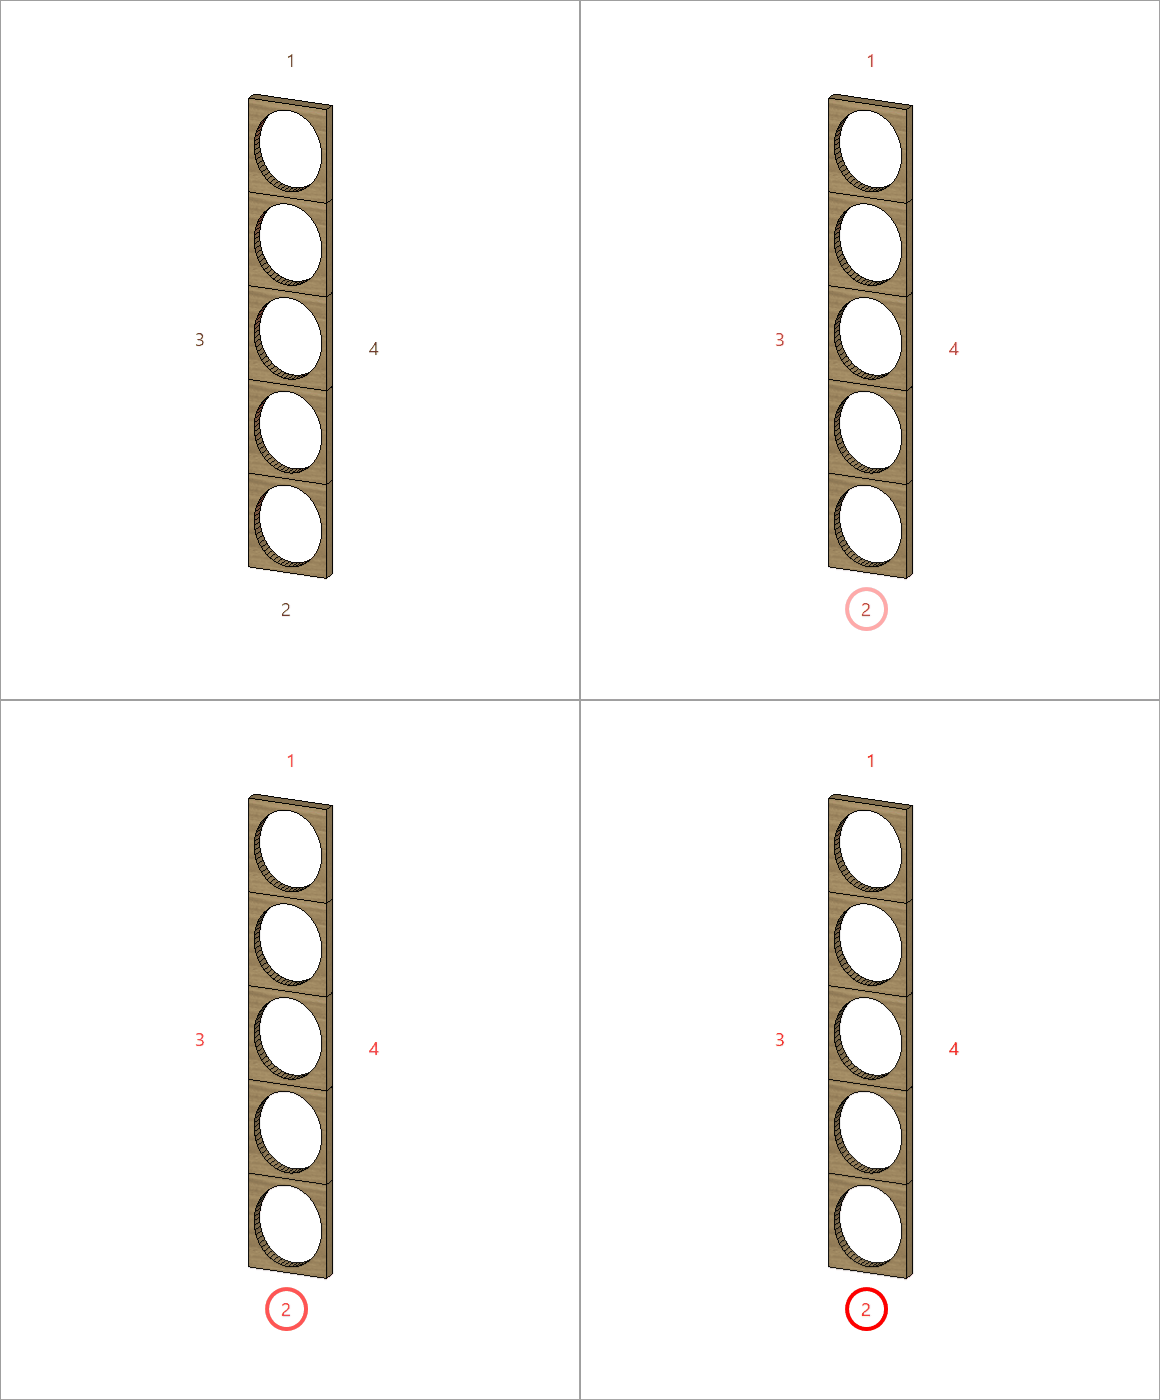
G – Edge 3: To cut planes that read the thickness of the ridge cap, set the thickness to Side 3
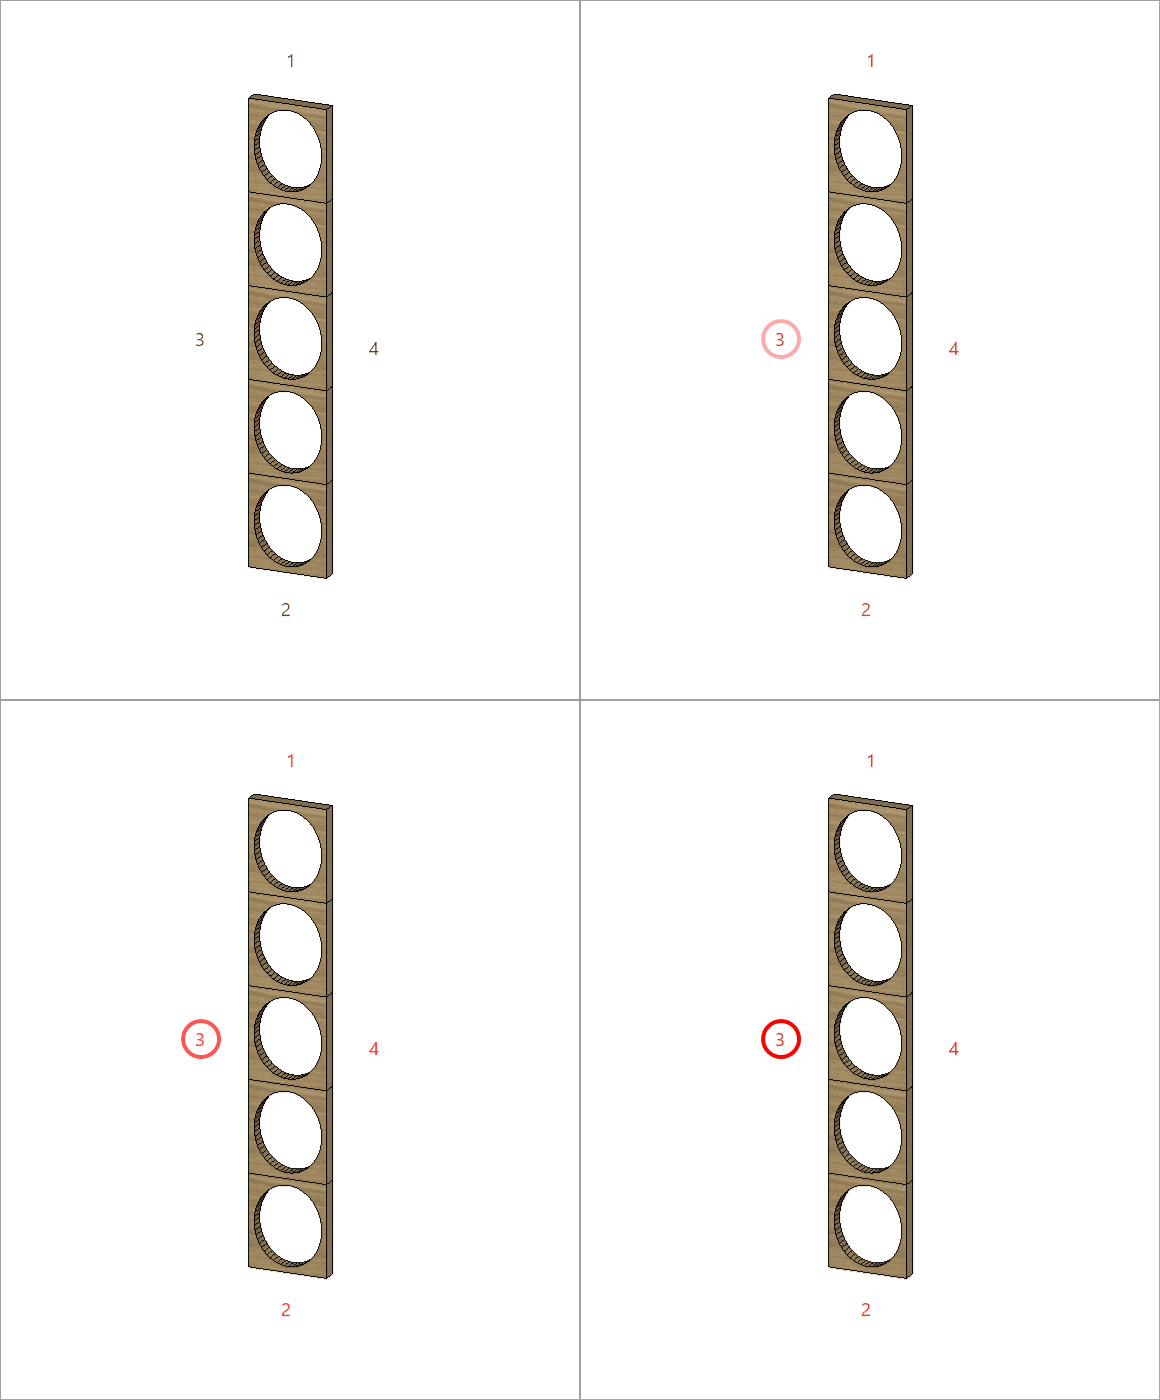
H – Edge 4: To cut planes that read the thickness of the ridge cap, set the thickness to Side 4.
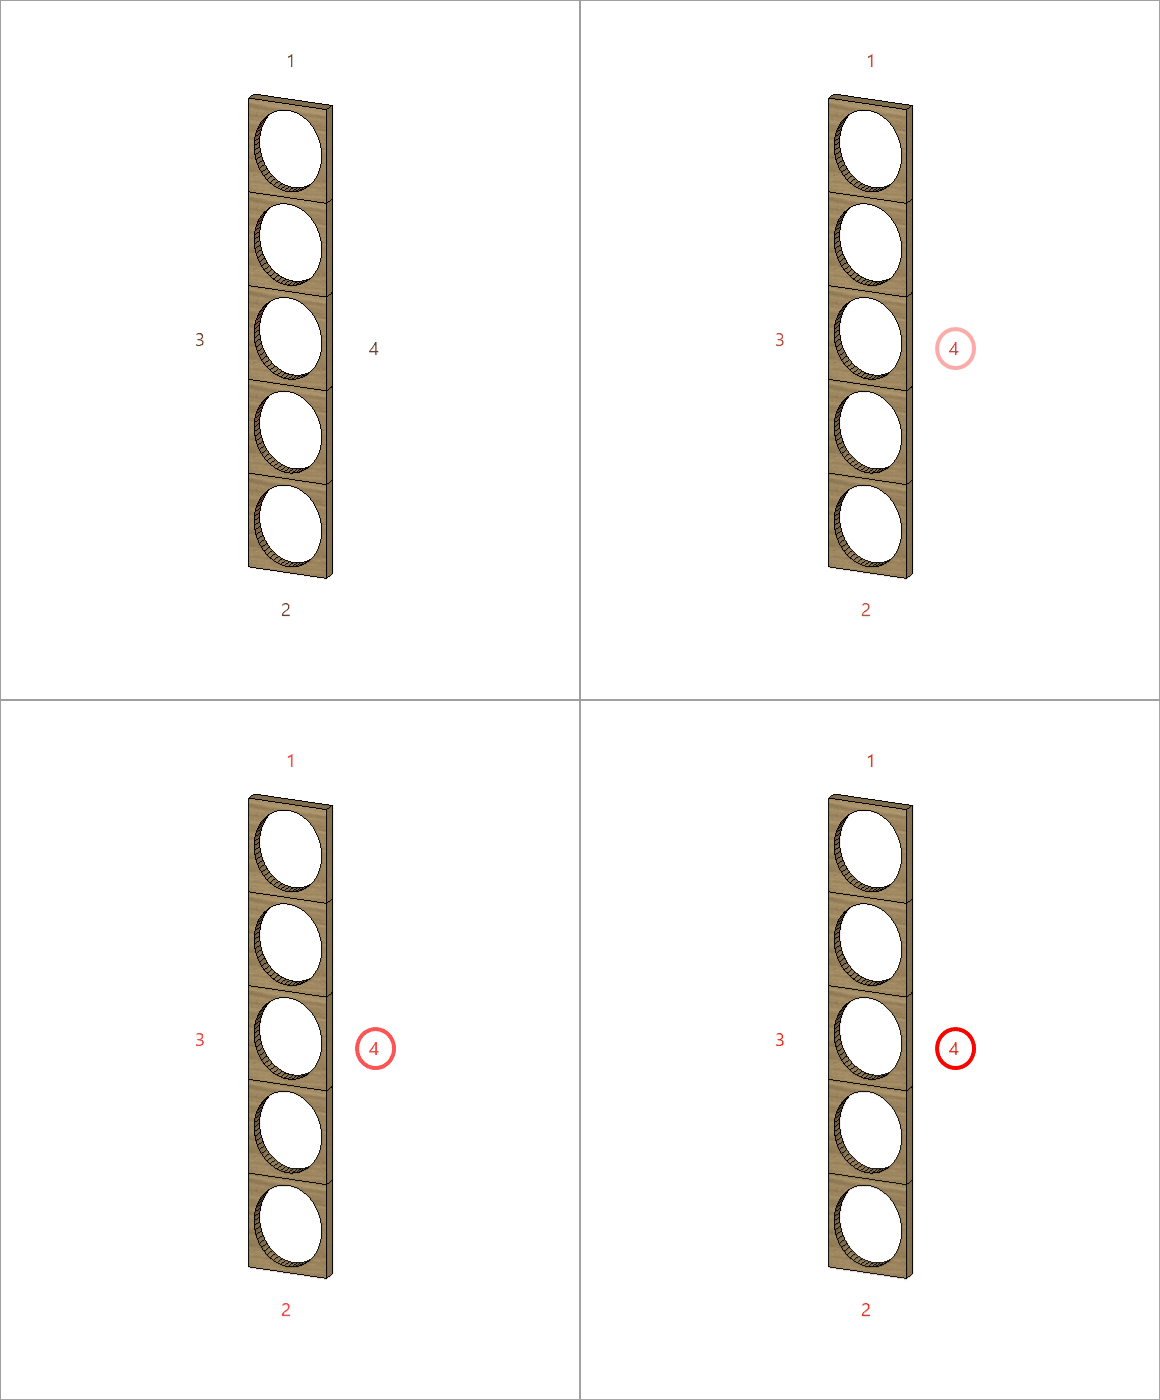
Drawer
Side Panel
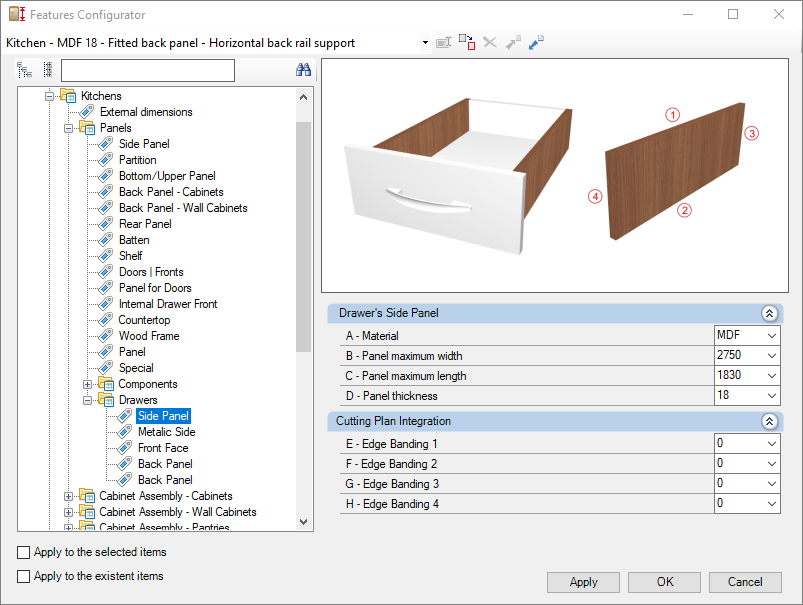
Check below the configuration of the Drawer of the Kitchens library:
Integration with cutting plane
To set up the chant, click here.
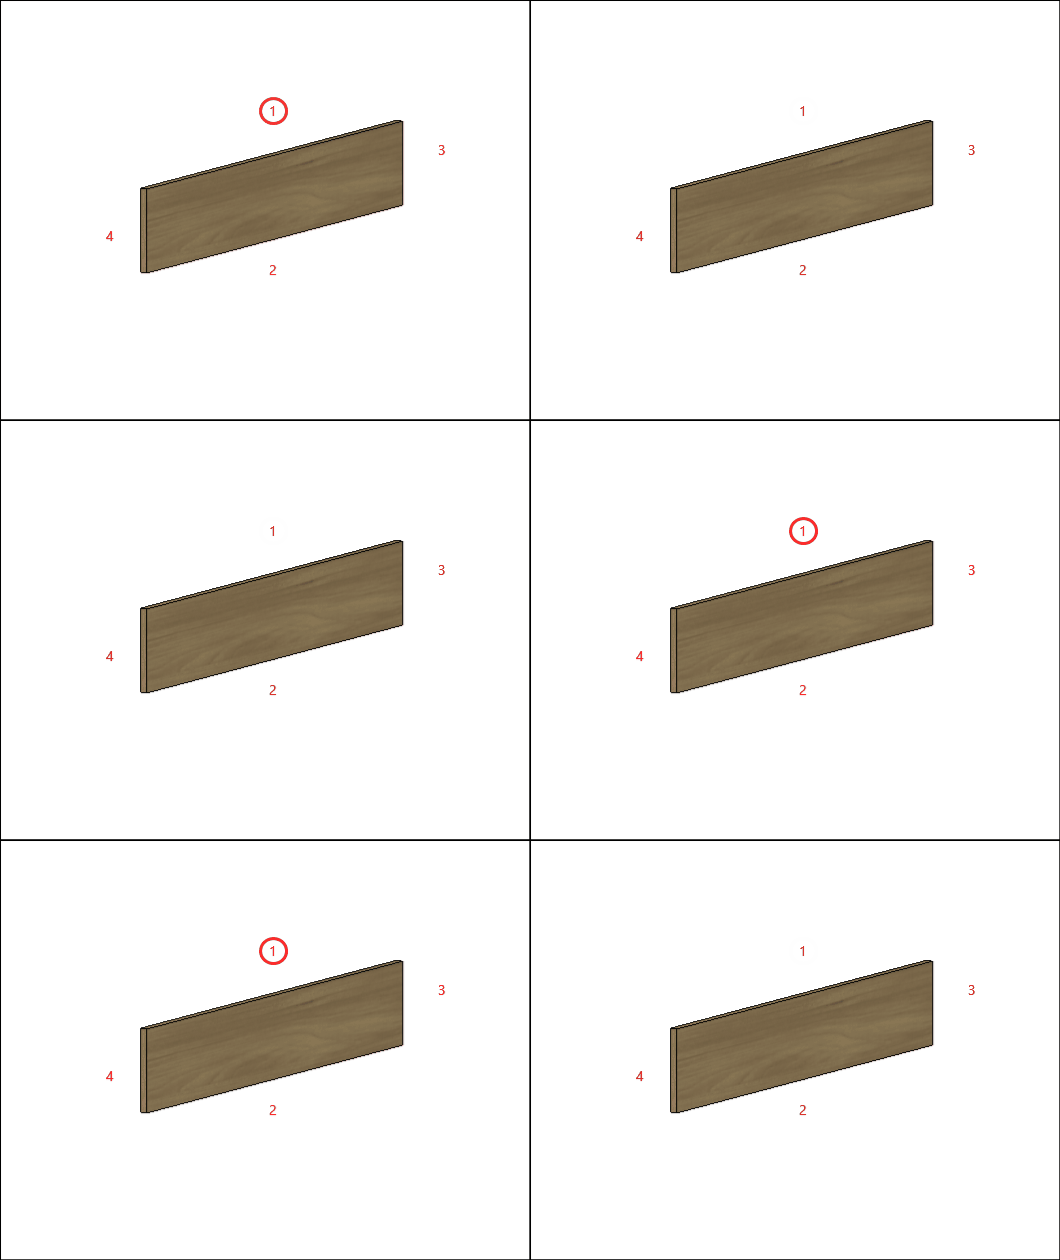
E – Edge 1: To cut planes that read the thickness of the ridge cap, set the thickness to Side 1.
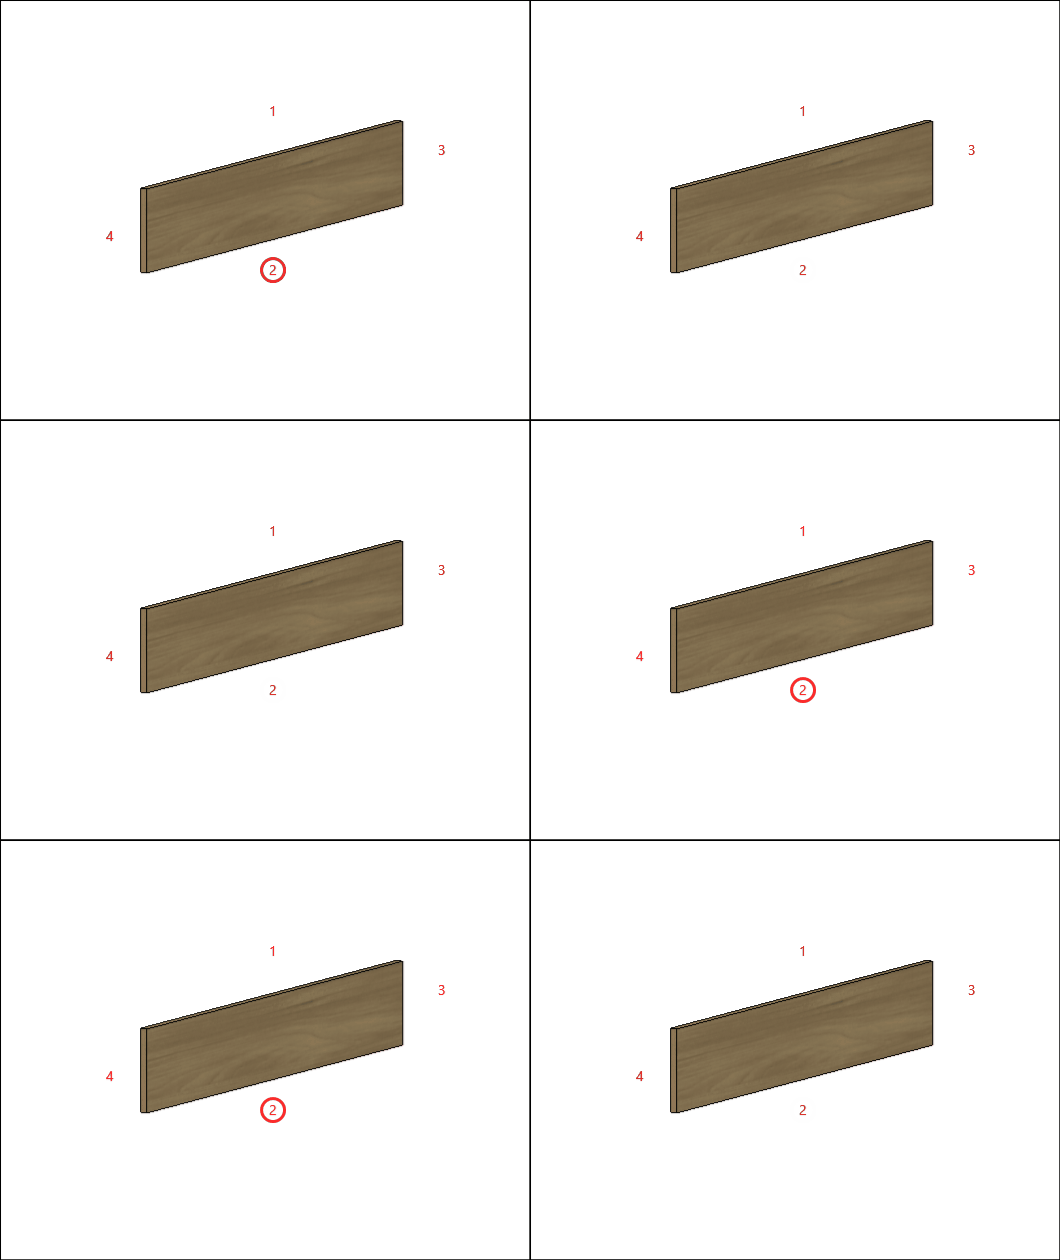
F – Edge 2: To cut planes that read the thickness of the ridge cap, set the thickness to Side 2.
G – Edge 3: To cut planes that read the thickness of the ridge cap, set the thickness to Side 3
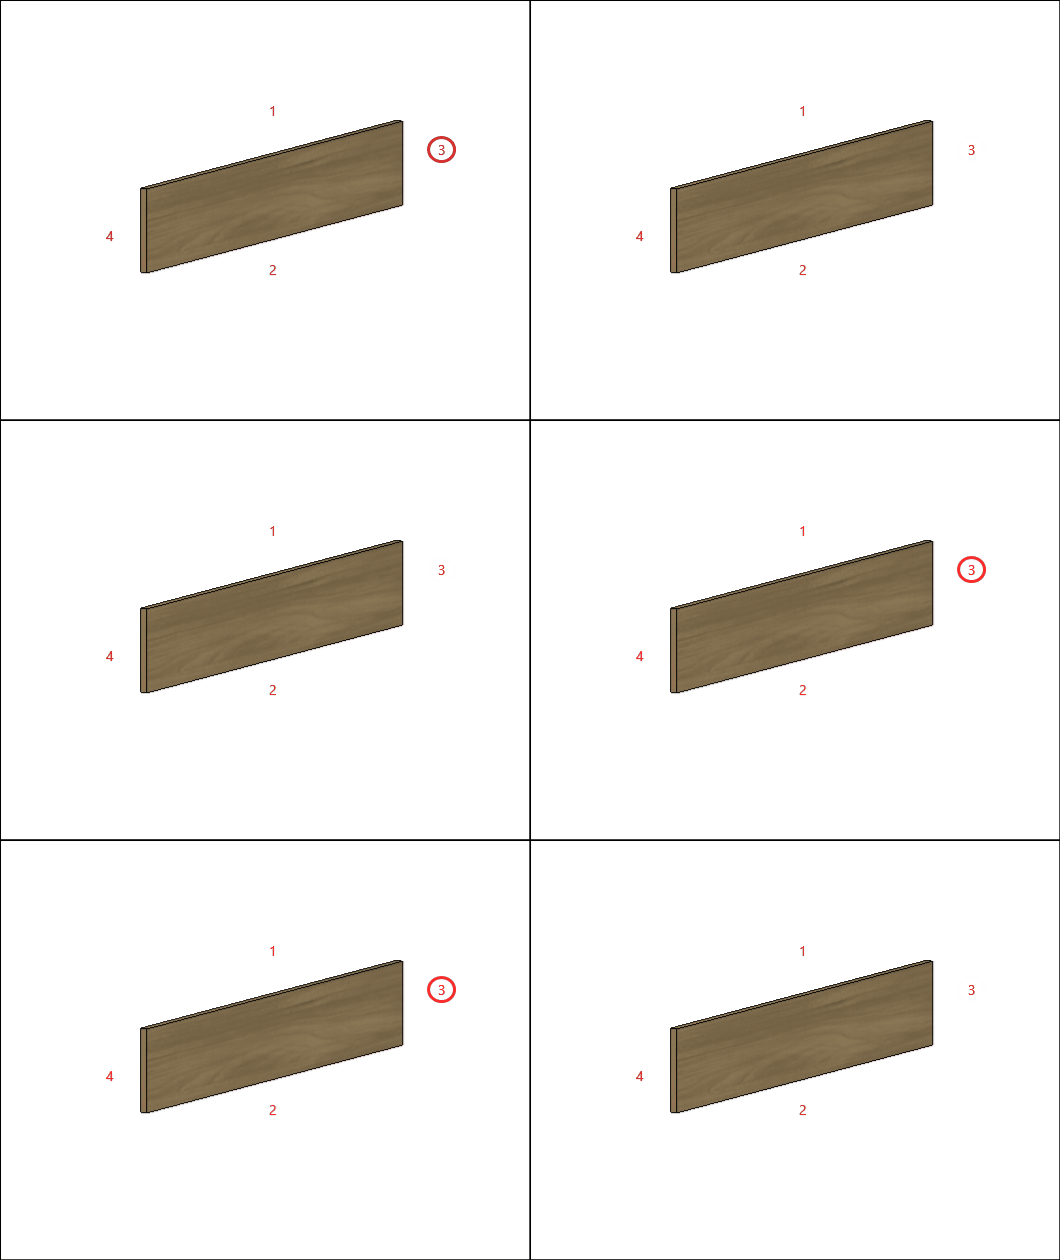
H – Edge 4: To cut planes that read the thickness of the ridge cap, set the thickness to Side 4.
Metallic Side
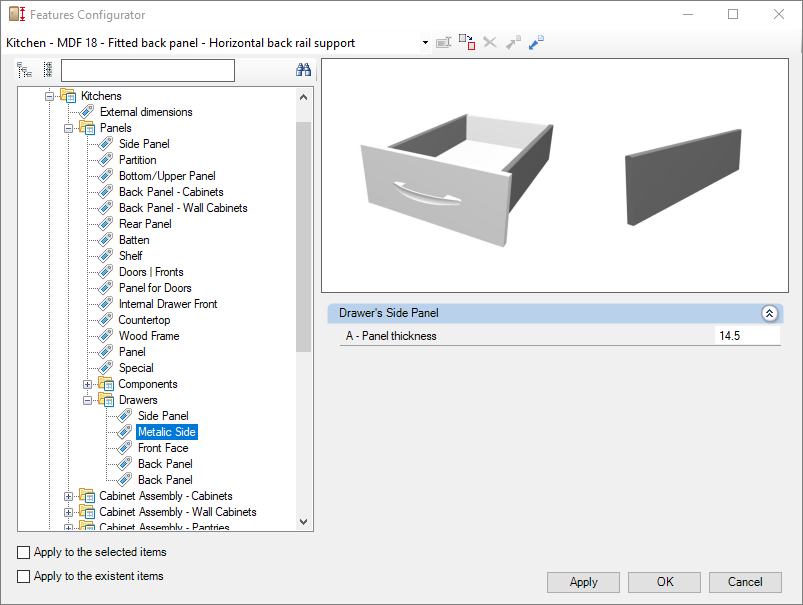
Check the configuration of the Metallic Side bookcase from the Kitchens library below:
Side Drawer
A – Lateral Thickness: defines the thickness of the plate to be used in the manufacture of the lateral of the drawer.


Front Face
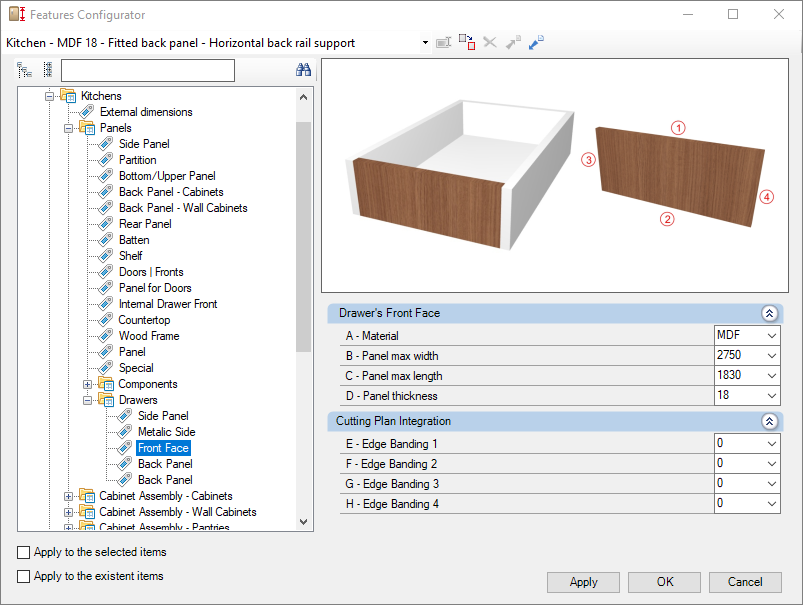
Check below the configuration of the Front Face of the Kitchens library:
Integration with cutting plane
To set up the chant, click here.
E – Edge 1: To cut planes that read the thickness of the ridge cap, set the thickness to Side 1.

F – Edge 2: To cut planes that read the thickness of the ridge cap, set the thickness to Side 2.

G – Edge 3: To cut planes that read the thickness of the ridge cap, set the thickness to Side 3

H – Edge 4: To cut planes that read the thickness of the ridge cap, set the thickness to Side 4.

Back Panel
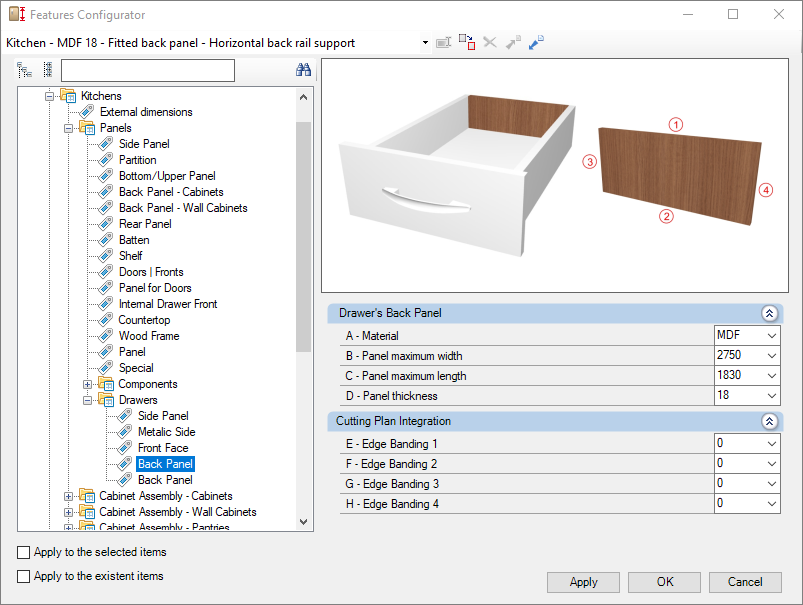
Check below the configuration of the Back Panel of the Kitchens library:
Integration with cutting plane
To set up the chant, click here.
E – Edge 1: To cut planes that read the thickness of the ridge cap, set the thickness to Side 1.

F – Edge 2: To cut planes that read the thickness of the ridge cap, set the thickness to Side 2.

G – Edge 3: To cut planes that read the thickness of the ridge cap, set the thickness to Side 3

H – Edge 4: To cut planes that read the thickness of the ridge cap, set the thickness to Side 4.

Bottom
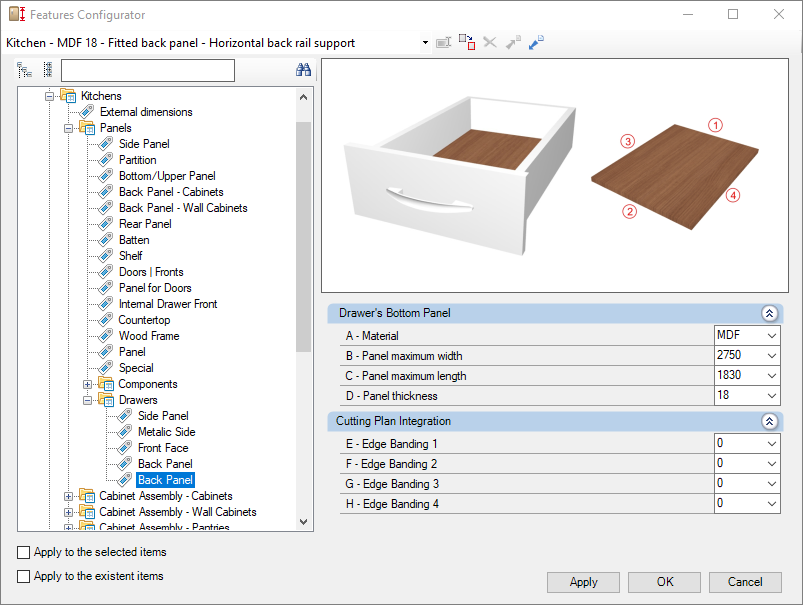
Check below the configuration of the Bottom of the Kitchens library:
Integration with cutting plane
To set up the chant, click here.
E – Edge 1: To cut planes that read the thickness of the ridge cap, set the thickness to Side 1.

F – Edge 2: To cut planes that read the thickness of the ridge cap, set the thickness to Side 2.

G – Edge 3: To cut planes that read the thickness of the ridge cap, set the thickness to Side 3

H – Edge 4: To cut planes that read the thickness of the ridge cap, set the thickness to Side 4.
