Available in products
Cut Pro
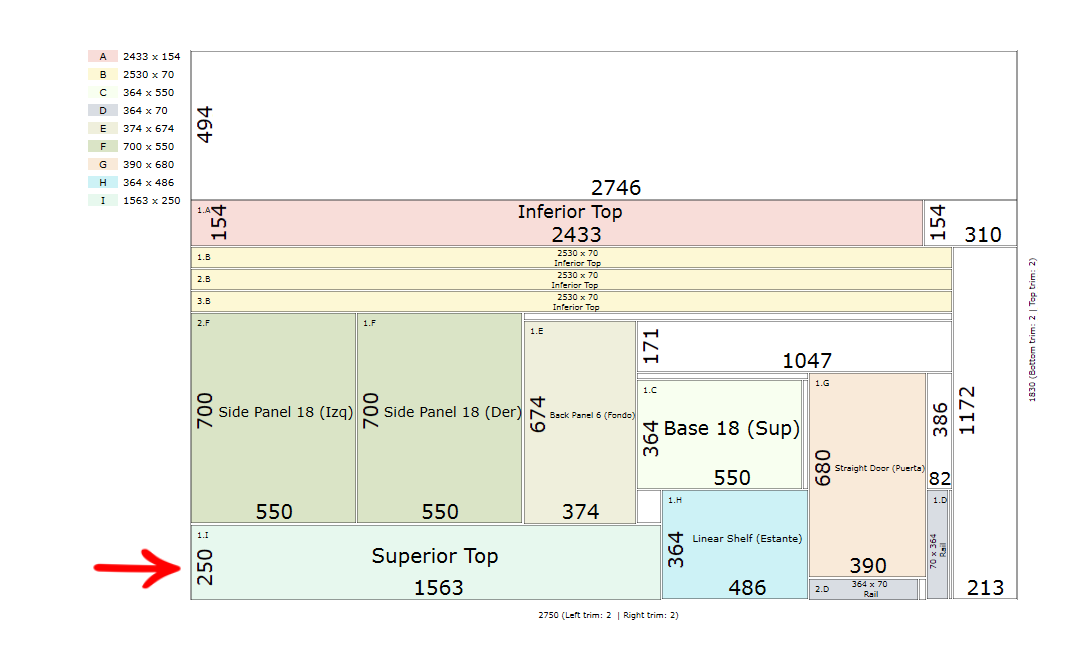
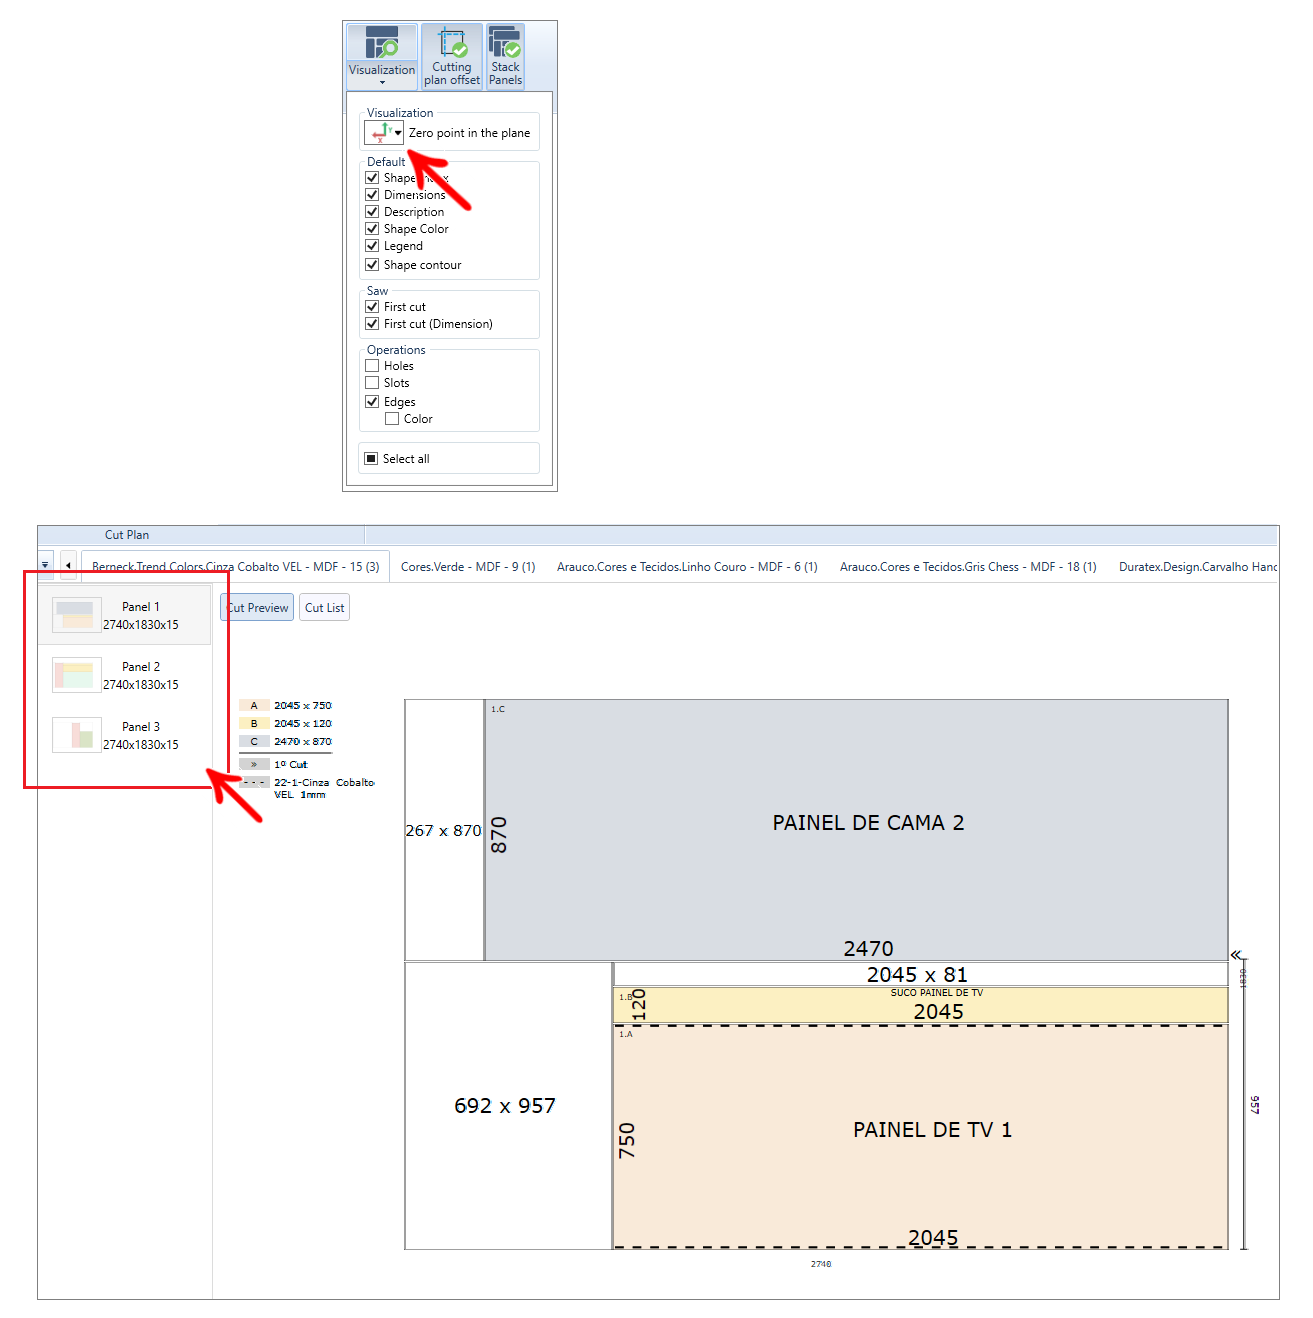
In Cut Pro, inside the View tab, you can define where the Zero Point will be to generate the Cut Plan.
After setting a zero point for the first time, the cutting plane must always respect that point in the next generations of cutting plane, independent if it is configured in Saw or Nesting.
There is an exception when cut managers are activated, where the zero point configuration made within the View tab will be disregarded and considered the Zero Point configured in the Cut Manager settings.
Check out how to set the Zero Point:
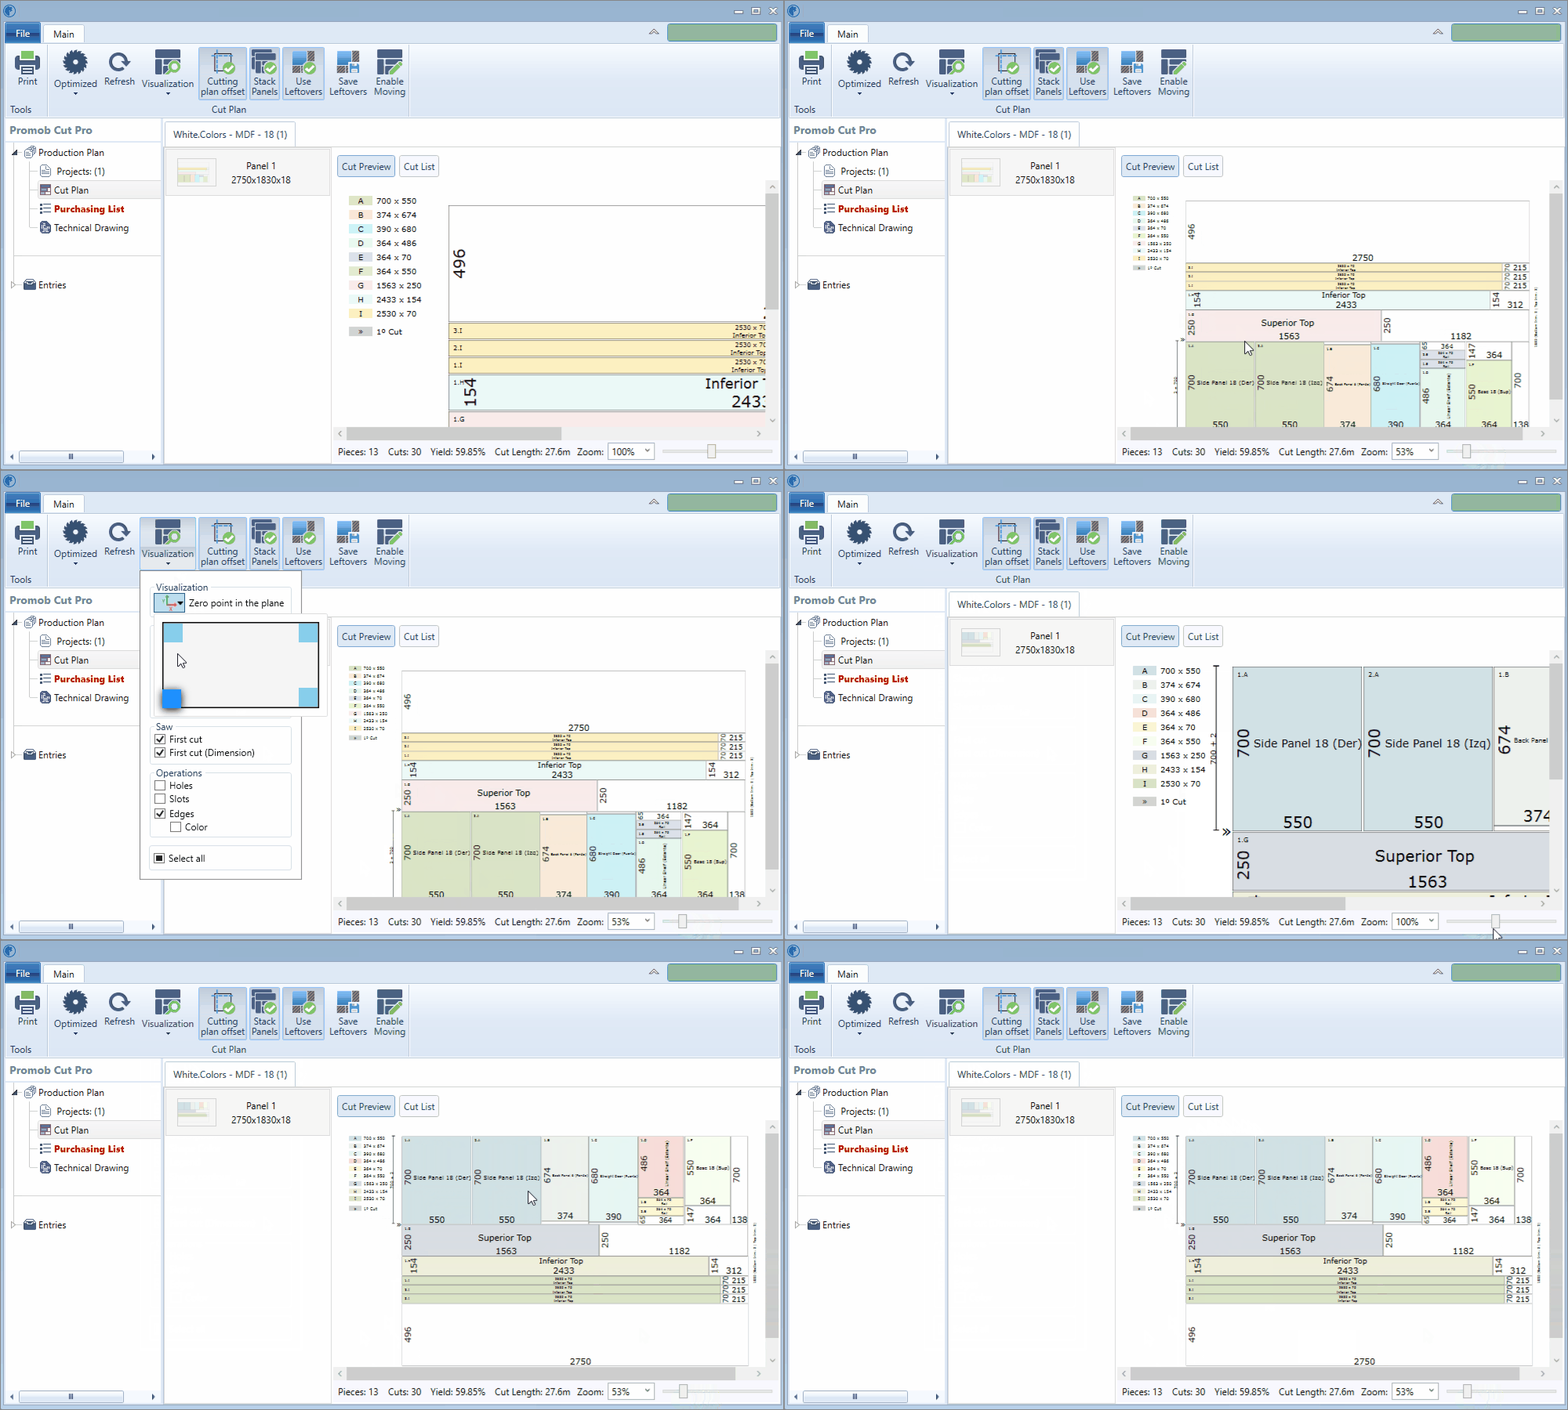
1. With the project open, in the Main Menu, click on Cut Plan;
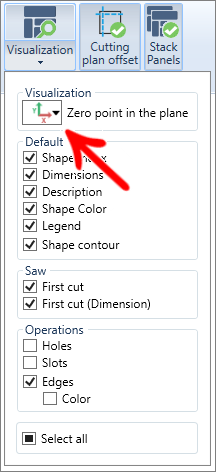
2. In the Cut Plane, click on the Visualization tab on the top bar; 

3. Select the position of the Zero Point, being able to choose between the top right or left corner. And bottom right or left.
4. A preview of the point is displayed, indicating the position of the X and Y axes:
IMPORTANT: As of Cut Pro version 1.2.4.26, the manual movement of parts now follows the same Reference Point used in the cutting plan and registered in Preview.
Cut Managers
- The Zero Point configuration for cut managers is only necessary when a cut manager is used;
- For each cut manager, you can change the zero point in the manager settings;
- Access here, the main page of Cut Pro and in the subtitle CUT MANAGERS find the cut manager you use, to find out more information regarding his settings.
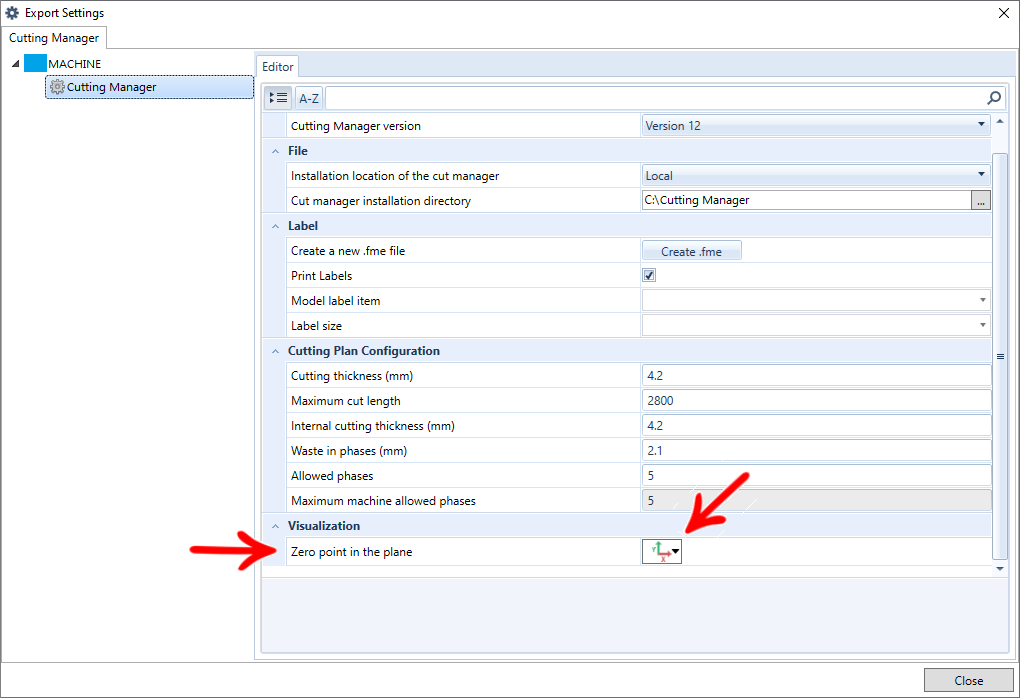
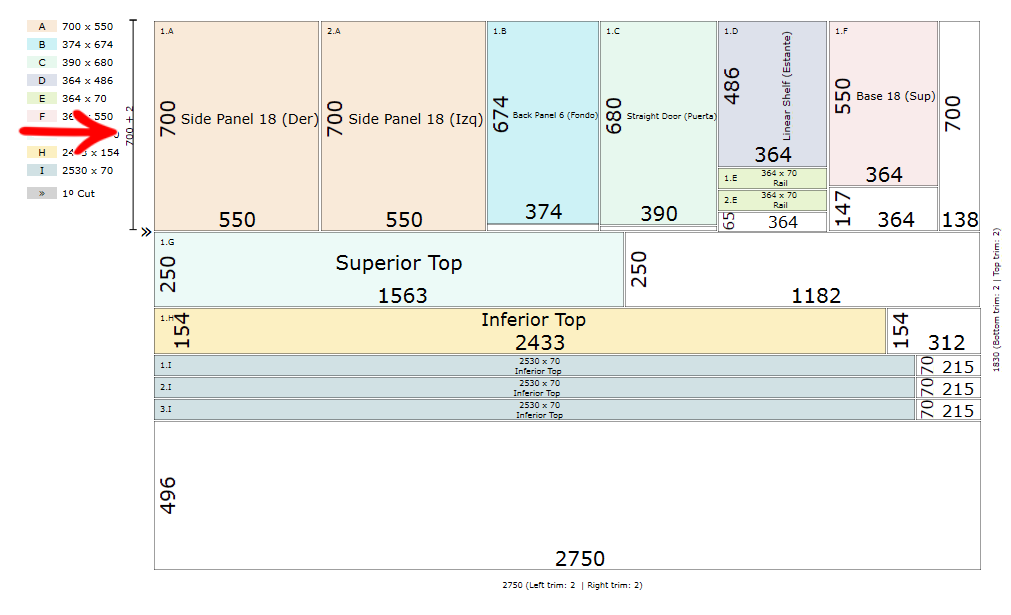
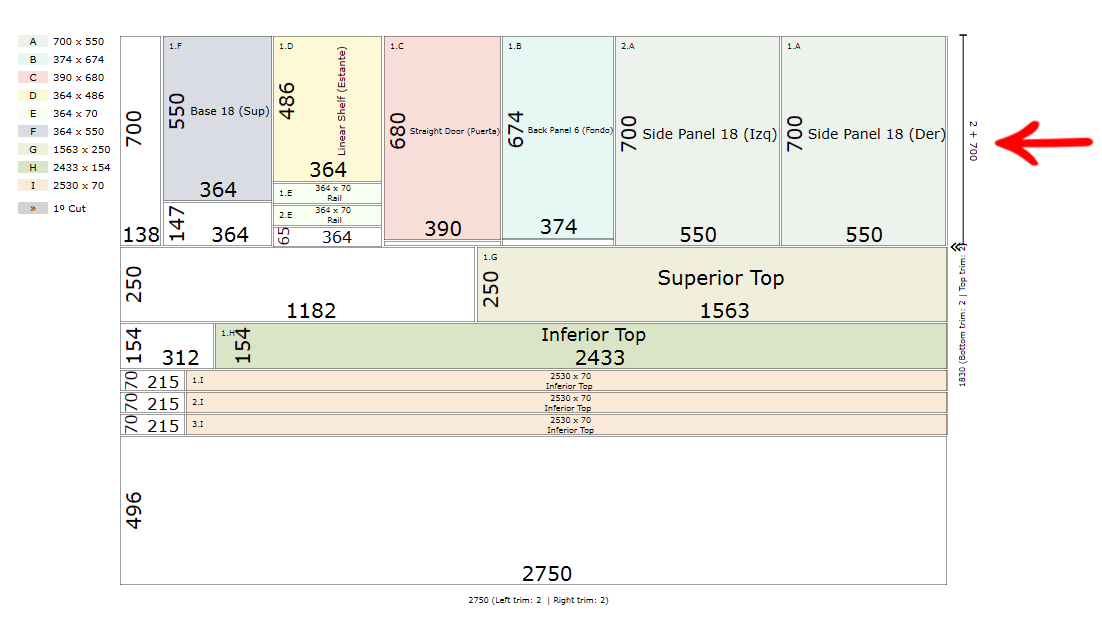
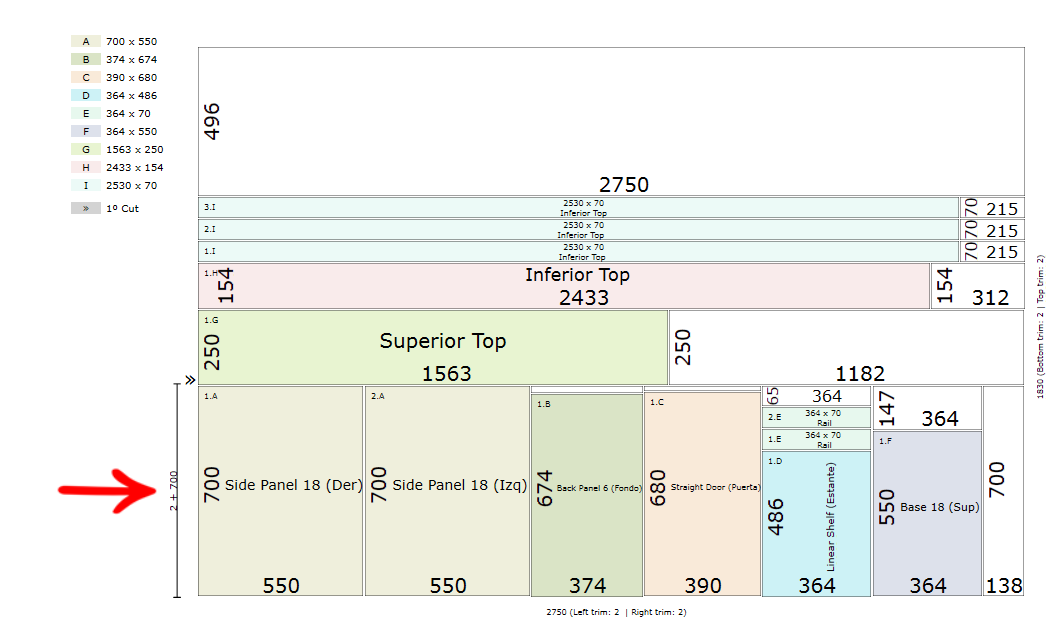
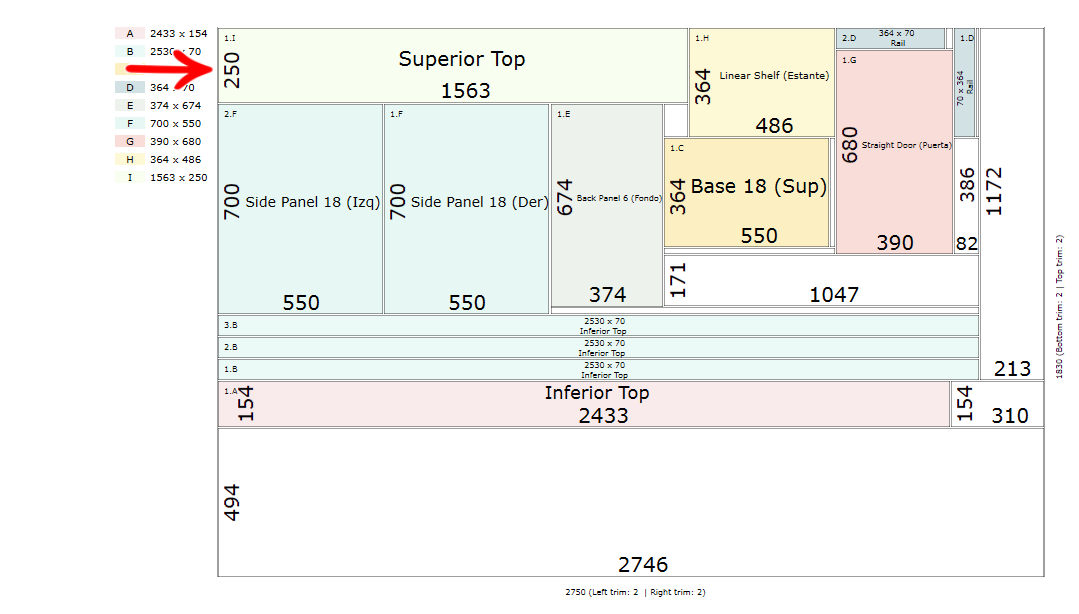
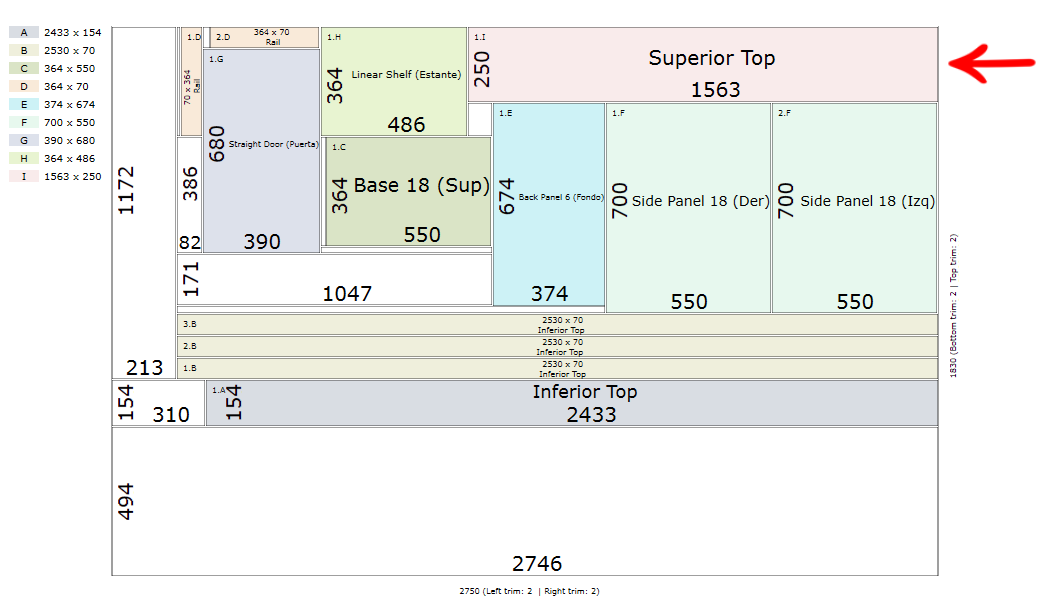
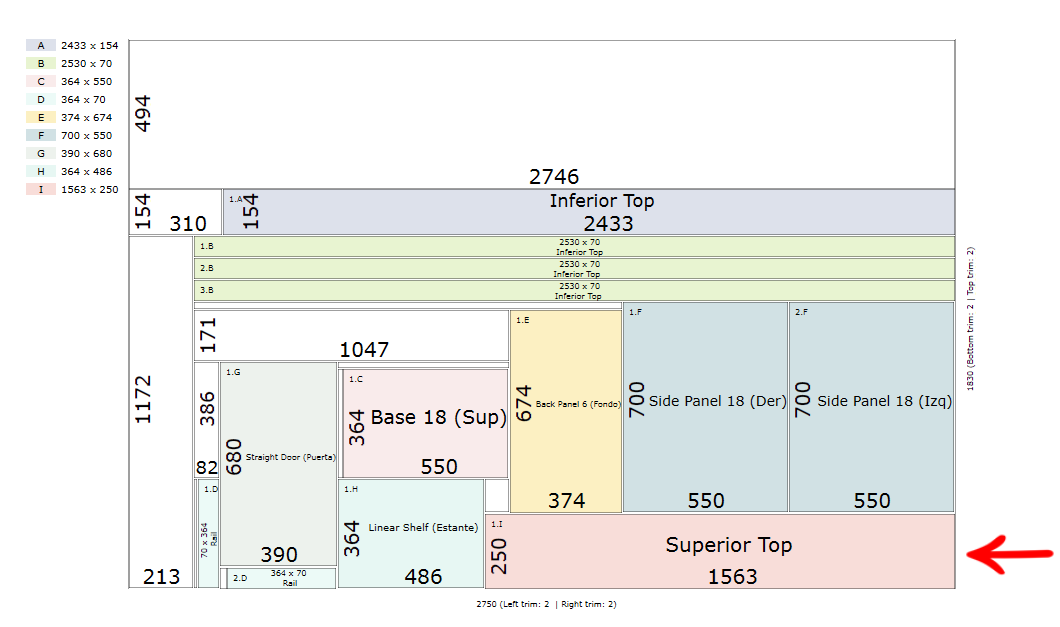
Examples of zero points
Saw
Top left corner
Top right corner
Bottom right corner
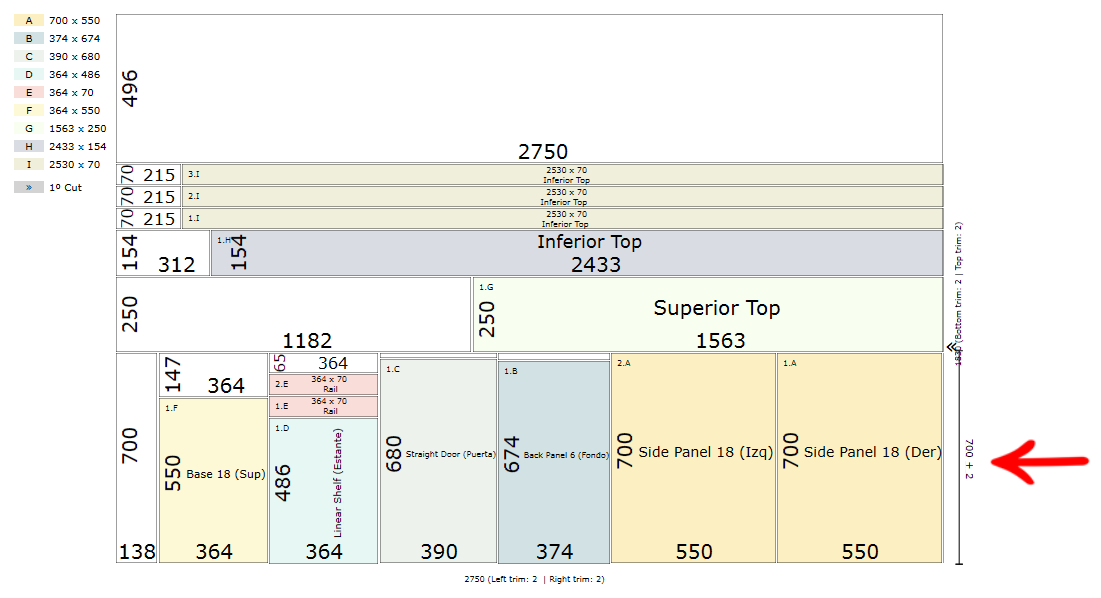
Bottom left corner
Nesting
Top left corner
Top right corner
Bottom right corner
Bottom left corner
