Insert aggregates manually
To insert aggregates manually:
1. Select the module and access the Tools Panel - Inserts; 
2. Check the aggregate you want to insert. Click the plus sign (+) next to the household name to view your options. Define the number of items to be inserted and observe the optional item inserted in the module;
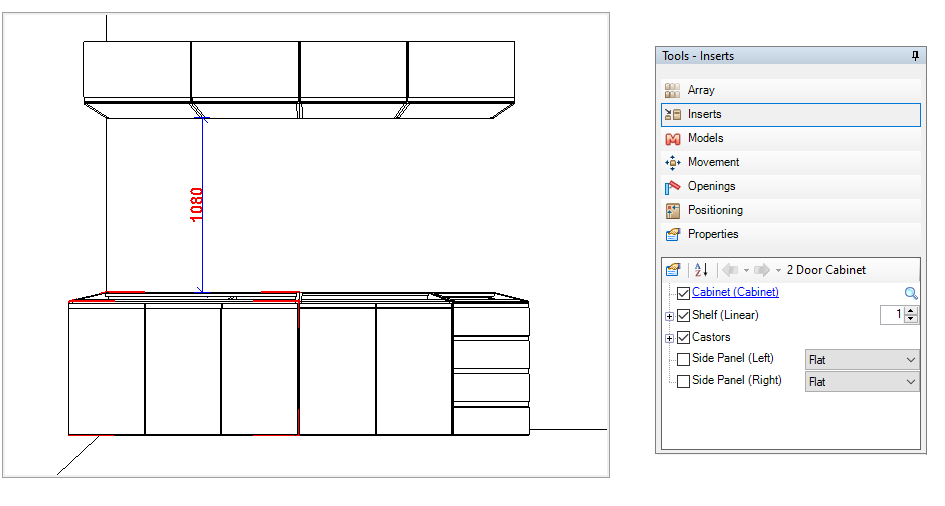
3. The other options of the Tool Panel - Inserts are:
| ICON | DESCRIPTION | HOW TO USE THE TOOL |
 |
Show aggregates with Insert Function: displays the aggregates that can be inserted through automatic insertion. | Click on the button |
 |
Sort aggregates: displays the aggregates in alphabetical order | Click on the button |
 |
Navigate between aggregates: access the different levels of each aggregate | Click on the button |
 |
Aggregates of an aggregate: displays the optional items of an aggregate. | Click on the button |
4. To remove the aggregate, deselect the item you want to delete.


Insert aggregates automatically
IMPORTANT:
- The aggregate options vary with each Manufacturer;
- It is not possible to insert aggregates using the Automatic Insertion tool for modules created from the Cabinet Builder;
- Items inserted through the Automatic Insertion tool are part of the design budget.
Through the Automatic Insert tool it is possible to perform the insertion of aggregates in several modules at the same time, automating the process of inserting aggregates:
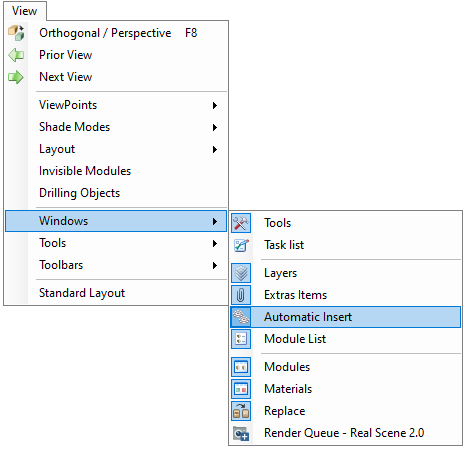
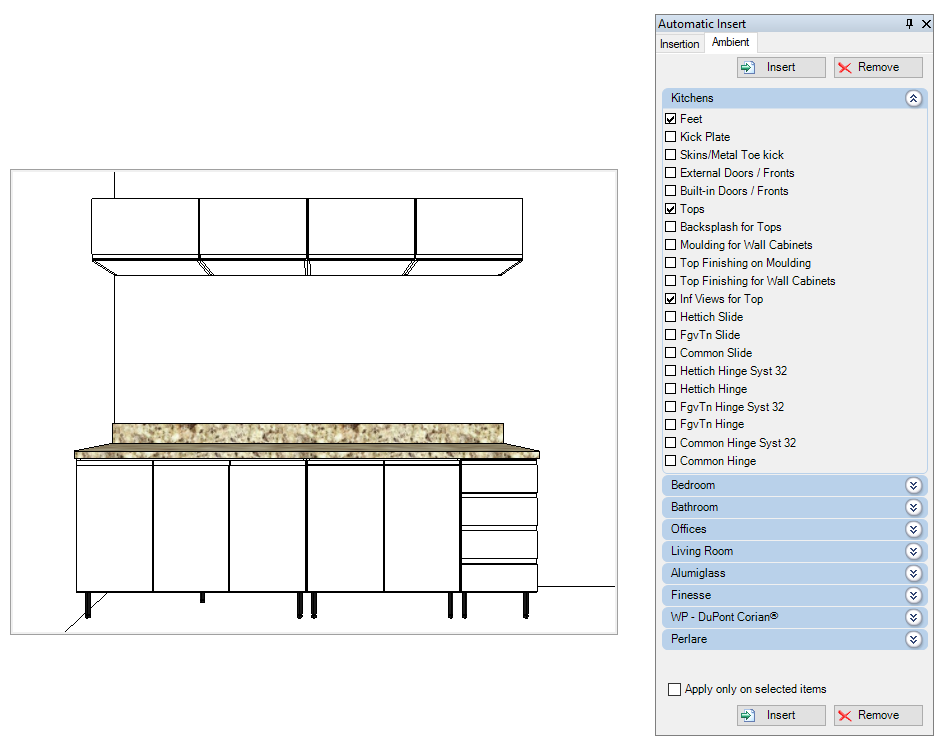
1. Click on the View - Windows - Automatic Insert menu;
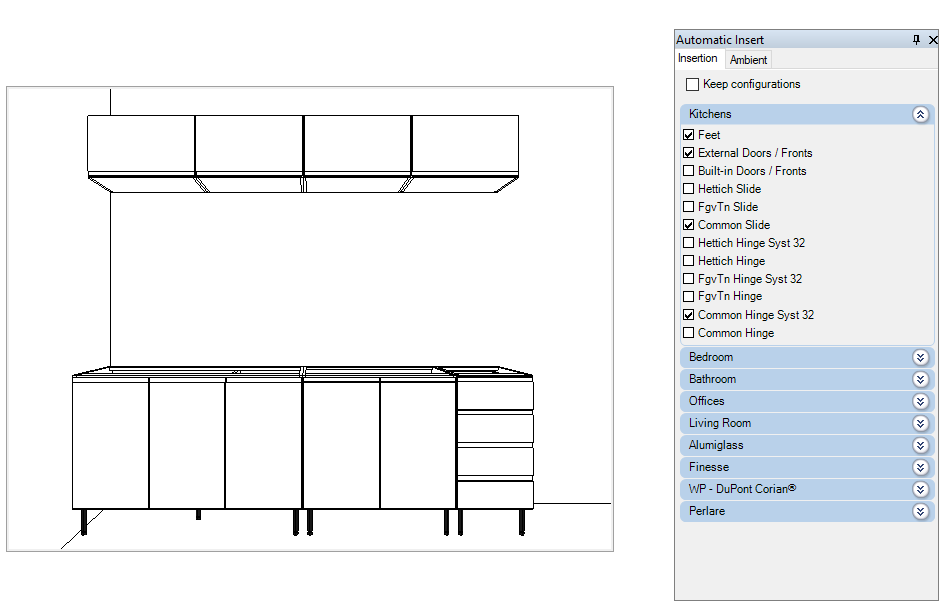
3. To insert the aggregates when the module is inserted in the design, click on the Insert tab and select the aggregates. Insert a module into space and note that the marked aggregates have been inserted;
4. To insert aggregates in modules already inserted in the space click on the Ambient tab and select the aggregates. If necessary, use the Apply only on selected items option. Click Insert  and observe the aggregates inserted in the modules. To delete the aggregates, check them and click Remove.

Show the aggregate hot points
The visualization of the hot points of the aggregates is useful when the Calculate Distance tool is used since the visualization of them allows greater precision in the calculation of the distance between points.
To show the aggregate hot points:
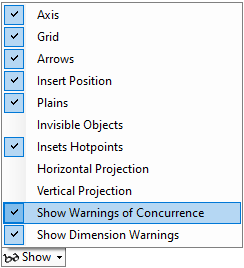
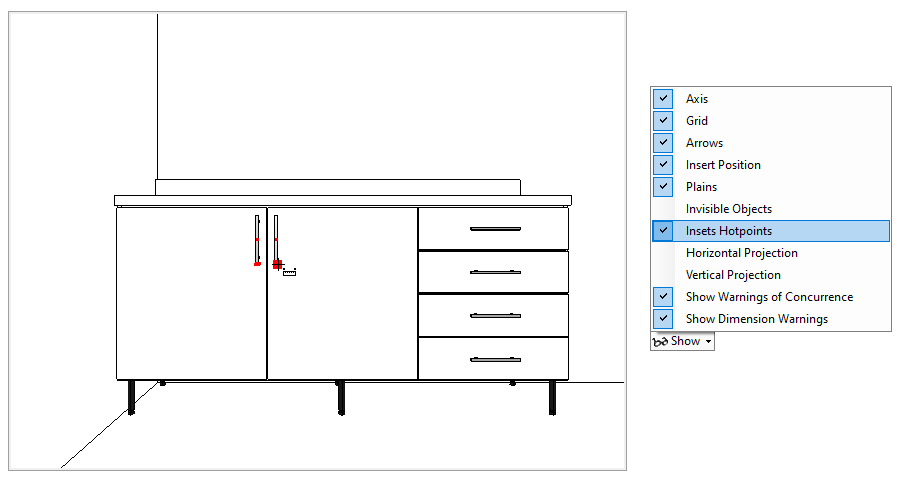
1. In the status bar, click with the mouse on the Show tool and select the option Aggregated Hotpoints. Move the mouse closer to the aggregate to view the hotpoints.
Create favorite aggregate
Through the creation of favorite aggregates, it is possible to define new aggregates for the modules available in Promob. The aggregate saved as a favorite becomes part of the module's list of favorites and can be used in other designs.
To create a favorite household:
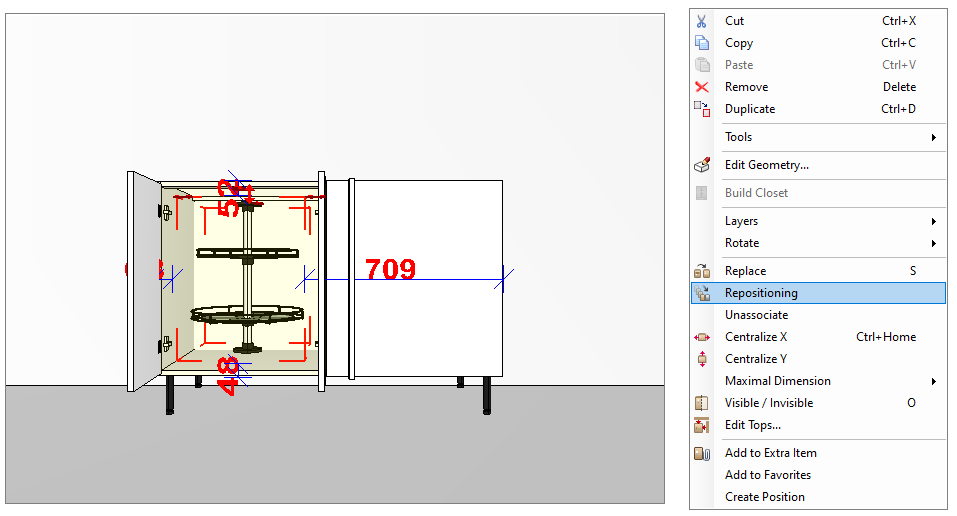
1. In the Reposition tool window, define the position of the aggregate in the module and click the New Favorite Aggregate button;
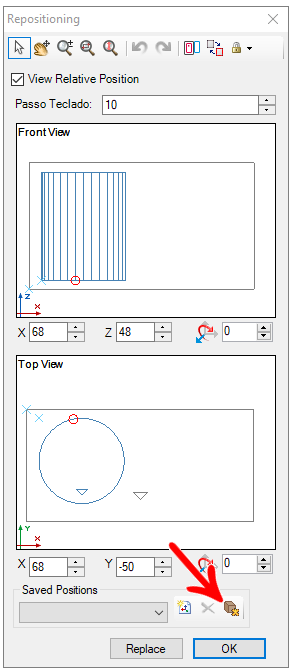
2. In the Create New Position window, enter a name for the new position, enter the dimensions of the aggregate and define the position (by entering a value or selecting one of the position options) for the module. The values present in these fields correspond to the position determined by repositioning the module. Click on OK.
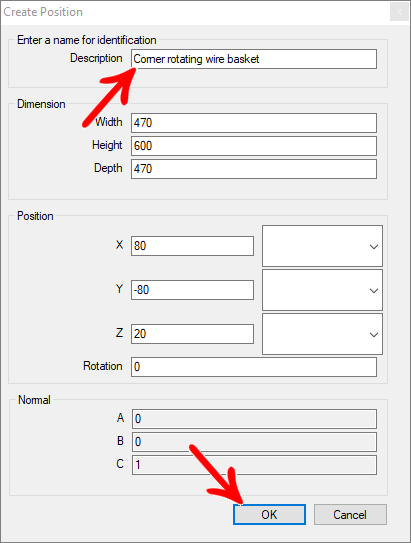
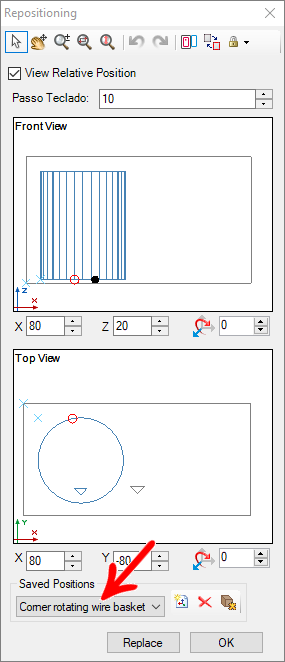
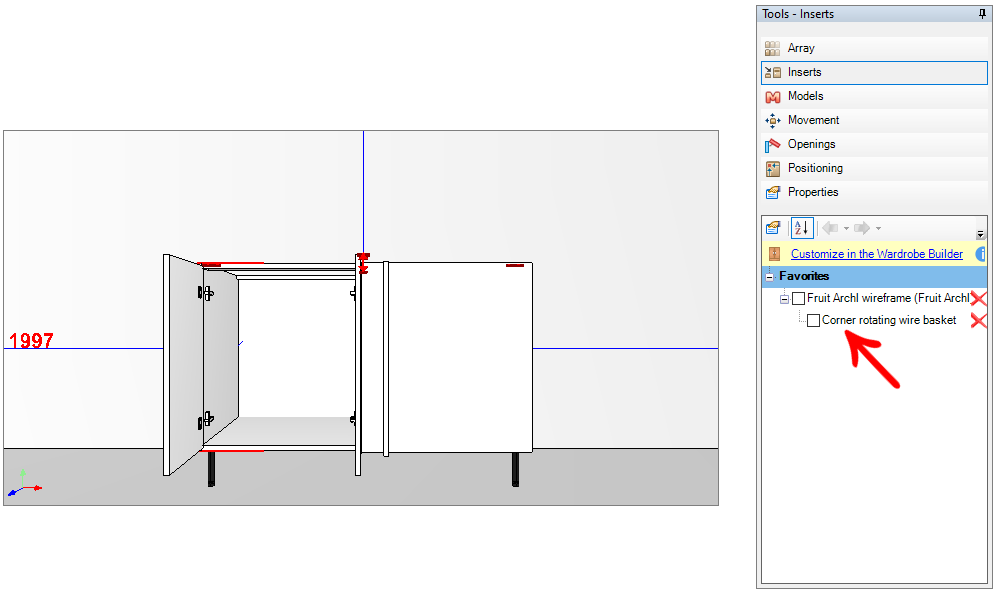
3. The aggregate entered as a favorite becomes part of the module's list of favorites and can be used in other designs through the Tool Panel - Aggregates - Favorites.
Competing aggregates
If an aggregate is inserted in the place where another one already exists, a message is displayed indicating the competition between them.
To display the message from competing aggregates:
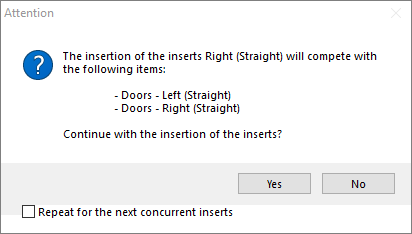
1. To activate or deactivate the message, click the Show button on the status bar and check or uncheck Show Warnings of Concurrence.
