Access
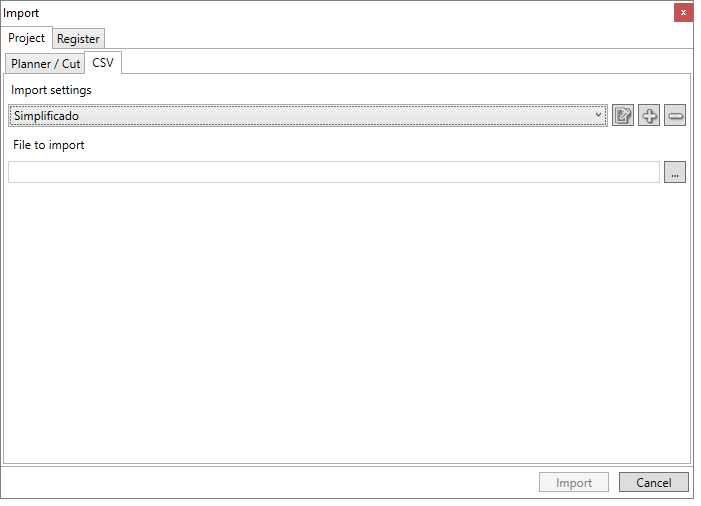
1. Go to File - Import, the Import screen appears.
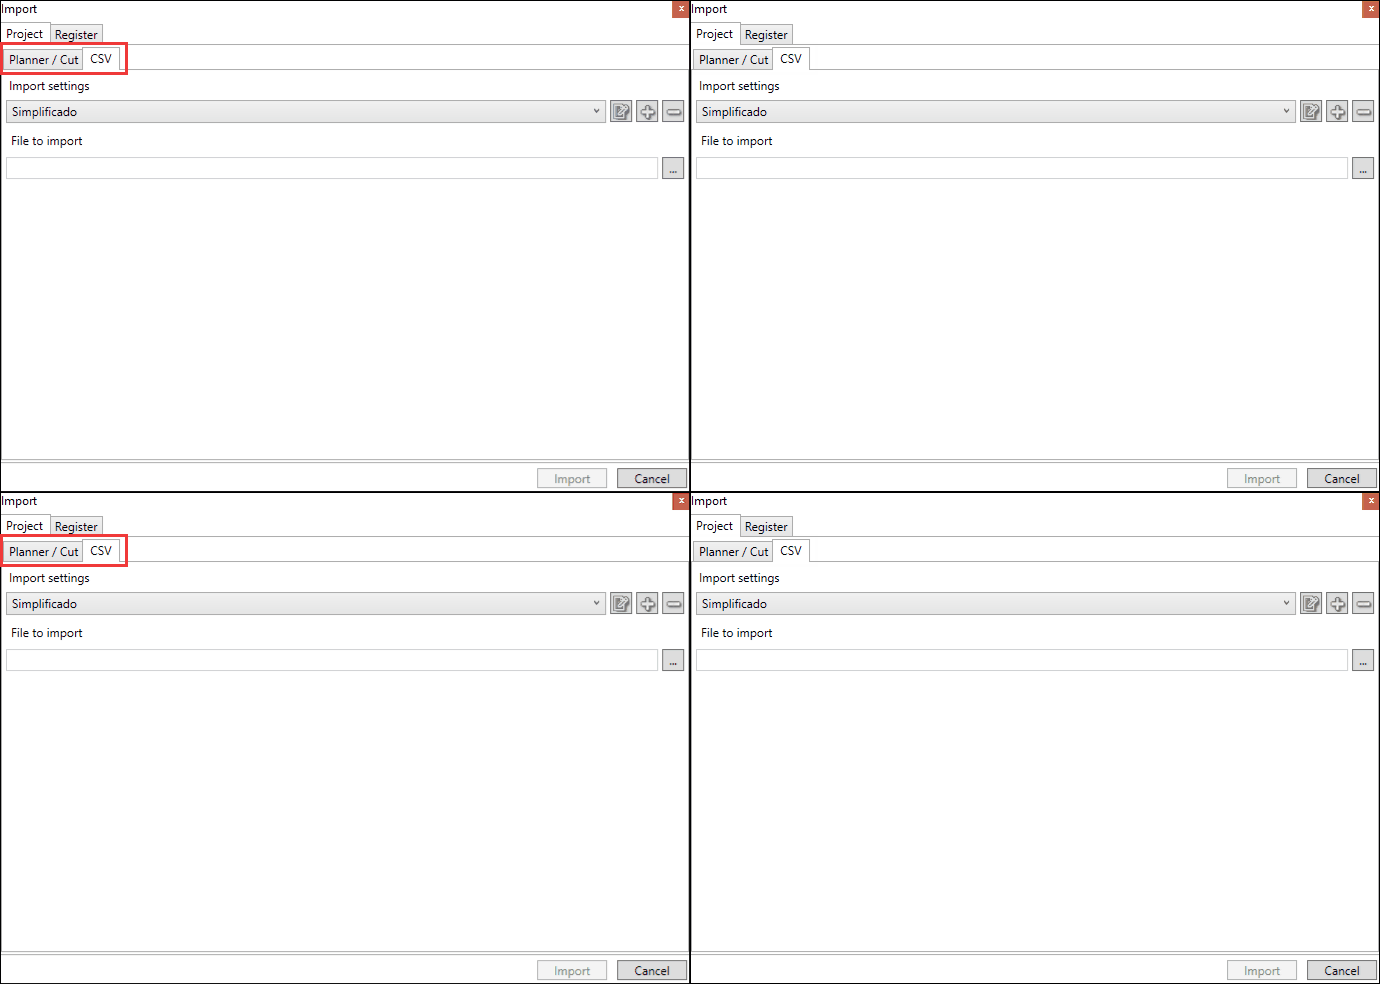
IMPORTANT: The Start/Builder layout does not allow any editing.
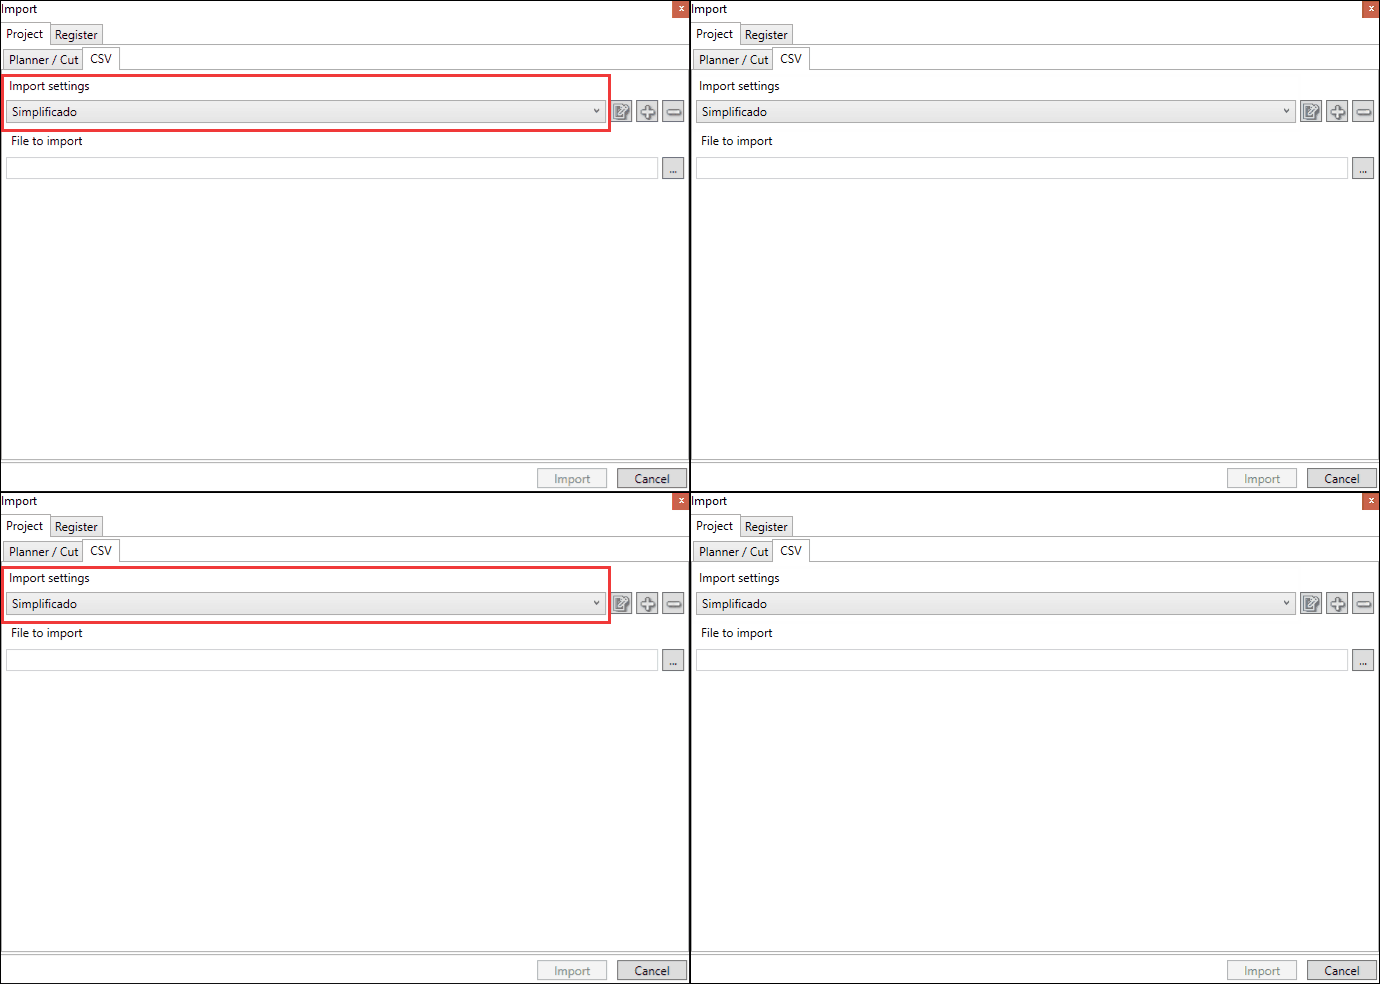
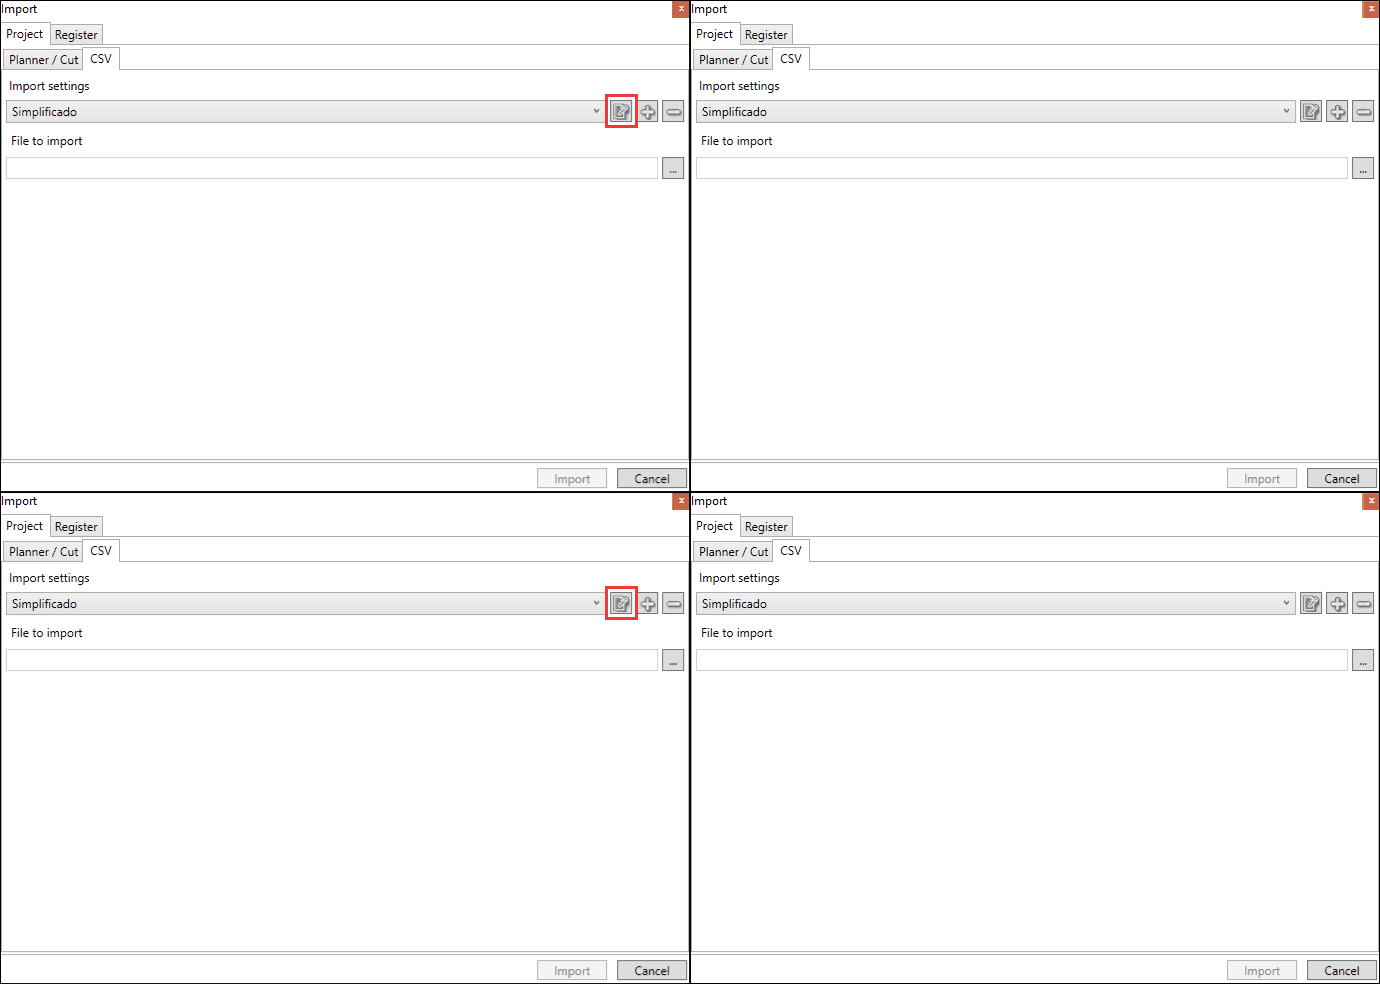
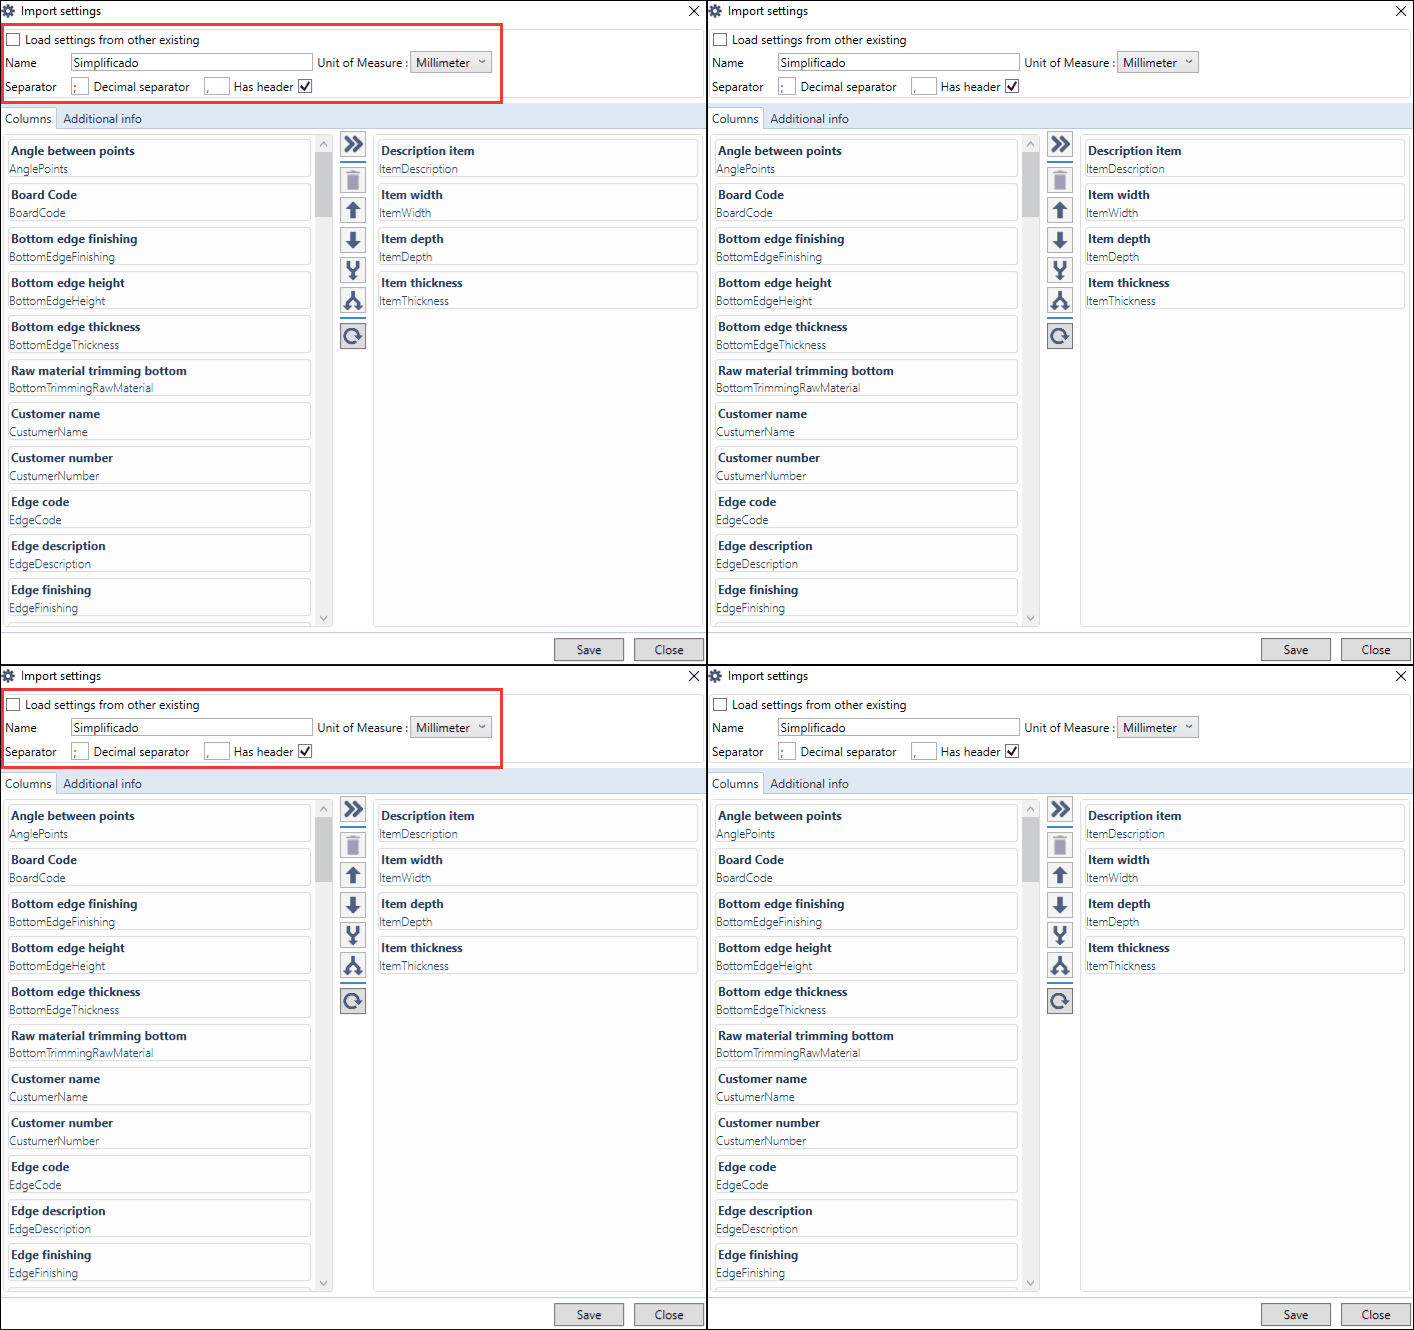
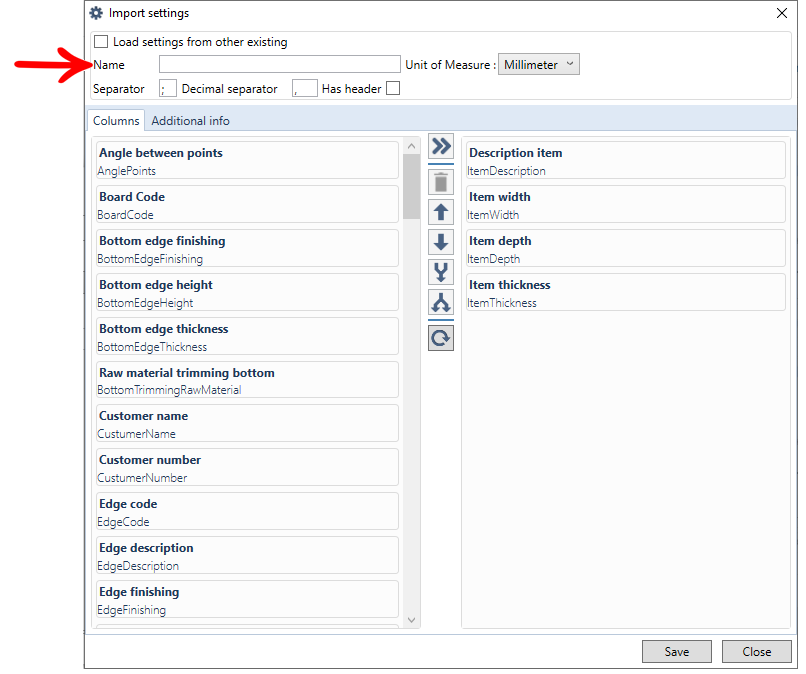
- Name: you can keep or change the name of the layout;
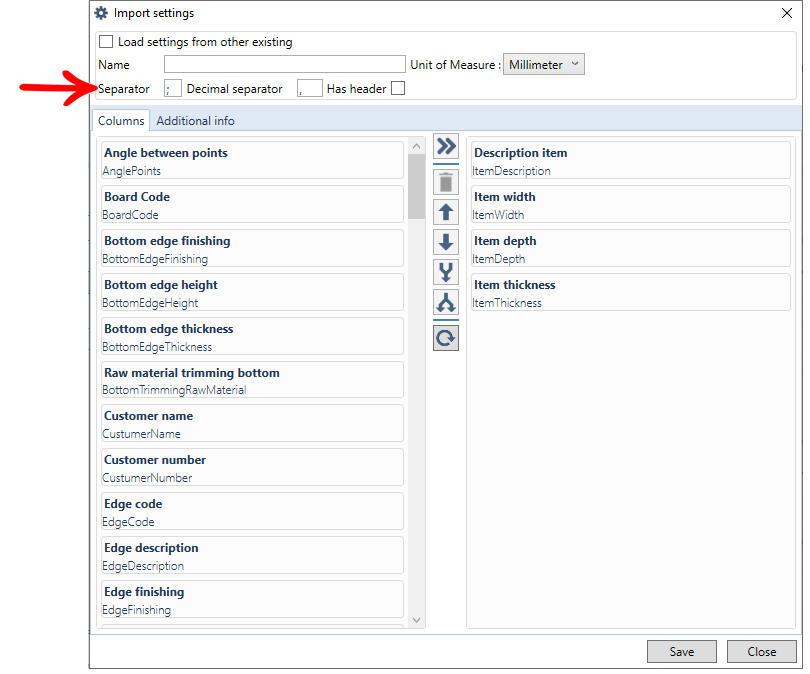
- Separators: the Separator defines what the separator will be in the .txt file. The Decimal Separator determines whether a semicolon is used to separate broken numbers, for example, the width of a part can be 345.5 or 345.5mm;
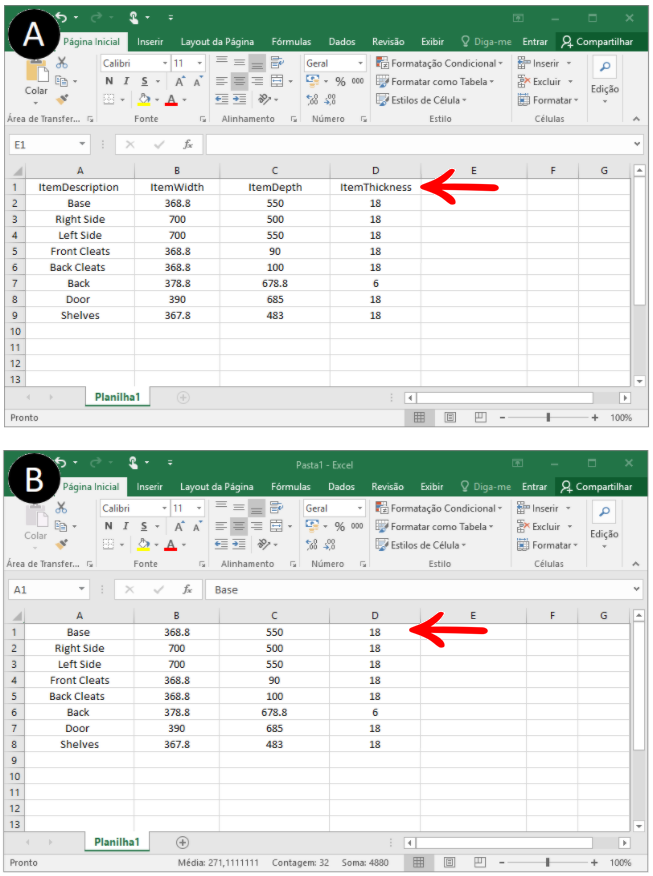
- Has header: defines whether the file should have a header or not. The A picture shown below has a header while the B image has no.
- Unit of Measure: indicates which unit of measure the file to be imported has. All units of the file must be correctly configured in the informed unit of measure.
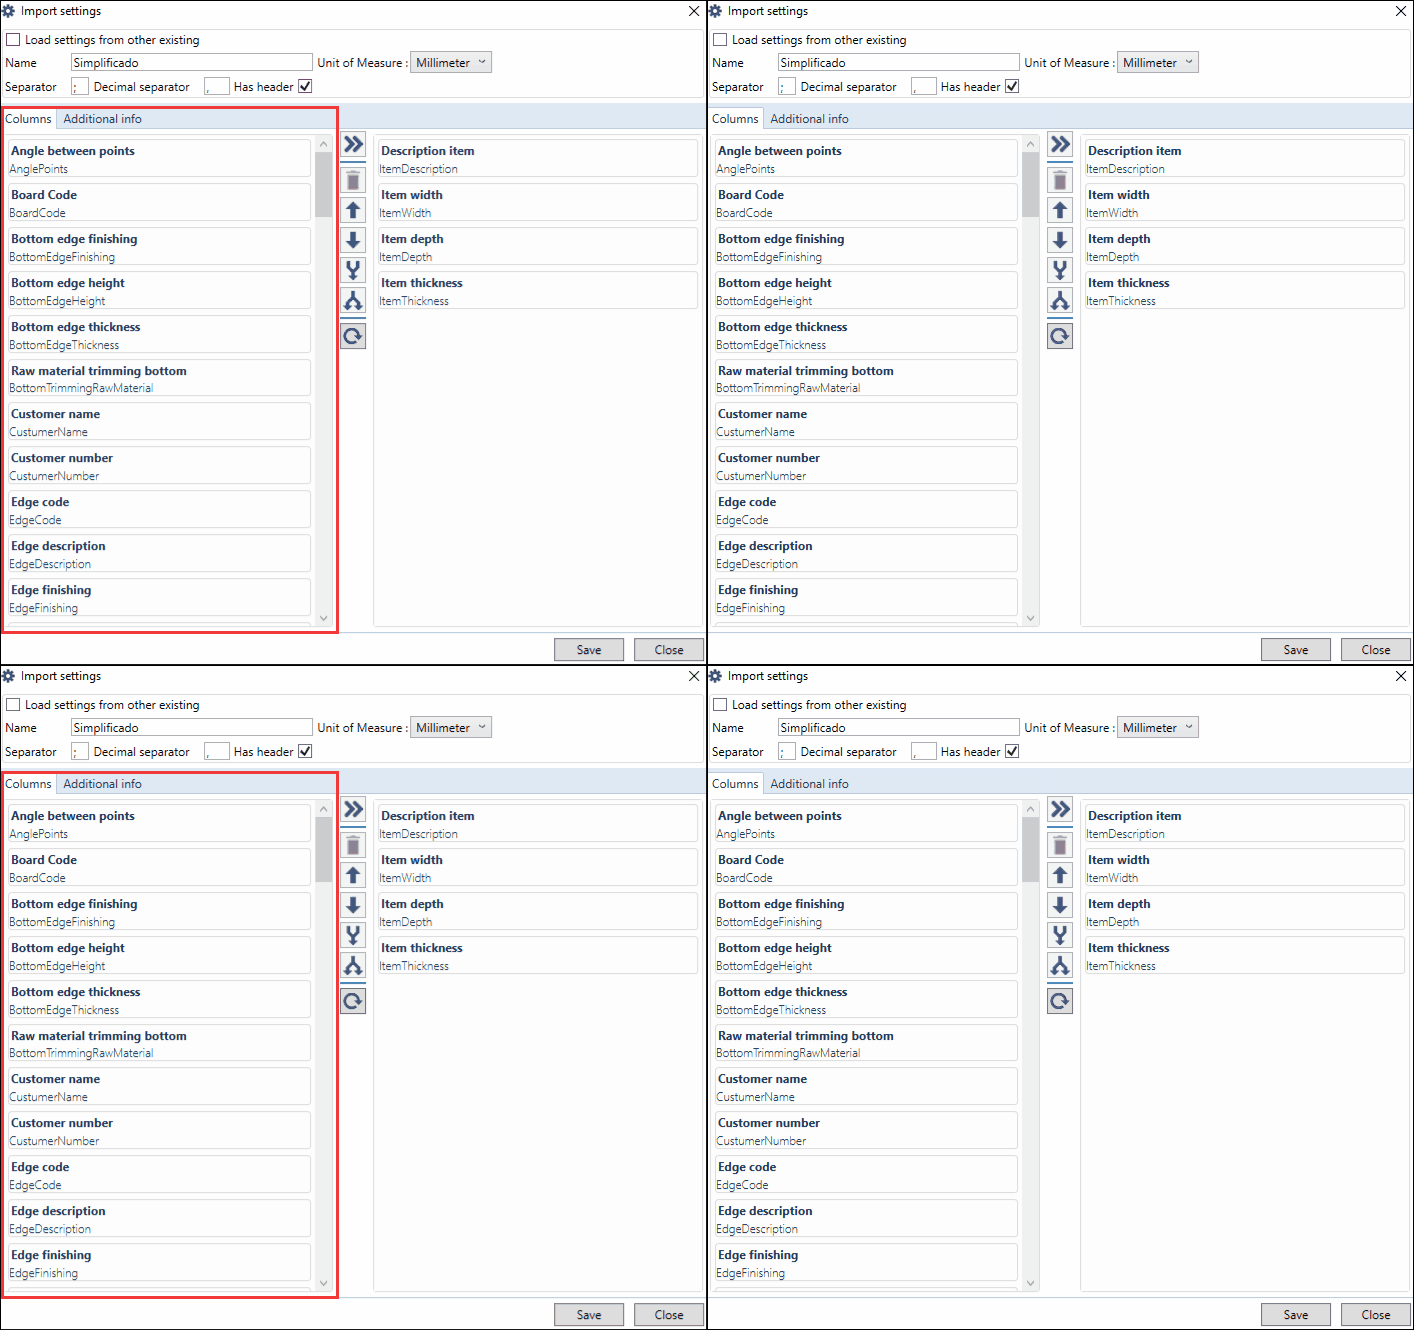
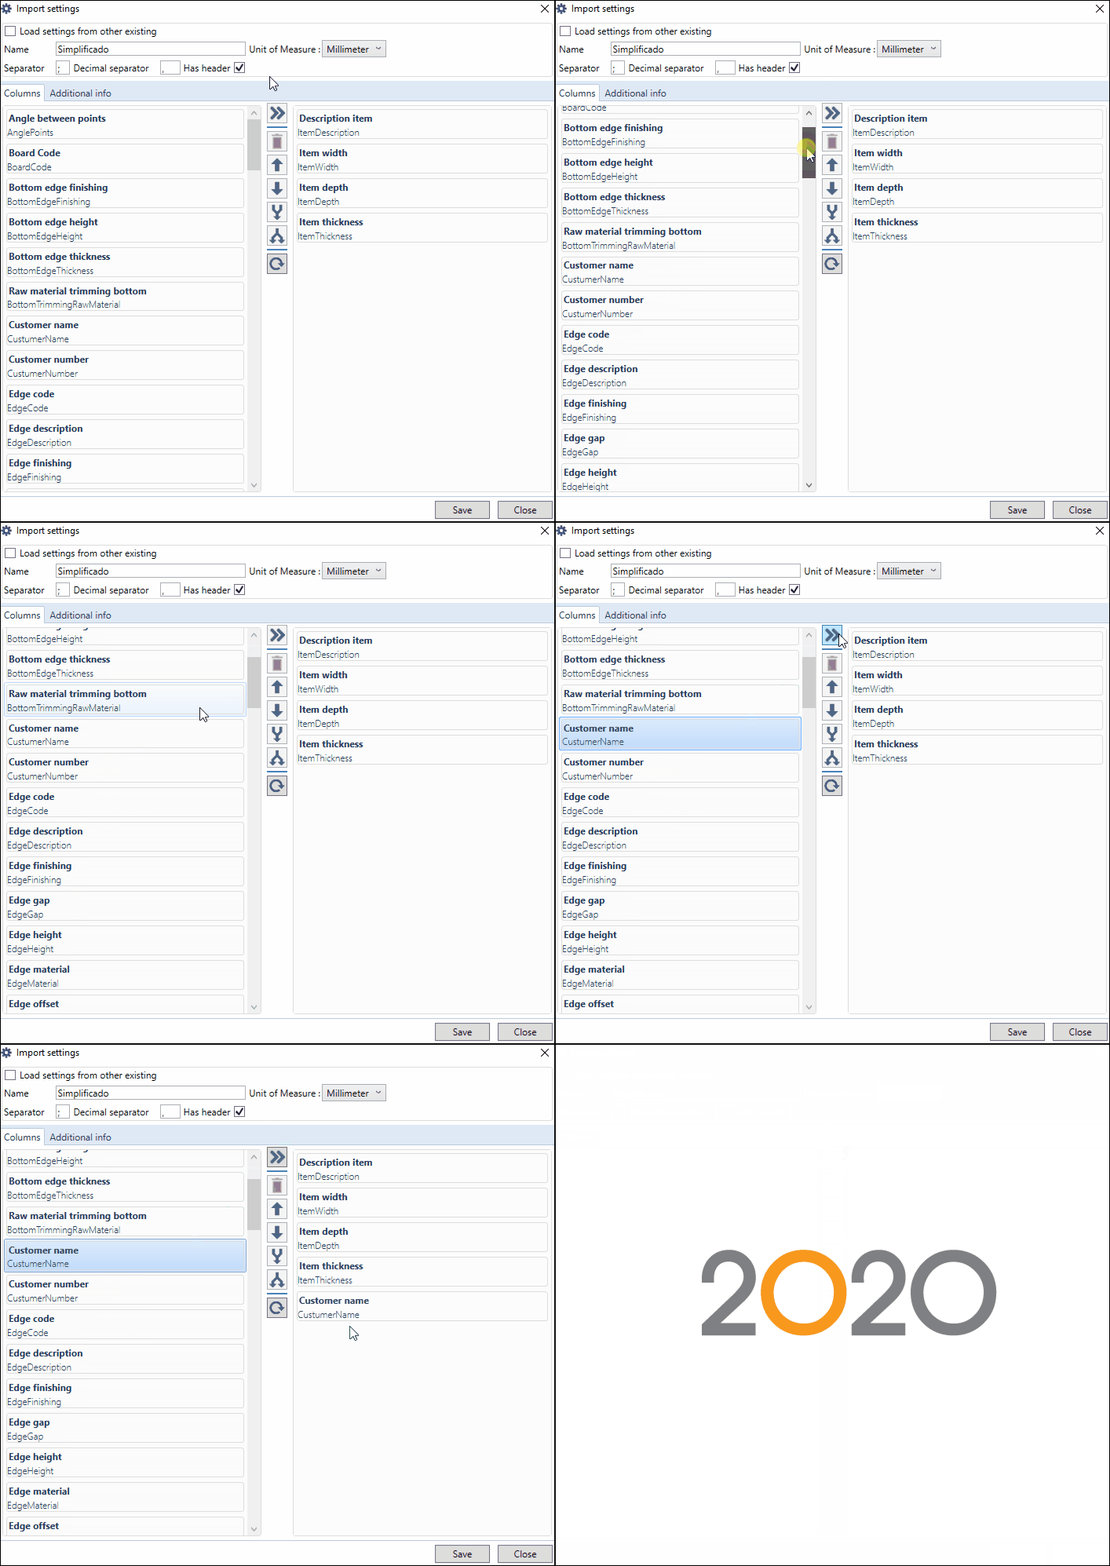
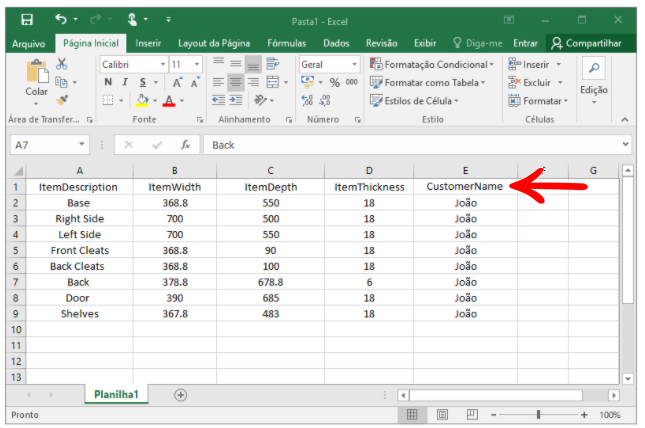
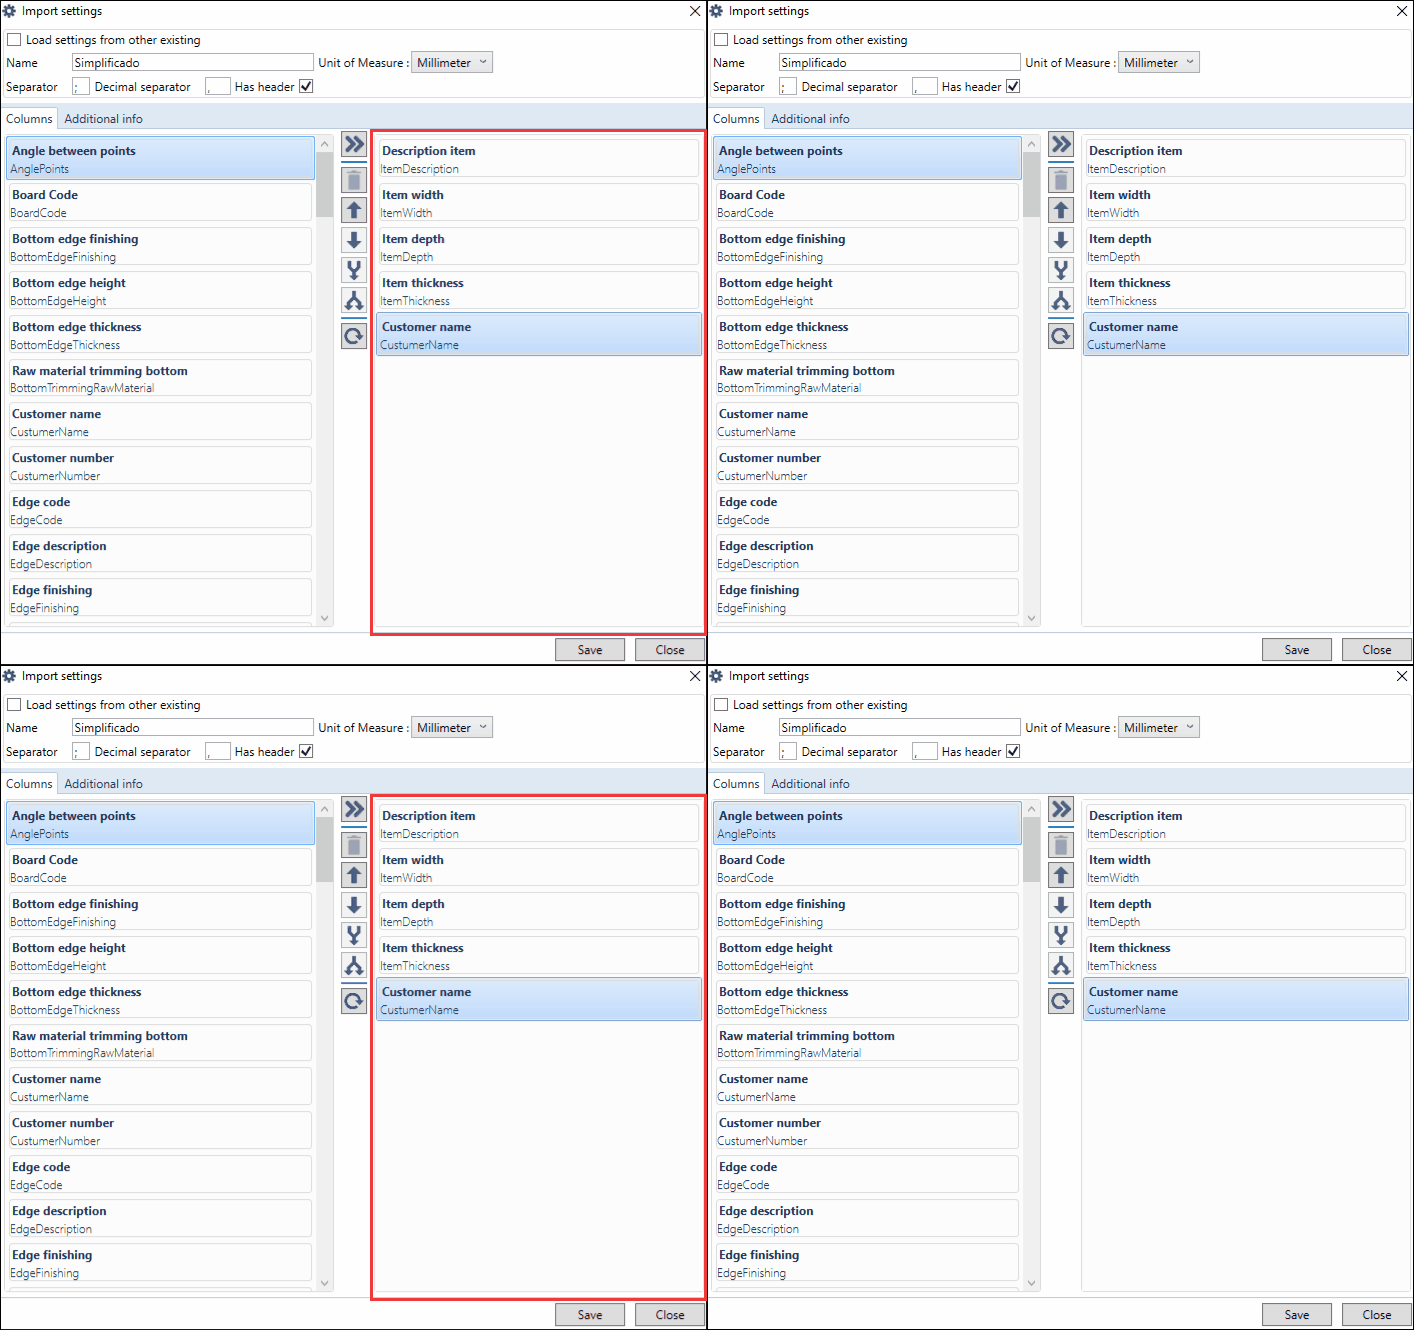
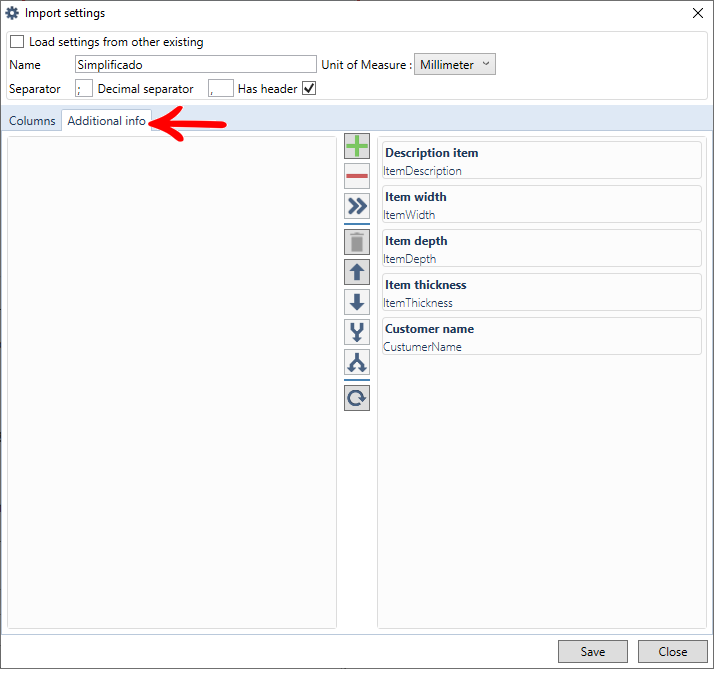
- You can add as many columns as you want to your layout, always remembering to synchronize the layout with the file.
- the columns of the file must be in the same order as the layout rows.
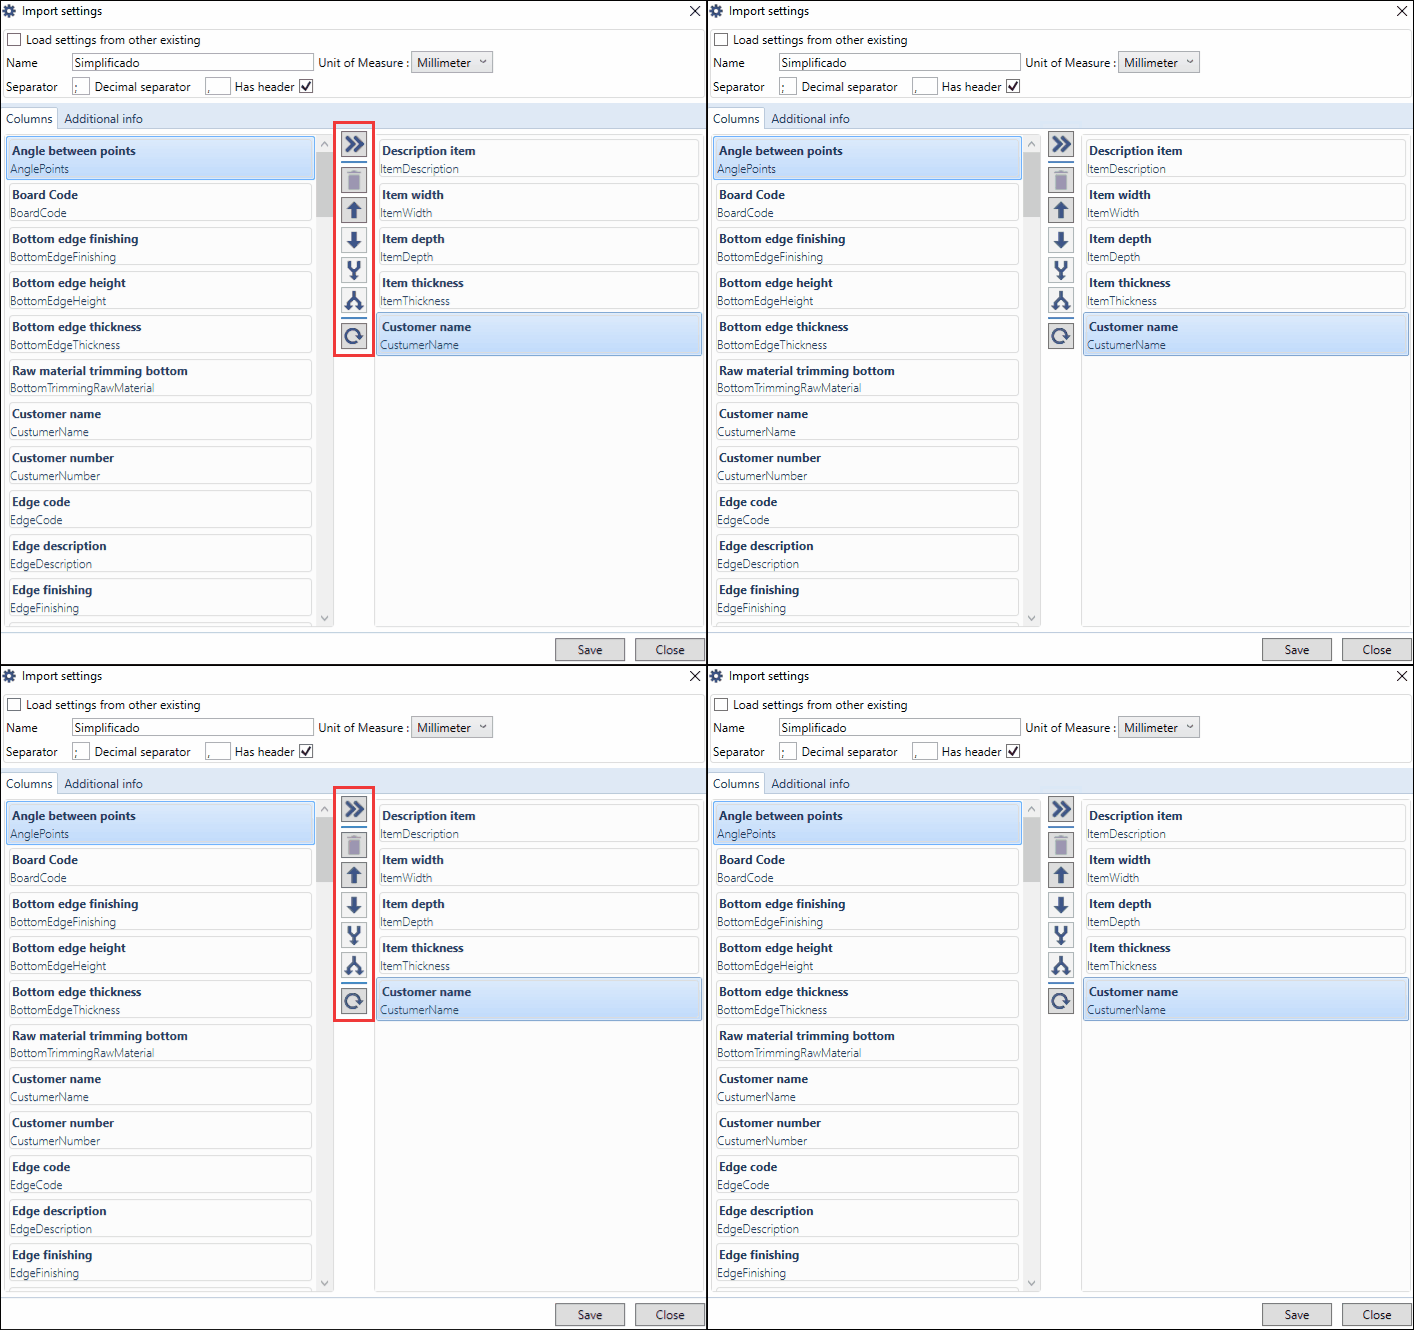
- Add column
 : select the column from the left that you want and click the Add column button to transfer it to the right;
 - Remove column
 : select the right column you want to delete and click the Remove column button;
 - Move up
 : select the column you want to move up and click;
 - Move down
 : select the column you want to move down and click;
 - Group columns
 : select two columns from the right (using the Ctrl button) and group them;
 - Ungroup columns
 : select the columns that are grouped and click;
 - Restore columns
 : click this button to restore the original layout settings.
Create a custom import layout
To create a custom layout:
1. Go to the Import screen, select the Project tab, and then the CSV tab.
2. Click New Configuration.
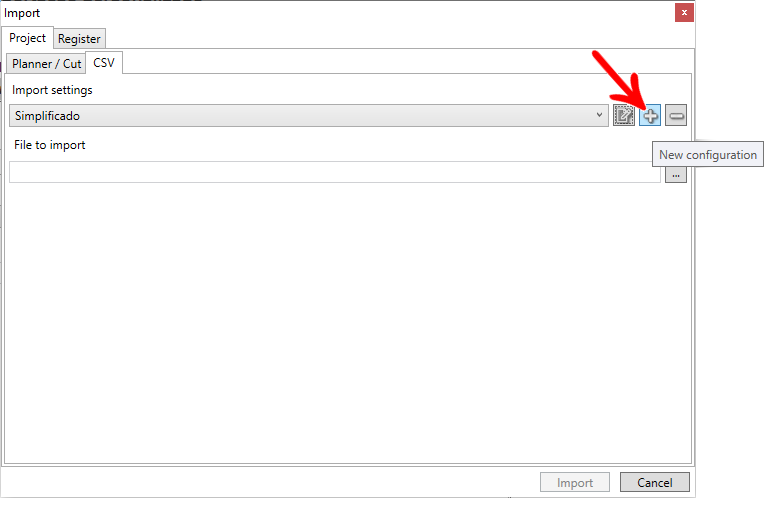
3. Define a Name for the import layout, and the Unit of Measure used.

4. Define the Separator, Decimal Separator, and whether or not it should have a header.

5. Select the Column that you want to include in the import layout;
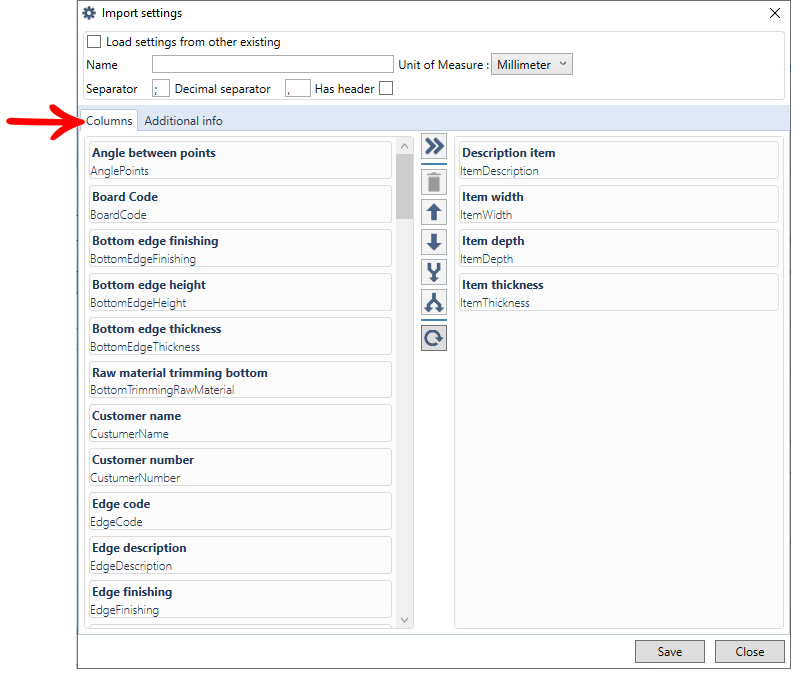
6. Click Add Column, after you have finished inserting the desired columns, click Save.

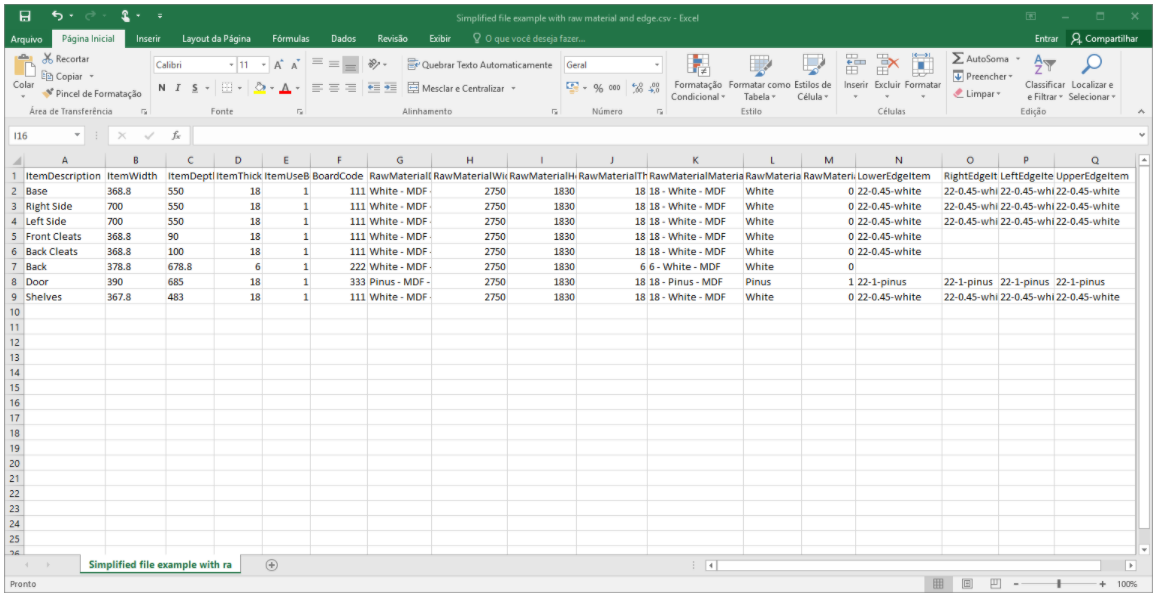
Download layout examples
- Click here and download an example Simplified layout with material and edge;
- Click here and download an example Simplified layout with material and direction of the vein;
- Click here and download an example Simplified layout with material, edge and direction of the vein;
IMPORTANT:
- To the columns who need a yes or no answer, you have to consider 1 for yes and 0 for no.
-
To define the direction of the vein in materials that have a model with vein, you must insert the column AlinhamentoVeioItem in the column of import. To indicate the direction of the vein, use vertical, horizontal or none, if there is no vein.
-
If the Column AlinhamentoVeioItem column was not inserted in the import, the direction of the vein will be considered the LarguraItem (item width) as dimension.