In order for the integration to take place, it is necessary to have the following software Promob:
- Promob Start
- Plugin Cut_Pro
- Promob Cut Pro
- DXF Converter Plugin
When the integration happens with Promob Start, it is not necessary to have the Plugin Editor for operations to be presented in the DXF. The Plugin Editor is optional. Your presence allows the imported Promob Start holes to be modified.
Through the integration of the products mentioned, it is possible to generate DXF files with Nesting cutting information and operations on the individual parts. The process of this integration occurs in such a way:
1. With Promob Start open, insert hardware into the modules. As illustrated in the following image:

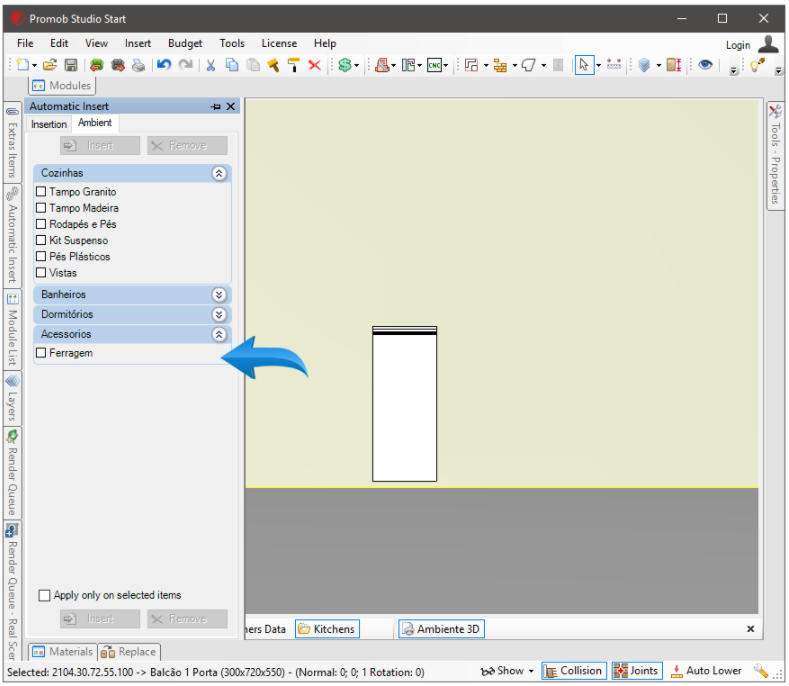
2. After inserting the hardware, send the project information to the cut plan through the Promob Start integration plugin with Promob Cut Pro.

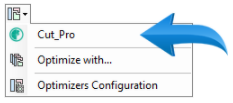
3. Select the directory where you want to save the files;

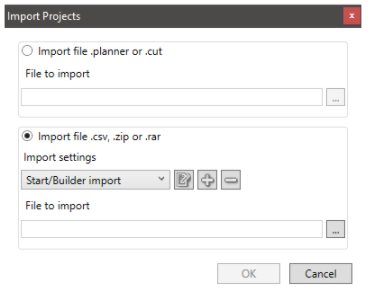
4. With the Promob Cut Pro import screen open, select the file.CSV generated in the folder specified in the previous step.

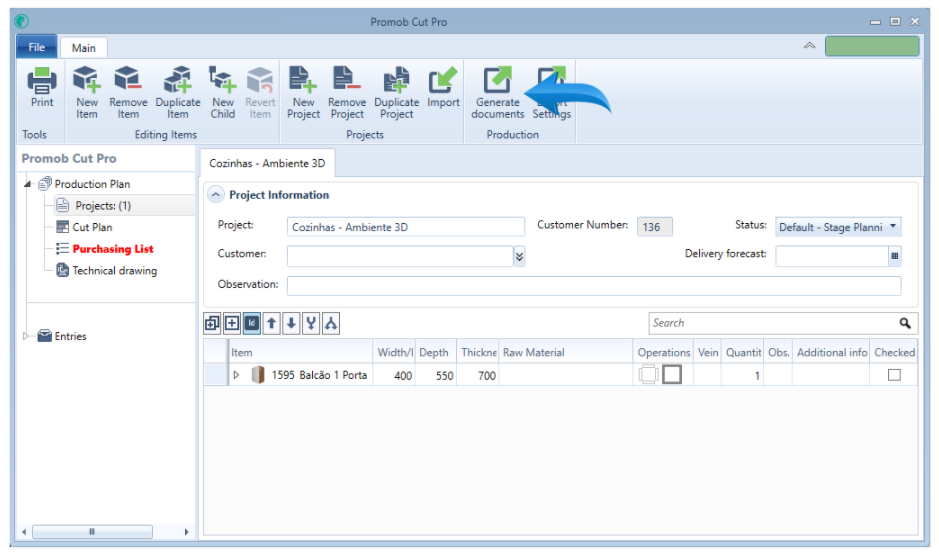
5. With the project imported into Promob Cut Pro, access the Generate Documents option.

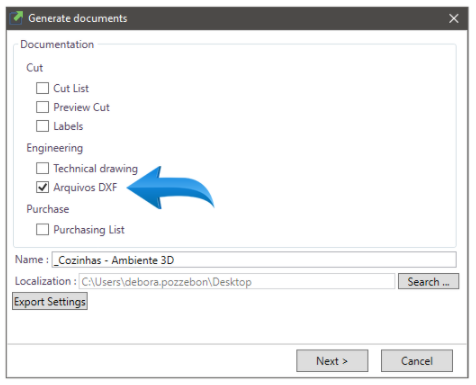
6. On the Generate Documents screen, select the DXF Files option and click next;

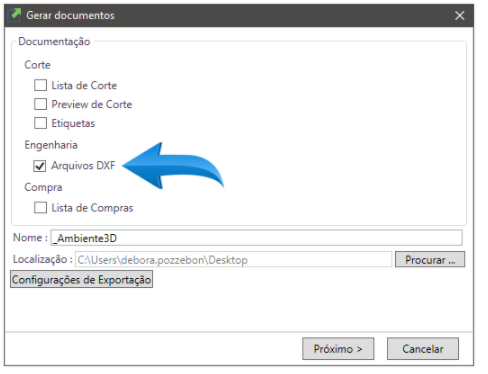
7. The files will be generated. In the directory indicated, we will find 3 different folders.
8. Their content is composed of:

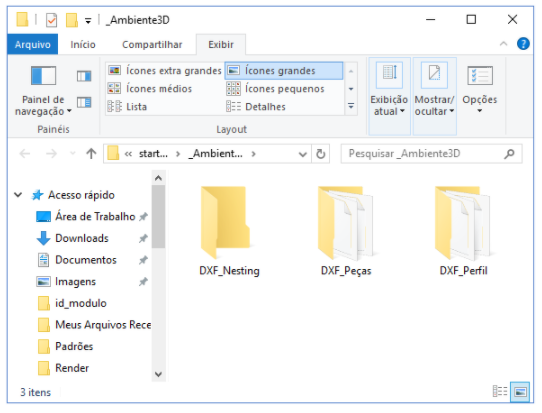
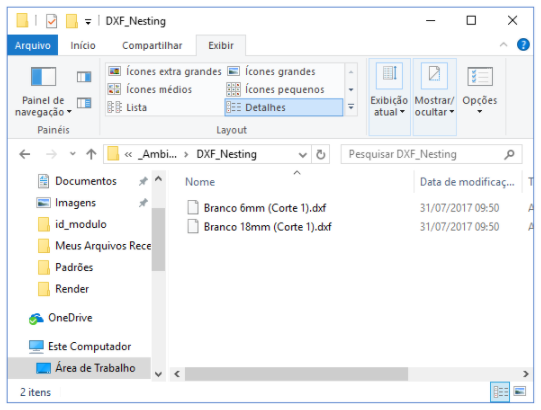
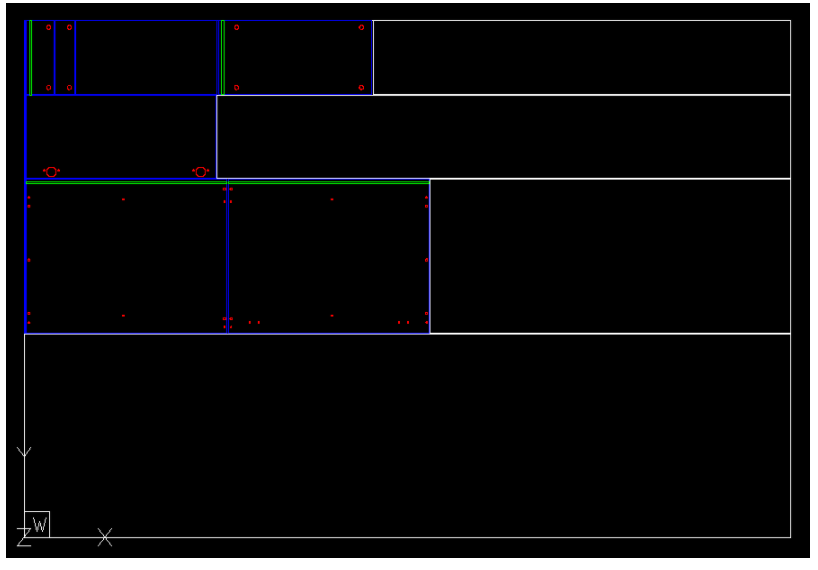
DXF_Nesting: In this folder we will find .dxf files with the optimization of the plates in the Nesting cutting parameter. In addition, face operations will also be presented.



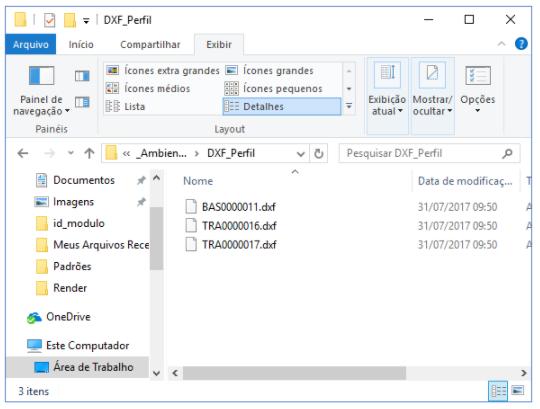

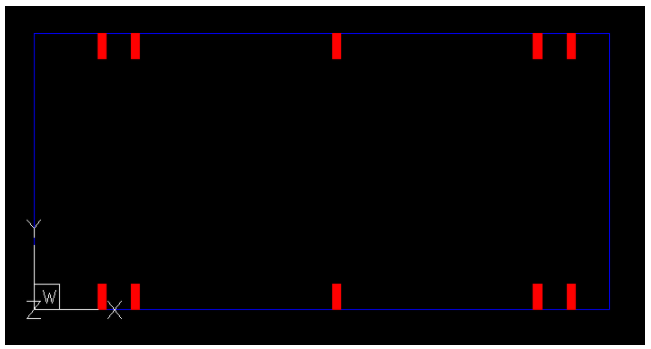

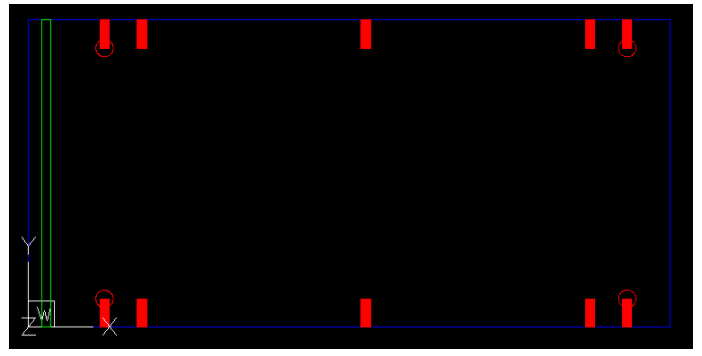


DXF_Profile: In this folder we will find the .dxf file containing the top drilling information for each part. Only those parts that have such operations will be listed.


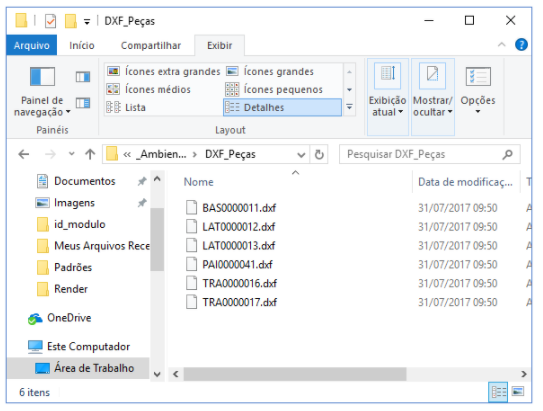
DXF_Parts: In this folder we will find the .dxf files containing all the operations to be performed on each piece. As many face and top operations.


