TIP: Before reading this procedure for editing and creating layouts, understand how to import files into Cut Pro. To do this, click here.
Content
Access your question directly by clicking on a content below:
How to edit existing layouts?
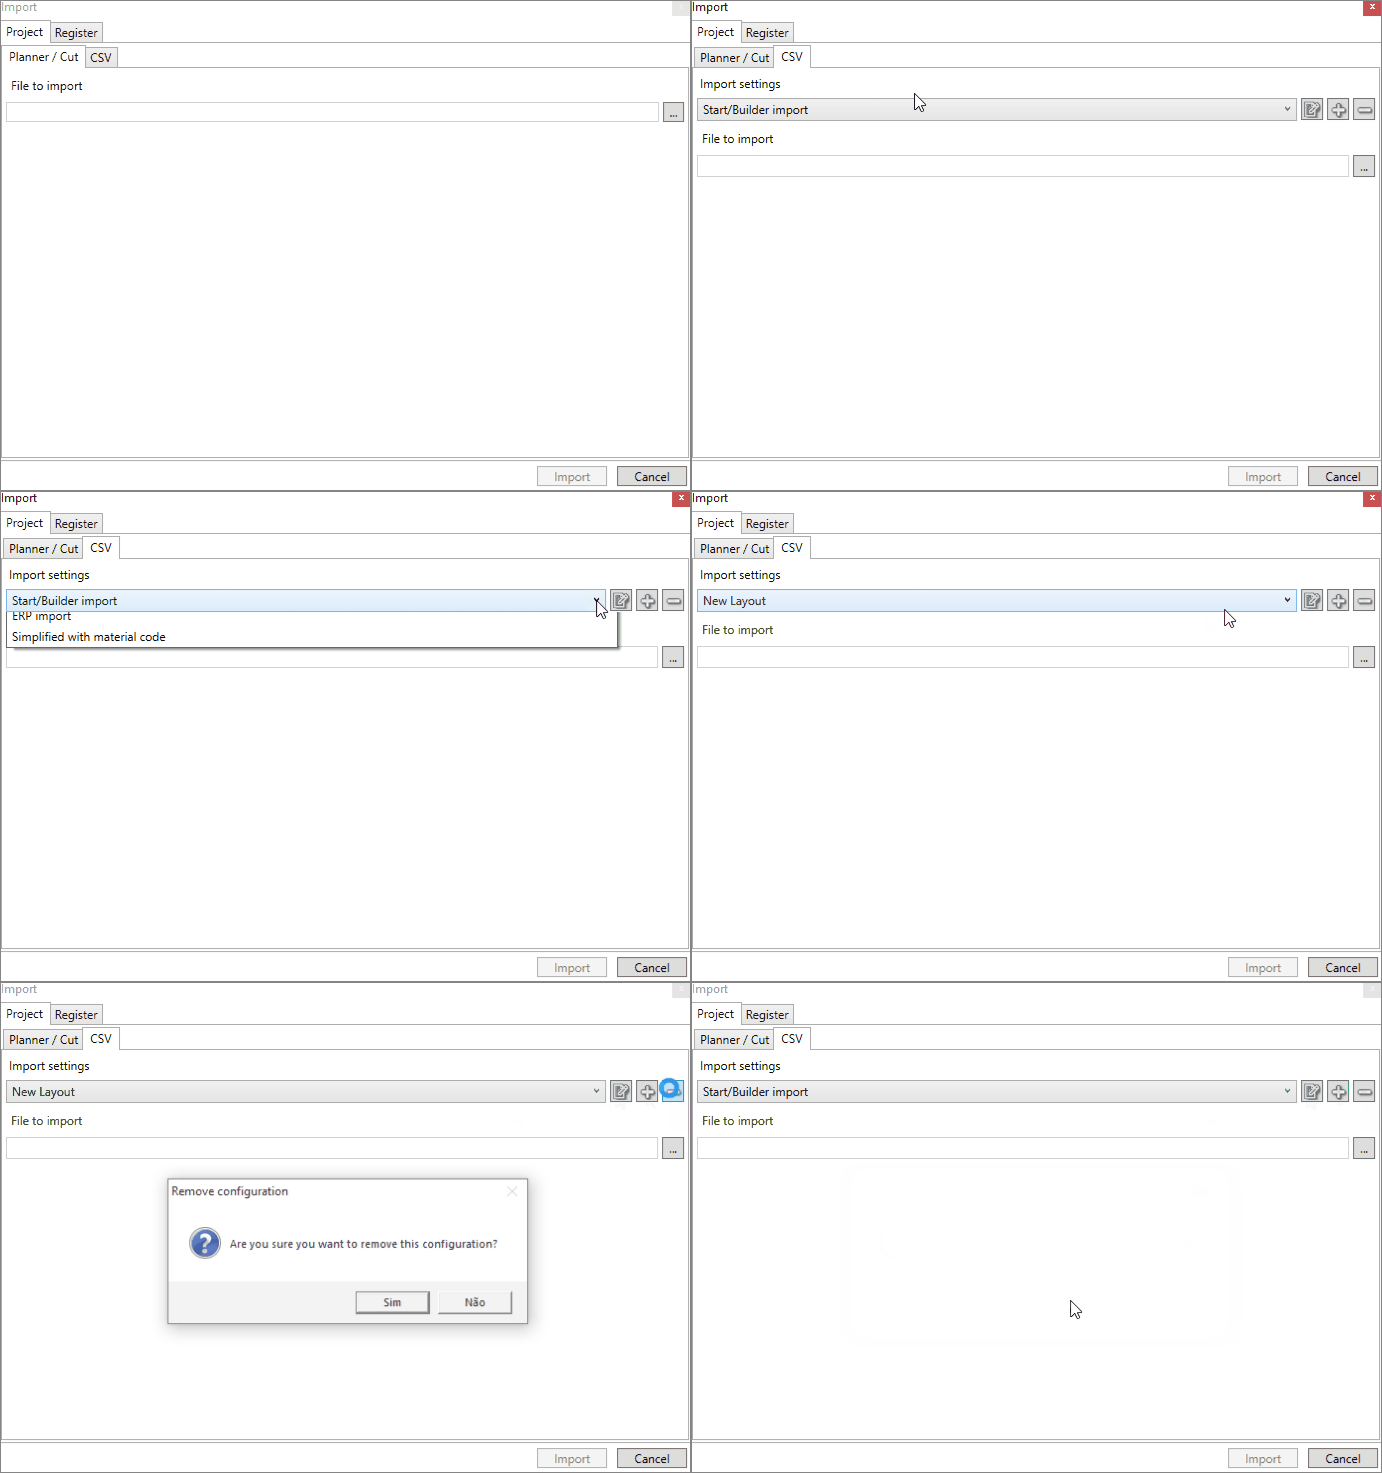
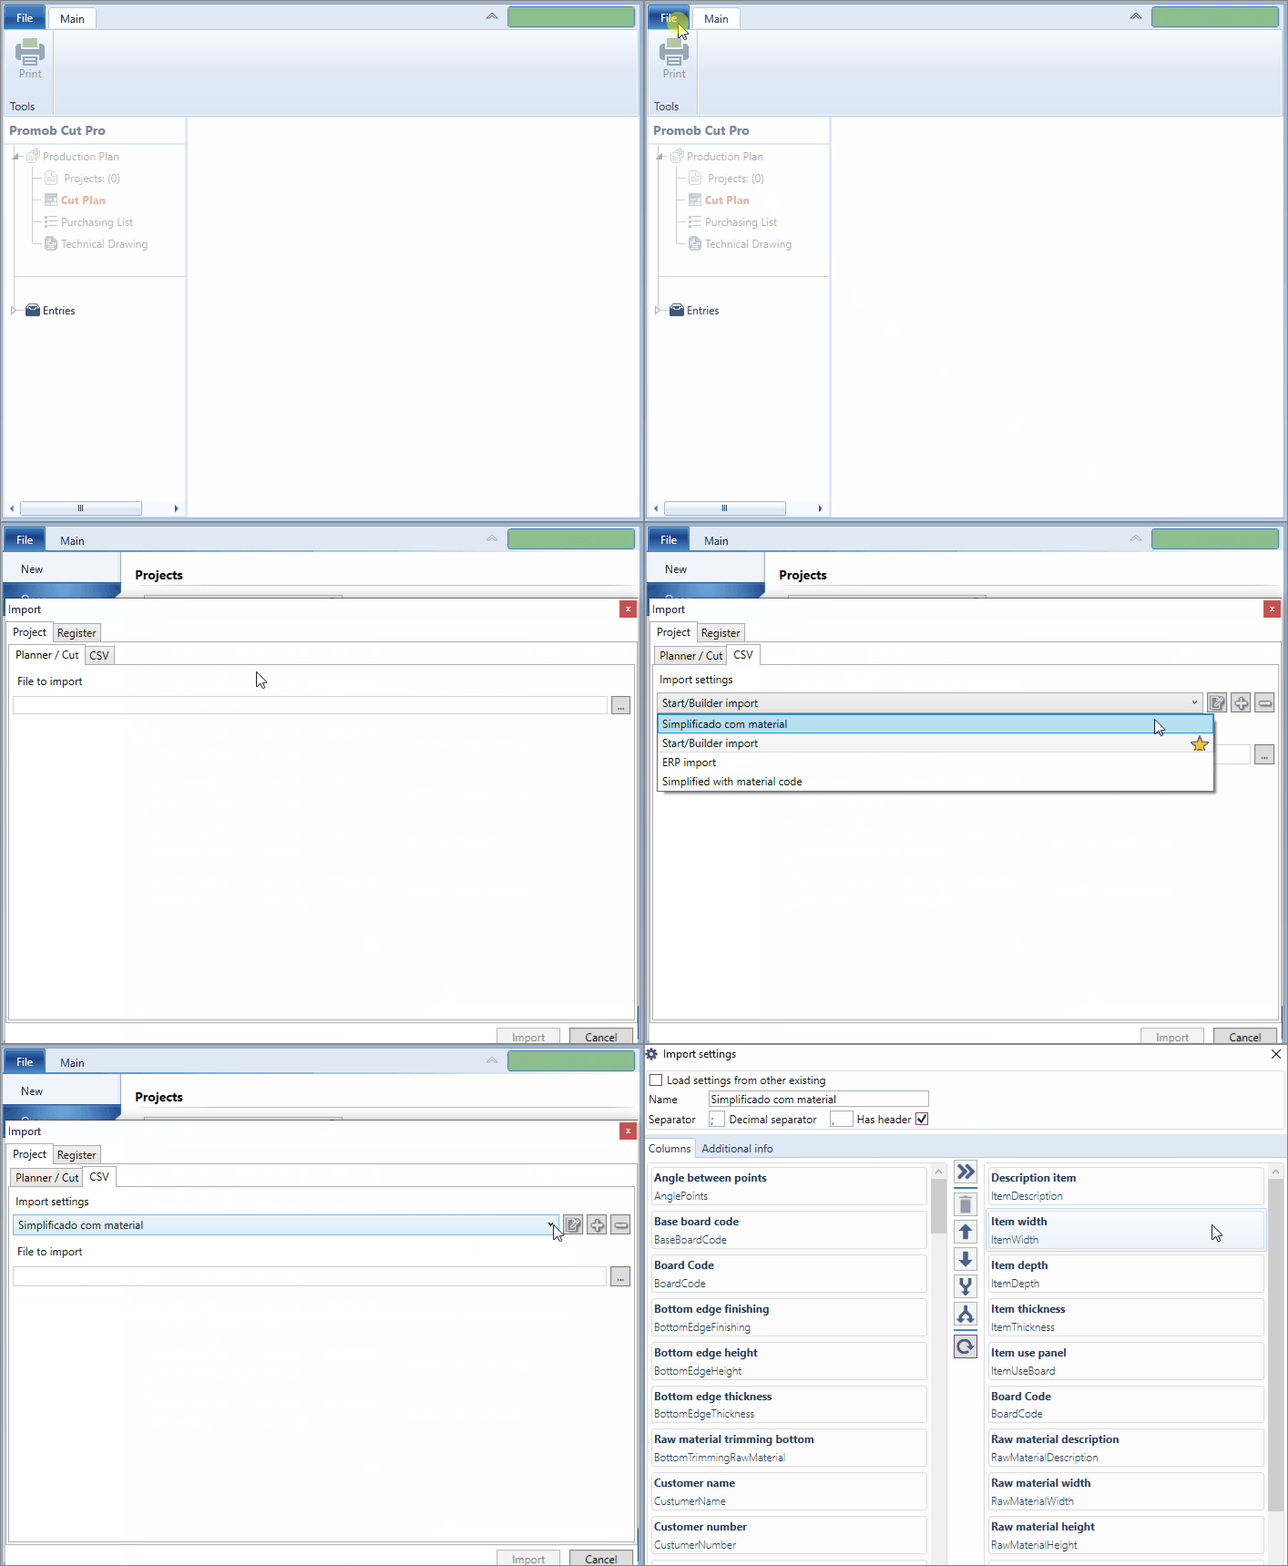
2. On the Project tab, select the CSV tab;
3. In Import Settings, select an import layout;
IMPORTANT: The Start / Builder layout cannot be edited, so select one of the other layouts.
OBSERVATIONS: In this documentation, we use the Simplified layout as an example (Item Description, Item Width, Item Depth, Item Thickness).
4. Click the Edit Configuration button; 
5. The Import Settings window will appear;
Definitions

Name: If necessary, change the name of the layout in this field;
Separator: define here which separator is used in the * .txt file. If it is a semicolon (;), just a period (.) Or just a comma (,). By default, this field is automatically filled in as a semicolon;
Decimal separator: define whether a semicolon is used to separate broken numbers.
EXAMPLE: A part can be 345.5 mm or 345,5 mm wide;
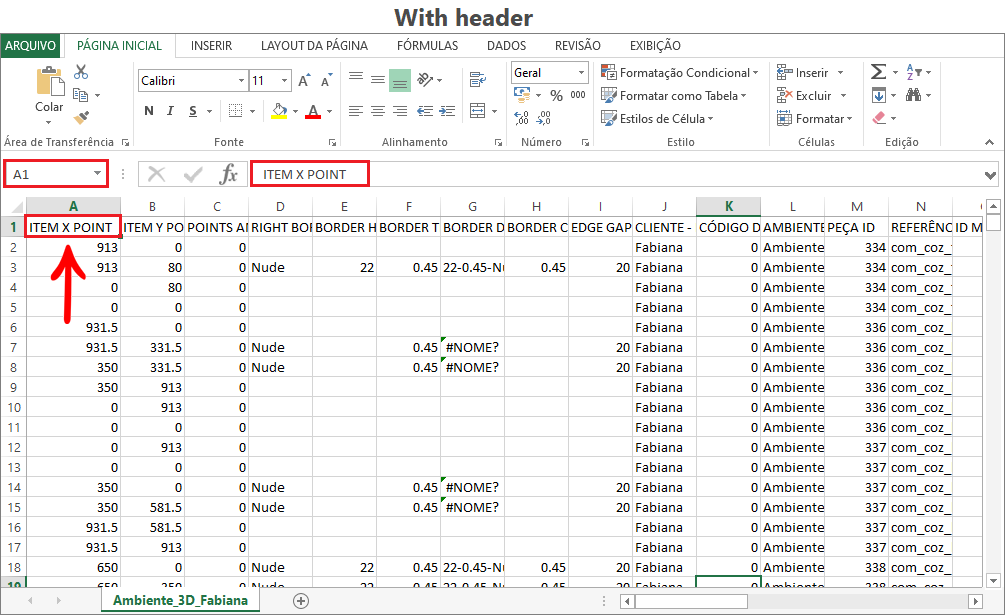
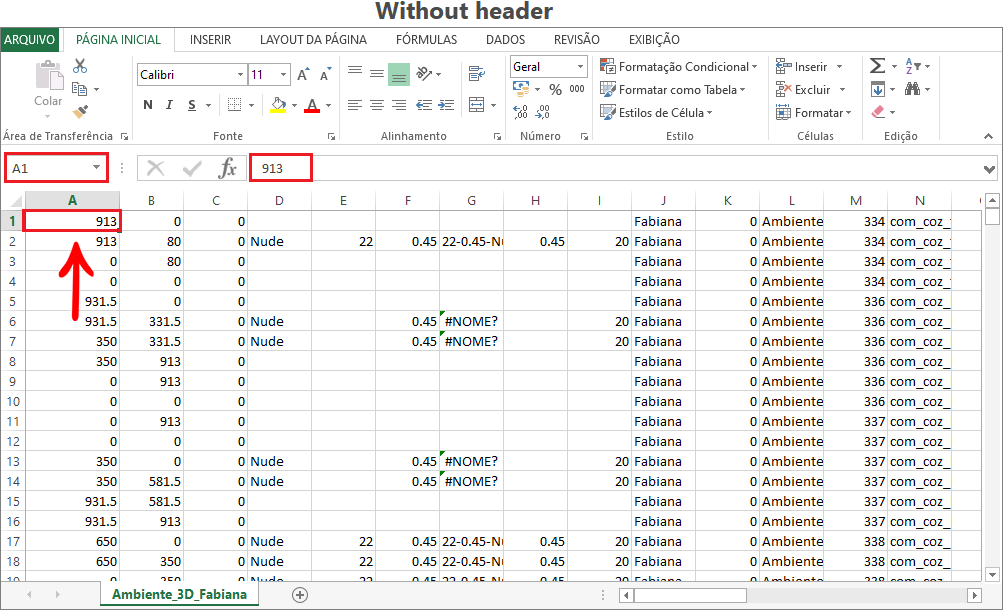
Has header: Define in this field, if the file should have a header or not.
Columns
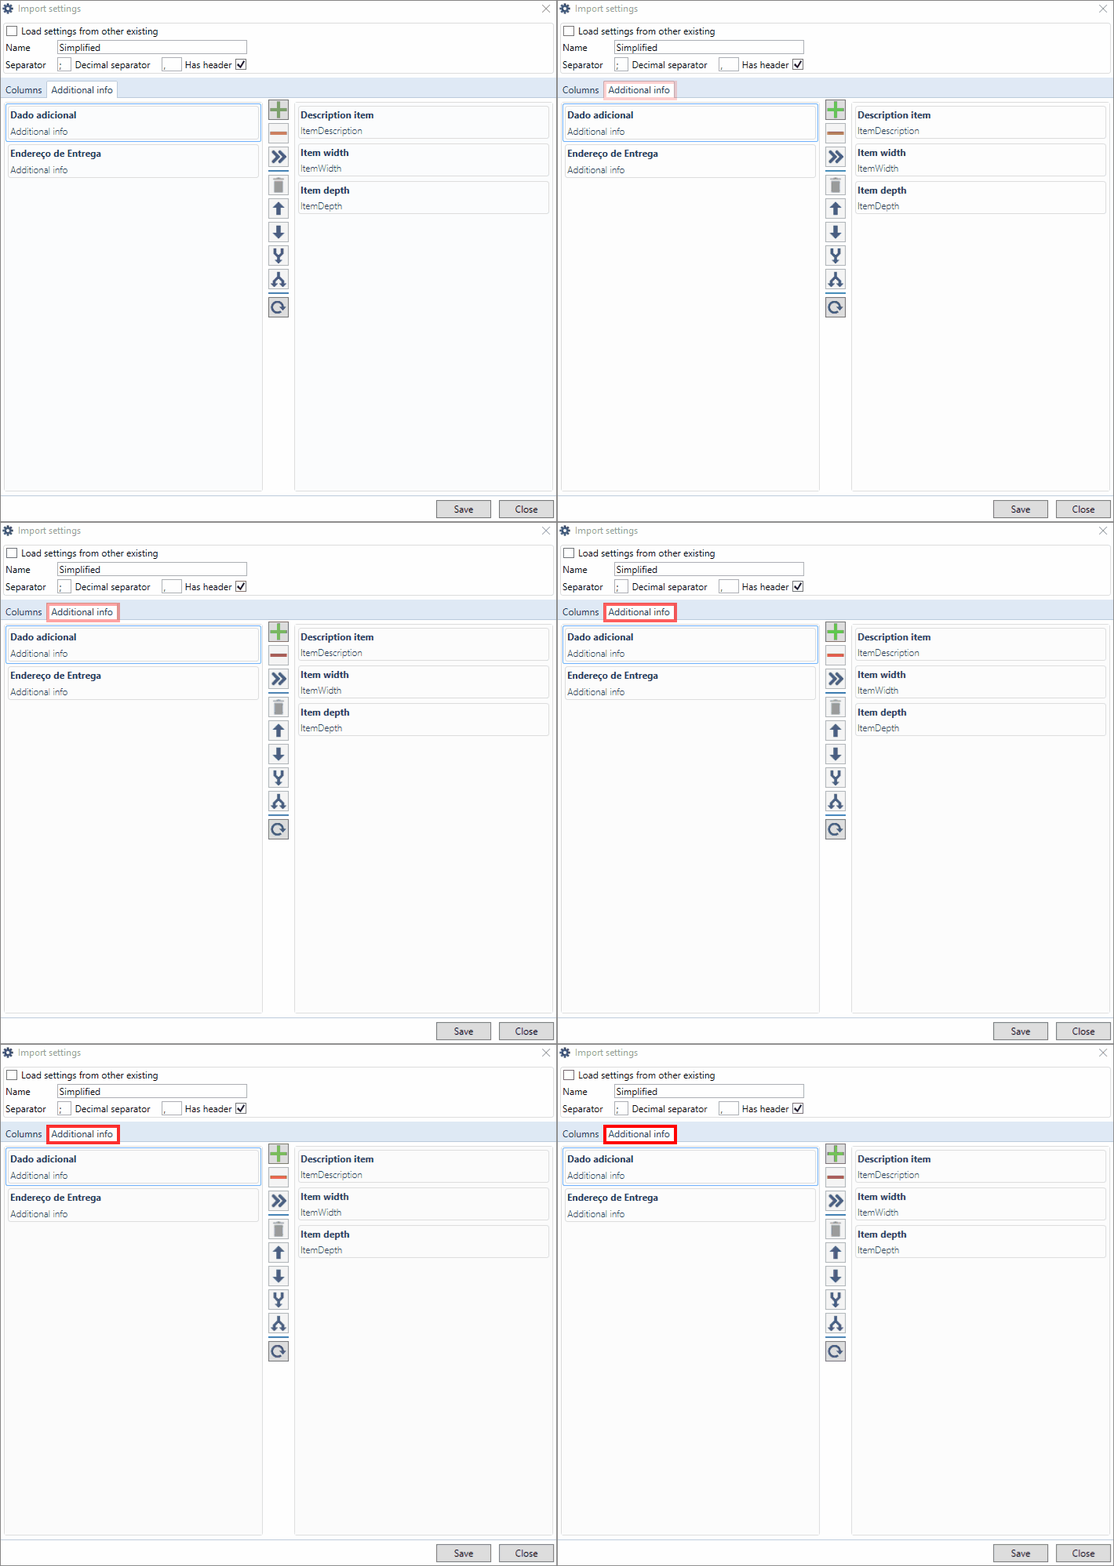
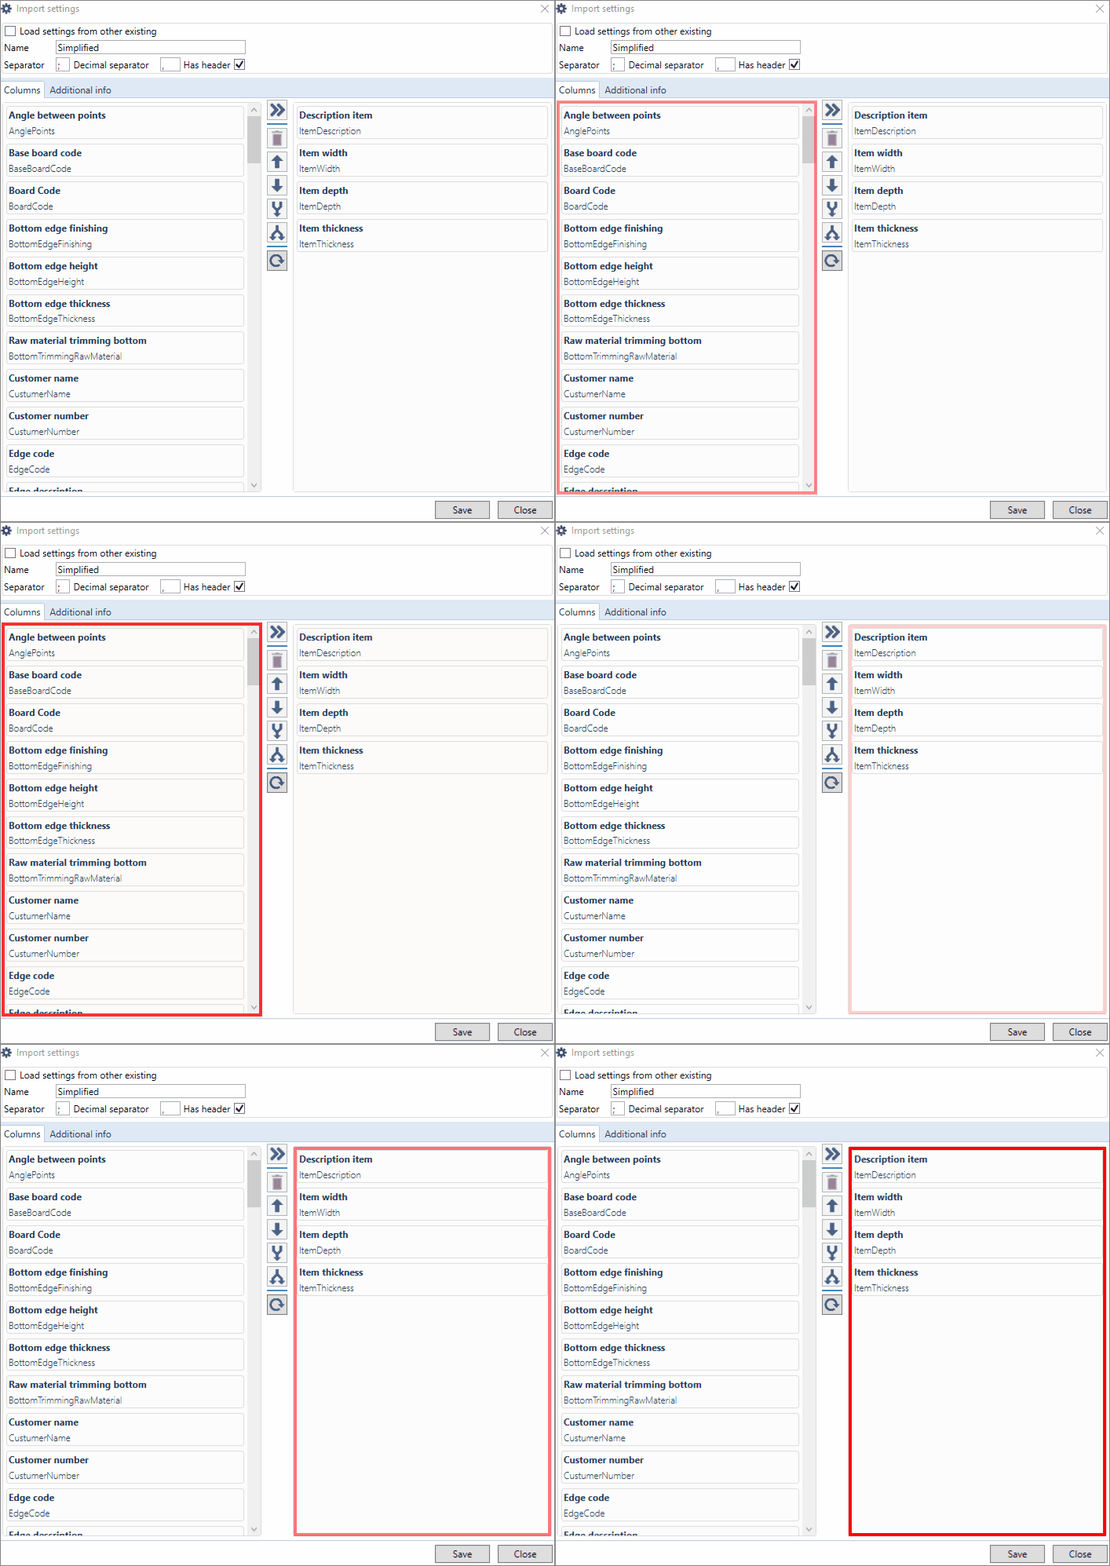
The Columns tab displays the available columns to be added to the layout (left side) and the standard columns already defined by Cut Pro (right side) are displayed.
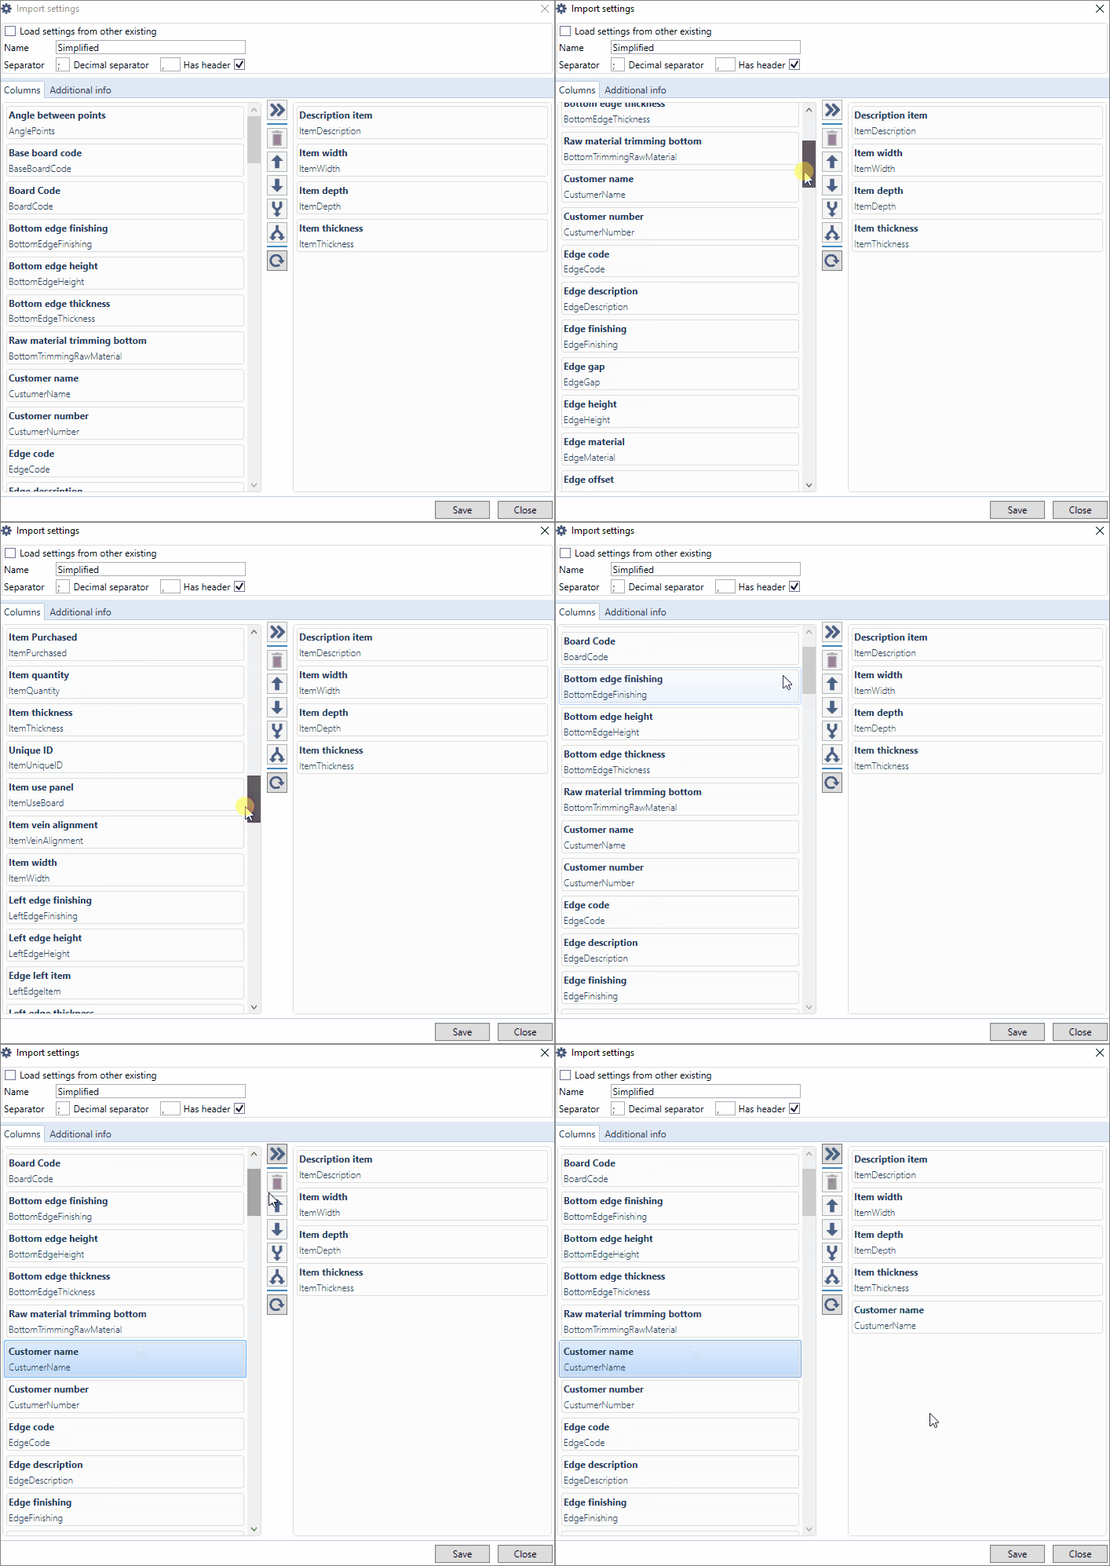
EXAMPLE: If you consider the identification of the customer and the display in the import layout, find the CustomerName option, in the left list, and add it to the layout.
- When adding the CustomerName option to the layout, you must also add it as a column in the file to be imported;
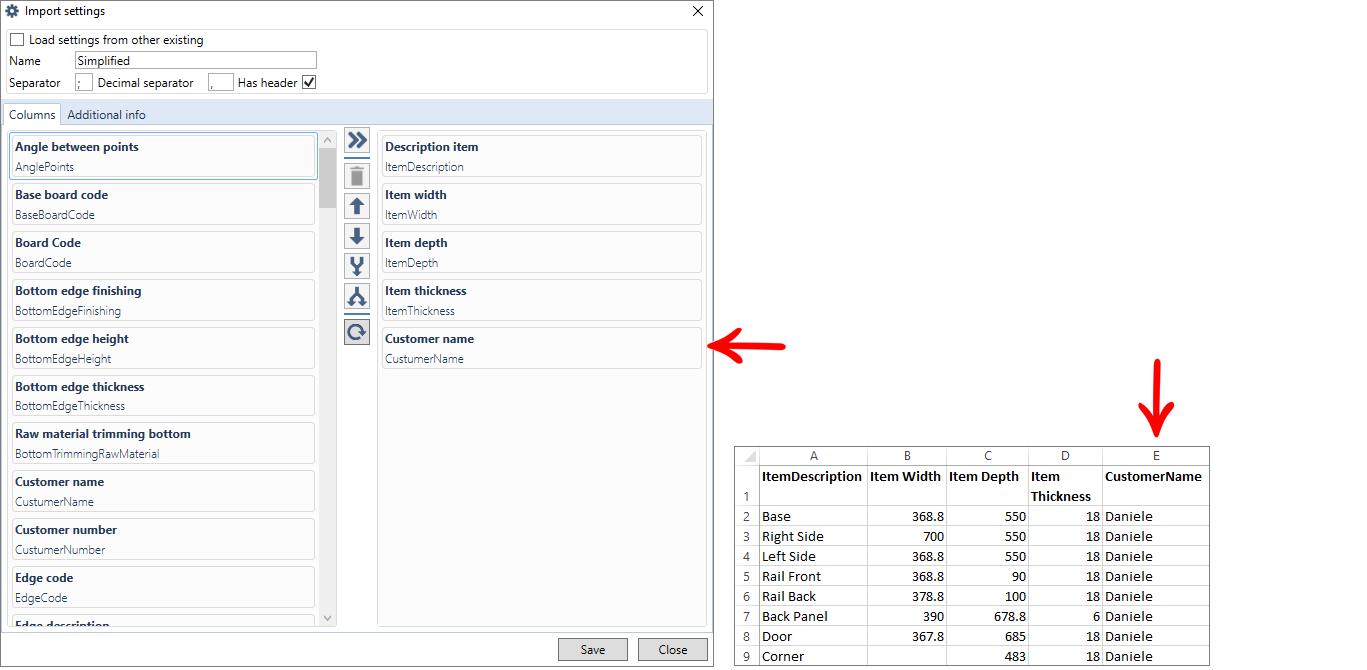
- The columns of the file must be in the same order as the layout rows.
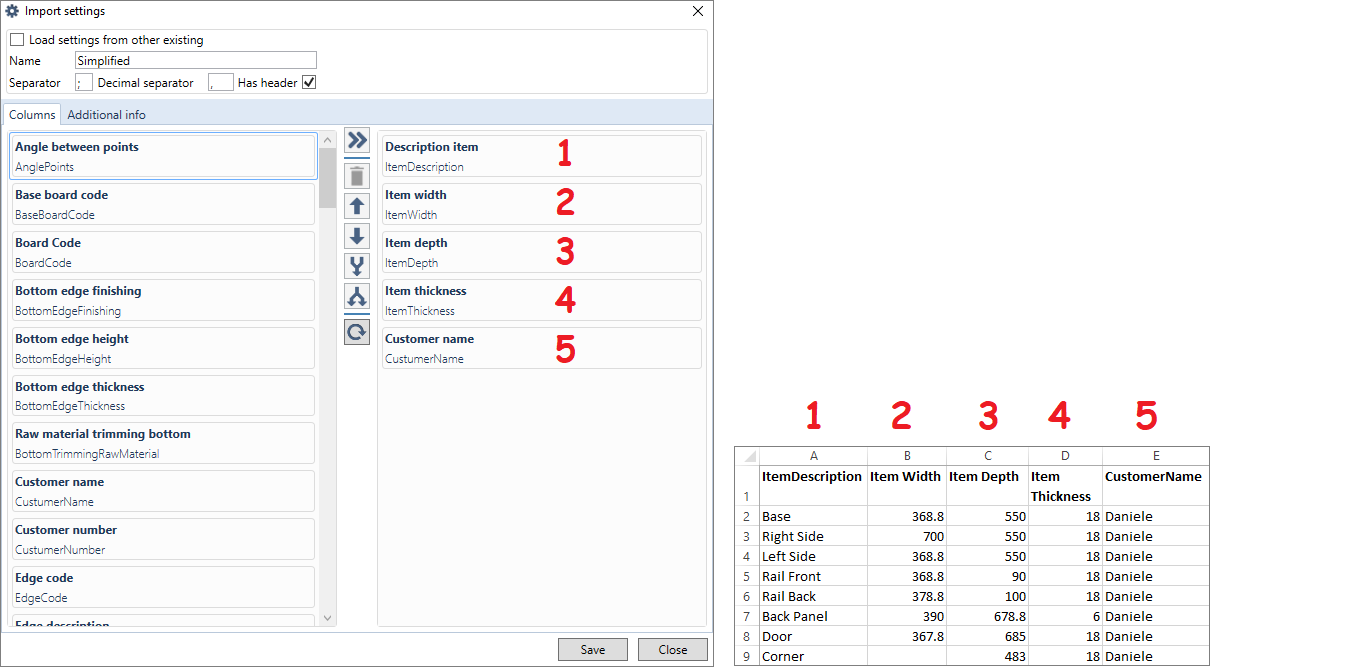
- You can add as many columns as you want to your layout, always remembering to synchronize the layout with the file.
Buttons
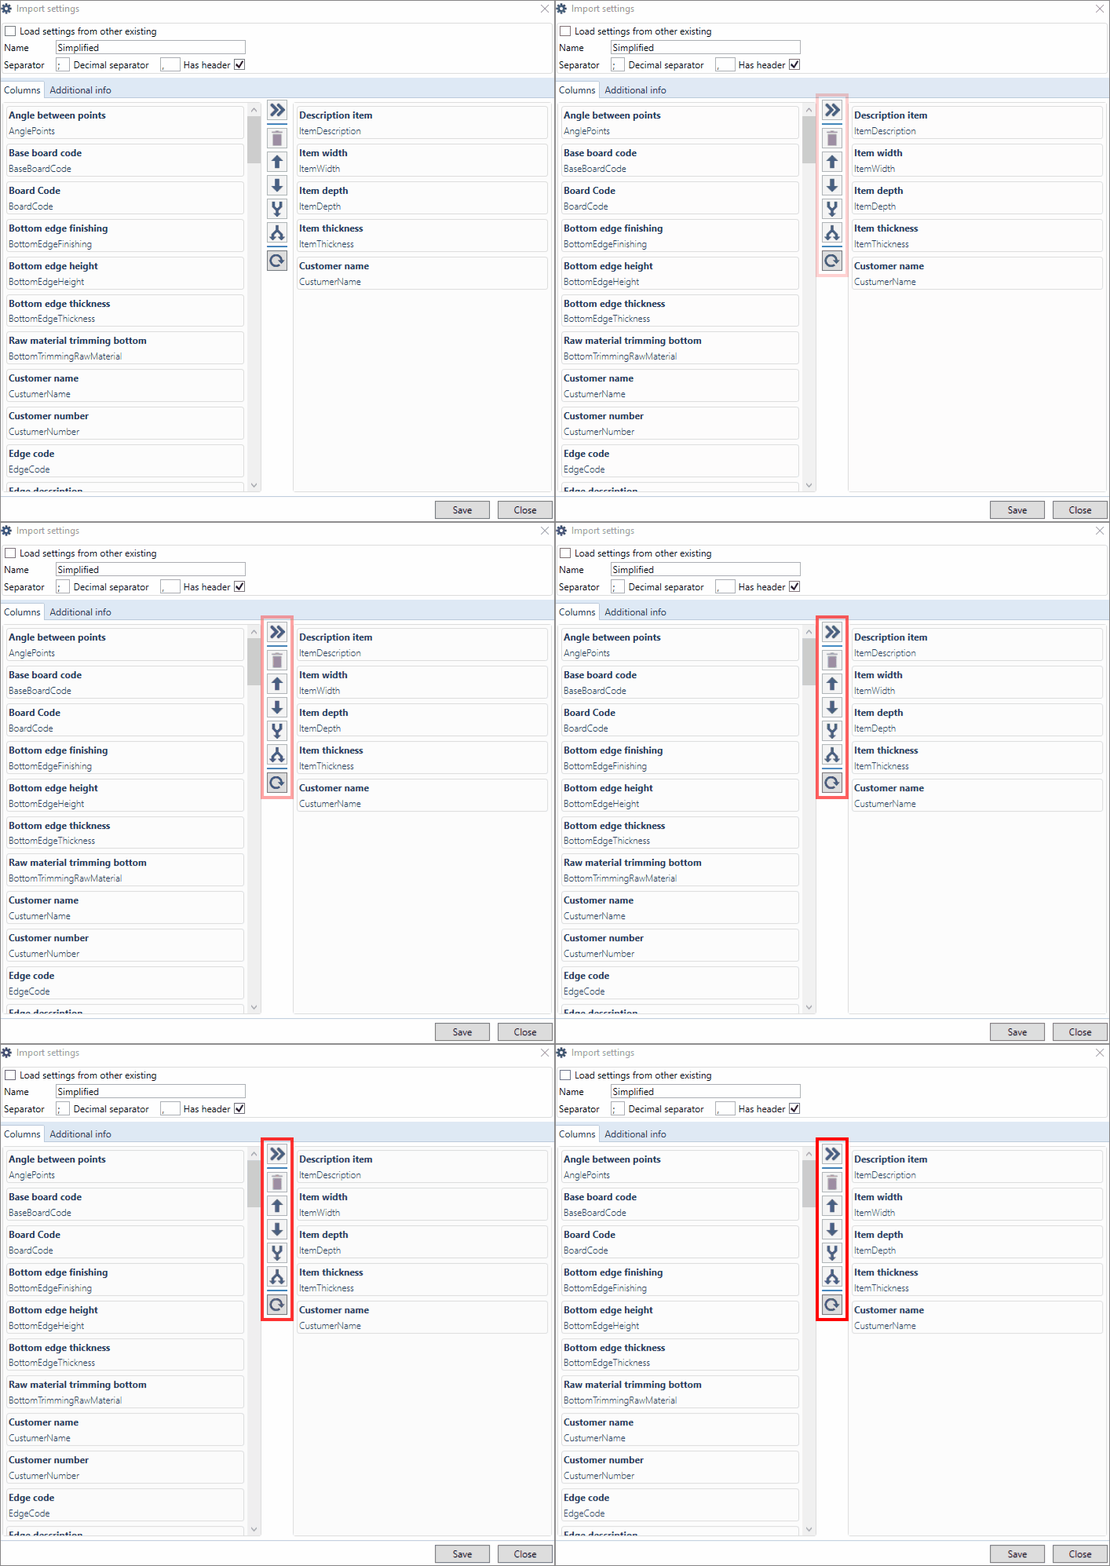
 Add column: select the left column you want and click the Add column button to transfer it to the right;
 Remove column: select the right column you want to delete and click the Remove column button;
  Move up: select the right column you want to move up and click the button;
 Move down: select the right column you want to move down and click the button;
 Group columns: Press the Ctrl button on your keyboard and select two columns on the right that you want to group.
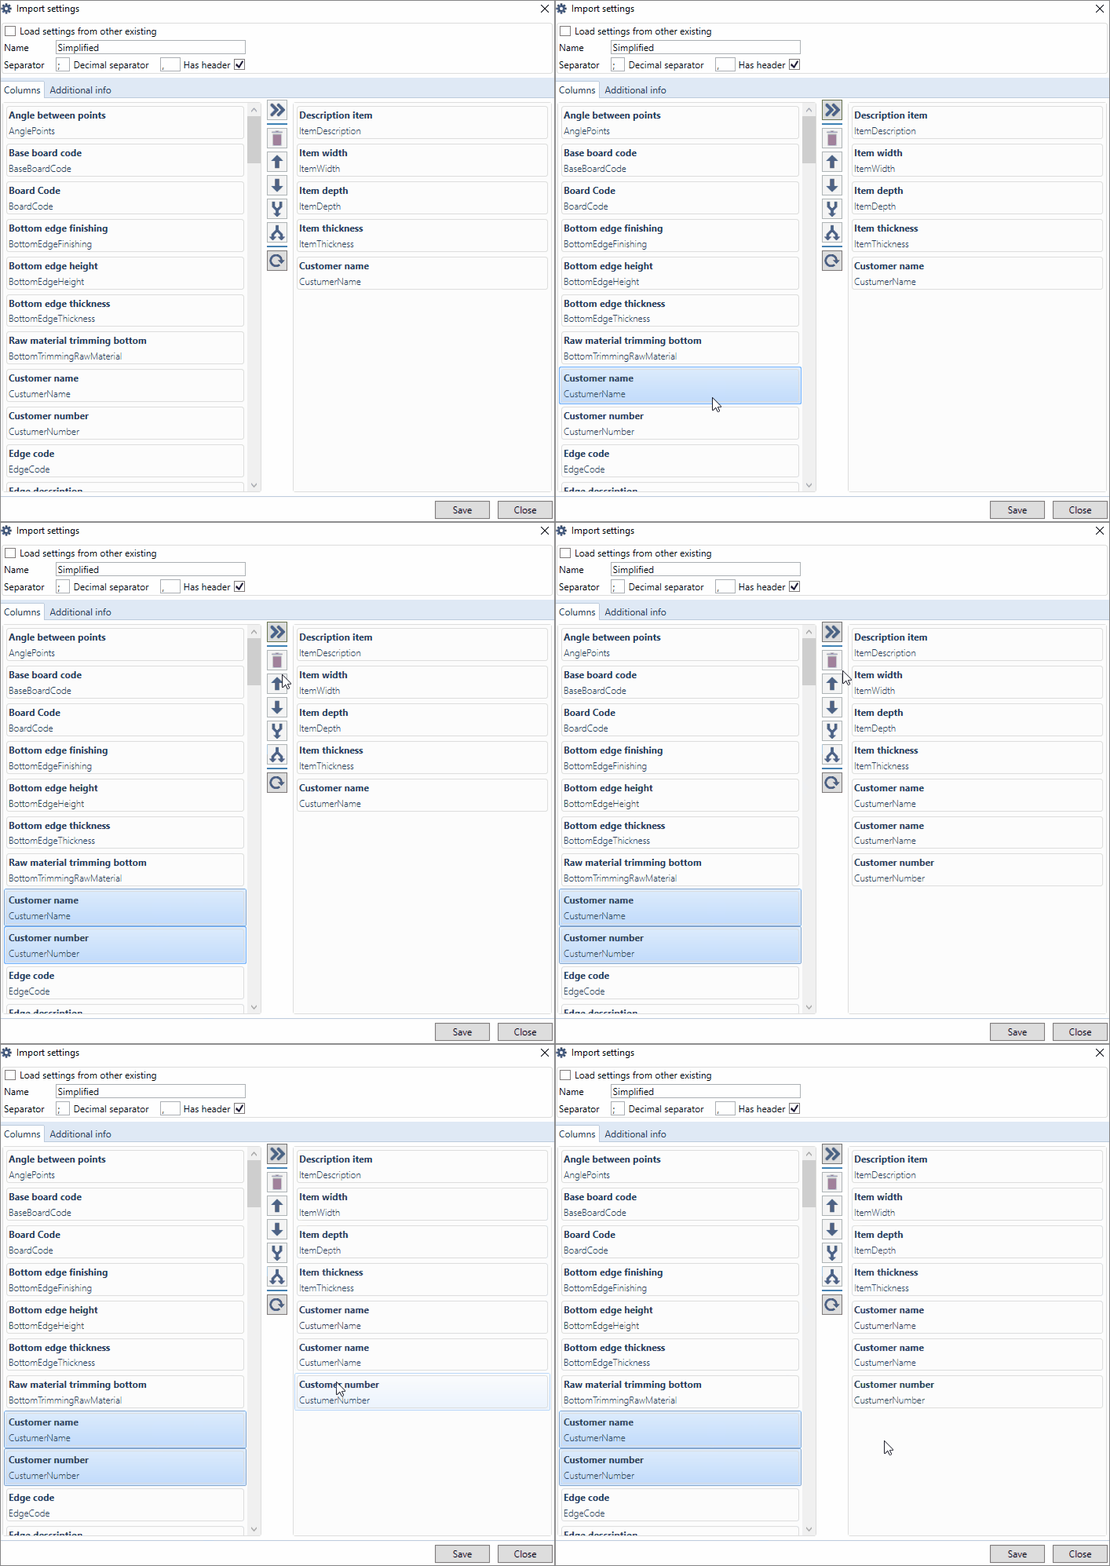
 Ungroup columns: select the columns that are grouped and click the button;
 Restore columns: click this button to restore the layout's original settings.
How to create an import layout?
2. On the Project tab, select the CSV tab;


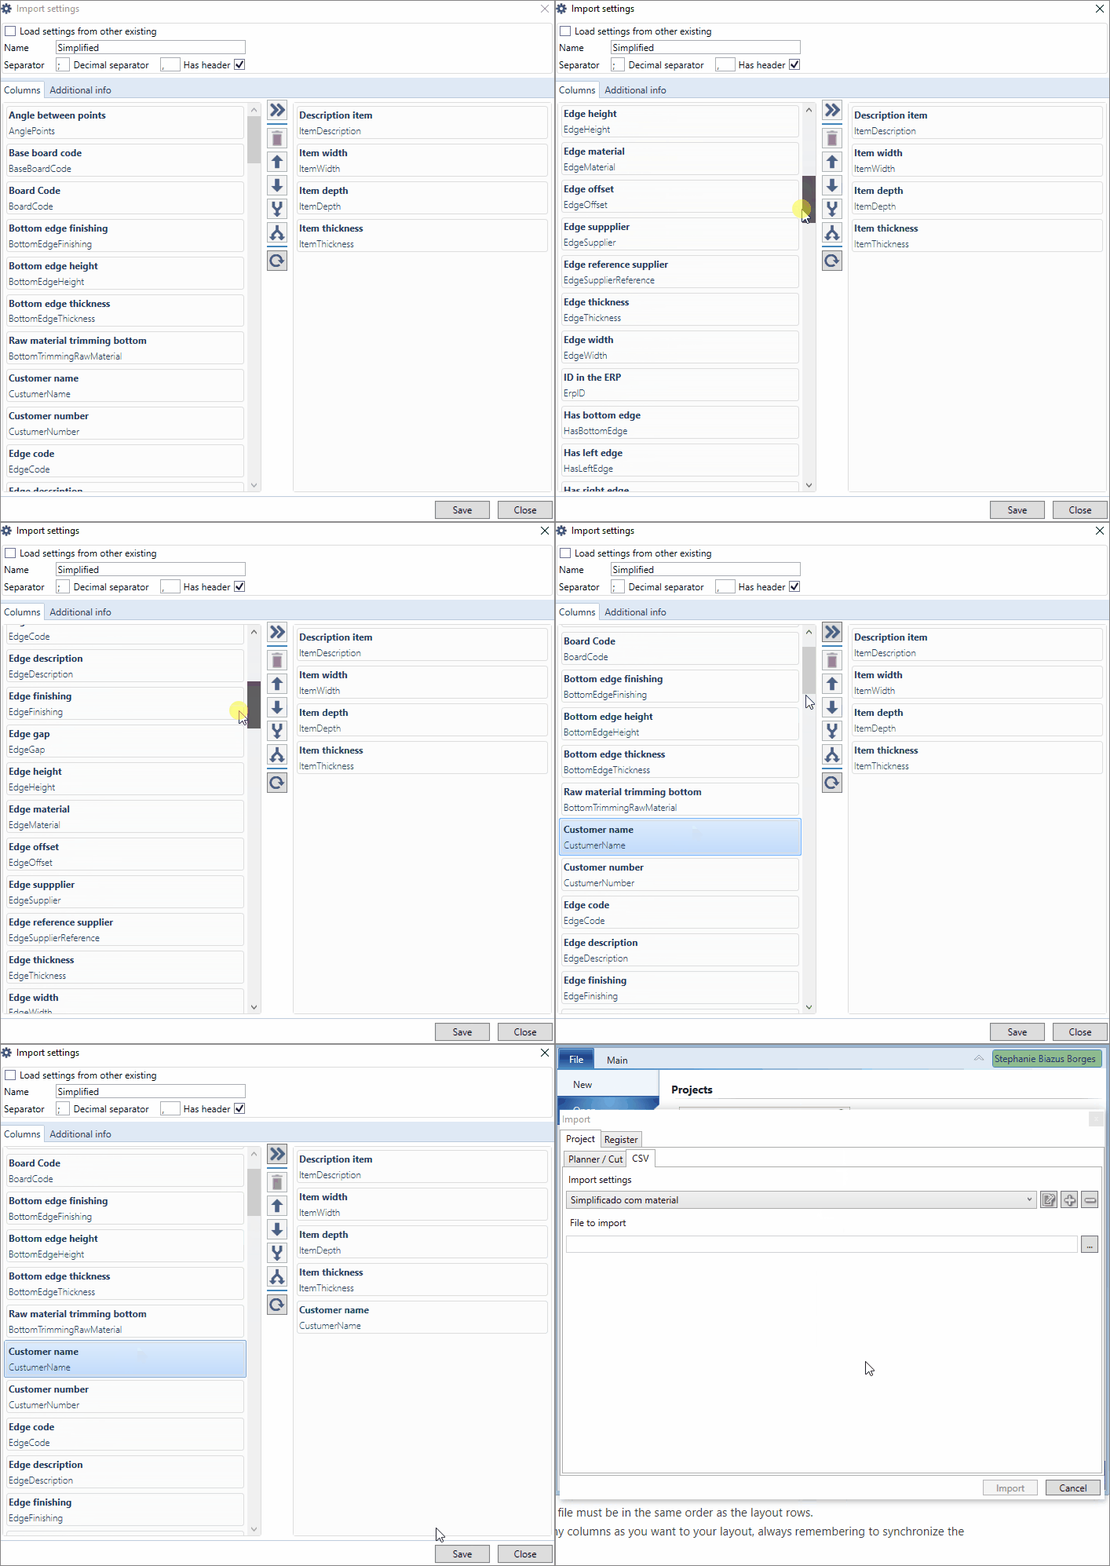
How to remove an import layout?
2. On the Project tab, select the CSV tab;

